
Understanding the Italian Electrical Standard
If you are renovating a historic villa in Tuscany, upgrading an apartment in Milan, or simply replacing a broken receptacle, wiring an electrical outlet in Italy requires a solid understanding of local standards. Unlike the North American 120V system, Italy operates on a 230V, 50Hz alternating current (AC) supply. The governing body for these installations is the Comitato Elettrotecnico Italiano (CEI), specifically under the CEI 64-8 standard, which dictates everything from wire gauge to grounding requirements.
For beginners, the most critical difference in Italian electrical work is the modular nature of the wall boxes and faceplates. Instead of the large rectangular or octagonal boxes common in the US or UK, Italy uses standardized rectangular recessed wall boxes known as scatole da incasso (typically the 3-module '503' or 4-module '504' sizes). The outlet mechanism, mounting frame (supporto), and decorative cover plate (placca) are all separate, modular components.
Italian Outlet Types: Type L vs. Bipasso vs. Multistandard
Historically, Italy utilized the Type L plug and socket standard. However, the modernization of European appliances has led to the widespread adoption of hybrid sockets. Before you begin wiring, you must identify which socket you are installing.
| Socket Type | Pin Configuration | Amperage | Best Use Case |
|---|---|---|---|
| Type L (10A) | 3 pins in a row (4mm spacing) | 10 Amps | Low-power lighting circuits, older installations. |
| Type L (16A) | 3 pins in a row (8mm spacing) | 16 Amps | High-draw appliances (ovens, washing machines). |
| Bipasso | Accepts both 10A and 16A Type L | 16 Amps | General-purpose residential rooms (bedrooms, living areas). |
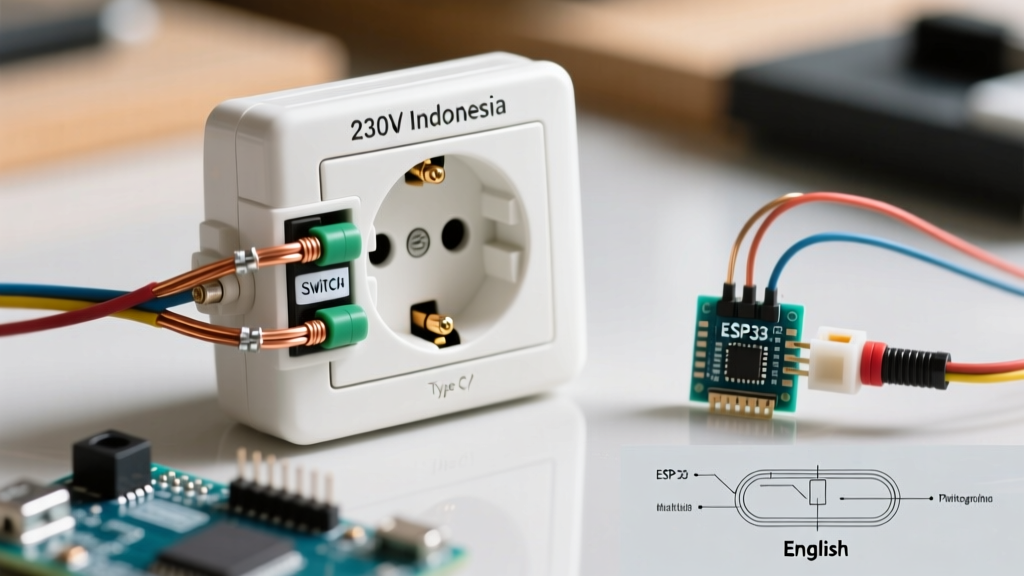
| Multistandard (Schuko/L) | Round recess with Type L center pins | 16 Amps | Kitchens, bathrooms, and modern 2026 smart home setups. |
Expert Tip: In 2026, the Multistandard (often called 'Italian Universal' or 'Schuko-Italian hybrid') is the undisputed standard for new residential builds, as it accommodates both German Schuko (Type F) plugs and native Italian Type L plugs without adapters.
Essential Tools and 2026 Material Costs
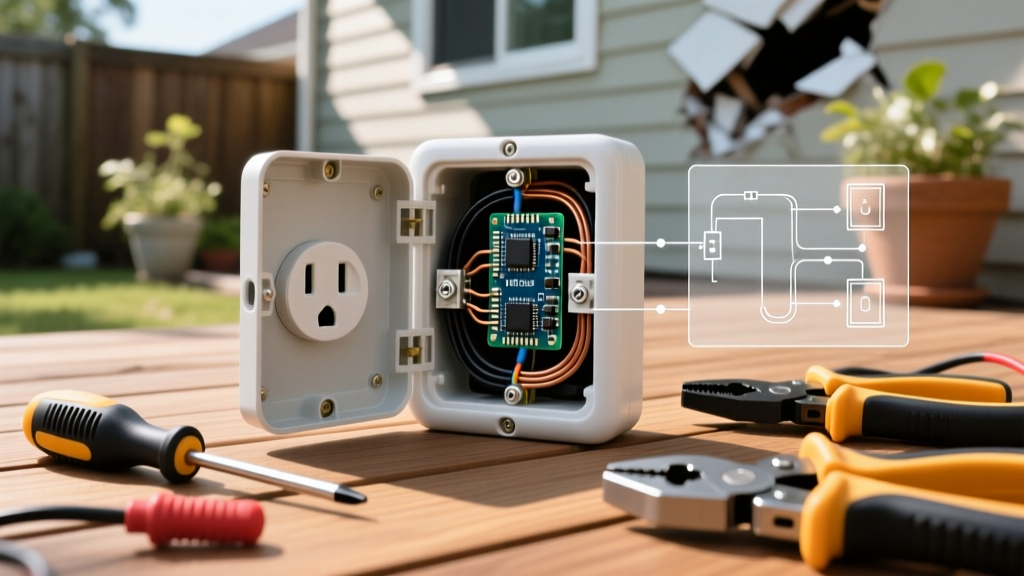
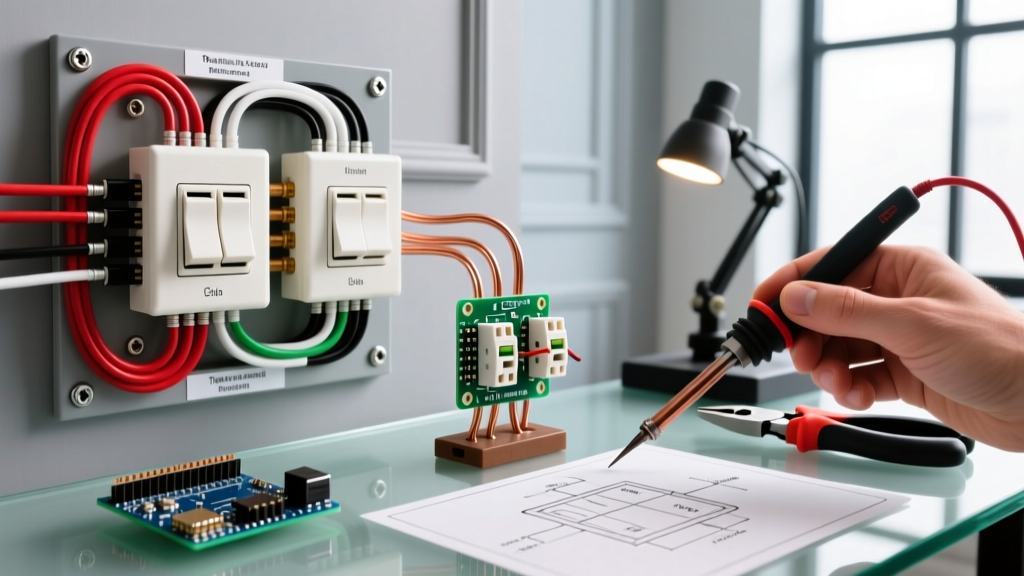
Working with 230V is unforgiving. Do not attempt this installation without the proper insulated tools and testing equipment. Below is a checklist of what you need, alongside current market pricing from premium Italian manufacturers like BTicino and Vimar.
- Digital Multimeter or Cercafase (Phase Tester): Essential for verifying dead circuits. (€15 - €30)
- Insulated Screwdrivers (VDE 1000V rated): Flathead (3mm and 5mm) and Phillips. (€10 - €20)
- Wire Strippers: Calibrated for 1.5mm² and 2.5mm² solid copper wire. (€15)
- Modular Outlet Mechanism: e.g., BTicino LivingNow or Vimar Arké Bipasso/Multistandard. (€6 - €14)
- Supporto (Mounting Frame): 3-module or 4-module plastic/metal frame. (€2 - €5)
- Placca (Cover Plate): Designer faceplate (resin, glass, or metal). (€8 - €45)
Italian Wiring Color Codes (And Dangerous Exceptions)
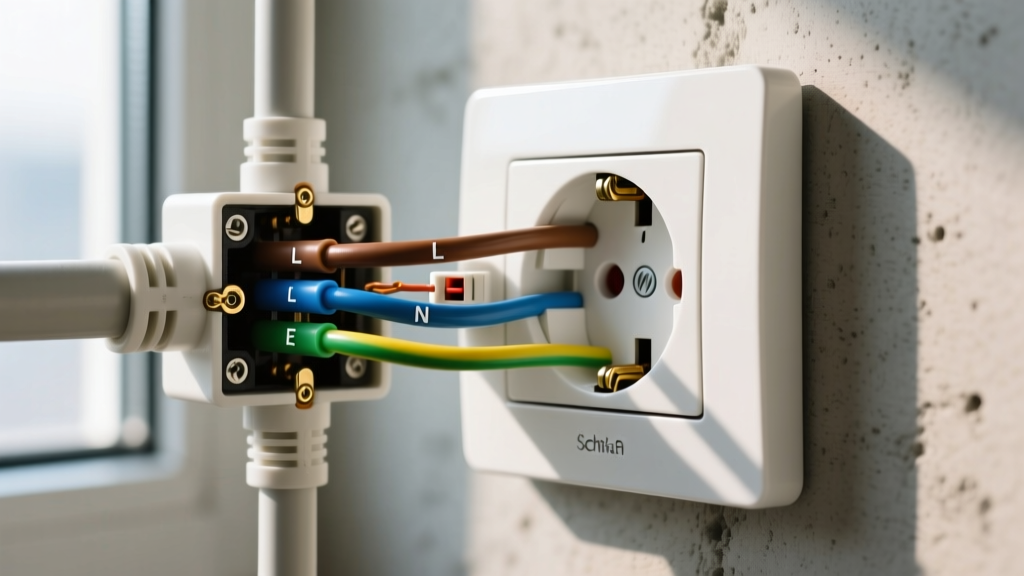
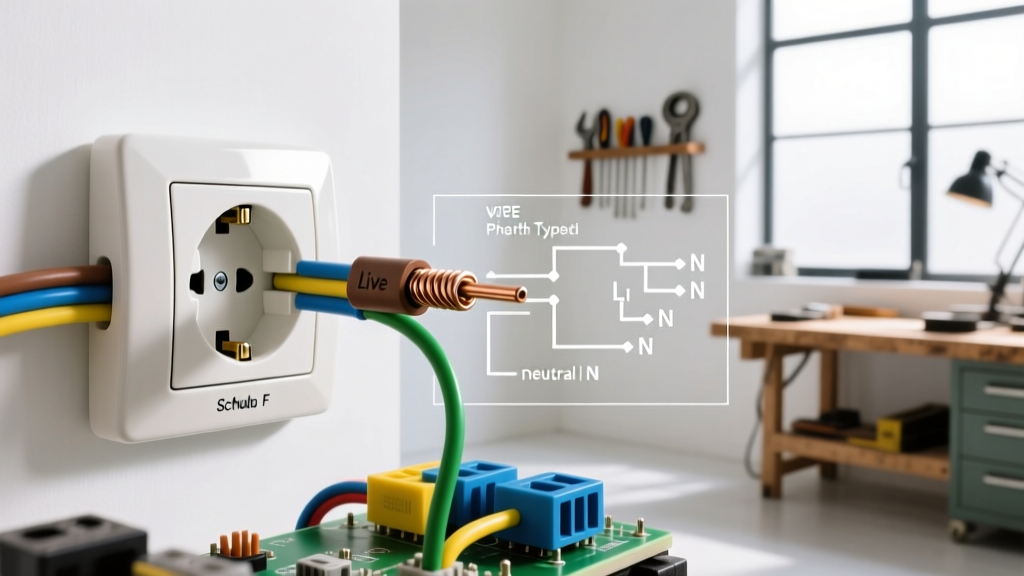
Modern Italian wiring strictly follows the IEC 60446 / CEI 64-8 color code standard. When you open the wall box, you should see three distinct 2.5mm² wires for standard receptacle circuits:
- Phase (Fase / Line): Brown (Carries the 230V live current).
- Neutral (Neutro): Blue (The return path).
- Earth (Terra / Ground): Green/Yellow Stripe (Safety ground, mandatory for all outlets).
⚠️ CRITICAL WARNING FOR OLDER HOMES: If you are working in an Italian property built before the 1990s, do not trust the wire colors. Older installations frequently used black or grey for the Phase, light blue for Neutral, and sometimes a bare copper wire (or even a yellow wire) for Earth. Always test with a multimeter before touching any exposed copper.
Step-by-Step Installation Tutorial
Follow this precise sequence to install a standard 3-module Bipasso or Multistandard outlet safely.
Step 1: Isolate the Circuit at the Quadro Elettrico
Locate your main breaker panel (quadro elettrico). Turn off the specific 16A circuit breaker for the room you are working in. If you are unsure which breaker controls the outlet, turn off the Interruttore Generale (Main Switch) to kill power to the entire property. Attempt to plug a lamp into the outlet to verify power is dead.
Step 2: Verify with a Multimeter
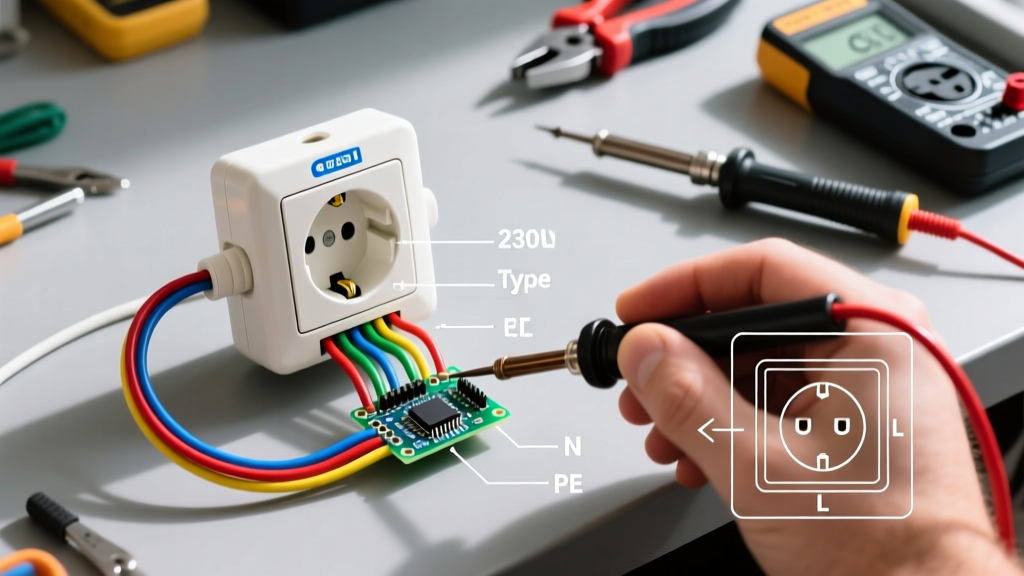
Remove the old cover plate and unscrew the mounting frame from the wall box. Pull the outlet mechanism out gently. Set your multimeter to AC Voltage (V~). Place one probe on the Phase terminal and one on the Neutral. The reading must be 0.0V. Next, test between Phase and Earth, then Neutral and Earth. Both must read 0.0V.
Step 3: Prepare the Wires
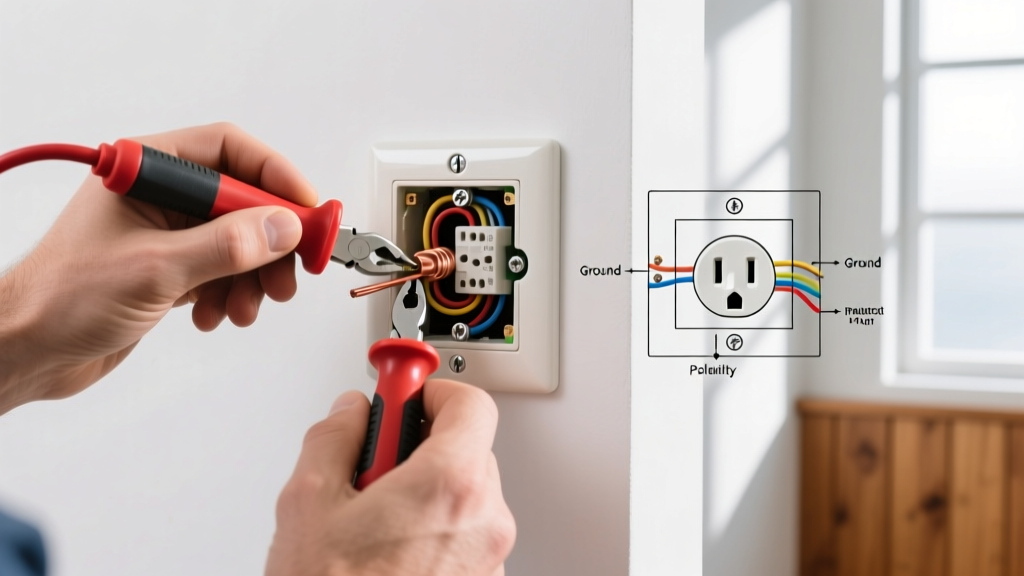
If installing a new outlet or replacing damaged wire ends, use your wire strippers to remove exactly 12mm of insulation from the 2.5mm² wires. Do not leave too much bare copper exposed, as this creates an arc-flash hazard in the confined space of an Italian 503 wall box.
Step 4: Terminate the Connections
Italian modular outlets feature quick-connect or screw-terminal blocks on the rear. The pin layout is strictly defined:
- Center Terminal: Connect the Green/Yellow (Earth) wire here. In the Type L and Multistandard layout, the Earth pin is always physically located in the exact center of the three-pin row. This is non-negotiable for CEI compliance.
- Outer Terminals: Connect the Brown (Phase) and Blue (Neutral) wires to the two outer terminals. While older Italian standards did not strictly enforce L/N polarity on the outer pins, the CEI 64-8 best practice recommends placing the Phase (Brown) on the left and Neutral (Blue) on the right when facing the front of the socket.
Step 5: Mount the Supporto and Placca
Carefully fold the wires back into the scatola da incasso (wall box). Ensure no bare copper is visible outside the terminal blocks. Align the supporto (mounting frame) over the box and drive the two long mounting screws into the side ears of the wall box. Tighten evenly to keep the frame level. Finally, snap the modular outlet mechanism into the center slot of the frame, and press the decorative placca (cover plate) over the frame until the retention clips click securely into place.
Step 6: Restore Power and Test
Return to the breaker panel and restore power. Use a dedicated socket tester (a small plug-in device with three LED indicators) to verify correct wiring, proper grounding, and correct polarity. If your home is equipped with a Salvavita (the Italian term for a 30mA Residual Current Device / RCD), press the 'T' (Test) button on the breaker to ensure the safety trip mechanism functions correctly.
Troubleshooting Common Installation Failures
Even with careful installation, beginners may encounter issues when energizing the circuit. Use this diagnostic matrix to resolve them.
| Symptom | Probable Cause | Solution |
|---|---|---|
| Salvavita (RCD) trips immediately | Neutral and Earth wires are touching, or Neutral is grounded downstream. | Isolate power, check for stray copper strands bridging the Blue and Green/Yellow wires in the box. |
| Outlet has no power, breaker stays on | Phase wire not fully seated in terminal, or upstream junction box connection is loose. | Check the 12mm strip length; ensure the wire is fully inserted and the screw/clamp is tight. |
| Socket tester shows 'Open Ground' | Earth wire disconnected at the outlet or at the main panel's ground busbar. | Verify the Green/Yellow wire is firmly in the center terminal and trace back to the panel if necessary. |
| Cover plate won't snap onto frame | Wires are bunched up, pushing the outlet mechanism too far forward, or frame is warped. | Neatly zigzag the wires into the back of the 503/504 box. Loosen frame screws, level it, and retighten. |
Final Thoughts on Safety and Compliance
Wiring an electrical outlet in Italy is a straightforward process once you understand the modular ecosystem and the strict CEI color codes. However, 230V systems carry a high risk of lethal shock and electrical fire if grounding is compromised. Never bypass the Earth connection, and never install a standard receptacle in an Italian bathroom without ensuring it is placed outside the designated 'splash zones' (Zone 2 and Zone 3) as defined by CEI 64-8, or protected by a dedicated IP-rated cover. When in doubt, consult a certified Italian electrician (elettricista abilitato) to inspect your work and issue the mandatory Declaration of Conformity (Dichiarazione di Conformità) required for legal property occupancy.