
Why Is One Electrical Outlet Not Working While Others Are?
Walking into a room only to find that one electrical outlet not working while the rest of the room is perfectly powered is one of the most common residential electrical anomalies. Unlike a tripped breaker that kills an entire circuit, a single dead receptacle points to a localized failure. This could range from a simple upstream GFCI trip to a dangerous loose neutral connection arcing inside your wall cavity.
According to the National Electrical Code (NEC), modern wiring requires stringent grounding and fault protection, but legacy wiring and poor installation practices still leave millions of homes vulnerable to localized receptacle failures. As of 2026, diagnosing this issue requires a systematic approach to avoid unnecessary drywall damage or misdiagnosed breaker swaps.
Essential Diagnostic Tools for 2026
- Non-Contact Voltage Tester: Klein Tools ET120 (Approx. $25) for safe initial hot-wire verification.
- Digital Multimeter (DMM): Fluke 117 True RMS or Klein MM400 ($50–$220) for precise voltage drop and continuity testing.
- Receptacle Tester: Gardner Bender GRT-501 (Approx. $12) for quick wiring fault identification.
- Replacement Receptacle: Leviton 15A Tamper-Resistant Duplex (Model R52-05320-WMP, Approx. $2.50).
Diagnostic Matrix: Symptom vs. Probable Cause
| Observed Symptom | Most Probable Cause | First Diagnostic Action |
|---|---|---|
| Outlet dead, adjacent outlets work | Upstream GFCI tripped | Check bathrooms, garage, and exterior GFCIs |
| Outlet dead, faint buzzing or warmth | Backstab push-in connector failure | Turn off breaker, pull receptacle, inspect wires |
| Top half works, bottom half dead | Split-wired brass tab not broken | Visual inspection of the brass fin on the hot side |
| Outlet dead, voltage reads 60V-90V | Loose neutral or high-resistance joint | Multimeter Hot-to-Ground vs. Hot-to-Neutral test |
Step 1: The GFCI/AFCI Upstream Cascade Check
The most frequent reason for a single dead outlet is a tripped Ground Fault Circuit Interrupter (GFCI) located upstream on the same circuit. Under recent NEC adoptions, GFCI protection has been expanded to include kitchens, bathrooms, garages, exteriors, and even certain living areas. A standard 15A duplex receptacle in your living room might be wired to the LOAD terminals of a GFCI receptacle in a nearby bathroom or garage.
Expert Insight: Homeowners often assume a circuit breaker is the only protection device. However, a single GFCI device can protect up to 4 or 5 standard downstream outlets. Always trace the physical layout of your home and reset all GFCI buttons before opening any junction boxes.
Step 2: Investigating Backstab Push-In Failures
If your home was built or renovated between 1990 and 2015, there is a high probability that the electrician used "backstab" (push-in) wiring connections rather than wrapping the wire around the terminal screws. While UL-listed, these internal brass spring clamps are notorious for failing under thermal cycling.
The Thermal Expansion Failure Mode
When you plug in a high-draw device (like a space heater or vacuum), the 15A current generates heat. The copper wire and internal brass spring expand. When the device is unplugged, they contract. Over hundreds of cycles, the spring tension degrades, and the wire literally ejects or loses contact inside the plastic housing. This results in an open circuit localized entirely to that single receptacle.
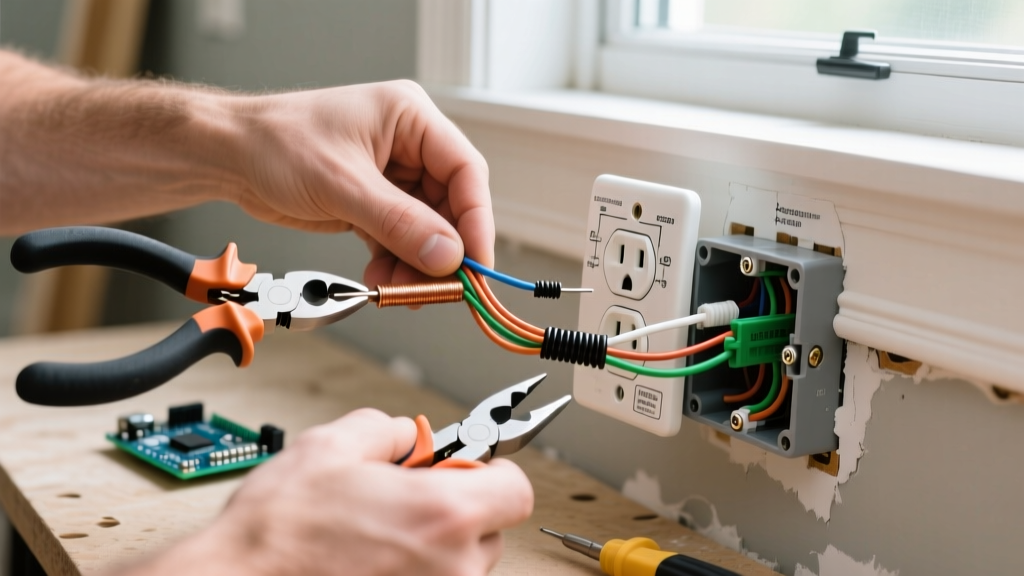
The Fix: Cut the damaged wire back to clean copper, strip 3/4 inch of insulation, and secure it under the side terminal screws using a J-hook configuration. Never reuse a backstab connection that has failed.
Step 3: Split-Wired Receptacles and the Brass Tab
Is the top half of the outlet working, but the bottom half is dead? You are likely dealing with a split-wired receptacle. This is common in living rooms where one half of the outlet is controlled by a wall switch (for a floor lamp), and the other half is always hot.
To achieve this, the installer must snap off the small brass connecting tab (fin) on the hot (brass) side of the receptacle. If a previous homeowner or DIYer replaced the outlet and forgot to break this tab, both halves will be tied to the switched leg, or if wired to a single hot, the switched half will remain dead. Inspect the brass side of the yoke; if the tab is intact, use needle-nose pliers to snap it off, separating the top and bottom terminals.
Step 4: Multimeter Testing for Open Neutrals
If a non-contact voltage tester indicates power is present, but a lamp won't turn on, you likely have an open neutral. The hot wire is delivering 120V to the receptacle, but the return path to the panel is severed. Using a digital multimeter, perform this exact voltage matrix:
- Hot to Ground: Should read ~120V. (Confirms power is reaching the box).
- Hot to Neutral: Will read 0V or a phantom voltage (e.g., 40V) if the neutral is broken.
- Neutral to Ground: Will read ~120V. This is the definitive signature of an open neutral.
If you confirm an open neutral, the failure is rarely at the dead receptacle itself. The break is usually at the previous receptacle upstream where a loose wire nut or a failed backstab has severed the neutral daisy-chain.
Step 5: Loose Pigtails and Wire Nut Failures
Inside the junction box, the circuit wires should be joined with a pigtail that feeds the receptacle. If the installer used a wire nut that was too large, or failed to strip the wire adequately, the neutral pigtail can vibrate loose over time. The U.S. Department of Energy notes that loose connections are a primary precursor to electrical arcing and residential fires. Always tug-test every wire in a wire nut bundle before pushing it back into the electrical box.
Step 6: Check for Switched Loop Miswiring
Sometimes, an outlet is wired to a wall switch that the homeowner doesn't realize exists (often hidden behind furniture or mistaken for a garbage disposal switch). Before tearing into the drywall, use a receptacle tester and have a helper toggle every single wall switch in the room. If the tester lights up when a specific switch is flipped, your outlet isn't broken; it's simply switched.
Step 7: When to Call a Licensed Electrician
While replacing a $2.50 Leviton receptacle is a standard DIY task, diagnosing a broken wire inside a sealed wall cavity requires professional tools like a Time Domain Reflectometer (TDR) or thermal imaging cameras. The Electrical Safety Foundation International (ESFI) strongly advises against DIY troubleshooting if you encounter melted plastic, scorch marks on the receptacle yoke, or a persistent burning odor, as these indicate active thermal damage and imminent fire risk.
2026 Repair Cost Expectations
| Repair Scenario | DIY Cost | Electrician Cost (2026 Avg) |
|---|---|---|
| Replacing failed backstab receptacle | $3.00 (Parts only) | $125 - $175 (Service call + part) |
| Tracing and fixing open neutral in wall | N/A (Requires advanced tools) | $250 - $450 (Diagnostic + repair) |
| Upgrading to 20A GFCI/AFCI combo | $35.00 (Parts only) | $180 - $250 (Installation + testing) |
Final Diagnostic Takeaways
When confronted with one electrical outlet not working, resist the urge to immediately swap the breaker or replace the receptacle blindly. Follow the cascade: verify upstream GFCIs, test for split-wired tabs, and use a multimeter to definitively identify open neutrals versus open hots. By understanding the physical failure modes of push-in connectors and thermal cycling, you can accurately diagnose the root cause and restore safe, reliable power to your home's electrical grid.