
Decoding the Beginner Basic Electrical Outlet Wiring Diagram
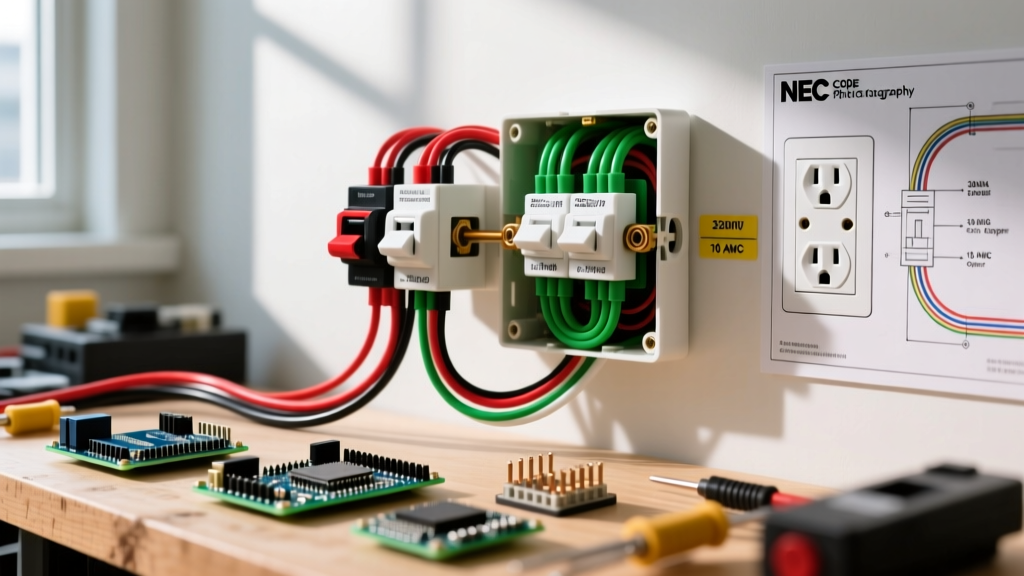
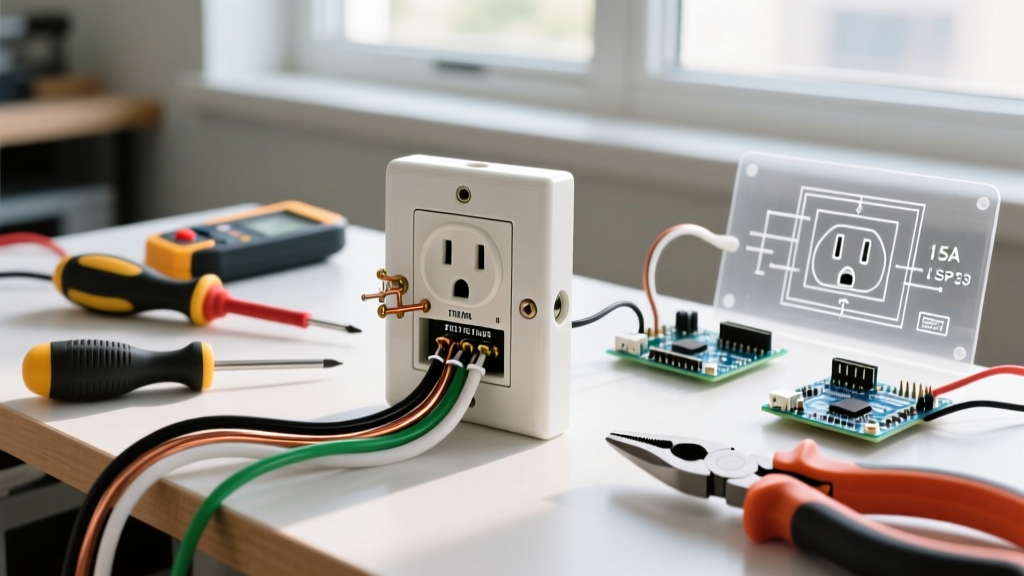
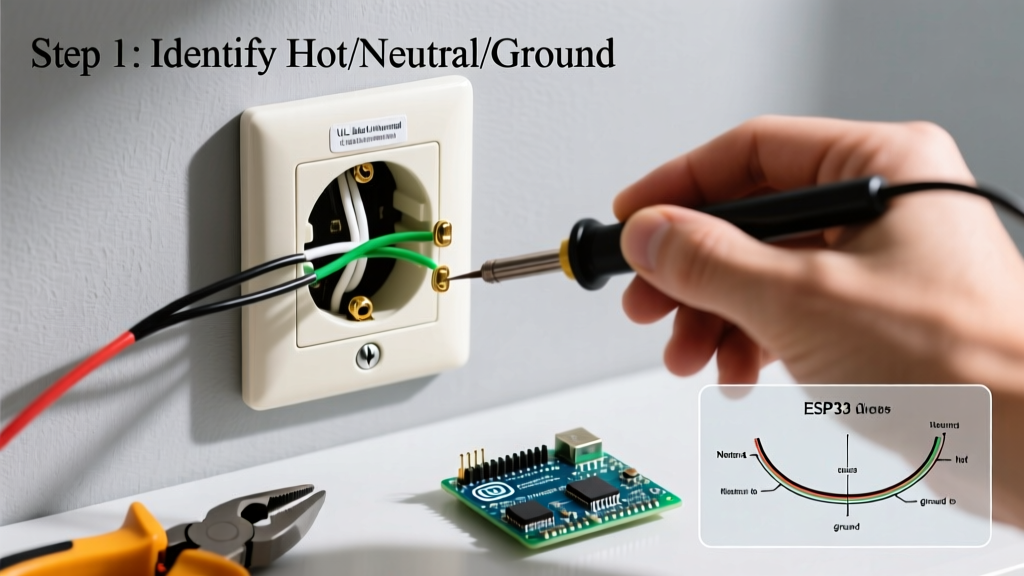
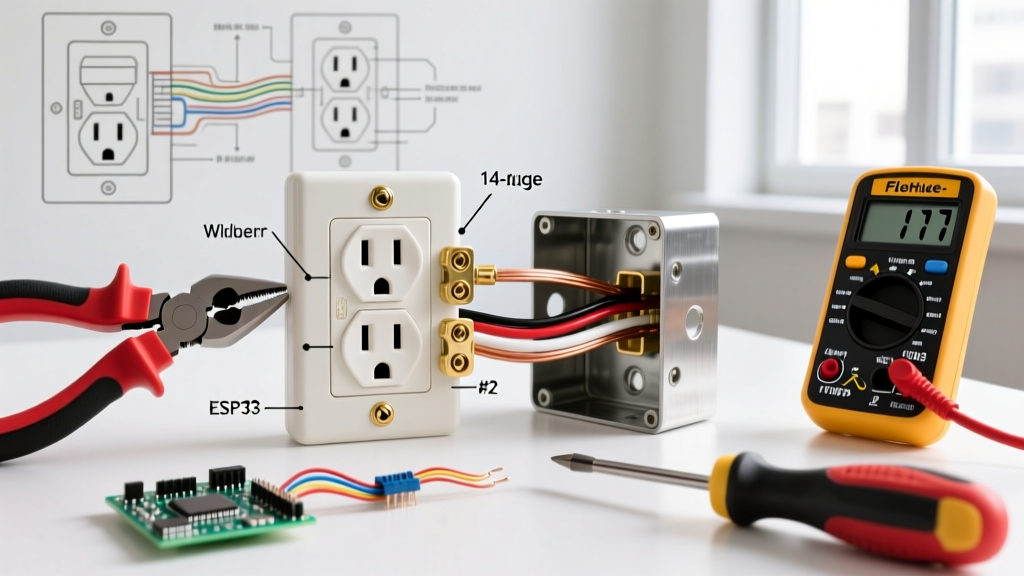
Staring at a beginner basic electrical outlet wiring diagram for the first time can feel overwhelming, but the underlying physics are remarkably straightforward. A standard 120-volt duplex receptacle relies on three primary conductors: the hot (black), the neutral (white), and the ground (bare copper or green). The diagram dictates that the hot wire connects to the brass terminal, the neutral to the silver terminal, and the ground to the green grounding screw.
However, a diagram is only a theoretical roadmap. To execute this safely and in compliance with the 2026 National Electrical Code (NEC), you need the precise physical tools and materials to translate lines on a page into a fire-safe, code-compliant termination. Using the wrong wire strippers or skipping torque verification are the leading causes of residential electrical fires. This guide bridges the gap between theory and execution, detailing the exact tools and materials required for your project.
The 2026 Essential Tool Kit for Outlet Wiring
Do not rely on a generic $15 multi-tool from a big-box store checkout lane. Electrical terminations require precision. Here are the specific, industry-standard tools you need to match your wiring diagram.
1. Non-Contact Voltage Tester (NCVT)
Before touching a single wire, you must verify the circuit is dead. The Klein Tools NCVT-3 (approx. $32) is the gold standard for DIYers and professionals alike. Unlike older single-range testers, the NCVT-3 features a dual-range detection system (12-1000V AC and 70-1000V AC), allowing you to test both standard branch circuits and low-voltage thermostat wiring without swapping tools. Always pair this with a plug-in receptacle tester (like the Sperry Instruments STK001, $12) to confirm the wiring configuration before and after your work.
2. Precision Wire Strippers
The most common beginner mistake is nicking the copper conductor while removing the insulation. A nick creates a localized hot spot under load, eventually leading to thermal failure. The Klein Tools 11055 Wire Stripper ($24) features precision-machined stripping holes specifically calibrated for 14 AWG and 12 AWG solid copper wire. Strip exactly 3/4-inch of insulation to ensure no bare copper is exposed outside the terminal, and no insulation is trapped under the screw head.
3. Torque Screwdriver (The 2026 NEC Requirement)
Since NEC 110.14(D) was introduced and heavily enforced in recent code cycles, all terminations must be tightened to the manufacturer's specified torque. Hand-tightening is no longer code-compliant. The Klein Tools 70265 Torque Screwdriver ($115) or the more budget-friendly Wheeler Manufacturing Fat Boy Torque Driver ($65) ensures you hit the typical 12 to 14 in-lb torque specification required by modern Leviton and Eaton receptacles, preventing both loose arcing and stripped brass threads.
4. Lineman's Pliers for J-Hooks
To form the perfect clockwise "J-hook" loop that wraps snugly around the terminal screw, you need heavy-duty pliers. The Milwaukee 48-22-8210 Lineman's Pliers ($40) feature a built-in bending hole and a high-leverage pivot that makes shaping 12 AWG solid copper effortless.
Material Breakdown: What You Actually Need to Buy
Matching your materials to the circuit's amperage is critical. A 20-amp circuit requires 12 AWG wire and 20-amp rated receptacles (identified by a T-shaped neutral slot). Never install a 15-amp receptacle on a 20-amp circuit as a standalone outlet.
| Component | 15-Amp Circuit Standard | 20-Amp Circuit Standard | Approx. Cost (2026) |
|---|---|---|---|
| Receptacle | Leviton 15A Duplex (R52-05320-00W) | Leviton 20A Duplex (R52-05820-00W) | $1.50 - $2.25 |
| Wire (NM-B) | 14/2 AWG Solid Copper | 12/2 AWG Solid Copper | $0.45 - $0.65 / ft |
| Wire Connectors | Ideal In-Sure Push-In (Model 33) | Ideal In-Sure Push-In (Model 33) | $0.20 each |
| Wall Plate | Leviton Nylon Mid-Size (1-Gang) | Leviton Nylon Mid-Size (1-Gang) | $0.85 |
Pro-Tip on Wire Connectors: While traditional twist-on wire nuts (like the Ideal Yellow 74B) are still widely used, the Ideal Industries In-Sure Push-In connectors are vastly superior for beginners. They provide a permanent, vibration-proof connection and allow you to easily splice pigtails without the risk of a wire nut unraveling inside the junction box.
Step-by-Step Execution: Matching Tools to the Diagram
With your tools and materials staged, follow this sequence to bring your beginner basic electrical outlet wiring diagram to life safely.
- Kill and Verify: Turn off the breaker. Use the Klein NCVT-3 on the existing outlet to confirm zero voltage. Remove the faceplate and test the bare wires directly to ensure no backfed voltage or shared-neutral anomalies exist.
- Prepare the Box: Ensure the electrical box has at least 6 inches of wire extending past the front edge. If the wires are too short, use your In-Sure connectors to add pigtails.
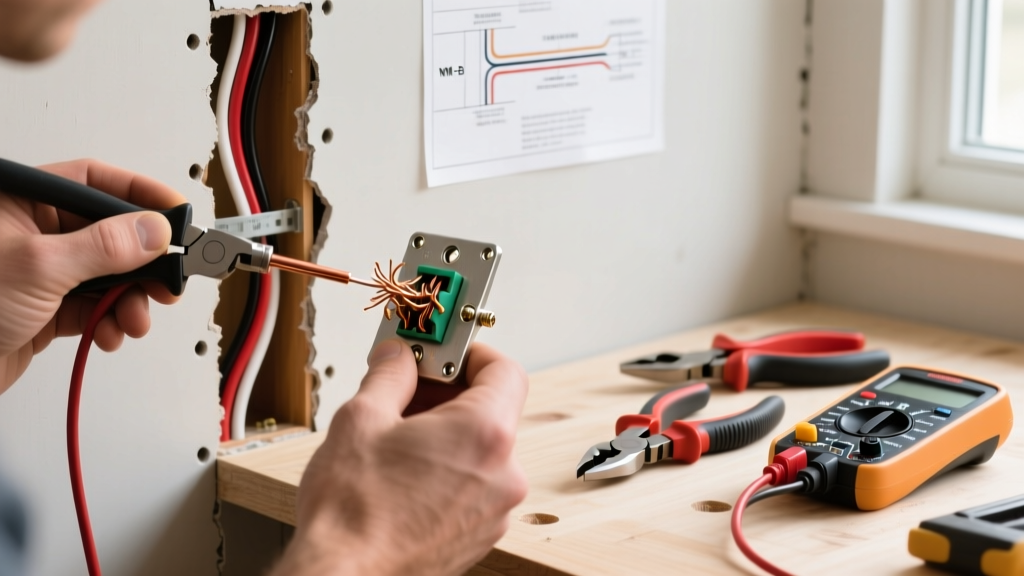
- Strip and Shape: Use the Klein 11055 to strip 3/4-inch of insulation from the black, white, and ground wires. Use the Milwaukee Lineman's pliers to bend the exposed copper into a tight, 180-degree J-hook.
- Terminate Clockwise: Hook the black wire onto the brass screw, the white wire onto the silver screw, and the bare copper onto the green screw. Always loop clockwise. As you tighten the screw, the clockwise motion pulls the loop tighter around the shaft. A counter-clockwise loop will be pushed out from under the screw head.
- Apply Torque: Set your torque screwdriver to the receptacle's specified rating (usually printed on the back of the device, typically 12 in-lb). Tighten until the driver clicks.
- Fold and Mount: Carefully fold the wires in an accordion pattern (zig-zag) into the back of the box. Mount the receptacle, attach the nylon faceplate, and restore power.
Common Beginner Mistakes & Edge Cases
Even with a perfect diagram in hand, physical execution errors can lead to catastrophic failure modes.
The "Backstab" Push-In Trap
Most modern 15A receptacles feature push-in holes on the back. Never use these. These "backstab" connections rely on a tiny internal spring clip that grips the wire. Under heavy thermal loads (like running a space heater), the metal expands and contracts, eventually loosening the spring grip. This creates high-resistance arcing, melting the plastic housing. Always use the side terminal screws or the screw-clamp plate (found on higher-end commercial-spec receptacles like the Leviton Pro Grade series).
Over-Stripping the Insulation
If you strip an inch of insulation instead of 3/4-inch, you will leave exposed, uninsulated copper wire visible outside the terminal connection. This creates a shock hazard and increases the likelihood of the hot and neutral wires accidentally touching inside the cramped junction box, resulting in a dead short.
Ignoring the Grounding Pigtail
If you are wiring a metal electrical box, the ground wire from the Romex cable must first be bonded to the metal box using a green grounding screw, and then a separate "pigtail" wire must run from the box to the receptacle's green ground screw. Failing to ground the metal box leaves it energized if a hot wire frays and touches the steel enclosure.
Safety Standards & Authoritative Resources
Electrical work is unforgiving. Always consult authoritative resources and adhere to local codes before opening a junction box. For comprehensive safety guidelines and code references, consult the following organizations:
- National Fire Protection Association (NFPA): The publisher of the National Electrical Code (NEC). Review the latest code standards at the NFPA 70 Catalog Page.
- Occupational Safety and Health Administration (OSHA): Provides critical guidelines on lockout/tagout procedures and electrical hazard mitigation. Read their OSHA Electrical Safety Standards.
- Electrical Safety Foundation International (ESFI): An excellent resource for DIYers, offering visual guides on residential wiring safety and arc fault protection. Visit their ESFI Electrical Safety Tips portal.
By combining a clear understanding of your beginner basic electrical outlet wiring diagram with professional-grade tools and strict adherence to torque specifications, you ensure a safe, durable, and code-compliant electrical installation that will last for decades.