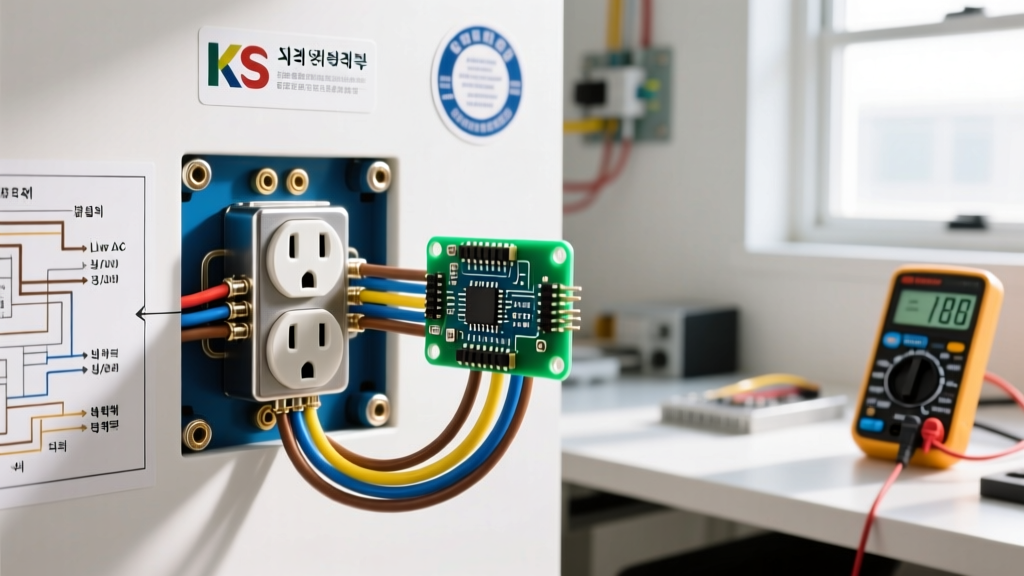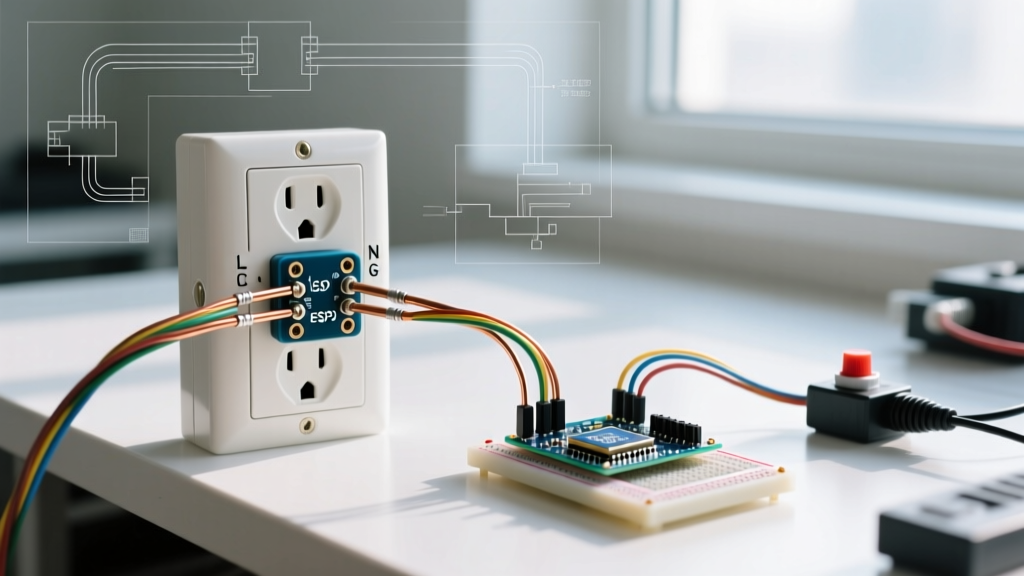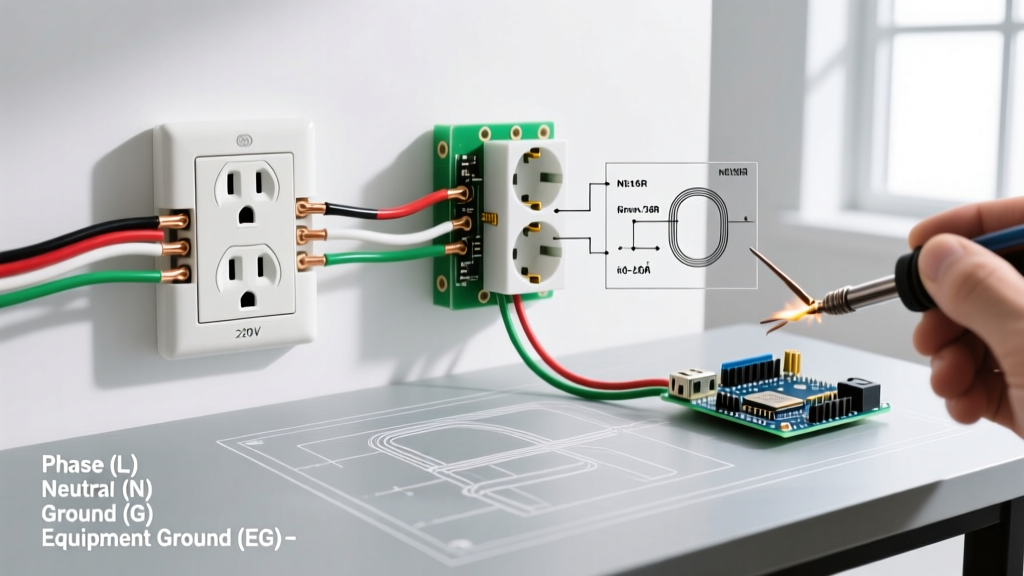

Understanding the Modern 240V/220V Receptacle Standards
When homeowners and DIYers search for a wiring diagram for a 220 outlet, they are usually looking to install a high-power receptacle for an electric vehicle (EV) charger, a welder, a heavy-duty air compressor, or an electric range. Before diving into the schematics, it is critical to clarify a common terminology issue: in North America, the nominal voltage supplied by split-phase residential panels is actually 240V, not 220V. The term "220V" is a legacy colloquialism that persists in search queries and casual conversation, but modern electrical equipment and the National Electrical Code (NEC) operate on 240V standards.
Expert Note: Always refer to the manufacturer's specification sheet for your specific appliance. While colloquially called a 220V outlet, modern NEMA receptacles are rated for 125/250V or 250V. Supplying these circuits requires a double-pole breaker drawing 120V from each of the two opposing bus bars in your main panel to achieve the 240V potential difference.
For high-amperage applications (typically 30A to 50A), the two most common configurations you will encounter are the NEMA 10-50 (3-prong) and the NEMA 14-50 (4-prong). As of the NEC 2023 and continuing into 2026 code enforcement cycles, the 4-prong configuration is strictly mandated for all new installations.
The Core Wiring Diagram for a 220 Outlet (4-Prong NEMA 14-50)
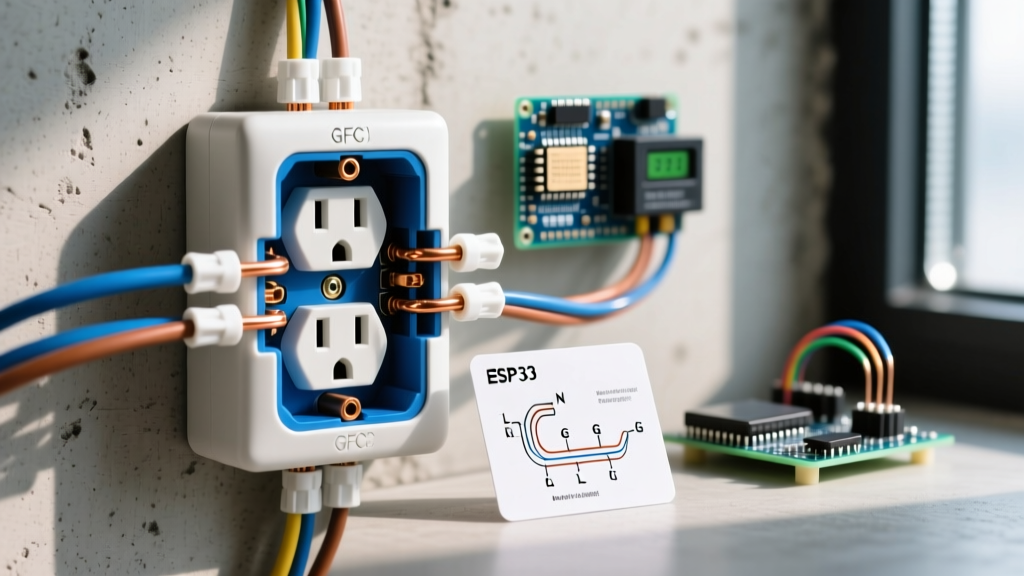
The NEMA 14-50R is the gold standard for modern 50-amp 240V applications, particularly for Level 2 EV chargers like the ChargePoint Home Flex or Tesla Wall Connector. A proper wiring diagram for a 220 outlet of this type requires four distinct conductors: two hot legs, one neutral, and one equipment grounding conductor.
Terminal Mapping and Wire Colors
When looking at the back of a standard 50A receptacle (such as the Leviton 279-S00 or Hubbell 9450A), you will see four terminal screws. Here is the exact mapping for your wiring diagram:
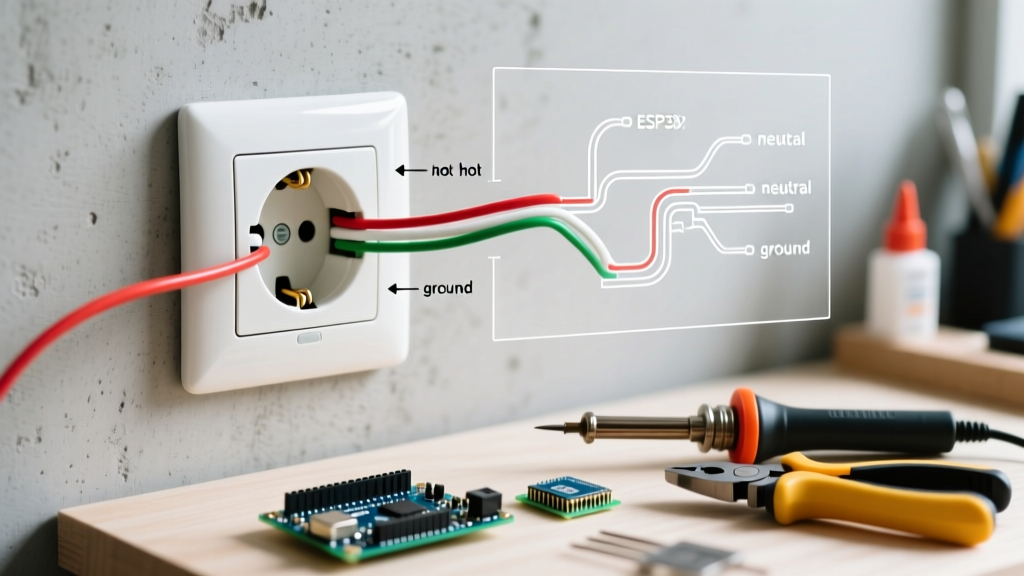
- X Terminal (Brass/Gold): Connects to Hot Leg 1 (Black wire). Supplies 120V.
- Y Terminal (Brass/Gold): Connects to Hot Leg 2 (Red wire). Supplies 120V (180 degrees out of phase with X).
- W Terminal (Silver): Connects to the Neutral (White wire). Required for appliances that utilize 120V for control boards, clocks, or lights (like electric ranges and dryers).
- G Terminal (Green): Connects to the Equipment Ground (Bare copper or Green wire). Provides a safe fault path back to the panel.
Wire Gauge and Breaker Sizing
For a 50-amp circuit, the NEC requires a minimum of 6 AWG Copper (THHN/THWN or NM-B Romex) or 4 AWG Aluminum. The breaker must be a 50A double-pole breaker (e.g., Square D QO250 or Siemens Q250). If you are running 6/3 NM-B cable, expect to pay approximately $4.50 to $5.50 per foot in 2026, depending on copper market fluctuations.
3-Prong vs. 4-Prong Wiring Diagrams: What Changed?
Older homes often feature the NEMA 10-50 (3-prong) receptacle. In this outdated wiring diagram for a 220 outlet, the neutral and ground functions were combined into a single conductor. This is highly dangerous by modern standards because a fault in the neutral wire could energize the chassis of the appliance.
| Feature | NEMA 10-50 (3-Prong) | NEMA 14-50 (4-Prong) |
|---|---|---|
| Wires Required | 3 (Hot, Hot, Neutral/Ground) | 4 (Hot, Hot, Neutral, Ground) |
| NEC Compliance (New) | Prohibited (Repealed in 1996) | Mandated (NEC 250.140) |
| Safety Risk | High (Chassis can energize if neutral fails) | Low (Dedicated fault path) |
| Typical Cable | 6/2 NM-B (Legacy) | 6/3 NM-B with Ground |
| EV Charging Suitability | Not Recommended / Unsafe | Industry Standard |
According to the National Fire Protection Association (NFPA), the 3-prong diagram is only permissible under strict "grandfather" clauses for existing, unmodified installations. If you are replacing the receptacle, running a new line, or installing an EV charger, you must upgrade to the 4-prong diagram.
Main Panel vs. Subpanel: Grounding and Neutral Rules
A critical failure mode when executing a wiring diagram for a 220 outlet is misunderstanding how the neutral and ground are handled at the source panel. This is where many DIYers make catastrophic errors.
Sourcing from the Main Service Panel
In the main service disconnect, the neutral bus bar and the ground bus bar are bonded (connected). Therefore, whether your white neutral wire and bare ground wire land on the same physical bar or separate bars, they are electrically common. Both the neutral and ground must land on the neutral/ground bar.
Sourcing from a Subpanel
If your 220V outlet is fed from a subpanel (e.g., in a detached garage or workshop), the neutral and ground must remain strictly isolated.
- The White Neutral must terminate on the isolated neutral bus bar.
- The Bare/Green Ground must terminate on the equipment grounding bus bar, which is bonded to the subpanel enclosure.
Bonding neutral and ground in a subpanel creates a parallel neutral path, causing normal operating current to flow through the grounding system, which is a severe shock hazard and a direct violation of NEC Article 250.142.
Step-by-Step Execution and Torque Requirements
Following the diagram is only half the battle; proper physical execution ensures the circuit will not overheat under continuous load. The U.S. Department of Energy notes that EV charging represents a massive continuous load on residential infrastructure, making mechanical connections critical.
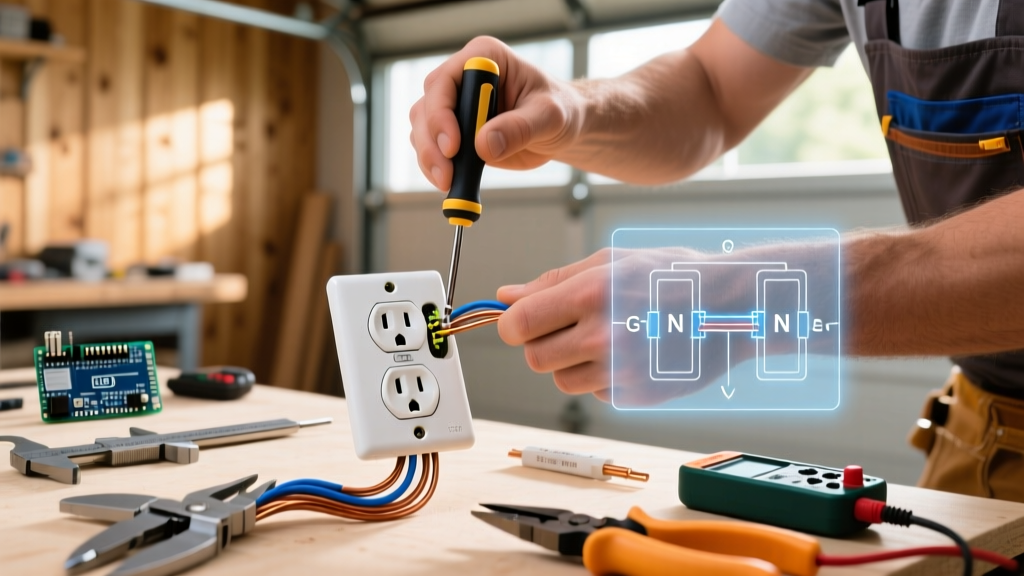
- Strip the Wires: Use a precision wire stripper to remove exactly 3/4 inch of insulation from the 6 AWG conductors. Do not nick the copper, which creates a localized hot spot.
- Form the Hook (if applicable): If using a receptacle with screw-loop terminals rather than compression lugs, bend the wire into a clockwise hook so the tightening action pulls the loop closed.
- Apply Calibrated Torque: NEC 110.14(D) requires the use of a calibrated torque tool for circuits rated 100A or less. For a 50A Leviton 14-50R, the manufacturer specifies a torque of 35 to 45 inch-pounds. Use a torque screwdriver (like the Klein Tools 69005) to tighten the terminal screws. Undertightening causes arcing; overtightening strips the brass threads.
- Secure the Cable: Install a proper strain relief connector (e.g., Arlington NM75T for non-metallic cable) where the wire enters the deep-gang electrical box.
Common Edge Cases and Failure Modes
Even with a correct wiring diagram for a 220 outlet, real-world installations frequently encounter these edge cases:
1. The "Continuous Load" Breaker Trip
NEC Article 210.20 dictates that a breaker can only be loaded to 80% of its rating for continuous loads (defined as running for 3 hours or more). A 50A breaker can only supply 40A continuously. If you hardwire a 48A EV charger to a 50A breaker, it will eventually trip due to thermal buildup in the bimetallic strip. Solution: Either configure the EV charger's internal DIP switches to limit the draw to 40A, or upgrade the wiring to 4 AWG copper and install a 60A breaker.
2. Reversed X and Y Hot Legs
Because both hot legs supply 120V, reversing the black and red wires on the X and Y terminals will not affect a pure 240V load (like a water heater or basic welder). However, for appliances with 120/240V split requirements (like ranges with 120V clocks), reversing them might cause control board issues if the neutral is not perfectly balanced. Always map X to Black and Y to Red to maintain phase consistency.
3. Using 10 AWG Wire on a 50A Breaker
A dangerous shortcut is using 10/3 NM-B cable (rated for 30A) and pairing it with a 50A breaker because "the appliance only pulls 40A." The breaker will not trip during a 45A surge, allowing the 10 AWG wire to melt inside the walls. The breaker protects the wire, not the appliance. Always match 6 AWG copper to a 50A breaker.
Frequently Asked Questions
Can I install a 220V outlet without a neutral wire?
Yes, if you are using a NEMA 6-50 configuration. The 6-50 is a 3-prong receptacle, but unlike the banned 10-50, it utilizes two hots and a dedicated ground (no neutral). This is perfectly code-compliant for pure 240V loads like welders or air compressors that do not require 120V for accessories.
Do I need a GFCI breaker for a 220V garage outlet?
Under NEC 2023 and 2026 adoptions, GFCI protection is required for 240V receptacles installed in garages, crawl spaces, and unfinished basements. If you are installing a NEMA 14-50 in a garage for an EV, you must use a 50A double-pole GFCI breaker. Note that GFCI breakers for 50A circuits can cost upwards of $150 to $200, significantly impacting your project budget.
Why does my 14-50 receptacle have a fifth hole or look different?
Standard NEMA 14-50 receptacles have four slots. If you see a different configuration, you may be looking at a NEMA L14-50 (twist-lock) or a Hubbell-specific industrial variant. Ensure your appliance plug matches the exact NEMA designation stamped on the receptacle face.