
Mastering the Scenario: How to Add Exterior Electrical Outlet
In 2026, the demand for outdoor power has surged. Homeowners are no longer just plugging in a string of holiday lights; they are powering smart landscape lighting hubs, electric pressure washers, patio entertainment systems, and even Level 1 EV trickle chargers. If you need to add exterior electrical outlet capacity to your home, tapping into an existing interior circuit is often the most practical and cost-effective scenario. However, transitioning from a climate-controlled interior wall to a harsh outdoor environment requires strict adherence to the National Electrical Code (NEC) and specialized weatherproofing techniques.
This guide breaks down the exact materials, load calculations, and step-by-step wiring procedures required to safely extend an interior receptacle to the outside of your home.
Evaluating Your Wiring Scenario
Before cutting into drywall, you must determine which wiring scenario fits your power requirements. Not all outdoor loads are created equal, and overloading an interior lighting or receptacle circuit is a primary cause of nuisance tripping and fire hazards.
| Wiring Scenario | Best Application | Estimated Material Cost | Complexity |
|---|---|---|---|
| Tap Interior 15A Receptacle | Holiday lights, string lights, low-draw power tools | $65 - $95 | Moderate |
| Tap Interior 20A Kitchen/Garage | High-draw tools, pressure washers, patio heaters | $75 - $110 | Moderate |
| Run Dedicated 20A Outdoor Line | EV trickle charging, RV hookups, outdoor kitchens | $250 - $450 | High (Panel work required) |
NEC Code Alert: According to the National Fire Protection Association (NFPA 70), NEC Article 210.8(A)(3) mandates that all 15A and 20A, 125V and 250V receptacles installed outdoors must have Ground-Fault Circuit Interrupter (GFCI) protection. Furthermore, Article 406.9(B)(1) requires extra-duty, weatherproof covers for all outdoor receptacles in damp or wet locations.
Essential Materials and Tools
Do not compromise on outdoor-rated materials. Standard indoor components will corrode and fail within months when exposed to UV radiation and moisture. Here is the exact bill of materials for a standard interior-to-exterior tap:
- GFCI Receptacle: Leviton GFNT2-W SmartlockPro Slim 20A GFCI (Approx. $18). The 20A feed-through rating is crucial even on a 15A breaker for downstream durability.
- Weatherproof Box: 1-Gang Non-Metallic PVC Outdoor Box with 3/4" threaded hubs (Approx. $6).
- Extra-Duty Cover: TayMac MX100C 1-Gang Extra-Duty While-in-Use Cover (Approx. $14). This allows you to close the cover while a bulky power tool cord is plugged in.
- Cable: Southwire 12/2 UF-B (Underground Feeder) cable (Approx. $1.20/ft). While you can use standard NM-B (Romex) inside the wall, UF-B is required if the cable is exposed to any moisture or sunlight before entering the conduit.
- Conduit & Fittings: Carlon 1/2" PVC Schedule 40 conduit and a PVC male terminal adapter.
- Moisture Sealant: Gardner Bender DS-110 1lb Duct Seal (Approx. $6) and GE Silicone II Window & Door caulk.
Step-by-Step Execution Guide
Step 1: Circuit Assessment and Load Calculation
Identify the interior circuit you plan to tap. Turn off the breaker and verify it is dead using a non-contact voltage tester and a multimeter. Calculate the existing continuous load on the circuit. A standard 15A breaker can safely handle 1,440 watts of continuous load (80% rule). If the interior circuit already powers a living room TV, gaming console, and space heater, adding an outdoor outlet that will run a 1,200W electric leaf blower will instantly trip the breaker. Choose a circuit with at least 40% spare capacity.
Step 2: Drilling the Penetration
You must drill through your exterior wall to pass the UF-B cable outside. Use a 3/4" auger bit for wood siding or a masonry hole saw for brick/stucco. Critical Pro-Tip: Drill at a slight downward angle sloping toward the exterior (about a 1/4-inch drop per foot). This ensures that any condensation or wind-driven rain that enters the hole will drain outside rather than pooling inside your wall cavity.
Step 3: Mounting the Weatherproof Box
Attach the PVC outdoor box to the exterior siding. If mounting to wood, use stainless steel or hot-dipped galvanized screws to prevent rust streaks. If mounting to masonry, use Tapcon screws with lead anchors. Ensure the box is perfectly level. Apply a thick bead of GE Silicone II around the top and sides of the box where it meets the siding, but leave the bottom unsealed to allow any trapped moisture to weep out.
Step 4: Pulling Wire and Applying Duct Seal
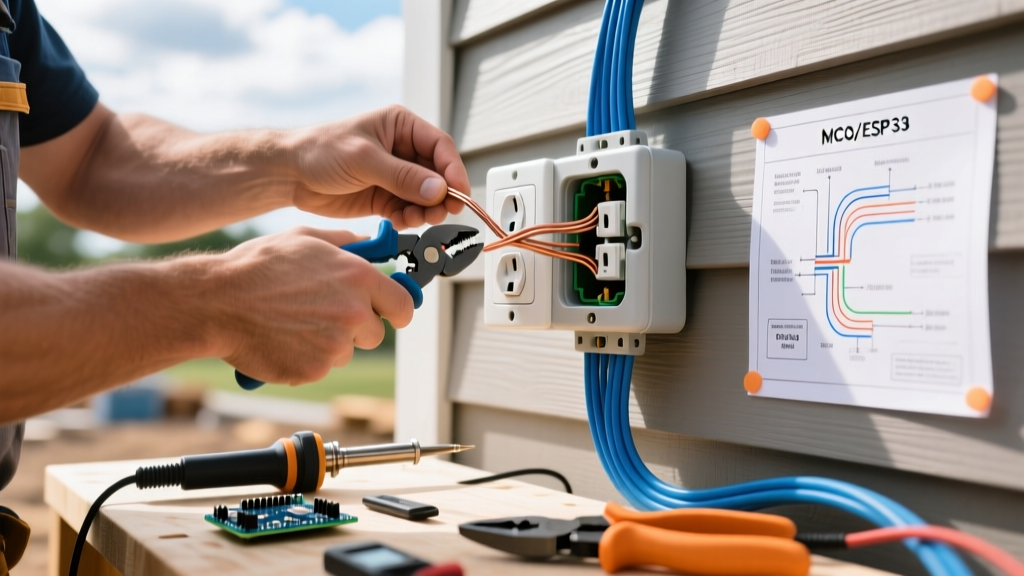
Feed the 12/2 UF-B cable through the interior wall, out the penetration hole, and into the back of the exterior PVC box. Leave about 6 inches of slack inside the box for stripping and termination. Once the wire is pulled, take your Gardner Bender Duct Seal and knead it into a putty. Pack the duct seal tightly around the wire inside the penetration hole and into the conduit hub. This prevents capillary action—a phenomenon where water travels down the grooves of the wire insulation directly into your interior wall.
Step 5: Terminating the GFCI Receptacle
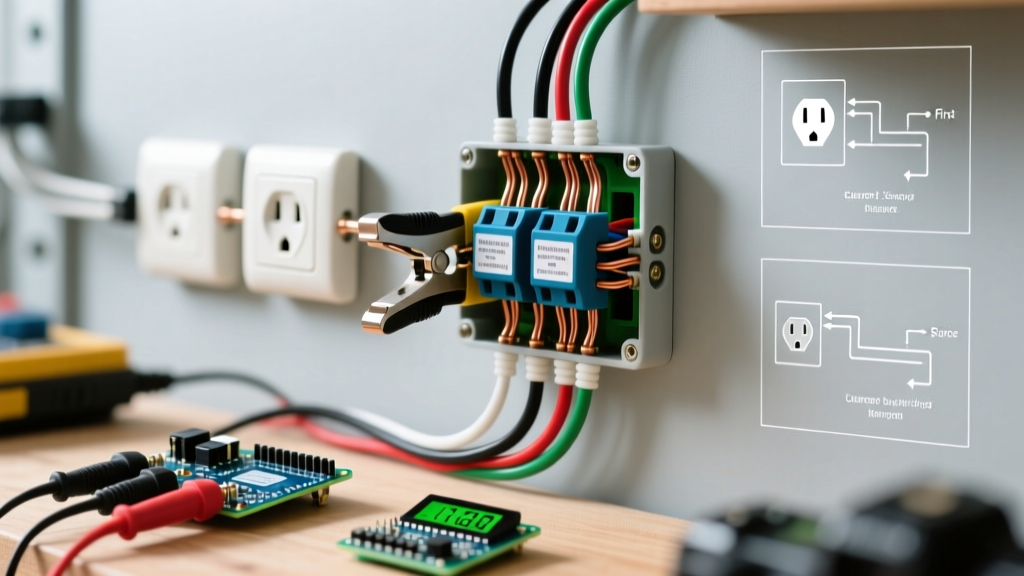
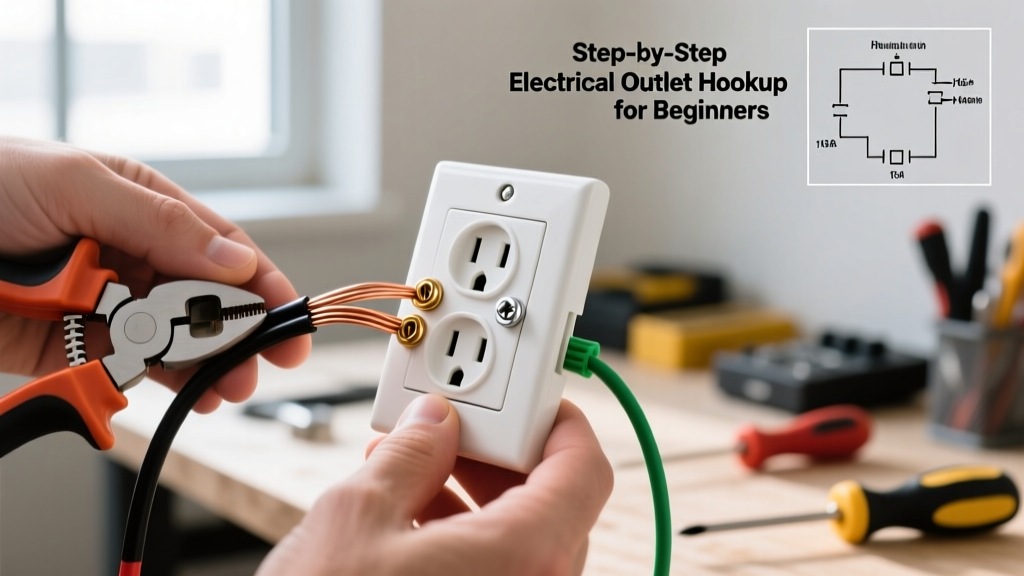
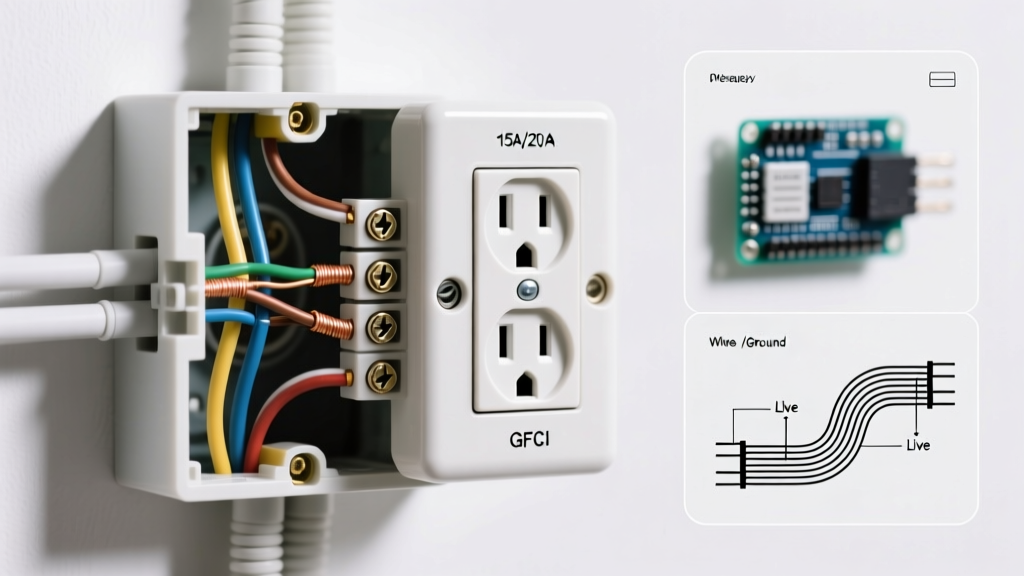
Strip the UF-B sheathing back 3/4 inches, and the individual wire insulation back 1/2 inch. Connect the bare copper ground wire to the green grounding screw. Connect the white neutral wire to the silver LINE terminal, and the black hot wire to the brass LINE terminal. Torque Specification: Leviton specifies a terminal torque of 14 in-lbs. If you do not have an insulated torque screwdriver, tighten the screw firmly until the wire is secure, then give it a slight quarter-turn more. Do not overtighten, as this can strip the brass threads or shear the wire strands.
According to the U.S. Consumer Product Safety Commission (CPSC), proper GFCI installation reduces the risk of fatal outdoor electrocution by over 90%, making correct LINE vs. LOAD termination absolutely critical.
Step 6: Installing the Extra-Duty Cover
Attach the TayMac MX100C extra-duty cover to the weatherproof box. Ensure the internal foam gasket is perfectly seated against the box rim. The gasket is your primary defense against driven rain. Secure the cover with the provided corrosion-resistant screws, and apply a small dab of clear silicone over the top screw heads to prevent water intrusion through the fastener threads.
Troubleshooting and Edge Cases
Even with meticulous installation, outdoor environments present unique electrical challenges. Here is how to handle common failure modes:
Nuisance GFCI Tripping
If the GFCI trips immediately upon resetting, you likely have a neutral-to-ground fault. This happens if the bare ground wire accidentally touches the silver neutral terminal or the metal strap of the receptacle inside a crowded box. Ensure the ground wire is folded neatly into the back of the PVC box, away from the terminals. If the GFCI trips only during heavy rain, your while-in-use cover gasket is compromised, or the conduit hub lacks a proper sealing locknut, allowing moisture to bridge the internal contacts.
Voltage Drop on Long Runs
If you are routing the interior cable through a basement or crawlspace before going outside, be mindful of distance. A 12 AWG wire on a 20A circuit will experience a 3% voltage drop (the NEC recommended maximum for branch circuits) at approximately 120 feet. If your run exceeds this, you must upsize to 10 AWG UF-B cable to prevent motor burnout on outdoor power tools and pumps.
Enclosure Degradation
Always verify that your outdoor boxes and covers carry a NEMA 3R or NEMA 4 rating. NEMA 3R protects against falling dirt, rain, sleet, snow, and external ice formation. Standard indoor plastic boxes will become brittle and shatter after just one season of UV exposure and freeze-thaw cycles.
Final Inspection and Testing
Once the cover is secured and the silicone has cured (typically 24 hours), turn the breaker back on. Press the 'TEST' button on the GFCI; it should click and cut power. Plug in a GFCI receptacle tester to verify correct wiring and ground integrity. Finally, plug in a high-draw device like a shop-vac or leaf blower to ensure the interior breaker can handle the combined load without tripping. By following these precise material selections and termination standards, your new exterior outlet will provide safe, code-compliant power for decades.