
The Unique Landscape of Cuban Electrical Infrastructure
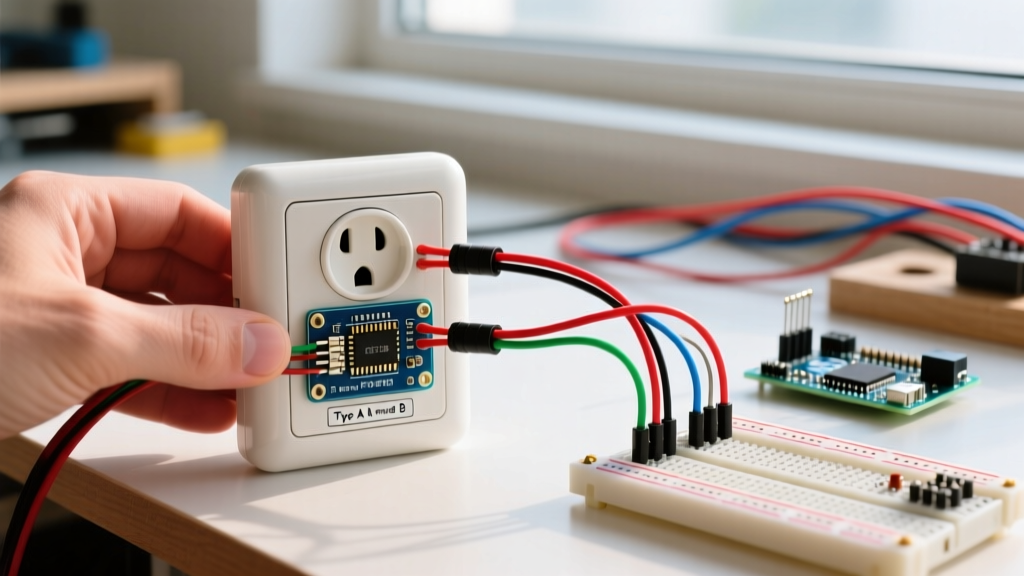
When retrofitting properties for international travelers or working on Caribbean residential projects, understanding the specific cuba electrical outlet type configurations is paramount. Unlike the standardized NEMA environments of the United States, Cuba operates on a complex, dual-voltage legacy system. Historically, the island relied on 110V/60Hz infrastructure mirroring the US, utilizing Type A and Type B receptacles. However, as of 2026, modern renovations, resort builds, and urban upgrades have heavily integrated 220V/60Hz European and Italian standards to support high-draw appliances and international tourism.
For a beginner electrician or DIY enthusiast, this means a single wall box might need to accommodate a North American laptop charger (Type A/B) and a European hairdryer or Italian espresso machine (Type C/L). This tutorial provides a comprehensive, step-by-step guide to wiring a dual-gang, multi-standard receptacle setup that safely accommodates the diverse Cuba electrical outlet type requirements without compromising circuit integrity or user safety.
Cuba Electrical Outlet Type Compatibility Matrix
Before cutting any wires, you must identify which plug standards your installation needs to support. According to data compiled by World Standards, Cuba officially recognizes four primary plug types. Below is the compatibility and voltage matrix you must reference during your planning phase.
| Plug Type | Standard Designation | Pin Configuration | Primary Voltage | Common Use Case in Cuba |
|---|---|---|---|---|
| Type A | NEMA 1-15 | 2 Flat Parallel Pins | 110V | Older residential lighting, legacy US appliances |
| Type B | NEMA 5-15 | 2 Flat Pins + Ground | 110V | Standard residential receptacles, modern US electronics |
| Type C | CEE 7/16 | 2 Round Pins | 220V | Low-draw European electronics, phone chargers |
| Type L | CEI 23-50 | 3 Round Pins (In-line) | 220V | Italian appliances, heavy-duty hotel room receptacles |
Tools and Materials for a Dual-Standard Installation
To properly address the Cuba electrical outlet type variations in a single location, we will be installing a dual-gang box featuring one NEMA 5-15R (Type B) receptacle and one CEI 23-50 (Type L) receptacle. Avoid cheap "universal" single-slot adapters; they suffer from poor internal contact tension, leading to arcing and fire hazards.
- Receptacles: Leviton 5248-I (NEMA 5-15R, 15A/125V) and Bticino Matix (Type L, 16A/250V).
- Enclosure: 2-Gang deep PVC or steel electrical box (minimum 3.0 cubic inches per gang).
- Wire: 12 AWG THHN/THWN-2 copper (for 20A circuits) or 14 AWG (for 15A circuits). Note: Ensure you have distinct 110V and 220V feed lines if bridging both voltages in one box, separated by a physical barrier.
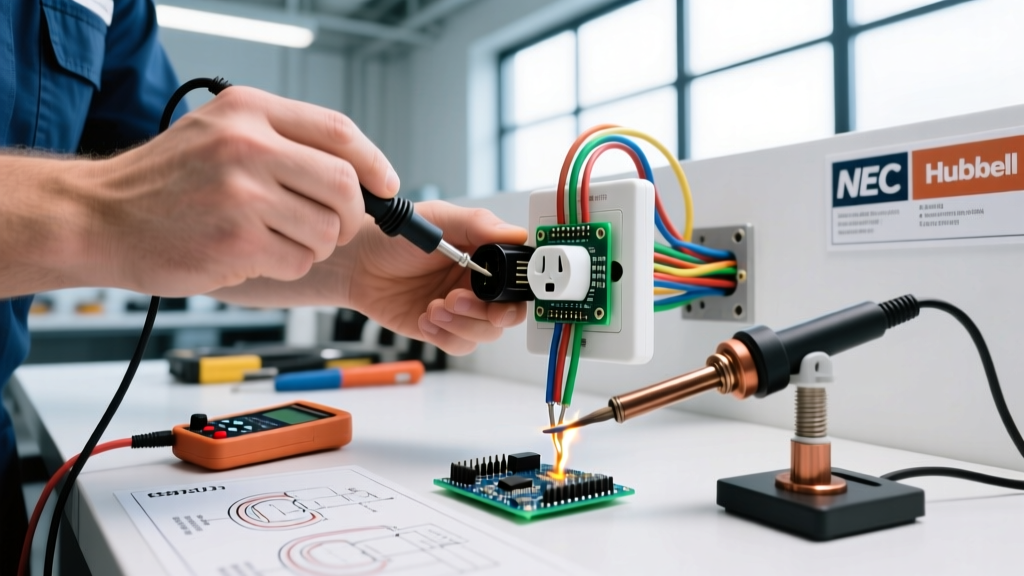
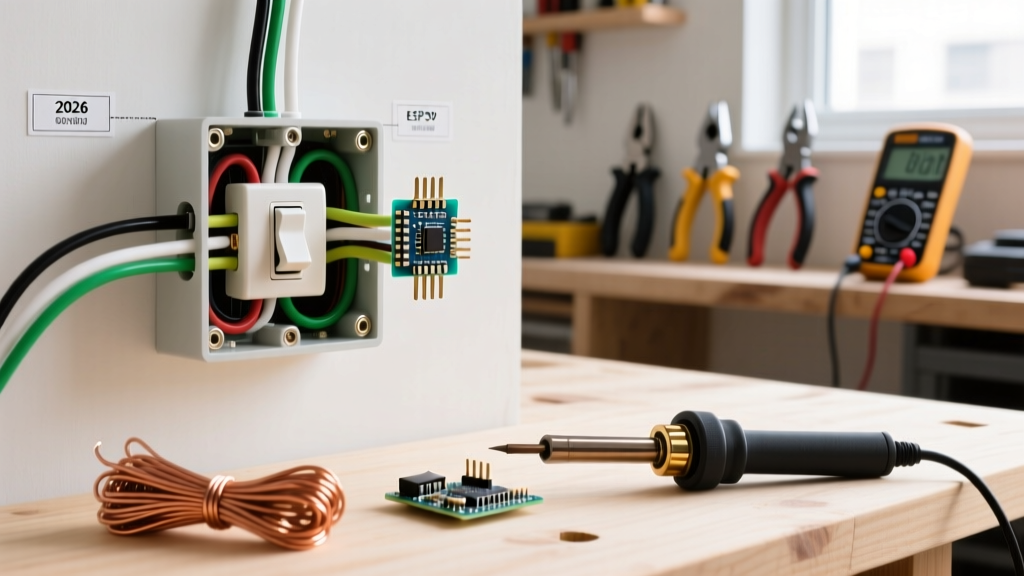
- Tools: Non-contact voltage tester, digital multimeter, wire strippers (calibrated for 12/14 AWG), torque screwdriver, and a 2-gang dual-voltage divider plate.
Step-by-Step Installation Tutorial
Phase 1: Circuit Verification and Preparation
The most dangerous aspect of working with the Cuba electrical outlet type infrastructure is the unpredictable voltage. As noted in regional infrastructure reports referenced by the CIA World Factbook, the national grid fluctuates, and 220V lines are sometimes improperly routed into standard 110V wall boxes by unlicensed workers.
- Kill the Power: Turn off the main breaker for the room. Lock out the panel if possible.
- Verify Zero Voltage: Insert your digital multimeter probes into the existing receptacle slots. Measure Line-to-Neutral and Line-to-Ground. Both must read 0.0V.
- Identify the Feed: Remove the old receptacle. If you are wiring a new dual-voltage setup, you must run two separate home runs to the panel (one 110V, one 220V) or utilize a step-down transformer integrated into the junction box. For this tutorial, we assume a dedicated 110V feed for the Type B gang and a dedicated 220V feed for the Type L gang.
Phase 2: Wiring the NEMA 5-15R (Type A/B)
The Leviton 5248-I is designed for standard North American 110V applications, which remains the baseline for many Cuban residential properties.
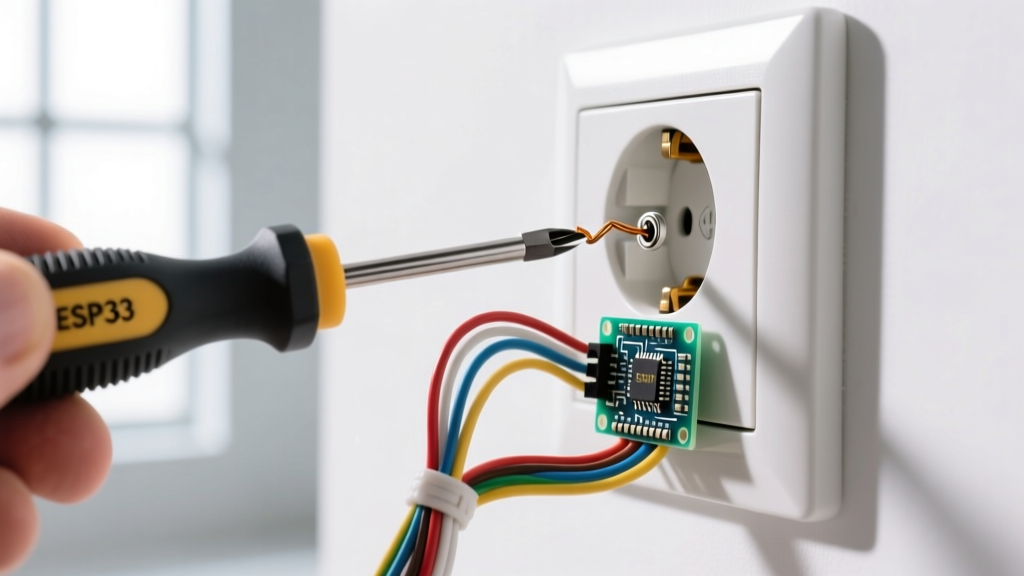
- Strip the Wires: Use the 14 AWG or 12 AWG gauge hole on your strippers to remove exactly 5/8 inch of insulation. Do not nick the copper conductor.
- Terminate the Ground: Loop the bare copper ground wire clockwise around the green grounding screw. Tighten to 14 inch-pounds using a calibrated torque screwdriver, per NFPA 70 (NEC) terminal torque specifications.
- Connect Neutral and Line: Attach the white neutral wire to the silver terminal and the black line wire to the brass terminal. Use the side-wire screw terminals rather than the back-stab push-in holes, which are prone to failure under high-humidity Caribbean conditions.
Phase 3: Wiring the CEI 23-50 (Type L)
The Italian Type L standard is ubiquitous in modern Cuban hotels and high-end residential builds. The Bticino Matix receptacle features three in-line terminals.
- Identify the 220V Conductors: In a standard 220V European/Italian setup, you will have a Brown (Line), Blue (Neutral), and Yellow/Green (Ground) wire. Warning: If using US-colored wire for 220V, you must wrap black electrical tape around both the black and white wires to designate them as 220V line conductors.
- Grounding First: Connect the Yellow/Green ground wire to the center terminal of the Type L receptacle. This is a critical safety feature, as the center pin is the earth ground in the CEI 23-50 standard.
- Line and Neutral: Connect the Brown (Line) and Blue (Neutral) wires to the outer terminals. Unlike the US standard, European AC polarity on Type L receptacles is generally non-directional for the outer pins, but adhering to Brown=Line and Blue=Neutral ensures consistency for diagnostic testing.
Critical Edge Cases and Failure Modes
Expert Warning: Never wire a 110V Type A/B receptacle and a 220V Type C/L receptacle on the same continuous yoke without a physical, code-compliant isolation barrier. If a user plugs a 110V device into a miswired 220V circuit due to a shared neutral fault, the appliance will catastrophically fail, posing a severe fire risk.
One of the most common failure modes when installing multi-standard receptacles in tropical environments is galvanic corrosion. The high humidity and salt air in coastal Cuban cities like Havana and Cienfuegos can rapidly oxidize standard brass terminals. To mitigate this, apply a thin layer of dielectric grease (such as NO-OX-ID A-Special) to the terminal screws before final tightening. This prevents micro-arcing caused by corrosion-induced resistance.
Another edge case involves the physical depth of the electrical box. Type L receptacles, particularly those with integrated surge protection or heavy-gauge wiring, require deeper boxes. If your wall cavity only allows for a standard 1.5-inch deep box, the wires will crush against the back of the receptacle, potentially compromising the insulation and causing a short circuit against the metal yoke. Always opt for a 2.25-inch deep box minimum.
Final Testing and Commissioning
Once both receptacles are secured into the dual-gang box and the faceplate is installed, restore power at the breaker panel. Do not immediately plug in sensitive electronics.
- Step 1: Use a multimeter to verify 110V-120V across the Line and Neutral slots of the Type B receptacle.
- Step 2: Verify 220V-240V across the outer pins of the Type L receptacle.
- Step 3: Test the ground fault protection. If your circuit utilizes a GFCI breaker (highly recommended for 110V circuits in Cuban bathrooms and kitchens), press the "Test" button on the breaker to ensure the circuit trips instantly.
By meticulously separating the voltage feeds and utilizing high-quality, region-specific receptacles, you ensure that your installation safely supports the full spectrum of the Cuba electrical outlet type standards. This dual-gang approach eliminates the need for flimsy travel adapters, providing a permanent, code-compliant, and highly reliable power solution for any modern Caribbean property.