
Decoding the 'Round' Plug: Commercial Pin vs. RV Blade
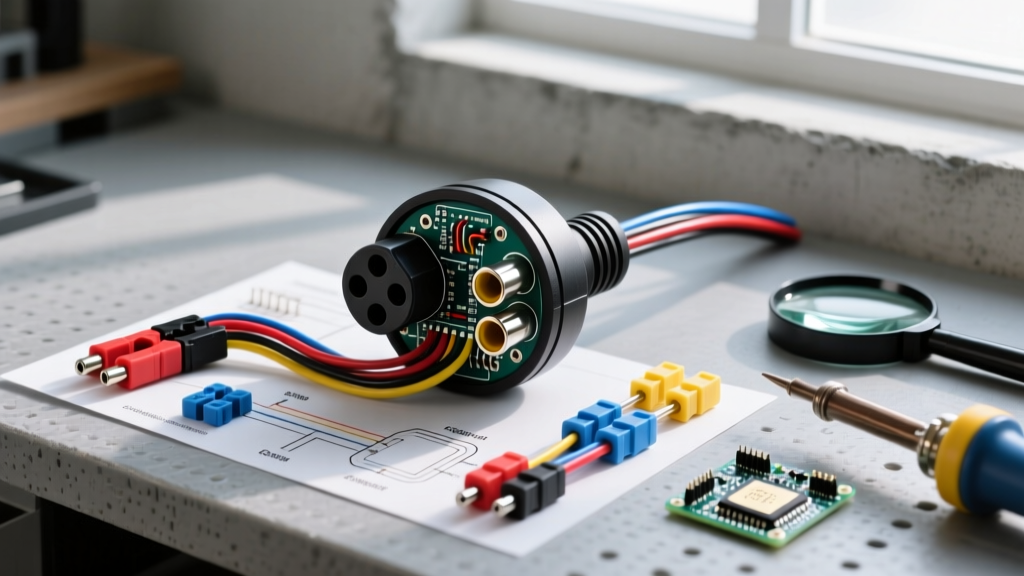
When enthusiasts and professionals search for a wiring diagram for round trailer plug configurations, confusion often arises from the terminology. In the towing industry, 'round plug' can refer to two entirely different connectors: the heavy-duty 7-Way Round Pin (SAE J560) used in commercial and agricultural applications, and the 7-Way RV Blade, which features a circular housing but utilizes flat blade pins. Understanding which scenario applies to your rig is the critical first step before stripping a single wire.
As of 2026, with the rise of heavier electric vehicles (EVs) towing specialized cargo trailers, the demand for robust 12V auxiliary circuits and reliable electric brake signals has never been higher. Below, we break down the exact wiring diagrams, common adaptation scenarios, and pro-level troubleshooting techniques to ensure your trailer lighting and braking systems operate flawlessly.
Standard 7-Way Round Pin Wiring Diagram (SAE J560 Commercial)
According to the Federal Motor Carrier Safety Administration (FMCSA), commercial 7-way round connectors must adhere strictly to SAE J560 standards to ensure interoperability between heavy-duty trucks and agricultural or commercial trailers. If you are wiring a heavy-duty equipment trailer or a large horse trailer, this is your diagram.
| Pin / Clock Position | Wire Color | Function | Recommended Gauge (Up to 25ft) |
|---|---|---|---|
| Pin 1 (Center) | White | Ground Return | 8 or 10 AWG |
| Pin 2 (12 o'clock) | Black | Clearance, Side Marker, ID Lights | 14 AWG |
| Pin 3 (9 o'clock) | Yellow | Left Turn Signal & Hazard | 14 AWG |
| Pin 4 (3 o'clock) | Green | Right Turn Signal & Hazard | 14 AWG |
| Pin 5 (7 o'clock) | Blue | Electric Trailer Brakes | 10 AWG |
| Pin 6 (11 o'clock) | Brown | Tail and Stop Lights | 14 AWG |
| Pin 7 (5 o'clock) | Red | Auxiliary Power / 12V Constant | 10 AWG |
Common Scenario 1: Upgrading a 4-Pin Flat to a 7-Way RV Blade
The most frequent 'round plug' scenario for consumer trucks and SUVs involves upgrading a standard 4-pin flat connector to a 7-way RV blade to accommodate electric brakes and auxiliary 12V power. While you can buy plug-and-play adapters like the Curt 57191 (approx. $35), hardwiring a permanent upgrade provides superior reliability and eliminates the voltage drop inherent in cheap adapter prongs.
Step-by-Step Hardwire Upgrade
- Isolate the 4-Pin Harness: Cut the existing 4-pin flat plug off, leaving enough wire to work with. Strip back the insulation to expose the Green (Right), Yellow (Left), Brown (Running), and White (Ground) wires.
- Install a Powered Converter (Crucial for 2020+ Vehicles): Modern trucks use multiplexed CAN-bus wiring. Tapping directly into the tail lights will cause hyper-flashing or trigger a Body Control Module (BCM) shutdown. Splice in a powered PWM converter, such as the Curt 56284, which draws power directly from the battery and uses the vehicle's light signals only as low-draw triggers.
- Run the Brake and Aux Lines: Run a dedicated 10 AWG blue wire from the brake controller output (Pin 2 on the RV blade) and a 10 AWG black wire for the 12V auxiliary (Pin 4).
- Install Inline Breakers: The black 12V auxiliary wire must be protected by a 40-amp inline circuit breaker mounted within 18 inches of the vehicle battery's positive terminal. The blue brake wire requires a 30-amp breaker.
- Seal the Connections: Use adhesive-lined heat shrink butt connectors (not standard vinyl crimps). Apply Permatex 22058 Dielectric Grease to the plug pins to prevent galvanic corrosion.
Common Scenario 2: Integrating Electric Brakes and Breakaway Systems
When referencing a wiring diagram for round trailer plug setups involving electric brakes, the blue wire (Pin 5 on SAE J560 / Pin 2 on RV Blade) is the most critical. A failure here means a fully loaded trailer has zero stopping power.
Expert Insight: Never use the trailer frame as the ground return for electric brakes. The pivot point of the hitch and the safety chains do not provide a reliable electrical path. Always run a dedicated 10 AWG white ground wire from the trailer plug directly to the brake magnet ground wires.
The Breakaway Switch Factor
If the trailer detaches from the hitch, a breakaway switch pulls a pin, sending 12V power directly to the electric brakes to lock them up. According to Tekonsha's official installation guides for controllers like the Prodigy P3 (Model 90195), the breakaway switch must be wired in parallel with the brake controller output.
Wiring the Breakaway: One wire from the breakaway switch connects to the trailer's dedicated 12V breakaway battery (positive). The other wire splices directly into the blue electric brake wire on the trailer side of the plug. Do not route the breakaway power through the tow vehicle's plug; it must be entirely self-contained on the trailer.
Common Scenario 3: Voltage Drop and Ground Loop Troubleshooting
Even with a perfect wiring diagram for round trailer plug configurations, long wire runs on large trailers (25+ feet) introduce resistance. If your electric brakes feel 'weak' or your LED marker lights flicker when the turn signals activate, you are experiencing voltage drop or a ground loop.
Diagnostic Protocol
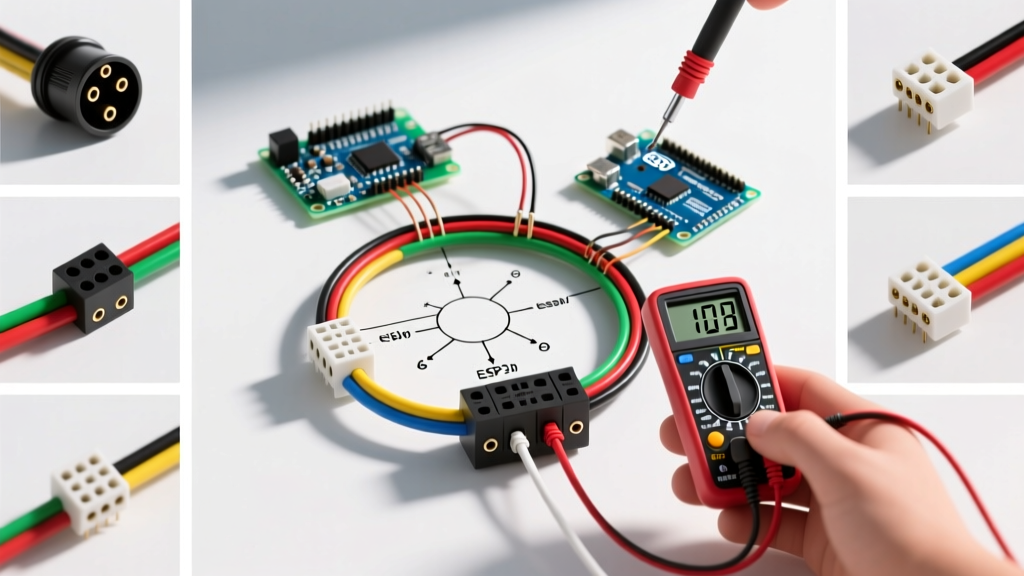
- The Voltage Drop Test: Set your digital multimeter to DC Volts. Connect the black probe to the tow vehicle's battery negative terminal. Connect the red probe to the ground pin on the trailer plug (while plugged in). A reading above 0.2V indicates a failing ground connection or undersized ground wire.
- The Aux Power Sag: If you are running interior trailer lights or charging a breakaway battery via the 12V Aux pin (Red/Black), measure the voltage at the trailer plug under load. If it drops below 11.5V, upgrade the auxiliary wire from 12 AWG to 8 AWG to compensate for the distance.
- Eliminating Ground Loops: If your left turn signal causes the right tail light to dimly illuminate, you have a ground loop. The current is backfeeding through the bulb filaments because the main ground is compromised. Clean the trailer tongue ground ring terminal down to bare metal, apply anti-oxidant paste, and torque it securely to the frame.
Material Costs and 2026 Sourcing Guide
Building a reliable, heavy-duty trailer harness requires investing in marine-grade or cross-linked polyethylene (XLPE) jacketed wires, which resist UV degradation and road salt far better than standard PVC automotive wire.
| Component | Recommended Spec / Brand | Estimated Cost (2026) |
|---|---|---|
| 7-Way Trailer Side Plug | Pollak Heavy-Duty 7-Pole (PK11720) | $22 - $35 |
| Trailer Wiring Harness | Bonded 7-Conductor XLPE (10/12/14 AWG mix) | $3.50 - $5.00 per foot |
| Heat Shrink Connectors | Ancor Marine Grade Adhesive-Lined | $18 per 50-pack |
| Circuit Protection | Bussmann 30A / 40A Inline Auto Reset Breakers | $12 - $15 each |
Frequently Asked Questions
Can I use a 4-pin to 7-pin adapter for electric brakes?
No. A standard passive 4-pin to 7-pin adapter only maps the lighting circuits (Ground, Tail, Left, Right). It does not magically generate an electric brake signal or 12V auxiliary power. To tow a trailer with electric brakes, you must have a brake controller installed in the tow vehicle and run a dedicated blue wire to the 7-pin plug.
Why does my 7-way RV blade have a yellow wire instead of red for reverse lights?
While the SAE standard for the 7-way RV blade designates the center pin (Pin 7) for reverse lights or auxiliary power, wire color coding on the consumer market varies. For comprehensive RV and consumer towing setups, etrailer's wiring guidelines note that while red or purple is common for the center aux/reverse pin, some manufacturers use yellow. Always test the vehicle-side socket with a circuit tester to verify the pin's function before soldering your trailer side plug.
Do I need to upgrade my wiring for LED trailer lights?
LED lights draw significantly less amperage (often 0.2A per lamp compared to 2.1A for incandescent). However, you should not downsize your wire gauge. The wire gauge is dictated by the physical length of the run to prevent voltage drop and to ensure mechanical durability against road debris. Stick to 14 AWG for lighting circuits regardless of the bulb type.