
The Reality of Electrical Outlet Repair
When homeowners search for 'electrical outlet repair,' they are usually facing one of three scenarios: a dead receptacle, a plug that falls out, or visible scorch marks on the faceplate. As a fundamental rule in residential wiring, you rarely 'repair' the internal brass contacts of a standard $3 duplex receptacle. Instead, electrical outlet repair almost always means re-terminating faulty connections or replacing the entire device. According to the National Fire Protection Association (NFPA), electrical distribution or lighting equipment is involved in tens of thousands of home structure fires annually, with faulty receptacle connections and degraded terminals being a primary culprit.
This guide serves as your definitive 2026 upgrade and replacement matrix. We will dissect when a simple wire re-termination is sufficient, when the device must be destroyed and replaced, and how to upgrade your home's infrastructure to meet modern safety codes.
Diagnostic Matrix: Repair, Replace, or Reset?
Before reaching for a screwdriver, accurately diagnose the failure mode. Use this matrix to determine your next move.
| Symptom | Probable Root Cause | Action Required | Estimated DIY Cost |
|---|---|---|---|
| Plug falls out easily | Worn internal brass wipers (loss of tension) | Replace with Tamper-Resistant (TR) outlet | $3.50 - $6.00 |
| Buzzing or hissing sound | Loose terminal screw or failed push-in backstab | Repair connection (move to screw terminal) | $0.00 |
| Scorch marks / melting | Arc fault, severe overload, or high-resistance joint | Replace outlet & inspect wire insulation | $5.00 - $15.00 |
| No power to receptacle | Tripped upstream GFCI or tripped AFCI breaker | Reset (No physical repair needed) | $0.00 |
| Two-prong ungrounded | Pre-1960s legacy wiring lacking equipment ground | Upgrade to GFCI (No ground wire required) | $18.00 - $25.00 |
When to Attempt a Connection Repair
The Backstab vs. Screw Terminal Debate
The most common 'repair' an electrician performs on a failing outlet is migrating wires from the push-in backstab holes to the side screw terminals. Backstabbed connections rely on a small internal spring steel clip to grip the 14 AWG or 12 AWG copper wire. Over years of thermal cycling—where the wire heats up under load and cools down when idle—the metal expands and contracts. This eventually fatigues the spring clip, leading to a high-resistance connection that generates excessive heat and causes voltage drop.
If your outlet is physically intact but exhibiting intermittent power or buzzing, pull it from the box. If you find 14 AWG solid copper wires shoved into the backstab holes, your repair protocol is simple:
- Release the wires using a small flathead screwdriver in the release slot.
- Strip the wire back to the correct gauge mark using a precision stripper like the Klein Tools 11055E.
- Form a tight clockwise 'J-hook' and secure it under the brass (hot) and silver (neutral) terminal screws.
When Replacement is the Only Safe Option
There is zero economic or safety justification for attempting to salvage a physically compromised receptacle. You must immediately replace the device if you observe any of the following failure modes:
- Yoke Deformation: If the plastic strap (yoke) holding the mounting ears is cracked or warped from heat.
- Internal Shutter Failure: If the Tamper-Resistant (TR) shutters are jammed, forcing you to apply asymmetric pressure to insert a plug.
- Corrosion: Green or white powdery oxidation on the brass terminal screws, commonly found in bathrooms, garages, or exterior walls.
- Reverse Polarity: If a receptacle tester shows 'Hot/Neutral Reversed' and the wiring in the box is actually correct, the internal brass strap may have shorted or degraded.
Upgrading to Modern NEC Standards
If you are replacing an outlet, do not simply buy the cheapest $0.99 contractor-grade duplex receptacle. Modern electrical codes have evolved significantly. The Electrical Safety Foundation International (ESFI) strongly advocates for the universal adoption of Tamper-Resistant (TR) receptacles, which are now mandated by the National Electrical Code (NEC) in almost all residential living spaces.
Recommended 2026 Upgrade Paths:
- Standard Living Areas: Upgrade to the Leviton T5325-W (15A TR Duplex). It features heavy-duty internal wipers and robust TR shutters that require equal pressure on both prongs, preventing children from inserting foreign objects.
- Kitchens, Bathrooms, and Garages: Upgrade to a 20A GFCI like the Eaton GFA80-W. Modern GFCIs feature self-testing circuitry that automatically monitors the ground-fault protection and cuts power if the internal sensor fails.
- Bedrooms and Living Rooms: While AFCI protection is typically handled at the breaker panel, ensuring your receptacles are fed by properly torqued, pigtailed connections prevents the arc faults that nuisance-trip AFCI breakers.
The Professional Tool Stack for Outlet Work
Abandon the flathead screwdriver and electrical tape. Proper electrical outlet repair and replacement requires specific, calibrated tools to ensure a fire-safe installation.
- Non-Contact Voltage Tester (NCVT): The Milwaukee 2202-20 or Fluke 1AC-II. Always verify the circuit is dead before touching a single wire.
- Wire Strippers: Klein Tools 11055E (10-18 AWG). Stripping too much insulation exposes live copper; stripping too little causes the screw to bite into the insulation, leading to a loose connection.
- Torque Screwdriver: The GearWrench 89418 or CDI 401SM. UL 498 standards require terminal screws to be tightened to specific torque values (typically 14 in-lbs for standard 15A/20A receptacles) to prevent thermal loosening.
- Connector Alternative: Wago 221 Series Lever Nuts. If you need to pigtail wires because the existing wire is too short to reach the terminal screws, Wago lever nuts provide a superior, vibration-resistant connection compared to traditional twist-on wire nuts.
Step-by-Step Upgrade & Replacement Procedure
Follow this exact sequence to replace a standard 15A duplex receptacle safely and to code.
- Isolate and Verify: Turn off the breaker. Plug a lamp into the outlet to confirm power is off. Follow up by testing the slots with your NCVT. Pro-Tip: Always test the NCVT on a known live circuit first to ensure the tool's battery isn't dead.
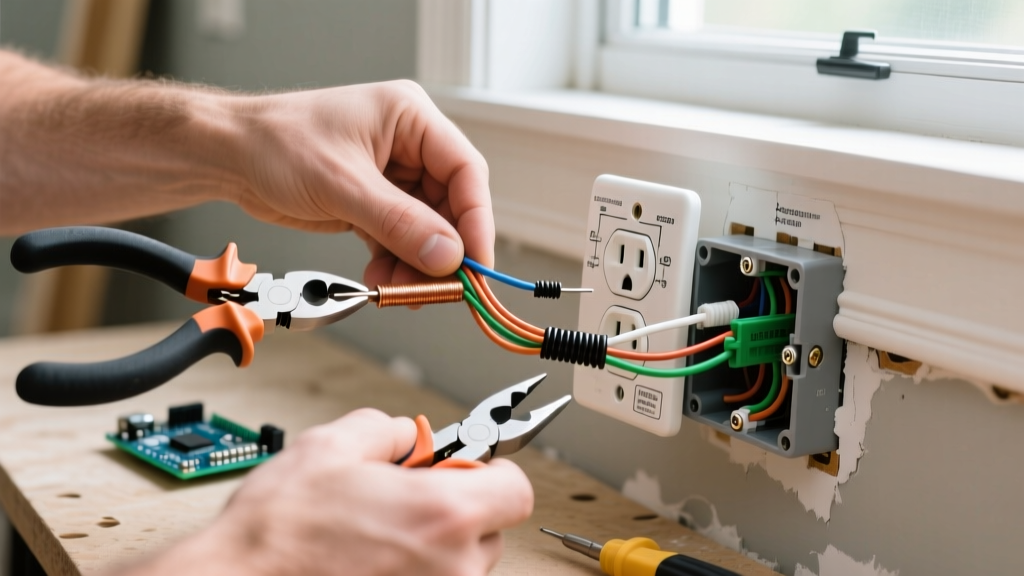
- Extract and Inspect: Remove the faceplate and the top/bottom mounting screws. Pull the receptacle out gently. Inspect the wire insulation for brittleness or heat damage. If the insulation crumbles, you must splice in new pigtails using Wago 221 connectors.
- Prepare the Pigtails (If Necessary): If multiple cables enter the box (daisy-chaining), do not use the receptacle's backstabs to pass power to the next outlet. Instead, connect all hot wires together with a pigtail, all neutrals together with a pigtail, and all grounds together. This ensures that if one receptacle fails, downstream outlets retain power.
- Terminate to Torque: Hook the bare copper ground to the green screw. Hook the white neutral to the silver screw. Hook the black hot to the brass screw. Tighten each screw using your torque screwdriver set to 14 in-lbs. The insulation should sit flush against the metal yoke, with no bare copper visible outside the terminal.
- Fold and Mount: Carefully fold the wires into the back of the junction box using a 'Z-fold' technique to prevent pinching. Mount the receptacle, ensuring it sits level. Install a nylon faceplate (which resists cracking better than cheap thermoset plastic) and torque the faceplate screw just until snug—overtightening will crack the plate.
Cost Breakdown: DIY vs. Licensed Electrician
Understanding the financial landscape of electrical outlet repair helps you decide when to DIY and when to call a professional. Prices below reflect average 2026 national rates.
| Service Type | DIY Material Cost | Pro Electrician Cost (Per Outlet) | Complexity Level |
|---|---|---|---|
| Connection Re-termination (Repair) | $0.00 | $85.00 - $125.00 (Min. trip charge) | Beginner |
| Standard TR Duplex Replacement | $3.50 - $6.00 | $95.00 - $140.00 | Beginner |
| GFCI Upgrade (Kitchen/Bath) | $18.00 - $28.00 | $150.00 - $225.00 | Intermediate |
| 2-Prong to 3-Prong (GFCI Method) | $25.00 - $35.00 | $180.00 - $300.00 | Intermediate |
Final Safety Directives
CRITICAL WARNING: Never attempt to replace a standard receptacle with a GFCI receptacle on a multi-wire branch circuit (MWBC) without understanding shared neutral configurations. Doing so will cause the GFCI to trip instantly or fail to protect downstream devices. If you encounter a red and black wire on the same yoke, stop and consult a licensed electrician.
Ultimately, true electrical outlet repair is about ensuring the integrity of the connection point between your home's fixed wiring and your portable appliances. By abandoning backstab connections, upgrading to TR and GFCI technologies, and utilizing calibrated torque tools, you eliminate the most common vectors for residential electrical fires. For further reading on protecting your home from electrical hazards, review the comprehensive safety guides provided by the U.S. Consumer Product Safety Commission (CPSC).