
The 2026 Standard for Home EV Charging: NEMA 14-50
As electric vehicle battery capacities continue to grow in 2026—frequently exceeding 100 kWh for trucks and large SUVs—relying on a standard 120V Level 1 wall plug is no longer viable for daily drivers. Upgrading to a dedicated 240V electric vehicle outlet for Level 2 charging is the most cost-effective way to add 30 to 45 miles of range per hour. The undisputed industry standard for this setup is the 50-amp NEMA 14-50R receptacle.
This guide walks through the precise electrical requirements, material selections, and step-by-step installation procedures to wire a 50-amp electric vehicle outlet safely, while addressing critical National Electrical Code (NEC) updates regarding GFCI protection and terminal torquing.
Understanding the 125% Continuous Load Rule
Before purchasing materials, you must understand NEC Article 210.20(A) regarding continuous loads. EV charging is classified as a continuous load because it operates for three hours or more. Therefore, the circuit breaker must be rated for at least 125% of the maximum continuous charging current.
- 40-Amp EVSE (Electric Vehicle Supply Equipment): Requires a 50-Amp breaker (40A x 1.25 = 50A).
- 48-Amp EVSE: Requires a 60-Amp breaker (48A x 1.25 = 60A).
For this guide, we are installing the most common configuration: a 50-amp breaker supporting a 40-amp continuous charge rate via a NEMA 14-50 electric vehicle outlet.
Circuit Sizing & Wire Gauge Matrix
| Circuit Breaker | Wire Gauge (Copper) | Max Continuous Load | Typical EVSE Output | Est. Range Added / Hour |
|---|---|---|---|---|
| 30 Amp | 10 AWG | 24 Amps | 5.7 kW | ~20 miles |
| 40 Amp | 8 AWG | 32 Amps | 7.6 kW | ~28 miles |
| 50 Amp (Target) | 6 AWG | 40 Amps | 9.6 kW | ~36 miles |
| 60 Amp | 4 AWG | 48 Amps | 11.5 kW | ~44 miles |
Materials and Tools Checklist
Do not cut corners on receptacle quality. Cheap, off-brand NEMA 14-50 receptacles have been known to melt under the sustained thermal load of EV charging. Always use commercial-grade or heavy-duty residential models.
Required Components
- Receptacle: Leviton 279-S00 (NEMA 14-50R, 50A/125-250V) — Approx. $18
- Breaker: Square D HOM250CP (50A Double-Pole) or Eaton BR250 (Verify your panel brand) — Approx. $45
- Wire: 6/3 NM-B (Romex) with ground for indoor/dry runs, OR three 6 AWG THHN + 10 AWG Green THHN in 3/4-inch EMT conduit — Approx. $2.50/ft
- Wall Plate: Leviton 4-Gang or 2-Gang stainless steel plate (depending on box size) — Approx. $6
Specialty Tools
- Torque Screwdriver: Wiha 320P or Klein 70906 (Mandatory per NEC 110.14(D))
- Wire Strippers: Klein Tools 11063W (Handles 10-8 AWG, but verify 6 AWG capability or use a heavy-duty cable ripper)
- Digital Multimeter: Fluke 117 or equivalent for voltage verification
Step-by-Step Installation Guide
Step 1: Panel Load Calculation & Main Shutoff
Before opening your panel, ensure your home's electrical service can handle the additional 12,000 watts (50A x 240V). Most modern homes have 200-amp service. If your existing base load exceeds 160 amps, you may need an Energy Management System (EMS) or a service upgrade. Once verified, turn off the main breaker and use a non-contact voltage tester to confirm the bus bars are dead.
Step 2: Routing the Cable
If using 6/3 NM-B (Romex), staple it every 4.5 feet and within 12 inches of the junction box. Keep the cable at least 1.25 inches away from the face of wooden studs to prevent drywall screw punctures. If routing through an unfinished garage or outdoors, NM-B is prohibited; you must pull 6 AWG THHN wires through rigid metal or PVC conduit.
Step 3: Terminating the Double-Pole Breaker
Snap the 50-amp double-pole breaker into the panel. Strip exactly 3/4 inch of insulation from the black and red (or white with black tape) hot wires. Insert them into the breaker lugs. Critical: Use your calibrated torque screwdriver to tighten the lugs to the manufacturer's specification (typically 35 in-lbs for Square D HOM breakers). Loose connections cause arcing and fires under continuous EV loads.
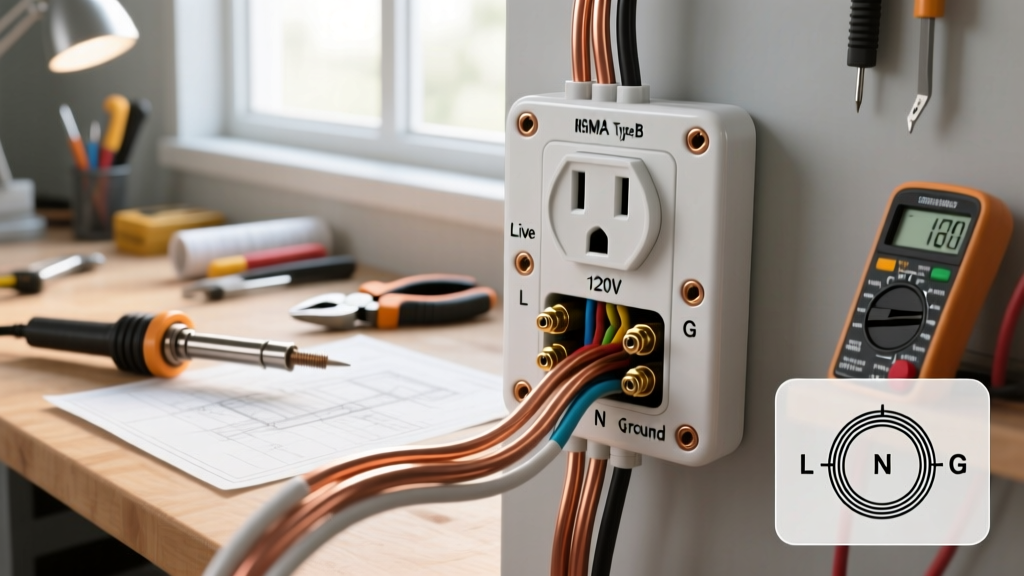
Step 4: Wiring the NEMA 14-50 Electric Vehicle Outlet
Mount a heavy-duty steel single-gang or double-gang extra-deep box to the stud. Feed the cable in, leaving 8 inches of slack. Strip the outer sheathing and prepare the wires:
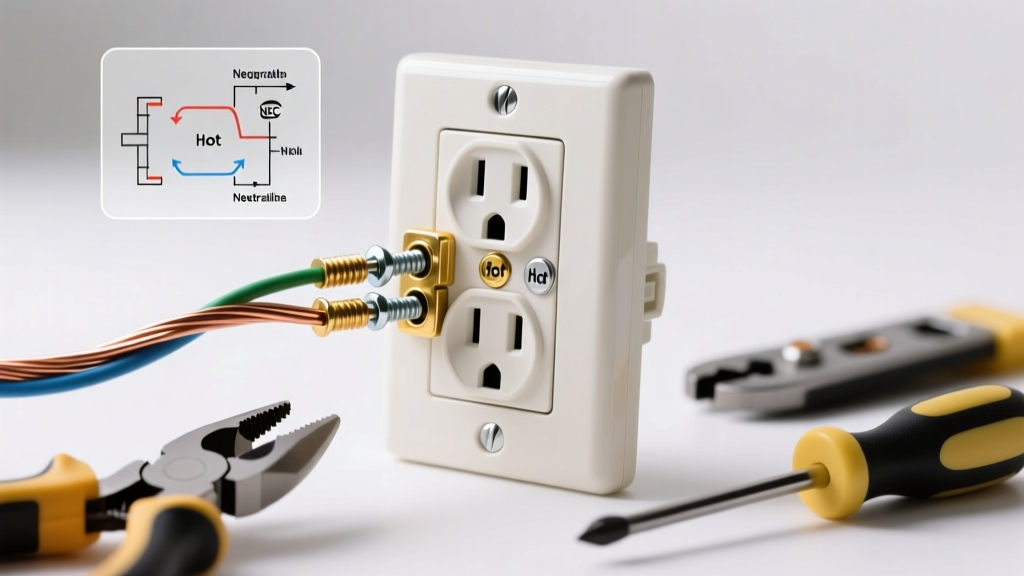
- Ground (Bare/Green): Connect to the green grounding screw on the receptacle and pigtail to the steel box if required.
- Neutral (White): Connect to the silver terminal (labeled 'W' for White/Neutral).
- Hot 1 (Black): Connect to the brass terminal (labeled 'X').
- Hot 2 (Red): Connect to the second brass terminal (labeled 'Y').
Torque the Leviton 279-S00 terminal screws to 14 in-lbs. Push the receptacle into the box, ensuring no bare ground wire is touching the hot brass terminals, and secure with the provided 6-32 machine screws.
The 2026 GFCI Dilemma: Nuisance Tripping Explained
⚠️ Pro-Tip: NEC 210.8(F) & EVSE Nuisance Tripping
Under current NEC guidelines, 50-amp receptacles installed in garages require GFCI protection. However, almost all modern EVSEs (Tesla Mobile Connector, ChargePoint, Emporia) contain internal GFCI sensors. Stacking a GFCI breaker on top of an internal GFCI frequently causes 'nuisance tripping' due to minor, harmless ground leakage capacitance.
The 2026 Best Practice: If your local Authority Having Jurisdiction (AHJ) permits it, hardwire your EVSE directly to a junction box. Hardwired EVSEs do not require a GFCI breaker per NEC 625.40. If you must use a receptacle for flexibility, invest in a high-end EV-rated GFCI breaker (like the Eaton BR250GFI) designed with higher trip thresholds to prevent false positives.
Testing and Verification
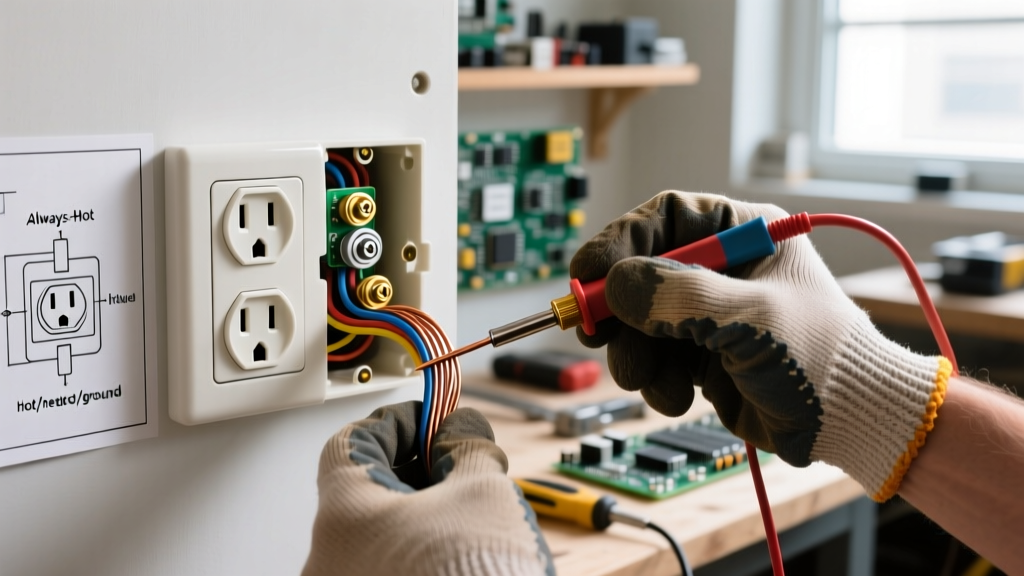
Before plugging in your vehicle, restore power at the main breaker and test the receptacle with a multimeter:
- Hot to Hot (X to Y): Should read 240V (±5%).
- Hot to Neutral (X to W, Y to W): Should read 120V (±5%).
- Hot to Ground: Should read 120V.
- Neutral to Ground: Should read 0V (or a negligible millivolt phantom reading).
For comprehensive safety standards and inspection requirements, always refer to the National Fire Protection Association's NEC guidelines and consult your local municipal permitting office. An inspected and permitted installation is not only a safety imperative but is also required to claim federal and state EV home-charging tax credits.