
Understanding Resettable Receptacles: GFCI vs. AFCI
When a standard circuit breaker trips, you head to the electrical panel. But when a localized fault occurs in a kitchen, bathroom, or bedroom, you need to reset electrical outlet devices directly on the wall. Modern electrical codes mandate the use of Ground Fault Circuit Interrupters (GFCIs) and Arc Fault Circuit Interrupters (AFCIs) to prevent electrocution and electrical fires. According to the Electrical Safety Foundation International (ESFI), GFCIs have reduced residential electrocutions by over 80% since their widespread adoption.
Before attempting a reset or a full replacement installation, it is critical to understand which device you are dealing with. Below is a comparative breakdown of the receptacles you will encounter in a modern home.
| Receptacle Type | Primary Protection | Avg. Cost (2026) | Typical NEC Locations |
|---|---|---|---|
| Standard Duplex (TR) | Tamper Resistance only | $3 - $6 | General living areas (non-bedroom) |
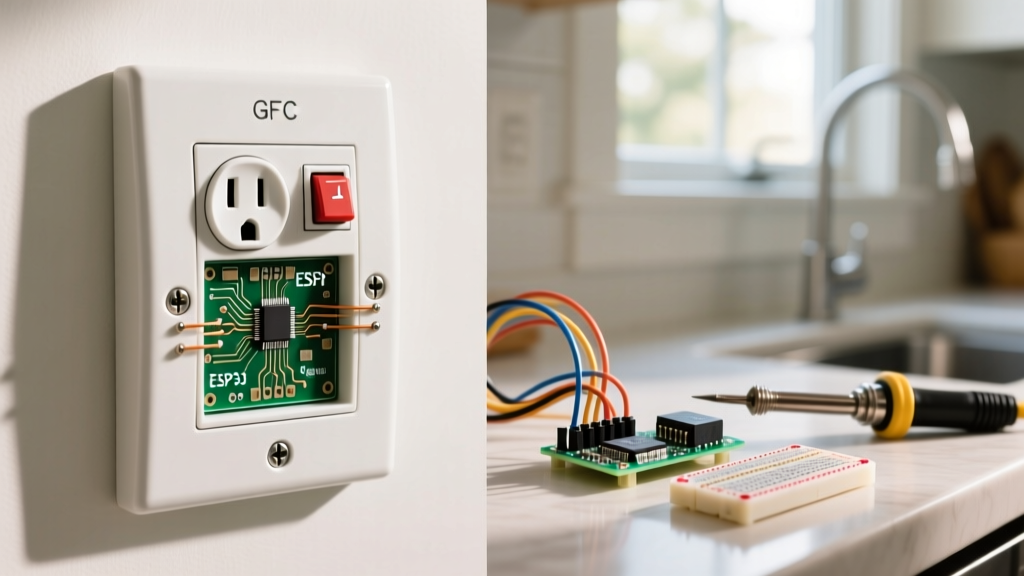
| GFCI (e.g., Leviton GFTR1) | Ground Faults (Electrocution) | $15 - $24 | Kitchens, bathrooms, garages, outdoors |
| AFCI (e.g., Eaton AFTR15) | Arc Faults (Fire Prevention) | $25 - $38 | Bedrooms, family rooms, closets |
| Dual Function (CAFCI/GFCI) | Both Arc and Ground Faults | $32 - $48 | Kitchens, laundry rooms (new builds) |
Step-by-Step: How to Reset Electrical Outlet Safely
If your outlet has suddenly lost power and the indicator light is illuminated (usually red or amber), the internal microprocessor has detected a fault and severed the hot and neutral connections. Follow these steps to restore power safely.
Step 1: Unplug All Downstream Devices
A GFCI or AFCI will not successfully reset if the fault condition is still active. Unplug all appliances, hair dryers, or power tools connected to the tripped receptacle, as well as any downstream outlets protected by the same device's LOAD terminals.
Step 2: Apply Firm Pressure to the RESET Button
Locate the RESET button (typically the red or lower button). Press it firmly. You must apply approximately 5 to 8 pounds of pressure until you hear a distinct mechanical click. If the button immediately pops back out, proceed to the troubleshooting section below.
Step 3: Verify with a Receptacle Tester
Do not rely solely on the built-in indicator light. Plug in a UL-listed receptacle tester (such as the Gardner Bender GRT-3500). Press the black GFCI test button on the tester itself to ensure the internal solenoid is actually tripping the circuit, rather than just illuminating an LED on a miswired device.
Troubleshooting: Why Won't My Outlet Reset?
If you are trying to reset electrical outlet hardware and the button refuses to stay engaged, you are likely facing one of three specific failure modes.
- Line/Load Reversal: This is the most common installation error. If the incoming power wires are connected to the LOAD terminals instead of the LINE terminals, the outlet will power on initially but will refuse to reset once it trips. The internal microprocessor requires LINE-side power to operate the reset solenoid.
- Shared Neutral (Multi-Wire Branch Circuit): If the circuit shares a neutral wire with another hot leg (common in older kitchens), a standard single-pole GFCI receptacle will trip instantly when a load is applied and refuse to reset. The fix: You cannot use a receptacle GFCI here. You must install a 2-pole GFCI circuit breaker in the main panel.
- End-of-Life (EOL) Lockout: Modern devices like the Leviton SmartlockPro feature an EOL lockout. If the internal diagnostic test fails, the device permanently disables the RESET button to prevent users from relying on a degraded sensor. If the indicator light is flashing red or completely off (depending on the brand), the device is dead and must be replaced.
Expert Insight: The U.S. Consumer Product Safety Commission (CPSC) notes that AFCI receptacles are highly sensitive to neutral-to-ground faults. Even a 2-ohm resistance between the neutral and ground wire downstream will prevent an AFCI from resetting. Ensure no downstream bare copper ground wires are accidentally touching the neutral bus or terminal.
Step-by-Step Installation: Replacing a Faulty Resettable Outlet
When an outlet reaches its EOL or suffers a catastrophic internal failure, you must install a replacement. This step-by-step installation guide ensures compliance with the latest National Electrical Code (NEC) standards.
Phase 1: Isolation and Verification
- Shut Off Power: Turn off the corresponding 15A or 20A breaker in your main service panel. Apply a Lockout/Tagout (LOTO) device if you live in a multi-occupant household.
- Verify Zero Energy: Use a non-contact voltage tester (NCVT) like the Klein Tools NCVT-3. Test a known live outlet first to verify the tool's battery, then test the target outlet's slots and the physical wires inside the gang box.
Phase 2: Extraction and Wire Identification
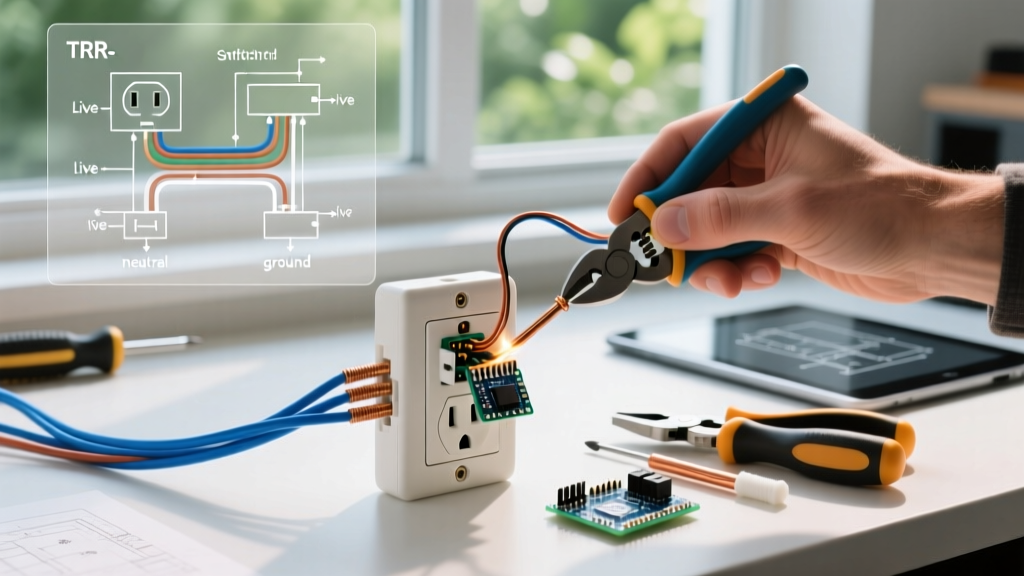
- Remove the faceplate and unscrew the yoke mounting screws.
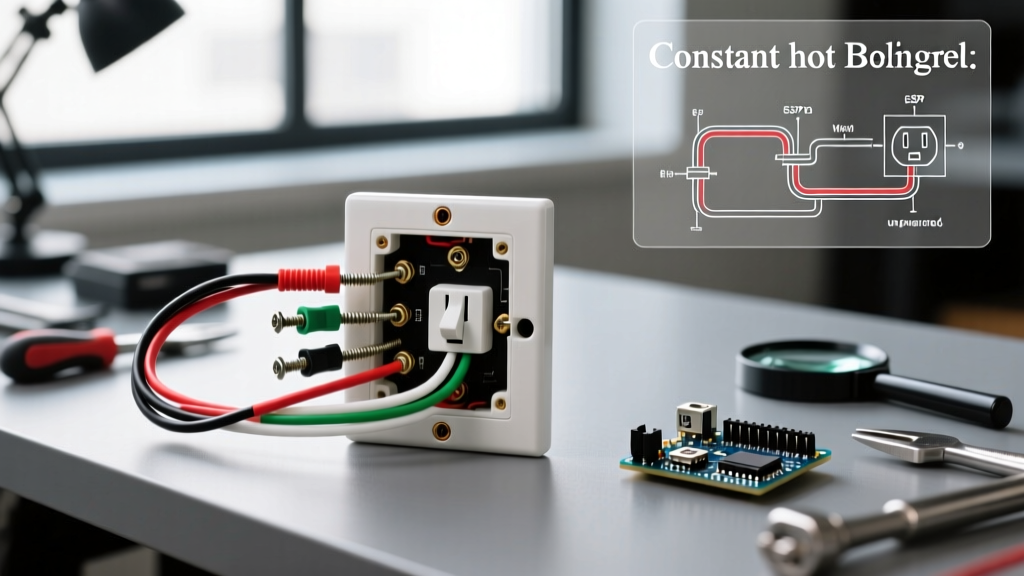
- Pull the receptacle out gently. Stop: Before disconnecting any wires, identify the LINE (incoming power) and LOAD (downstream protection) cables. If both cables look identical, you must temporarily cap them, turn the breaker back on, and use a multimeter (e.g., Fluke 117) to find the cable reading 120V. Turn the breaker back off before proceeding.
- Loosen the terminal screws and remove the wires. Inspect the wire insulation for heat damage or melting. If present, cut back to clean copper and re-strip using a 14 AWG or 12 AWG gauge hole on your wire strippers.
Phase 3: Termination and Torque
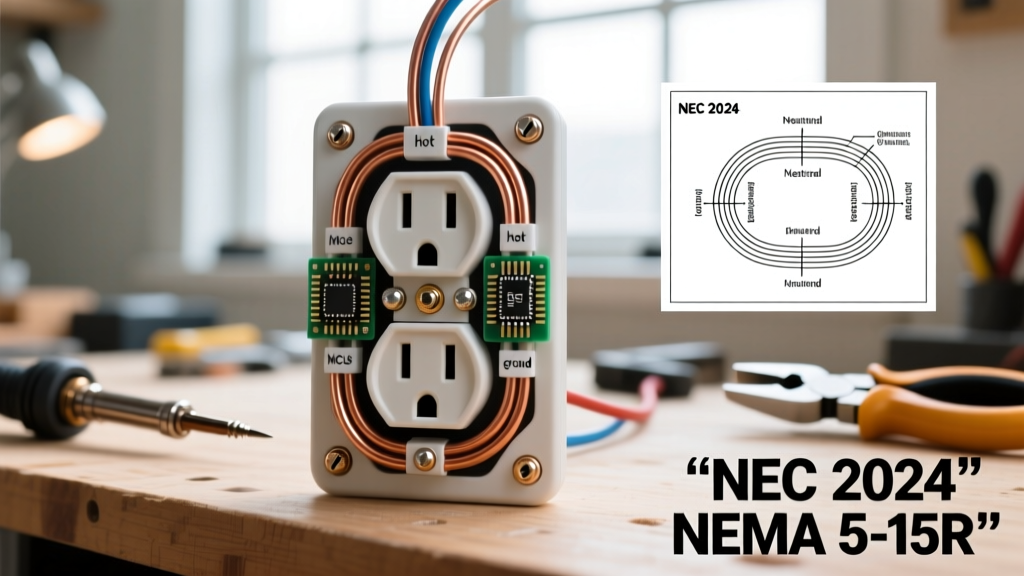
- Connect the bare copper ground wire to the green grounding screw.
- Connect the white neutral wires to the silver LINE and LOAD screws.
- Connect the black hot wires to the brass LINE and LOAD screws.
- Critical Step: Use a calibrated torque screwdriver set to the manufacturer's specification (typically 14 in-lbs for 14 AWG copper and 16 in-lbs for 12 AWG copper). Under-torqued terminals cause arcing, which will immediately trip a new AFCI receptacle.
Phase 4: Final Testing
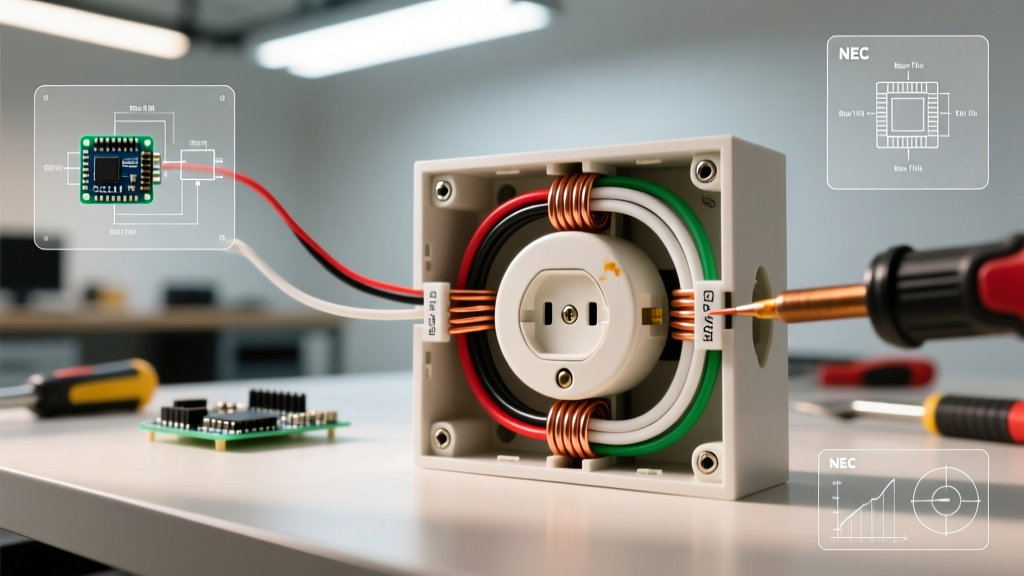
Carefully fold the wires into the back of the gang box using a reverse-S fold to avoid pinching the ground wire against the hot terminals. Mount the yoke, ensuring it sits flush and level. Restore power at the breaker. The outlet should automatically power on (no manual reset required for a fresh installation). Press the TEST button, verify it clicks off, and then press RESET to confirm full operational integrity.
Frequently Asked Questions
Can I replace a GFCI outlet with a standard outlet?
No. The NEC strictly mandates GFCI protection in wet or damp locations (kitchens, bathrooms, garages, exteriors). Replacing a GFCI with a standard receptacle in these zones is a severe code violation and creates a lethal electrocution hazard.
Why does my outdoor GFCI keep tripping when it rains?
Outdoor receptacles are subjected to moisture ingress. If the weatherproof 'in-use' bubble cover is cracked, or if the internal gasket is degraded, water will bridge the hot and ground terminals, causing a ground fault. Replace the cover with a heavy-duty die-cast aluminum in-use cover and apply a bead of outdoor-rated silicone caulk to the top and sides of the mounting flange.