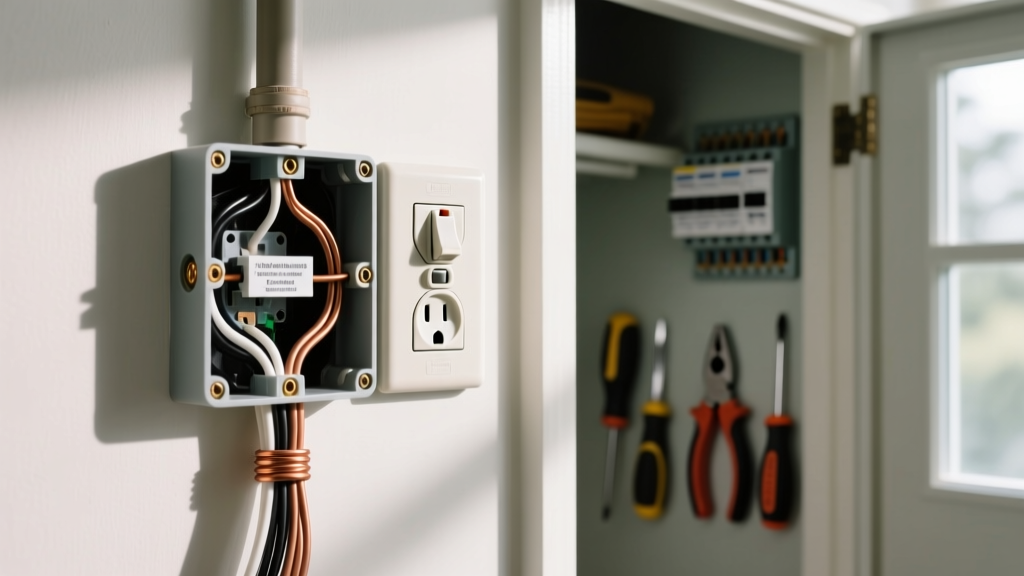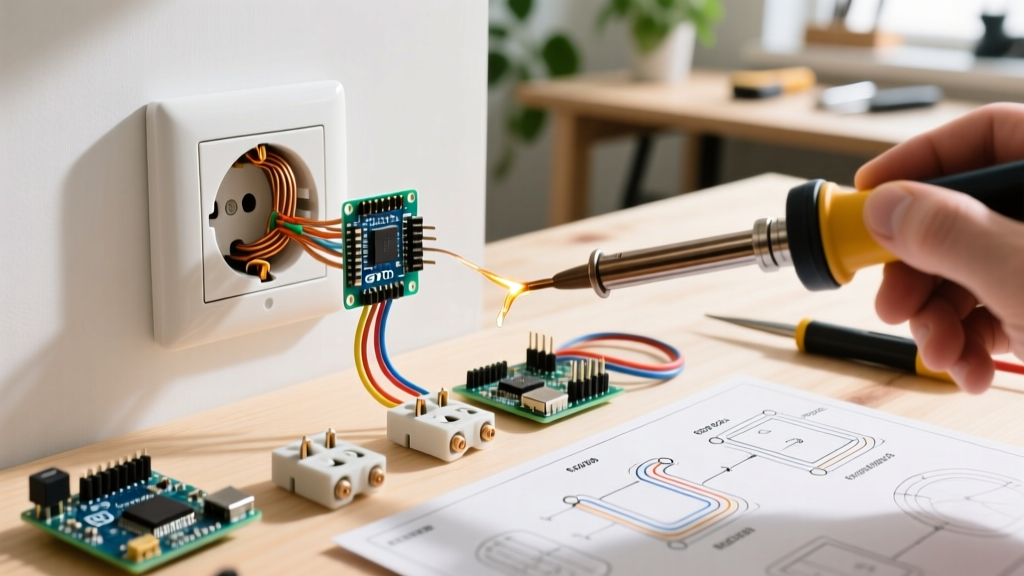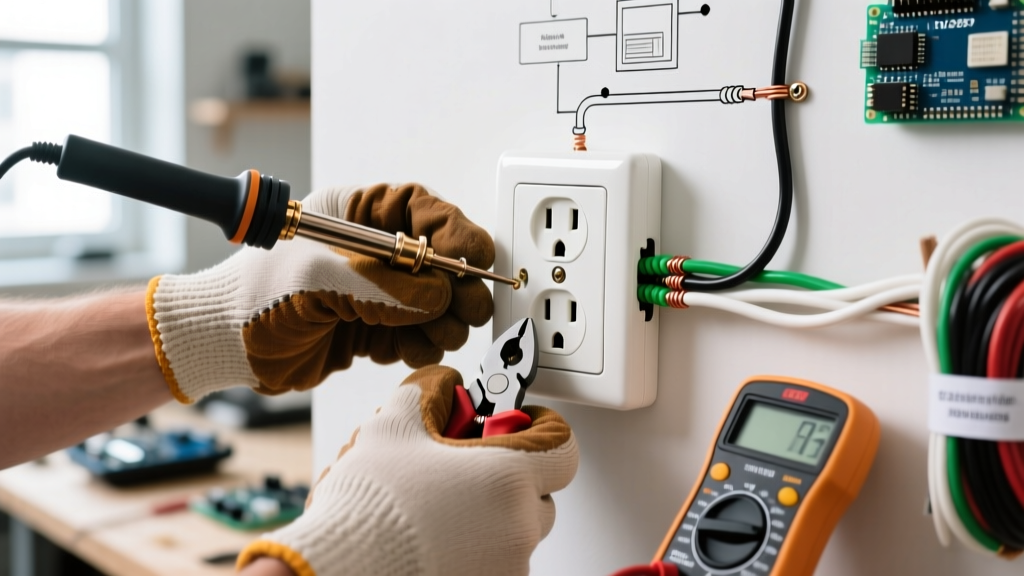

The Reality of Upgrading to a 110v Grounded 3 Prong Electrical Outlet
While homeowners and DIYers frequently search for a 110v grounded 3 prong electrical outlet, modern US residential electrical systems actually deliver a nominal 120V (often fluctuating between 114V and 126V at the panel). Regardless of the nomenclature, upgrading from an ungrounded 2-prong receptacle or a worn-out older 3-prong model to a modern, code-compliant grounded receptacle is one of the most critical safety improvements you can make in 2026. Modern electronics, surge protectors, and smart home devices rely heavily on a true Equipment Grounding Conductor (EGC) to dissipate fault currents and high-frequency noise.
This comprehensive upgrade guide details the physics of termination, exact 2026 material costs, National Electrical Code (NEC) mandates, and the step-by-step methodology for replacing your receptacles safely. We will also address the most dangerous shortcut in residential wiring: the 'bootleg ground.'
The 'Bootleg Ground' Danger: What to Avoid
Before touching a single wire, you must understand what a true ground is. A true ground requires a continuous physical copper path (the EGC) back to the main service panel's grounding bus bar. In older homes with knob-and-tube or early cloth-sheathed wiring, this wire does not exist.
WARNING: Never install a jumper wire between the neutral (silver) terminal and the ground (green) terminal on a 3-prong receptacle to 'fake' a ground. This is known as a bootleg ground. If the neutral wire ever becomes disconnected upstream, the metal chassis of any plugged-in appliance will become energized at 120V, posing a lethal shock hazard. The NFPA strongly warns against improper grounding modifications that bypass safety mechanisms.
2026 Bill of Materials & Tool Requirements
Skip the builder-grade $0.99 receptacles. For a reliable upgrade, invest in commercial-specification or high-quality residential devices. Below is the exact bill of materials (BOM) and estimated 2026 pricing for a standard single-gang upgrade.
| Item | Recommended Model / Spec | Avg. 2026 Cost | Purpose |
|---|---|---|---|
| TR Receptacle | Leviton T5320-W (15A Tamper-Resistant) | $3.85 | Standard grounded replacement |
| GFCI Receptacle | Leviton GFNT1-W (15A Self-Test GFCI) | $19.50 | Required for ungrounded retrofits |
| Wire Connectors | WAGO 221-413 (3-Port Lever Nut) | $0.85 each | Pigtailing and secure terminations |
| Wire Stripper | Klein Tools 11063W (10-14 AWG) | $28.00 | Precise insulation removal without nicking |
| Torque Screwdriver | Klein Tools 70006 (14 in-lb preset) | $45.00 | NEC 110.14(D) compliant terminations |
| Tester | Klein Tools RT250 (GFCI/Receptacle Tester) | $32.00 | Verifies wiring topology and GFCI trip |
Scenario A: Upgrading When a True Ground Wire Exists
If your electrical box contains a bare copper or green insulated wire, or if you are working with metal conduit (EMT) that acts as a continuous ground path back to the panel, you can install a standard 110v grounded 3 prong electrical outlet.
Step-by-Step Termination Process
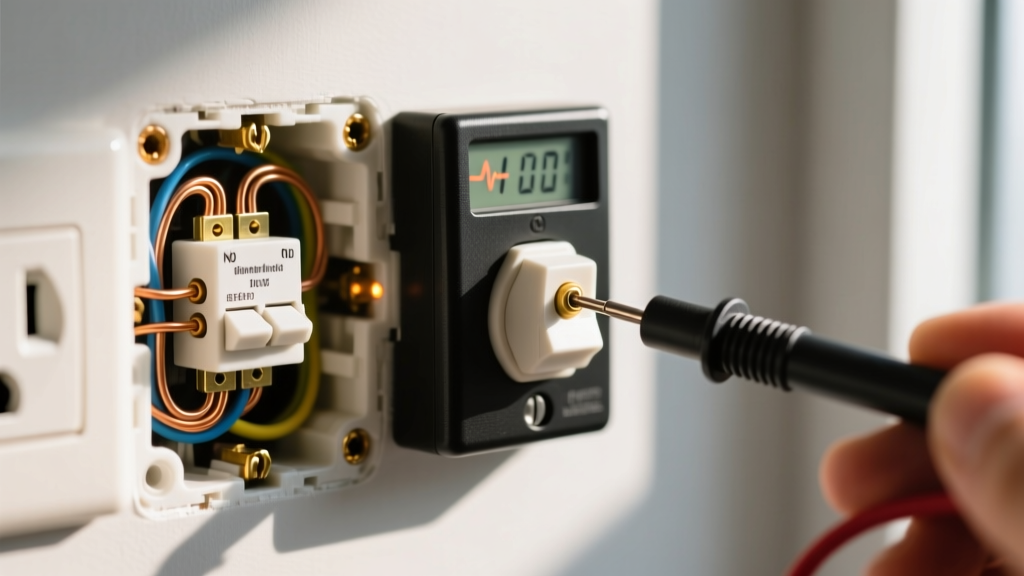
- Kill the Power & Verify: Turn off the breaker. Use a non-contact voltage tester (NCVT) and a multimeter to confirm 0V between hot and neutral, and hot and ground.
- Strip the Wires: Strip exactly 3/4 inch of insulation from the 14 AWG or 12 AWG solid copper wires. Do not gouge the copper; a nicked wire creates a mechanical weak point that can snap inside the terminal.
- Create a Ground Pigtail: If multiple ground wires enter the box, use a WAGO 221-413 lever nut to join them with a 6-inch bare copper pigtail. Connect the other end of the pigtail to the green ground screw on the receptacle.
- Side-Wire the Terminals: Loop the black (hot) wire clockwise around the brass screw, and the white (neutral) wire clockwise around the silver screw. The clockwise loop ensures the screw tightens the loop inward rather than pushing it out.
- Apply Proper Torque: According to OSHA and NEC 110.14(D) standards, terminations must be tightened to the manufacturer's specified torque. For most Leviton 15A receptacles, this is 14 in-lbs. Use a torque screwdriver to prevent thermal cycling failures.
Scenario B: The Ungrounded Retrofit (NEC 406.4 Compliance)
What if you open the wall box and find only a black and white wire, with no bare copper ground and no metal conduit? You cannot legally or safely install a standard grounded 3-prong receptacle here. However, the National Electrical Code (NFPA 70) provides a specific, safe workaround under NEC 406.4(D)(2).
The GFCI Protection Method
You are permitted to replace an ungrounded 2-prong receptacle with a 3-prong receptacle IF it is protected by a Ground Fault Circuit Interrupter (GFCI). The GFCI does not create a ground; instead, it monitors the current balance between hot and neutral. If it detects a leakage of 4-6mA (such as current passing through a human body), it trips in milliseconds, preventing lethal shock even without an EGC.
- Option 1: Install a GFCI receptacle directly in that specific box.
- Option 2: Install a standard 3-prong TR receptacle in the box, provided it is downstream of an existing GFCI receptacle or a GFCI circuit breaker.
Crucial Labeling Requirement: If you use this method, you must affix the 'GFCI Protected' and 'No Equipment Ground' stickers (included in the GFCI packaging) to the faceplate. This informs future electricians and home inspectors of the wiring topology.
Termination Physics: Why 'Backstab' Connections Fail
Many budget receptacles feature push-in 'backstab' terminals on the rear. While the NEC permits them for 14 AWG wire, experienced electricians universally avoid them. Here is the engineering reality of why backstabs fail over a 5-to-10-year lifecycle:
| Termination Type | Connection Mechanism | Thermal Cycling Resistance | Failure Mode |
|---|---|---|---|
| Push-In (Backstab) | Spring-loaded brass tang | Poor | Spring tension relaxes over time due to heat. Causes high-resistance arcing, melting the plastic housing. |
| Side-Wire (Screw) | Clamp plate or screw head | Excellent | Rarely fails if torqued correctly. Metal-to-metal compression remains stable through thermal expansion. |
| Back-Wire (Clamp) | Screw-tightened internal clamp | Superior | Found on commercial-spec devices. Allows straight insertion but uses a screw to crush the clamp onto the wire. |
Expert Tip: Always choose side-wiring or back-wiring with a clamping plate. If you must use a backstab receptacle because it is already installed, yank the wires out using the release slot and re-terminate them on the side screws.
Wiring Matrix: Terminal Identification
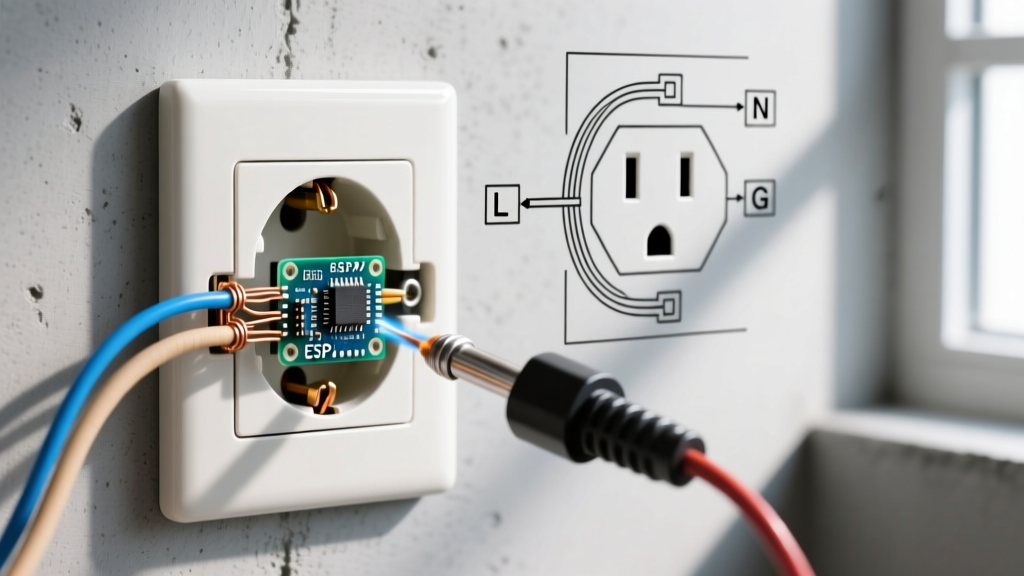
Miswiring a 110v grounded 3 prong electrical outlet can result in reversed polarity, which defeats the safety mechanisms of appliance switches and surge protectors. Use this matrix to verify your connections before pushing the device back into the box.
- Brass Screw: Black (Hot) wire. Connects to the shorter slot on the receptacle face.
- Silver Screw: White (Neutral) wire. Connects to the longer slot on the receptacle face.
- Green Screw: Bare/Green (Ground) wire. Connects to the U-shaped pin on the receptacle face.
Final Verification and Testing Protocol
Once the receptacle is secured to the box with the provided 6-32 machine screws (ensure the plaster ears are flush with the drywall, snapping them off if the box is recessed), restore power at the breaker.
- Insert the Klein Tools RT250 tester into the newly installed 110v grounded 3 prong electrical outlet.
- Verify the indicator lights show 'Correct' (typically two amber lights, depending on the model).
- If it is a GFCI circuit, press the 'TEST' button on the tester. The receptacle should audibly click and cut power. Press 'RESET' on the receptacle face to restore power.
- Check for physical stability. The plug should require firm, deliberate force to insert and remove, indicating healthy internal contact tension.
Summary of 2026 Code Considerations
Remember that under current NEC adoptions, all 15A and 20A, 125V and 250V receptacles installed in dwelling units must be Tamper-Resistant (TR). The TR shutters prevent children from inserting foreign objects into the hot or neutral slots. Furthermore, AFCI (Arc-Fault) protection is now mandated in almost all living spaces, while GFCI protection is required in kitchens, bathrooms, garages, outdoors, and within 6 feet of any water source. Always consult your local Authority Having Jurisdiction (AHJ) as local amendments may supersede baseline national codes.