
The Reality of Retrofitting: Why 'Old-Work' Boxes Are Essential
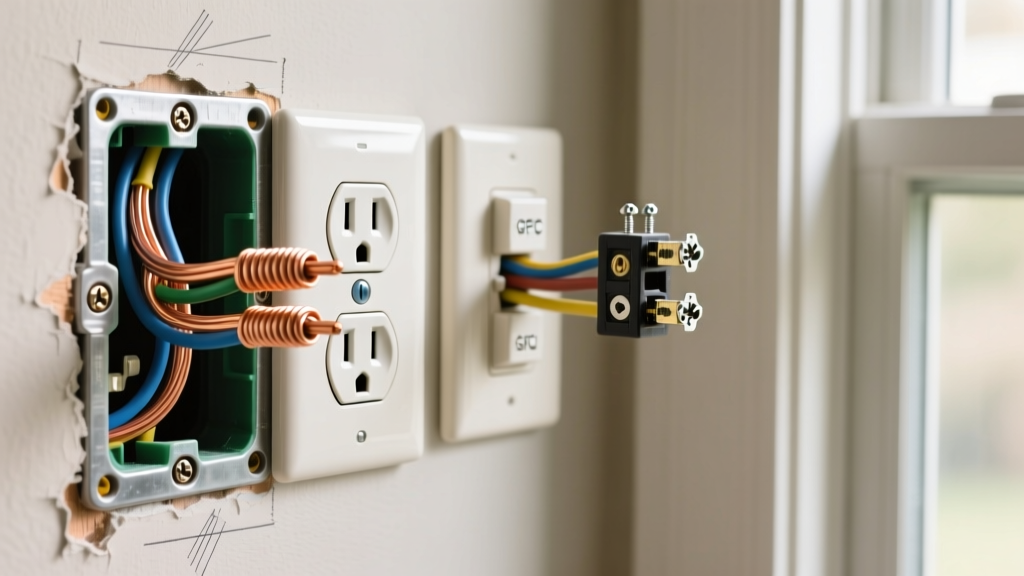
When you are adding a new receptacle to a finished room, you are not just mounting a device; you are creating a safe, code-compliant enclosure for high-energy connections. Installing an electrical outlet box in existing drywall requires a fundamentally different approach than new construction. In new construction, boxes are nailed to exposed studs before the drywall goes up. In a retrofit scenario, you must rely on 'old-work' (or retrofit) boxes, which use mechanical clamps or butterfly wings to grip the back of the drywall.
According to the U.S. Consumer Product Safety Commission (CPSC), improper electrical enclosures and loose connections are leading causes of residential electrical fires. An old-work box must be rigidly secured to prevent the receptacle from pushing back into the wall cavity when you plug in a heavy appliance, which can strain wire connections and cause arcing.
Top Old-Work Boxes Compared for 2026 DIY Projects
Not all retrofit boxes are created equal. The market is dominated by three primary designs, each with distinct failure points and advantages. Here is how they stack up for a standard single-gang installation:
| Brand & Model | Material / Capacity | Mounting Mechanism | Avg. Price (2026) | Best Use Case |
|---|---|---|---|---|
| Carlon B114R-UPC | PVC / 14 cu in. | Zipper butterfly wings | $2.85 | Standard 15A circuits, single receptacle |
| Carlon B120R-UPC | PVC / 20 cu in. | Zipper butterfly wings | $3.40 | 20A circuits, smart switches, GFCI devices |
| Arlington BE1 | PVC / 18 cu in. | Heavy-duty screw flaps | $4.15 | Thick drywall, plaster, heavy-use outlets |
| Raco 101 (Steel) | Galvanized Steel / 14 cu in. | Madison hanger clips (sold separately) | $3.90 | Commercial retrofits, fire-rated walls |
Expert Tip: Always buy the 20 cubic inch (cu in.) box if you are installing a GFCI receptacle or a smart dimmer. These devices have massive heat sinks and wire leads that will easily overstuff a standard 14 cu in. box, violating NEC box fill rules.
Essential Tools & Materials Checklist
Skip the generic toolkits. Here is the exact gear you need for a clean, professional installation:
- Voltage Tester: Klein Tools NCVT-3 Non-Contact Voltage Tester (~$28). Essential for verifying the circuit is dead and detecting live wires behind the drywall before you cut.
- Stud Finder: Zircon MultiScanner i70 (~$65). Must have AC wire detection mode to avoid drilling into existing Romex.
- Drywall Saw: Stanley 20-112 FatMax Jab Saw (~$18). The blunt tip is critical to prevent puncturing hidden cables when you push the saw into the wall.
- Cable: Southwire Romex SIMpull NM-B (14/2 for 15A circuits, 12/2 for 20A circuits). Budget ~$0.65 per foot.
- Wire Strippers: Klein Tools 11063W Katapult (~$22). Provides clean strip lengths without nicking the copper conductor.
Step-by-Step: Installing Electrical Outlet Box in Existing Drywall
Step 1: Power Verification and Mapping
Turn off the breaker at the main panel. Test the existing outlets on the same circuit with a receptacle tester to confirm zero voltage. Next, use your stud finder to map the wall cavity. Mark the center of the studs and switch the tool to 'AC Scan' mode to trace any existing vertical wiring. You want to position your new box in the center of the stud bay, at least 2 inches away from any existing cables to allow room for the drywall saw blade.
Step 2: Cutting the Drywall Opening
The most common beginner mistake is tracing the outside flange of the box instead of the inner body. Take your chosen old-work box, remove the flange if it is detachable (or just measure carefully), and trace the exact inner dimensions onto the drywall using a pencil and a torpedo level. For a standard Carlon single-gang box, this opening is roughly 2.75 inches wide by 3.75 inches high.
CRITICAL WARNING: When plunging the drywall saw into the wall, keep the blade depth to a maximum of 1.5 inches. Pushing the saw too deep can easily sever existing electrical cables or puncture PVC plumbing lines running through the stud bay.
Step 3: Routing and Securing the NM-B Cable
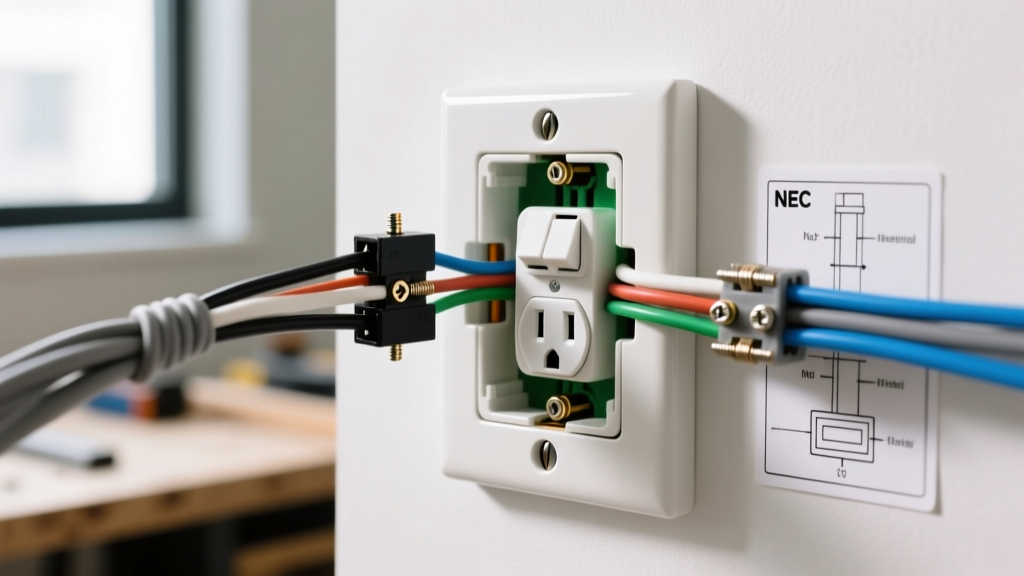
Fish your Romex cable through the wall cavity from the power source. Once the cable reaches your new opening, pull it through the knockout on the back of the old-work box. According to the National Electrical Code (NEC) Article 334.30, nonmetallic-sheathed cable must be secured within 8 inches of a single-gang box without a cable clamp. However, most PVC old-work boxes feature built-in internal clamps. If using a box with internal clamps, you do not need an external staple, but you must ensure the cable jacket extends at least 1/4 inch past the clamp inside the box to prevent the clamp from biting into the bare copper wires.
Step 4: Mounting the Box and Clamping
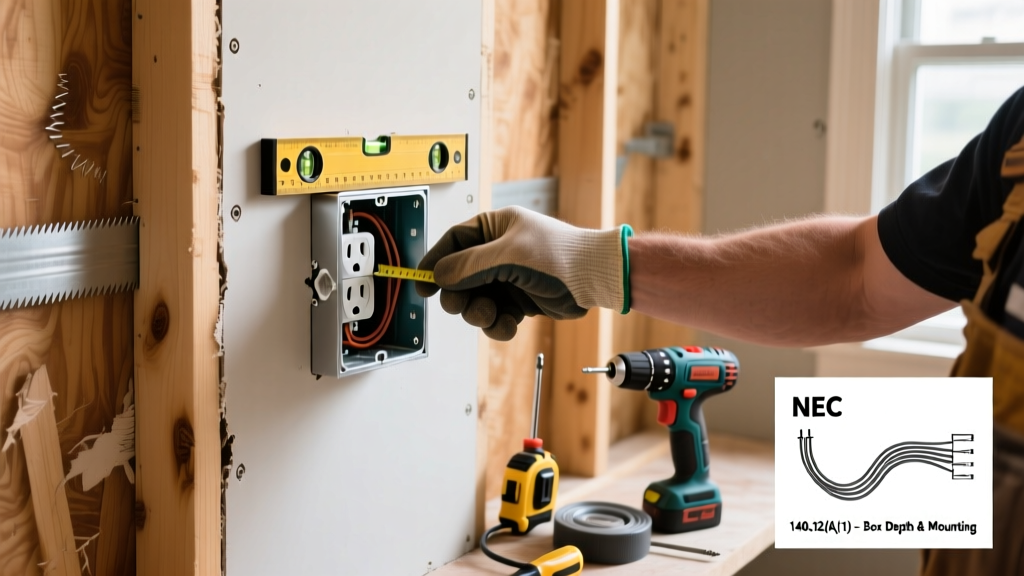
Insert the box into the drywall opening. Tighten the Phillips-head screws on the front of the box. As you turn the screws, the internal brackets will slide up and flip outward, clamping against the back of the drywall. Stop tightening the exact moment the box flange sits flush against the drywall face. Overtightening will snap the PVC wings or crush the drywall paper, resulting in a loose, spinning box that will fail inspection.
NEC Box Fill Calculations: The Hidden Trap for Beginners
Installing the box is only half the battle; ensuring it is legally large enough for your wires is where most DIYers fail. The NEC (Article 314.16) mandates strict 'box fill' calculations to prevent overheating and wire crushing. Here is the exact math for a standard receptacle passing power to another outlet downstream using 12 AWG wire (20A circuit):
- Equipment Ground: 1 allowance (All grounds combined count as 1)
- Internal Clamps: 1 allowance (If the box has built-in clamps)
- Device (Receptacle): 2 allowances (The yoke counts as 2)
- Current-Carrying Conductors: 4 allowances (2 hots in/out, 2 neutrals in/out)
Total Allowances: 8.
Volume per 12 AWG conductor: 2.25 cubic inches.
Required Box Volume: 8 x 2.25 = 18 cubic inches.
If you bought the standard 14 cu in. Carlon B114R box, you have just committed a code violation. You must upgrade to a 20 cu in. deep box (like the B120R) or downgrade to a 15A circuit using 14 AWG wire (which requires only 2.0 cu in. per conductor, dropping the total to 16 cu in., which still requires a larger box or fewer pass-through wires). Always do the math before cutting the drywall. For comprehensive code references, consult the Arlington Industries Fitting Guide and local municipal amendments.
Common Troubleshooting & Edge Cases
- The Box Spins When Tightening: This means the drywall hole was cut too large, or the wings failed to deploy. Remove the box, check for debris blocking the wing track, and apply a thin bead of construction adhesive to the front flange before reinserting to stabilize it against the wall face.
- Cable Won't Fit Through the Knockout: Do not aggressively force Romex through a tight PVC knockout, as this can strip the outer jacket and expose the bare ground wire to the hot/neutral conductors. Use a utility knife to carefully shave the inner rim of the knockout, or use a dedicated cable lubricant like Ideal 35-075 Yellow 77.
- Receptacle Sits Crooked After Installation: Old-work boxes can twist slightly during tightening. Before fully tightening the receptacle mounting screws, use a torpedo level on the device strap. If the box is twisted, loosen the drywall clamps slightly, realign, and retighten. Alternatively, use oversized 'Goof Rings' or deep cover plates to hide minor drywall gaps and crooked cuts.
By respecting box fill mathematics, utilizing the correct blunt-tip cutting tools, and selecting deep-capacity retrofit enclosures, you ensure your new outlet is not only functional but completely safe and compliant with modern electrical standards.