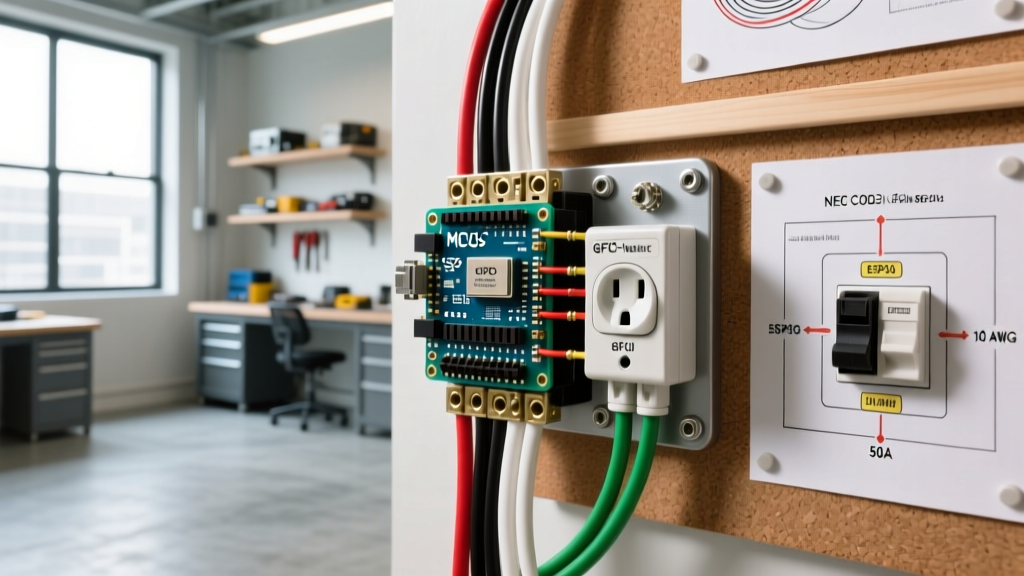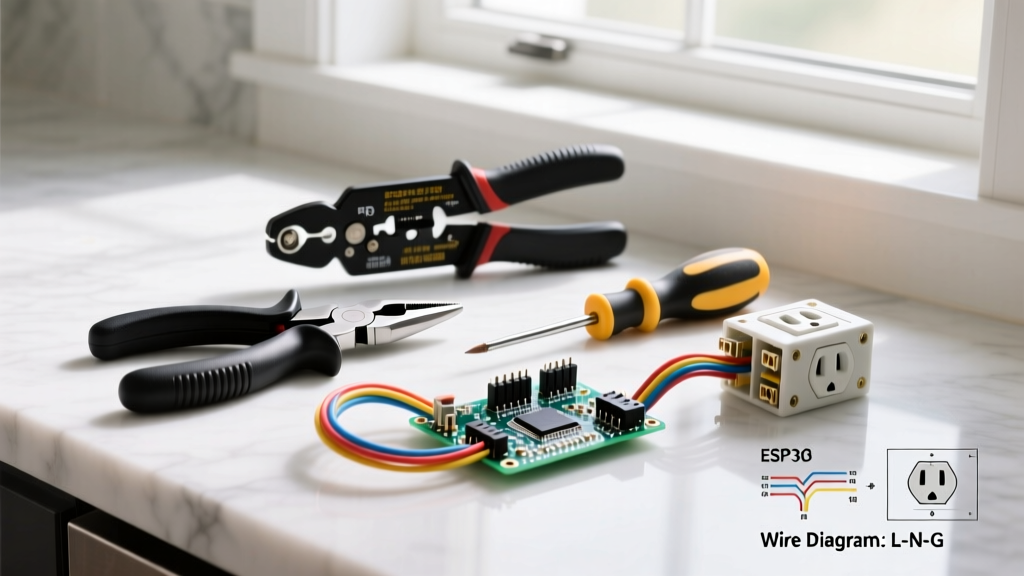

The Professional's Arsenal: Tools and Materials to Replace an Electrical Outlet
Attempting to replace an electrical outlet with a mismatched screwdriver and a dull pair of pliers is a leading cause of residential electrical fires and shock injuries. A successful, code-compliant receptacle swap requires precision tools designed specifically for live electrical environments and modern wire gauges. Whether you are upgrading a damaged 15-amp duplex receptacle or installing a new 20-amp commercial-grade outlet in a kitchen, having the exact right materials ensures a low-resistance connection that will last for decades.
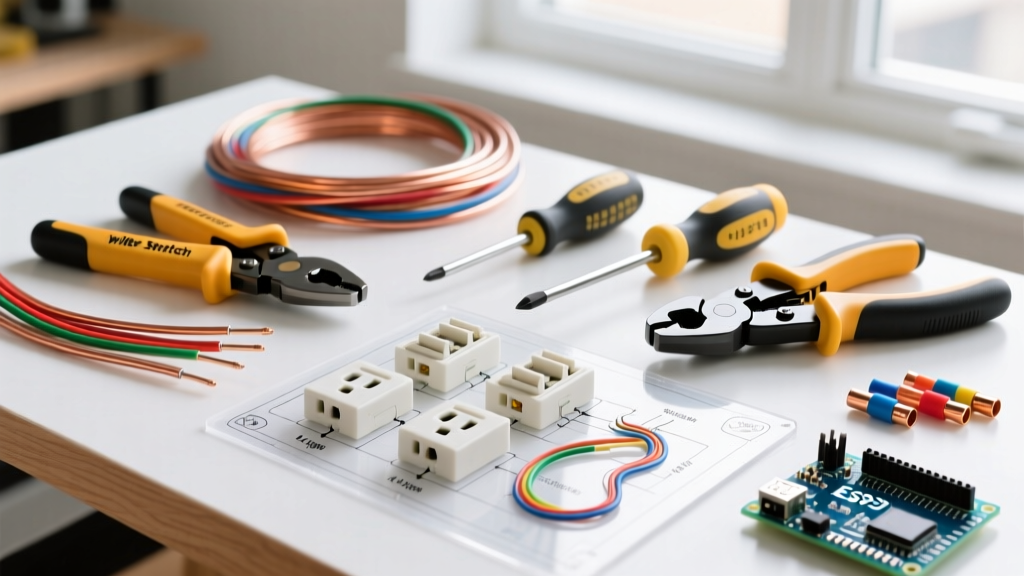
This comprehensive tool and material guide breaks down the non-negotiable diagnostics, wire preparation instruments, and receptacle specifications you need to replace an electrical outlet safely and professionally in 2026.
Phase 1: Diagnostic and Safety Instruments
Before you touch a single faceplate screw, you must verify the absence of voltage and understand the circuit's existing wiring topology. According to OSHA electrical safety guidelines, treating every conductor as energized until proven otherwise is the baseline for all electrical work.
1. Dual-Range Non-Contact Voltage Tester (NCVT)
Do not rely on cheap, single-range voltage pens. You need a dual-range tester like the Klein Tools NCVT-2 (Average 2026 Price: $29.99). The NCVT-2 detects both standard line voltage (70–1000V AC) and low voltage (12–70V AC). This is critical because induced voltages from adjacent live wires can sometimes trick single-range testers into giving false negatives or positives. Always test a known live source before and after testing your target outlet to verify the tool's battery and sensor integrity.
2. Plug-In Circuit Analyzer
Before removing the old outlet, plug in a circuit analyzer like the Sperry Instruments GFI-6302 ($14.99). This device instantly reads the wiring topology, alerting you to open grounds, reversed polarity, or hot/neutral swaps. Knowing the circuit's flaws before you open the wall box dictates whether you simply swap the receptacle or need to troubleshoot upstream wiring issues.
3. Insulated Screwdrivers
Standard hardware store screwdrivers lack the dielectric insulation required for electrical work. Invest in a set like the Klein Tools 32500 Multi-Bit Insulated Screwdriver ($24.99), which features a 1000V-rated cushion grip and a shank that is fully coated to prevent accidental contact with the side of a metal junction box while turning terminal screws.
Phase 2: Wire Preparation and Handling
The longevity of an electrical connection is entirely dependent on how the copper conductor is prepared. Micro-fractures or gouges in the wire will create high-resistance hot spots under load.
Precision Wire Strippers
Never use the cutting jaws of your pliers to strip Romex sheathing or individual THHN conductors. You need dedicated wire strippers calibrated for solid copper. The Klein Tools 11057 ($28.00) is the industry standard for residential wiring. It features precision-machined holes for 14 AWG and 12 AWG solid wire. Pro Tip: When stripping 12 AWG wire for a 20-amp circuit, ensure you use the exact 12 AWG hole. Using the 14 AWG hole will score the copper, reducing its cross-sectional area and effectively downgrading its ampacity, which violates NEC 310.15.
Needle-Nose Pliers for Terminal Hooks
Side-wiring a receptacle requires forming a perfect "J-hook" in the stripped copper wire. The Milwaukee 48-22-6100 6-inch needle-nose pliers ($22.99) have a built-in reaming bit for cleaning PVC conduit burrs and perfectly sized jaws for bending 12 AWG wire into a hook that wraps exactly 270 degrees around the terminal screw.
Phase 3: Receptacle Selection Matrix
Not all outlets are created equal. The National Electrical Code (NEC) mandates specific receptacle types based on location and amperage. Furthermore, the Electrical Safety Foundation International (ESFI) heavily advocates for Tamper-Resistant (TR) technology in all residential applications to prevent childhood shock injuries, a mandate codified in NEC Article 406.12.
| Receptacle Type | Amperage | Best Use Case | Avg 2026 Price | Key Feature / Code Ref |
|---|---|---|---|---|
| Leviton T5262-W (Residential TR) | 15A | Bedrooms, Living Rooms, Hallways | $3.50 | Tamper-Resistant shutters (NEC 406.12) |
| Hubbell 5362-W (Commercial Spec) | 20A | Kitchens, Bathrooms, Garages | $8.50 | Glass-filled nylon face, thick brass contacts |
| Leviton T5362-W (Commercial TR) | 20A | Heavy appliance zones, workshops | $7.25 | 20A TR rating, accepts 20A T-blade plugs |
| Leviton GFNT1-W (Slim GFCI) | 15A/20A Feed | Bathrooms, Exteriors, Unfinished Basements | $18.99 | Self-testing GFCI, fits shallow boxes (NEC 210.8) |
Expert Insight: Always opt for "Commercial Spec Grade" or "Heavy Duty" receptacles for high-draw areas like kitchens and garages. Commercial-grade outlets (like the Hubbell 5362-W) utilize thicker brass internal contacts and glass-filled nylon faces that resist impact and heat deformation far better than the $1.50 contractor-grade alternatives.
Phase 4: Critical Installation Materials & Upgrades
Beyond the receptacle itself, professional electricians carry a few specific materials to ensure the physical installation is as robust as the electrical connection.
- Outlet Shims (e.g., C.R. Laurene Plastic Shims, $4.99/pack): If your junction box is set too deep into the drywall, the outlet will wobble when you plug in a cord. Wobbly outlets strain the internal brass contacts over time. Stack these horseshoe-shaped shims on the mounting ears to create a rigid, flush fit.
- Ideal Industries Wing-Nut Wire Connectors: If you need to pigtail a ground wire, avoid standard smooth-cone wire nuts. Wing-nuts provide the torque leverage necessary to twist 14 AWG and 12 AWG solid copper together without fatiguing your wrist, ensuring a mechanically sound bond.
- Purple AlumiConn Connectors: If you open a wall box in a home built between 1965 and 1973 and discover dull gray aluminum wiring, stop. Standard copper-rated receptacles will cause galvanic corrosion and fire when connected directly to aluminum. You must use CO/ALR rated receptacles or pigtail the aluminum to copper using AlumiConn lug connectors before connecting to a standard TR outlet.
Failure Modes to Avoid: Backstabbing and Loose Neutrals
When you replace an electrical outlet, you will notice push-in holes on the back of the device. This is known as "backstabbing." Never use backstab connections. They rely on a tiny, spring-loaded brass clip to grip the wire. Over years of thermal expansion and contraction (from plugging in high-draw devices like space heaters), this spring loses tension. The resulting loose connection increases electrical resistance, generating immense heat that can melt the plastic faceplate and ignite the drywall paper. Always use the side terminal screws or the screw-clamp plates found on commercial-grade outlets.
Furthermore, the Consumer Product Safety Commission (CPSC) notes that loose terminal connections are a primary driver of residential electrical arcing. To combat this, NEC 110.14(D) now requires conductors to be torqued to the manufacturer's specifications. While most DIYers lack a calibrated torque screwdriver (like the Klein 32308, $149.00), you must tighten terminal screws firmly until the brass lock washer is completely flattened, ensuring the wire cannot be pulled free with a firm tug.
Summary Checklist for Your Next Outlet Swap
- Verify power is off at the breaker and confirm with a dual-range NCVT.
- Test existing wiring topology with a plug-in circuit analyzer.
- Strip wires using precision 14/12 AWG holes to avoid copper scoring.
- Select a Tamper-Resistant (TR) receptacle matching the circuit amperage.
- Form 270-degree J-hooks and side-wire the terminal screws clockwise.
- Tighten screws firmly and use shims to eliminate physical wobble.
By investing in the correct diagnostic testers, precision wire strippers, and commercial-spec receptacles, you elevate a simple DIY swap into a professional-grade installation that prioritizes long-term safety and code compliance.