
The Hidden Failures of Electrical Outlet Insulation Foam
Weatherizing your home is one of the most cost-effective ways to reduce HVAC loads, and installing electrical outlet insulation foam is a standard first step. According to the U.S. Department of Energy, air leakage accounts for 15% to 20% of residential heating and cooling energy loss. Exterior wall outlets are notorious culprits for convective drafts. However, simply slapping a pre-cut foam gasket behind a cover plate is not a silver bullet. In fact, improper application or misdiagnosis of the airflow path can render the foam useless or, worse, create a dangerous thermal trap that leads to melted components and fire hazards.
As a senior electrical diagnostician, I frequently see homeowners and even novice handymen misinterpret the symptoms of a failing outlet seal. This guide provides a deep-dive troubleshooting framework to diagnose why your electrical outlet insulation foam is failing to stop drafts, or why it might be causing your receptacles to overheat in 2026's high-draw smart home environments.
Diagnostic Matrix: Symptom vs. Root Cause
Before removing any cover plates, use the following matrix to correlate your physical symptoms with their underlying electrical or structural root causes.
| Symptom | Probable Root Cause | Diagnostic Test |
|---|---|---|
| Cold air blowing directly from plug slots | Gap between junction box and drywall (bypass) | Incense smoke test around plate perimeter |
| Cover plate feels warm or hot to touch | Foam trapping heat from high-draw load or loose terminal | FLIR thermal camera scan; check screw torque |
| Foam gasket bulges or won't sit flush | Overfilled box (NEC violation) or protruding device ears | Visual box-fill calculation; measure device depth |
| Draft persists despite new foam gasket | Missing air barrier behind the electrical box | Borescope inspection through adjacent drywall gap |
Scenario A: The "Still Drafty" Paradox (Convective Bypass)
The most common complaint I encounter is: "I installed the Frost King V442/10 pre-cut foam gaskets, but I still feel a cold draft coming from the outlet." To understand this failure, you must understand the physics of convective looping and the limitations of standard electrical outlet insulation foam.
Why Pre-Cut Gaskets Fail on Sloppy Drywall Cutouts
Standard pre-cut open-cell foam gaskets (like those from Frost King or Duck Brand, typically costing around $3.50 for a 10-pack) are designed to seal the interface between the cover plate and the drywall. They do absolutely nothing to seal the junction box itself. A standard single-gang electrical box is 2.125 inches wide. However, when drywall installers cut holes for exterior outlets, they often use a rotary tool or a keyhole saw, resulting in jagged, oversized cutouts that can measure 2.5 inches or more across.
When the cutout is oversized, cold air from the uninsulated exterior wall cavity flows around the outside of the plastic or metal junction box, enters the room through the gap between the box and the drywall, and exits through the plug slots of the receptacle. The foam gasket on the cover plate is completely bypassed.
The Fix: Sealing the Box-to-Drywall Interface
To resolve this, you must seal the perimeter of the junction box. The ENERGY STAR Seal and Insulate program recommends using a low-expansion polyurethane foam or acrylic caulk for this specific application. I recommend Great Stuff Window & Door (approx. $7.50 per can), which remains flexible and won't bow the drywall or crush the junction box as it cures.
Scenario B: The Thermal Trap (Overheating & Fire Risk)
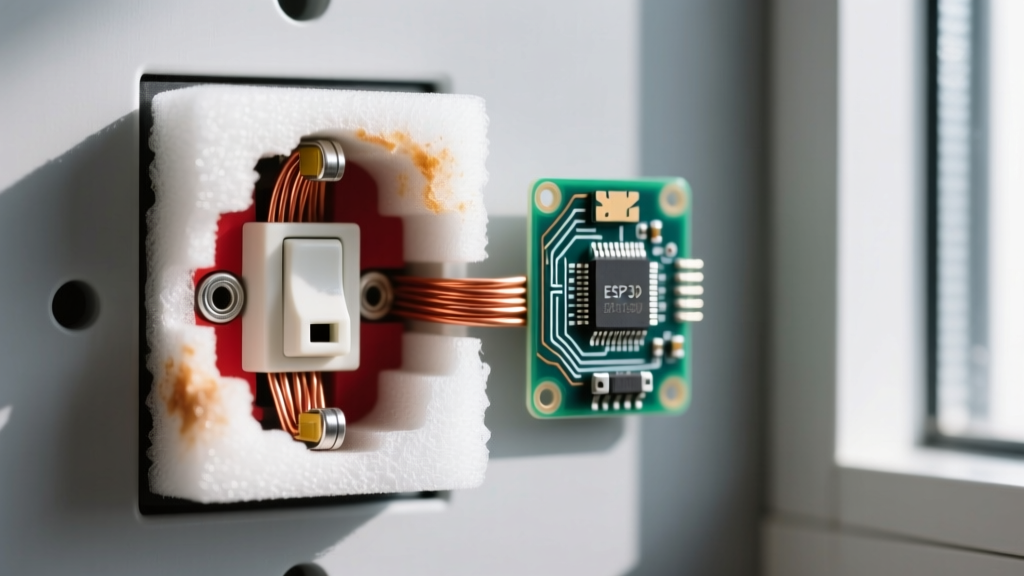
While drafts are a comfort issue, overheating is a critical safety hazard. Electrical outlet insulation foam acts as a thermal insulator. While this is great for keeping cold air out, it also keeps ambient heat in.
High-Draw Loads and GFCI Thermal Signatures
Standard 15A and 20A receptacles generate minimal heat under normal lighting or electronics loads. However, exterior outlets frequently power high-draw devices like 1500W patio heaters, electric pressure washers, or RV hookups. Running 12A to 15A continuously through a standard brass-contact receptacle generates measurable I²R (current squared times resistance) heating.
Furthermore, modern GFCI (Ground Fault Circuit Interrupter) and AFCI (Arc Fault Circuit Interrupter) receptacles contain internal microprocessors and silicon-controlled rectifiers. These components draw a continuous parasitic load (typically 0.2W to 0.5W) just to remain active. In a well-ventilated room, this heat dissipates harmlessly. But if you pack thick, closed-cell electrical outlet insulation foam behind a GFCI on a hot exterior wall, the trapped heat can degrade the internal electronics, leading to nuisance tripping or catastrophic component failure.
Expert Warning: Never inject expanding spray foam inside the junction box to stop drafts. This violates NEC Article 314 regarding box fill and combustible materials. If a loose wire arcs inside a foam-filled box, the polyurethane will act as an accelerant, turning a minor fault into a structural fire.
Step-by-Step Diagnostic & Repair Protocol
Follow this precise workflow to diagnose and permanently repair failing outlet seals without compromising electrical safety.
- De-energize and Verify: Turn off the circuit breaker. Use a non-contact voltage tester (e.g., Klein Tools NCVT-3, ~$25) and a plug-in circuit analyzer to confirm zero voltage. Never rely solely on the wall switch.
- Thermal & Draft Profiling (Pre-Removal): Before removing the plate, light an incense stick and trace the perimeter of the cover plate. If smoke blows horizontally, you have a box-to-drywall bypass. If the plate feels noticeably warmer than the surrounding wall, you have a thermal trap or a loose terminal connection.
- Remove and Inspect: Unscrew the cover plate and remove the old, degraded foam. Inspect the receptacle's terminal screws. Loose connections are the #1 cause of outlet fires. Use a torque screwdriver set to the manufacturer's specification (typically 14 in-lbs for 12 AWG wire on commercial-grade Leviton or Hubbell receptacles).
- Seal the Perimeter: If you identify a gap between the junction box and the drywall, apply a bead of paintable acrylic latex caulk or low-expansion foam. Allow it to cure completely (usually 2 to 4 hours).
- Install Fresh Open-Cell Foam: Place a new, fresh open-cell electrical outlet insulation foam gasket over the device. Open-cell is preferred over closed-cell because it allows the receptacle to "breathe" slightly, preventing dangerous heat buildup while still blocking macro-drafts.
- Re-torque and Re-test: Reinstall the cover plate. Tighten the plate screws evenly to compress the foam without cracking the plate. Turn the power back on and run a high-draw load (like a hair dryer) for 10 minutes, then scan with a thermal leak detector to ensure temperatures remain within safe limits (under 140°F / 60°C at the terminals).
Material Selection: Open-Cell vs. Closed-Cell vs. Expanding
Not all electrical outlet insulation foam is created equal. Choosing the wrong material for your specific wall cavity and climate zone is a primary reason for weatherization failure.
| Foam Type | Best Use Case | Pros | Cons & Risks |
|---|---|---|---|
| Pre-Cut Open-Cell (e.g., Frost King) | Standard interior/exterior drywall cutouts | Breathable, cheap, easy to install, allows heat dissipation | Fails if drywall gap is >1/8 inch |
| Pre-Cut Closed-Cell (e.g., Duck Brand Heavy Duty) | Damp environments, garages, basements | Moisture resistant, denser air seal | Traps heat; not recommended for GFCI/high-draw |
| Low-Expansion Spray (e.g., Great Stuff Window & Door) | Oversized drywall cutouts, gap filling | Seals the actual junction box perimeter | Messy, requires curing time, combustible if misused |
| High-Expansion Spray (e.g., Great Stuff Gaps & Cracks) | NEVER use on electrical boxes | N/A | Will crush plastic boxes, severe NEC violation |
Code Compliance and Safety Boundaries
When troubleshooting and repairing electrical outlet insulation foam issues, you must remain compliant with the National Electrical Code (NFPA 70). Specifically, NEC Article 314.21 addresses the repair of noncombustible surfaces around electrical boxes. While the code allows for sealing gaps to maintain the fire rating of a wall assembly, it strictly prohibits the use of combustible materials (like standard expanding foam) inside the box itself where they could be exposed to arcing or high terminal temperatures.
Additionally, if you are upgrading an older home and adding foam seals, ensure you are not inadvertently violating box-fill capacity rules (NEC 314.16). Pushing thick, dense closed-cell foam into an already crowded junction box can pinch wire insulation, damage the grounding pigtail, or push the receptacle yoke out of alignment, leading to cracked cover plates and exposed live parts.
Final Diagnosis: When to Call a Professional
If your diagnostic testing reveals that the outlet cover plate is consistently running more than 30°F above ambient room temperature under load, or if you smell a faint "fishy" or burning plastic odor (a hallmark of melting Bakelite or nylon wire nuts), the issue has transcended simple weatherization. This indicates severe terminal degradation, backstabbed push-in connections failing under load, or an undersized circuit. In these cases, remove the electrical outlet insulation foam immediately, cease using the receptacle, and consult a licensed electrician to evaluate the circuit's integrity and upgrade to commercial-grade, screw-terminal-only receptacles.