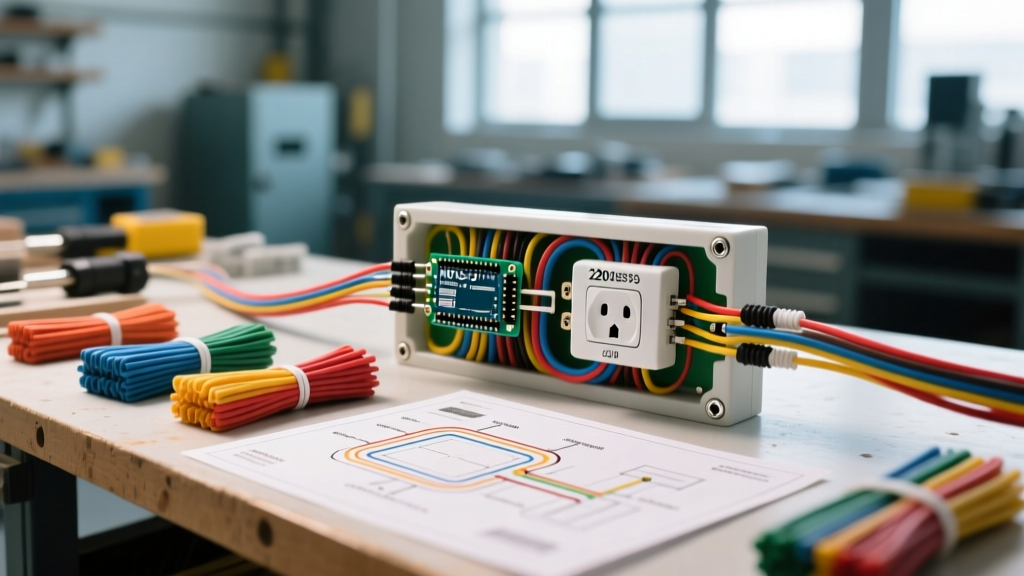

The Gap Between Diagram and Reality
Studying an electrical outlet wire diagram is only the first step in a successful installation. Whether you are mapping out a standard 15-amp duplex receptacle, a multi-wire branch circuit (MWBC), or a complex split-wired switched outlet, the physical execution relies entirely on the quality and specification of your tools and materials. In 2026, with the widespread enforcement of the NEC 2023 and updated local amendments, the margin for error has shrunk. Inspectors are increasingly checking for torque-specific terminations and tamper-resistant (TR) compliance.
This guide bridges the gap between theoretical schematics and physical reality. We break down the exact hand tools, cable specifications, and connectors required to bring your electrical outlet wire diagram to life safely, efficiently, and to code.
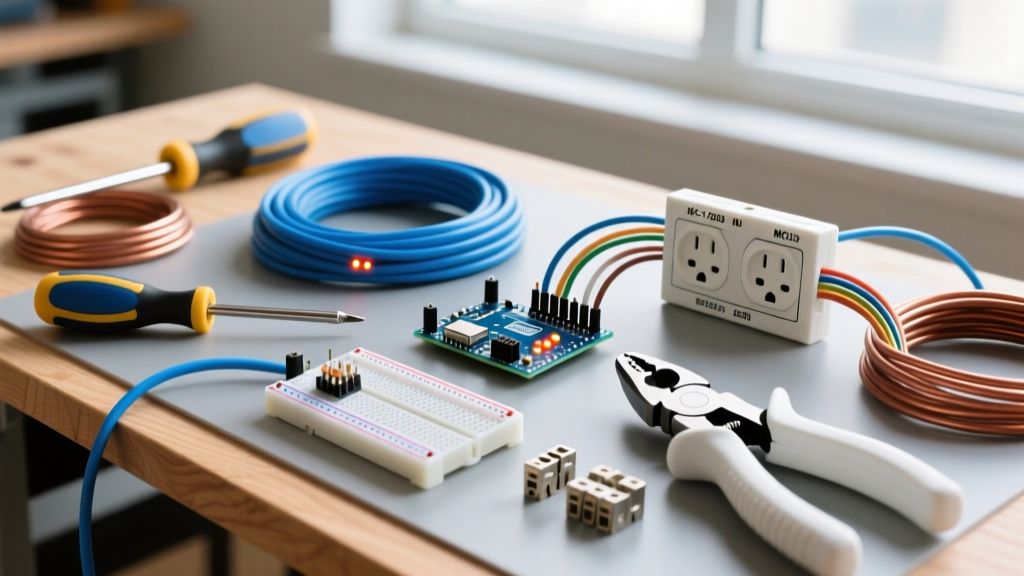
Essential Hand Tools for Precision Wiring
The right tools prevent the most common failure modes in outlet wiring: nicked conductors, under-torqued terminals, and damaged insulation. Skip the generic multi-tools and invest in purpose-built electrical gear.
Wire Strippers: The Shear vs. Crush Debate
When stripping 12 AWG and 14 AWG solid copper, using the wrong tool crushes the conductor, reducing its cross-sectional area and creating a localized hot spot under load. The Klein Tools 11063W Katapult (approx. $28) is the industry standard for 10-14 AWG solid wire. Unlike traditional pliers-style strippers that require manual squeezing force (which often nicks the copper), the Katapult uses a spring-loaded shear mechanism. You insert the wire, pull the trigger, and the blade cleanly shears the PVC jacket without touching the copper core.
Torque Screwdrivers: Meeting NEC 110.14(D)
Since the 2017 NEC cycle, and strictly enforced in 2026, NFPA National Electrical Code section 110.14(D) requires that terminations be tightened to the manufacturer's specified torque. Hand-tightening is no longer acceptable. Leviton typically specifies 12 to 14 inch-pounds for 12 AWG wire on their commercial-grade receptacles. The Klein 602-5 Torque Screwdriver (approx. $45) allows you to dial in the exact inch-pound setting, ensuring a secure connection that won't arc or overheat under continuous 16-amp loads.
Pro Tip: Never use a standard magnetic-tip screwdriver for terminal screws on GFCI or AFCI receptacles. The strong neodymium magnets can occasionally interfere with the internal sensing toroids during testing. Use a non-magnetic or weakly magnetic hardened steel tip for final terminations.
Material Matrix: Selecting the Right Cable
Your electrical outlet wire diagram will dictate the circuit amperage, which in turn dictates the Non-Metallic Sheathed Cable (NM-B) you must pull. Buying in bulk from big-box stores in 2026 yields the following average pricing for Southwire or Cerro brand Romex.
| Cable Type | Jacket Color | Max Breaker | Primary Use Case | 2026 Avg Cost (per ft) |
|---|---|---|---|---|
| 14/2 NM-B | White | 15 Amp | Standard bedroom/living room lighting & outlets | $0.65 |
| 12/2 NM-B | Yellow | 20 Amp | Kitchen, bathroom, garage, and outdoor receptacles | $0.95 |
| 12/3 NM-B | Orange | 20 Amp | Split-wired outlets, MWBC, 3-way switch travelers | $1.45 |
Note: While 14 AWG is cheaper and easier to bend, many professional electricians in 2026 exclusively pull 12/2 NM-B for all receptacle circuits to future-proof against voltage drop and allow for easy breaker upgrades later.
Connectors: Lever Nuts vs. Twist-Ons
When your diagram calls for pigtailing multiple neutrals or daisy-chaining hot wires, the connector you choose impacts both installation speed and long-term reliability.
- Wago 221 Series (Lever Nuts): The Wago 221-413 (3-port) costs about $0.45 each. They are rated for up to 32 amps and 600V. The lever mechanism provides a gas-tight, vibration-proof connection that is visually verifiable through the clear polycarbonate housing. They are ideal for tight junction boxes where twisting stiff 12 AWG wires is physically difficult.
- IDEAL Twister 341 (Wire Nuts): Priced around $12 per 100-pack, these feature a swept-wing design and an internal copper coil that bites into the wire. They are faster for high-volume rough-ins but require proper technique: stripping exactly 3/4 inch of insulation and twisting until the wires outside the nut begin to spiral.
Receptacle Hardware: TR and WR Ratings
Never use standard builder-grade receptacles (the $0.80 models with push-in backstab terminals). Backstabbed connections rely on a tiny brass spring clip that loses tension over time, leading to arcing and fires—a fact well-documented by the CPSC Electrical Safety division.
Instead, specify the Leviton T5320-W (approx. $3.50 each). It features:
- TR (Tamper-Resistant) Shutters: Required by code in all dwelling units to prevent children from inserting foreign objects.
- Spec-Grade Construction: Heavier brass internal contacts and a reinforced steel yoke that prevents the device from warping when the faceplate screws are overtightened.
- Side-Wiring Only: Eliminates the temptation to use unreliable backstab terminals.
Edge Cases & Diagram Execution Failures
Even with a perfect electrical outlet wire diagram, physical execution errors can cause catastrophic failures. Watch out for these specific edge cases:
1. The Multi-Wire Branch Circuit (MWBC) Open Neutral
If your diagram utilizes a 12/3 cable to feed two separate 20A circuits on a split receptacle (red to brass, black to brass, white to silver), you must use a handle tie on the two breakers. More importantly, if you break the neutral tab on the line side or fail to pigtail the neutral, removing the receptacle will break the shared neutral. This forces 240V across your 120V appliances, instantly destroying electronics. Always pigtail the neutral in an MWBC.
2. Box Fill Violations
Standard single-gang boxes (18 cubic inches) are frequently overfilled when executing complex diagrams involving GFCIs, multiple cable clamps, and Wago connectors. According to ESFI safety guidelines and NEC Article 314, every current-carrying conductor, device, and clamp counts toward box fill. When wiring a GFCI with 12/2 Romex and pigtails, upgrade to a 22.5 cubic inch 'deep' box to prevent crushing the internal wires against the device yoke.
3. Stripped Terminal Screws
When wiring the green ground screw on a metal box or receptacle, over-torquing can strip the soft brass threads. If a ground screw strips, do not rely on friction. Use a 10-32 green grounding screw with a built-in washer, or drill and tap the hole to the next size up. A high-resistance ground path will prevent the breaker from tripping during a fault.
Final Safety & Code Verification
Before energizing any circuit derived from your electrical outlet wire diagram, perform a dead-front test. Use a non-contact voltage tester like the Fluke 2AC/120-VAC ($35) to verify the absence of voltage at the receptacle. Once energized, use a 3-prong receptacle tester with a GFCI trip button (like the Gardner Bender GRT-130) to confirm correct hot/neutral polarity and proper ground fault interruption.
By pairing a meticulously planned diagram with spec-grade materials and precision-calibrated tools, you ensure your electrical infrastructure is not just functional, but resilient for decades to come.