
The Case for Upgrading Your Trailer Electric Plug Wiring
If you are transitioning from a lightweight utility trailer to a heavier RV, boat, or car hauler, your existing 4-way flat connector is no longer sufficient. Upgrading your trailer electric plug wiring to a 7-way RV blade is a mandatory step for integrating electric brakes, auxiliary 12V power, and backup lights. While the 4-way flat handles basic running lights, turn signals, and brake lights, it lacks the heavy-duty circuits required for modern towing safety and convenience.
In 2026, modern tow vehicles utilize complex PWM (Pulse Width Modulation) multiplexed lighting systems. Attempting to splice a 7-way harness directly into a factory 4-way plug without proper isolation modules or dedicated heavy-gauge wiring often results in blown fuses, flickering LEDs, or catastrophic brake controller failure. This guide provides a professional-grade, step-by-step framework for replacing and upgrading your trailer-side 7-way plug, ensuring compliance with SAE J286 standards and NHTSA lighting regulations.
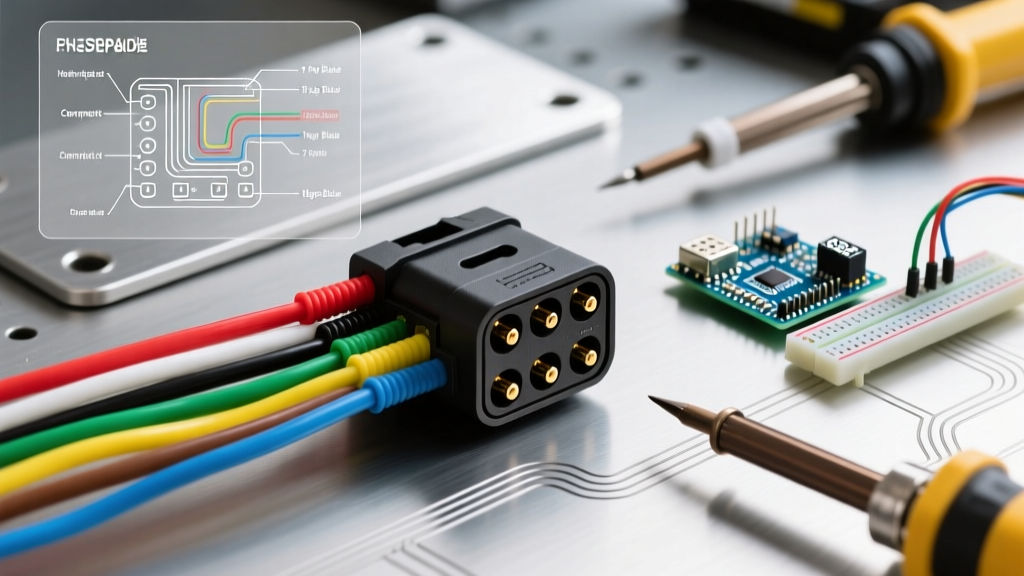
7-Way RV Blade Pinout & Wiring Matrix
Before cutting any wires, you must understand the SAE J286 standard pinout. Unlike the 4-way flat where wire colors are somewhat loosely followed, the 7-way blade demands strict adherence to color codes and wire gauges to prevent voltage drop over a standard 20-to-25-foot trailer harness.
| Pin Position | Function | Standard Wire Color | Minimum Wire Gauge | Circuit Notes |
|---|---|---|---|---|
| 1 (Top Left) | Left Turn / Stop | Yellow | 16 AWG | Standard lighting circuit |
| 2 (Top Right) | Backup Lights | Purple | 16 AWG | Reverse lockout for surge brakes |
| 3 (Bottom Left) | Ground (Chassis) | White | 10 AWG | Must ground to bare frame metal |
| 4 (Center) | Right Turn / Stop | Green | 16 AWG | Standard lighting circuit |
| 5 (Bottom Right) | Tail / Running Lights | Brown | 16 AWG | Clearance and marker lights |
| 6 (Top Center) | 12V Auxiliary Power | Black (or Red) | 10 AWG | Charges breakaway battery / interior |
| 7 (Bottom Center) | Electric Brakes | Blue | 10 AWG | Direct from brake controller |
Reference: For deeper vehicle-specific wiring diagrams and adapter schematics, consult etrailer's comprehensive wiring FAQ, which remains the industry standard for tow-vehicle compatibility.
Component & Material Selection (2026 Pricing)
Do not buy cheap, unbranded plugs from discount marketplaces. The internal contacts in low-tier plugs are often made of stamped steel rather than solid brass, leading to rapid galvanic corrosion and resistance heating. Below is a comparison of the top-tier 7-way plugs available today.
1. CURT 58160 Heavy-Duty 7-Way RV Blade
- Price: $28.00 - $34.00
- Build: Ergonomic grip, heavy-duty spring-loaded dust cover, solid brass contacts.
- Best For: Frequent towers, harsh weather environments, and heavy commercial use.
2. Hopkins 48115 7-Way Molded Connector
- Price: $16.00 - $22.00
- Build: Standard molded rubber housing, basic hinged cap.
- Best For: Budget replacements on enclosed trailers kept in garages.
Essential Consumables
- Wire: SAE J1128 GXL Cross-Linked Polyethylene (10 AWG and 16 AWG). GXL wire resists melting when soldered and handles high engine-bay temperatures. ($0.85 - $1.20 per foot).
- Terminals: Heat-shrink ring terminals and butt splices (3:1 shrink ratio). Avoid vinyl or nylon insulated crimps; they trap moisture. ($18 for a 100-pack).
- Dielectric Grease: Permatex 22058 or CRC 05046. Mandatory for preventing pin oxidation. ($7.50 per tube).
Step-by-Step Termination & Wiring Guide
Follow this exact sequence to ensure a weatherproof, low-resistance connection that will survive years of highway vibration and road salt.
Step 1: Harness Preparation and Stripping
Cut back the old wiring to a point where the copper is bright and free of green oxidation (verdigris). If the copper is black or green, moisture has wicked under the insulation, and you must cut further back. Strip exactly 5/16-inch of insulation from the 16 AWG lighting wires and 3/8-inch from the 10 AWG power/brake wires.
Step 2: Crimping vs. Soldering
While soldering provides a solid bond, it can create a rigid stress point that snaps under trailer vibration. The industry best practice for trailer electric plug wiring is to use a high-leverage ratcheting crimper (such as the Wirefy Heavy Duty Crimper) with adhesive-lined heat-shrink butt connectors. The ratcheting mechanism ensures the exact factory-specified compression force every time.
- Slide the heat-shrink terminal onto the wire.
- Insert the stripped wire into the barrel until it bottoms out.
- Crimp using the ratcheting tool until the jaws release.
- Apply heat with a heat gun (not a lighter) at 250°F until the adhesive seals out of the ends of the shrink tube.
Step 3: Securing the Ground Circuit
The most common failure in trailer wiring is a poor ground. The 10 AWG white ground wire must be terminated with a #10 ring terminal and bolted directly to the bare steel trailer tongue. Use a wire brush to remove paint and rust, apply a star washer to bite into the metal, and coat the terminal with dielectric grease after tightening to prevent future corrosion. Never rely on the trailer hitch ball for a ground path.
Step 4: Sealing the Plug Housing
Once all seven pins are screwed into the back of the CURT or Hopkins plug housing, fill the rear cavity with a marine-grade liquid electrical tape or a two-part epoxy potting compound. This creates a 100% waterproof seal, preventing moisture from wicking up the copper strands via capillary action. For more on manufacturer-approved sealing methods, review CURT Manufacturing's official wiring guides.
Advanced Troubleshooting & Failure Modes
Even with perfect execution, modern tow vehicles can introduce complex electrical anomalies. Here is how to diagnose the most frequent edge cases encountered during a 7-way upgrade.
Expert Insight: If your trailer LEDs flicker or dim when the electric brakes engage, you are experiencing severe voltage drop. This is almost always caused by undersized ground wiring or a corroded ground-to-frame connection, not a failing brake controller.
Failure Mode 1: PWM Multiplexing Incompatibility
Modern trucks (2020 and newer) use PWM signals to monitor trailer lighting circuits. If you splice standard LED trailer lights into a PWM circuit without a proper isolation module or smart converter (like the Tekonsha 119190KIT), the truck's computer will read the low amperage draw of the LEDs as a "blown bulb" and cut power to the circuit entirely. Always verify if your tow vehicle requires a smart bypass module before tapping into the factory 4-way to feed a 7-way adapter.
Failure Mode 2: Electric Brake Controller "SH" Error
If your brake controller displays a "SH" (Short) or "OL" (Overload) error immediately upon plugging in the new 7-way harness, inspect the blue brake wire. During the upgrade, it is common for a stray strand of the 10 AWG blue wire to touch the white ground wire inside the plug housing. Use a digital multimeter set to continuity mode to test between the center pin (Ground) and the bottom-center pin (Brakes). It should read infinite resistance (OL on the meter) when unplugged from the truck.
Failure Mode 3: Auxiliary 12V Battery Drain
The black 12V auxiliary wire is designed to charge a trailer breakaway battery or power interior lights. However, leaving the 7-way plugged into the tow vehicle while parked will drain the truck's starting battery in 24 to 48 hours. Install a 30A automotive relay (Bosch 0332014150) on the black wire, triggered by the brown running light circuit. This ensures the 12V auxiliary power is only active when the truck's headlights or running lights are turned on.
2026 Cost Breakdown for a Complete Overhaul
Below is a realistic budget for completely replacing a degraded 25-foot trailer harness and 7-way plug from scratch, using premium marine-grade materials.
| Component | Specification | Estimated Cost |
|---|---|---|
| 7-Way Plug (CURT 58160) | Heavy-Duty Brass Contacts | $31.00 |
| SAE J1128 GXL Wire (10 AWG) | 75 ft spool (Black, Blue, White) | $42.00 |
| SAE J1128 GXL Wire (16 AWG) | 100 ft spool (Yellow, Green, Brown, Purple) | $28.00 |
| Adhesive Heat Shrink Terminals | Assorted 12-10 & 16-14 AWG | $22.00 |
| Wire Loom & Zip Ties | 25 ft Split Loom + UV Resistant Ties | $14.00 |
| Dielectric Grease & Contact Cleaner | Permatex / CRC | $16.00 |
| Total Project Cost | $153.00 |
By investing in GXL wire and adhesive-lined heat shrink, you effectively eliminate the need to troubleshoot your trailer electric plug wiring for the next decade. For federal safety requirements regarding trailer lighting visibility and wiring standards, always cross-reference your final setup with the National Highway Traffic Safety Administration (NHTSA) lighting regulations to ensure full road-legal compliance.