
Why Outlet Dimensions Matter for Beginners
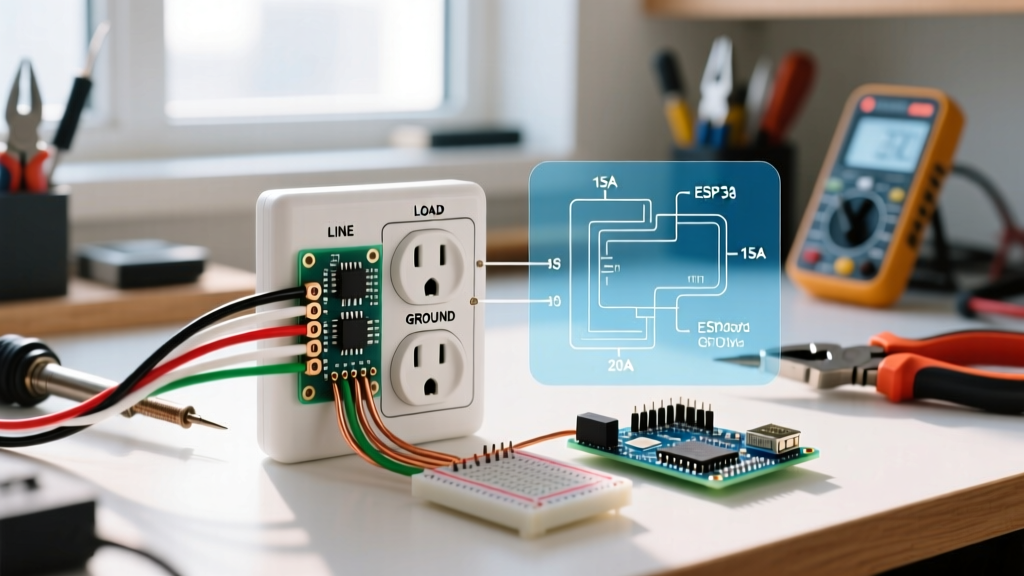
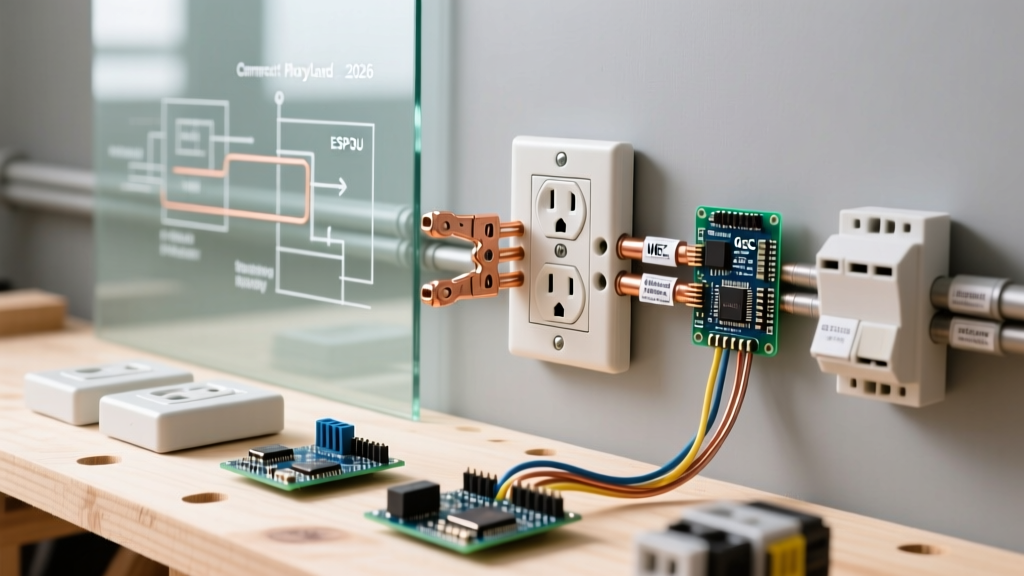
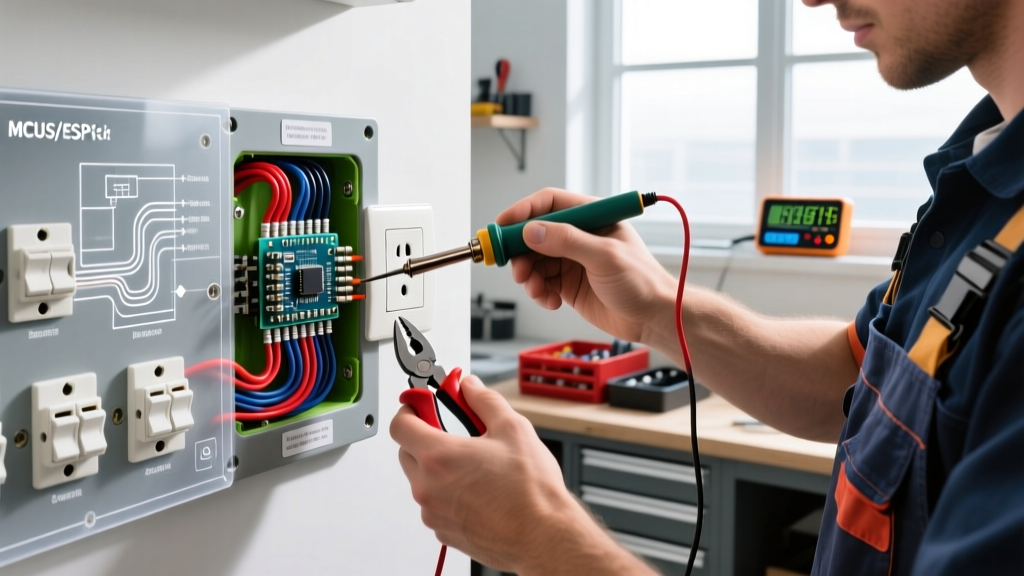
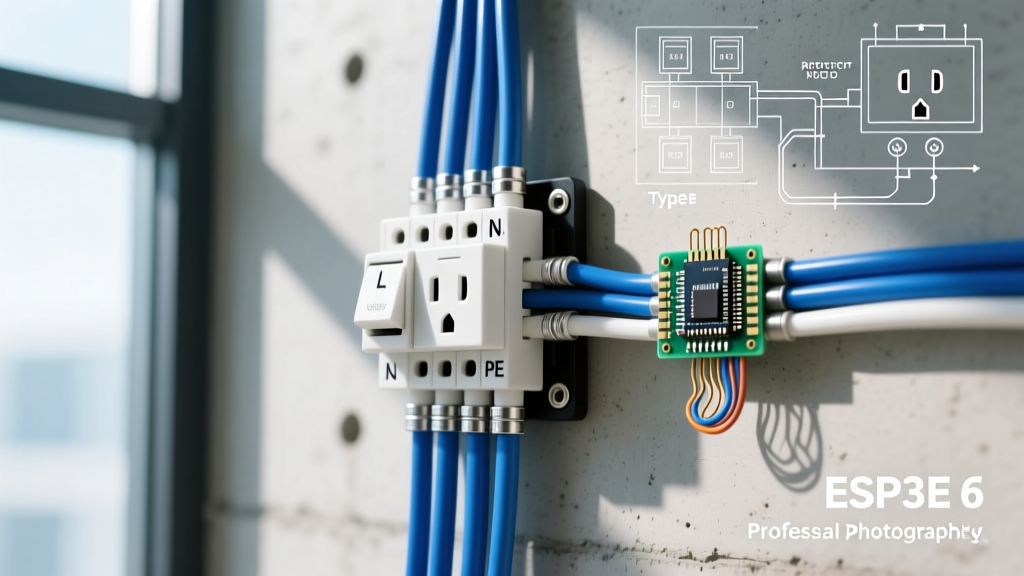
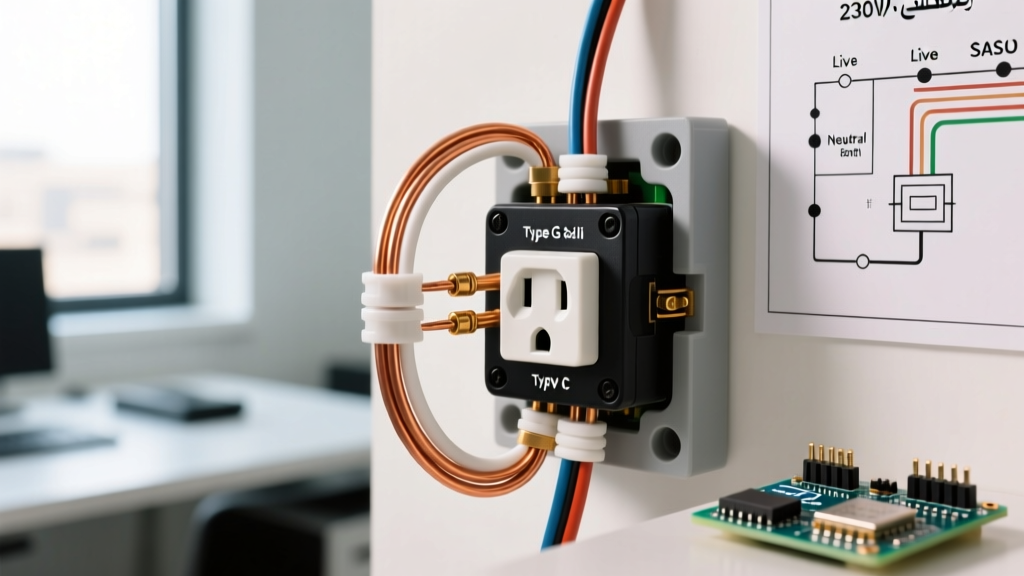
When tackling your first electrical DIY project, understanding standard electrical outlet dimensions is just as critical as knowing how to strip a wire or identify a ground conductor. If you misjudge the size of the receptacle body, the wall plate, or the drywall cutout, you will end up with crooked covers, recessed devices that pose a fire hazard, or smart outlets that simply will not fit inside the wall cavity. This guide breaks down the exact measurements you need to know for a flawless, code-compliant installation in 2026.
The Core Dimensions: Receptacles, Plates, and Boxes
Before you cut any drywall or bend any pigtails, you need to understand the physical footprint of a standard NEMA 5-15R duplex receptacle. The following table outlines the precise measurements dictated by the NEMA WD-6 standard and typical manufacturer specifications for 1-gang setups.
| Component | Standard Dimensions | Notes & Tolerances |
|---|---|---|
| Receptacle Body (Face) | 1.31" W x 2.62" H | Strict NEMA WD-6 standard for 15A/125V duplex. |
| Mounting Screw Spacing | 3.281" (Center-to-Center) | Critical for wall plate alignment. Do not bend the mounting strap. |
| Standard 1-Gang Wall Plate | 2.75" W x 4.5" H | Fits standard cutouts; leaves a 0.72" lip on top/bottom. |
| Jumbo 1-Gang Wall Plate | 3.5" W x 5.25" H | Use to cover ragged drywall cuts or oversized gaps. |
| 1-Gang Box Cutout (Drywall) | 2.25" W x 4.0" H | Standard for nail-on and old-work (remodel) boxes. |
| Receptacle Depth (Standard) | 0.90" to 1.05" | Fits easily in standard 3.5" deep wall cavities. |
Understanding the NEMA 5-15R Standard
The vast majority of residential outlets in North America are NEMA 5-15R (15 Amp, 125 Volt, 2-pole, 3-wire). The face of the device is universally 1.31 inches wide and 2.62 inches high. However, the overall length of the device, including the top and bottom mounting ears (the strap), is exactly 3.281 inches from the center of the top mounting screw to the center of the bottom mounting screw. Never bend these ears to make a plate fit. If the plate does not sit flush, the issue lies with your drywall cutout or the depth of the electrical box, not the outlet itself.
Electrical Box Sizing and NEC Box Fill Rules
Knowing the dimensions of the outlet is only half the battle; you must also understand the space required behind the wall. According to the National Fire Protection Association (NFPA) and the National Electrical Code (NEC) Article 314.16, every electrical box has a maximum 'box fill' capacity measured in cubic inches.
Calculating Box Fill for a Standard Outlet
For a standard 14 AWG circuit, the NEC assigns a volume allowance of 2.0 cubic inches per conductor. Here is how a basic outlet installation consumes that space:
- Two 14/2 NM Cables (Line and Load): 4 current-carrying conductors + 2 grounds (counted as 1) = 5 allowances x 2.0 cu in = 10.0 cubic inches.
- The Receptacle Itself: Counts as 2 conductor allowances based on the largest wire connected = 4.0 cubic inches.
- Total Minimum Box Volume: 14.0 cubic inches.
While a 14-cubic-inch box is technically legal for this scenario, professional electricians in 2026 almost exclusively use 18-cubic-inch or 22-cubic-inch boxes (like the Carlon B618R). The extra space makes folding the wires significantly easier, reduces heat buildup, and prevents the outlet from being pushed out of alignment by stiff copper conductors.
Step-by-Step: Measuring and Cutting Drywall for New Outlets
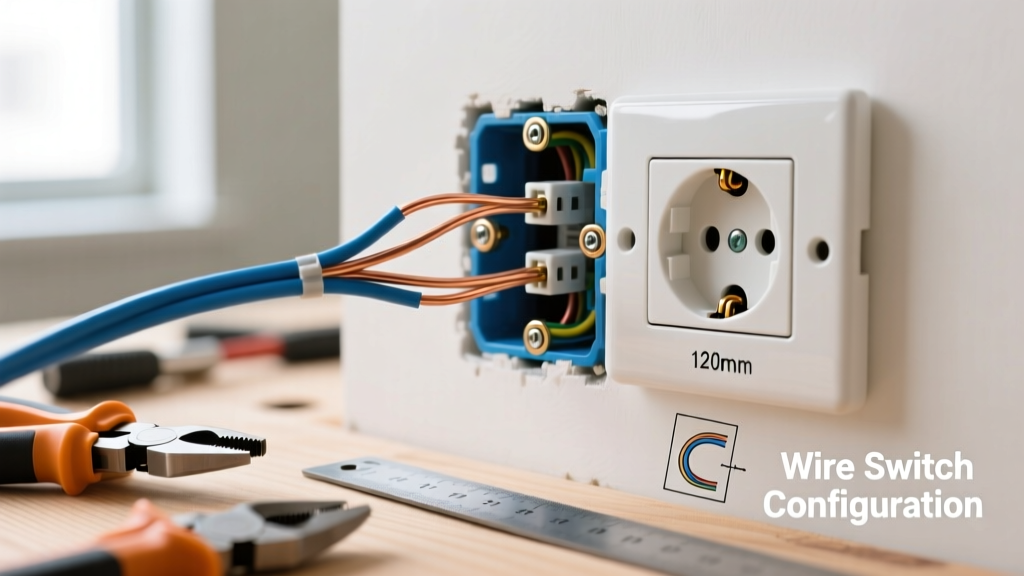
If you are installing an 'old-work' (remodel) box, precision is everything. The standard cutout is 2.25 inches wide by 4.0 inches high. Follow these steps to ensure a perfect fit:
- Locate the Studs: Use a magnetic or electronic stud finder. Ensure your cutout will not intersect a wooden stud. Maintain at least 1.25 inches of clearance from the edge of the stud to the edge of the box to prevent drywall screws from piercing the wires later.
- Trace the Box: Hold the front flange of the old-work box flat against the drywall. Trace the inside edge with a sharp pencil. Do not trace the outer flange.
- The 1/8-Inch Rule: Use a drywall saw or an oscillating multi-tool to cut exactly on the inside of your pencil line. Leaving a 1/8-inch gap around the box allows for minor adjustments and prevents the drywall from binding against the box ears when you tighten the mounting screws.
- Test the Fit: Insert the box. The drywall should sit flush against the front flange. If it is tight, lightly sand the edges of the drywall rather than forcing the box, which can crack the gypsum core.
Upgrading to Smart or USB Outlets: Dimensional Shifts
As smart home technology and USB-C charging become standard in modern renovations, beginners must be aware that these devices do not share the same physical depth as a basic $1.25 duplex receptacle like the Leviton 5262.
The Depth Problem with Tech Receptacles
Standard duplex receptacles have a rear depth of about 0.95 inches. In contrast, a USB-C/A combo receptacle (such as the Leviton T5632 or TopGreener TU2154A) often has a rear depth of 1.55 to 1.75 inches due to the internal transformer and circuitry. Furthermore, smart Wi-Fi outlets with built-in energy monitoring can be even bulkier.
Pro Tip: If you are upgrading to USB or smart outlets, always verify the rear depth of the device against your wall cavity. Standard 2x4 framing with 1/2-inch drywall leaves exactly 3.0 inches of depth. If your box is 3.5 inches deep, a 1.75-inch smart outlet will bottom out against the plaster lath or exterior sheathing, making it impossible to mount flush.
For these larger devices, upgrade to a deep 1-gang box, such as the Carlon B620R-UPC, which offers 20 cubic inches of space and a deeper profile to accommodate the bulky rear heatsinks and transformers.
Common Beginner Sizing Mistakes and How to Fix Them
Even with the right dimensions on paper, real-world installation often presents physical challenges. Here is how to troubleshoot the most common dimensional errors:
1. The Recessed Box Hazard
According to safety guidelines highlighted by the U.S. Consumer Product Safety Commission (CPSC), combustible surfaces like drywall should not be exposed inside the electrical box. If your electrical box is recessed more than 1/4-inch behind the finished drywall surface, you have a code violation and a potential fire hazard. The Fix: Do not just use longer screws. Install a UL-listed box extender ring (like the Arlington BE1) that bridges the gap between the box and the drywall.
2. Crooked Wall Plates
If your standard 2.75" x 4.5" wall plate sits crooked even when the screws are tight, your drywall cutout is likely too tight on one side, pushing the receptacle's mounting strap out of plumb. The Fix: Score the drywall on the tight side with a utility knife to give the strap room to sit flat, or use a jumbo wall plate to hide the asymmetric gap.
3. Using the Wrong Screws
Beginners often lose the 6-32 x 1-inch mounting screws that come with the receptacle and substitute them with drywall screws or coarse-thread wood screws. This can strip the threads on the receptacle yoke or damage the internal grounding path. Always use the manufacturer-provided 6-32 machine screws, or buy a pack of premium 1-inch or 1.5-inch 6-32 machine screws if you are using a box extender.
Final Thoughts on Precision
Mastering standard electrical outlet dimensions is the hallmark of a clean, professional-grade DIY installation. By respecting the 1.31" x 2.62" NEMA face dimensions, adhering to the 3.281" screw spacing, and calculating your box fill correctly, you ensure that your outlets are not only aesthetically pleasing but fundamentally safe. Always turn off the breaker, verify the power is dead with a non-contact voltage tester, and consult the latest NEC guidelines before beginning any electrical work.