
Understanding the Anatomy of a Three Prong Electrical Outlet
The standard North American three prong electrical outlet, technically designated as a NEMA 5-15R (15-amp) or NEMA 5-20R (20-amp) receptacle, is the backbone of residential and commercial power distribution. While swapping one out seems trivial, improper wiring remains a leading cause of residential electrical fires. According to the National Fire Protection Association (NFPA), electrical failures or malfunctions account for tens of thousands of home structure fires annually, with receptacle wiring faults being a primary culprit.
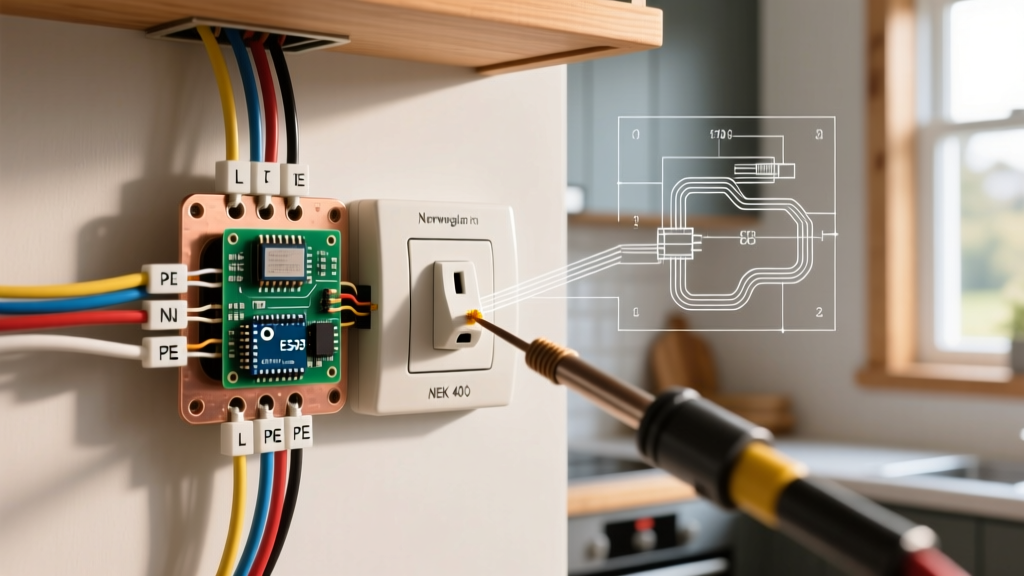
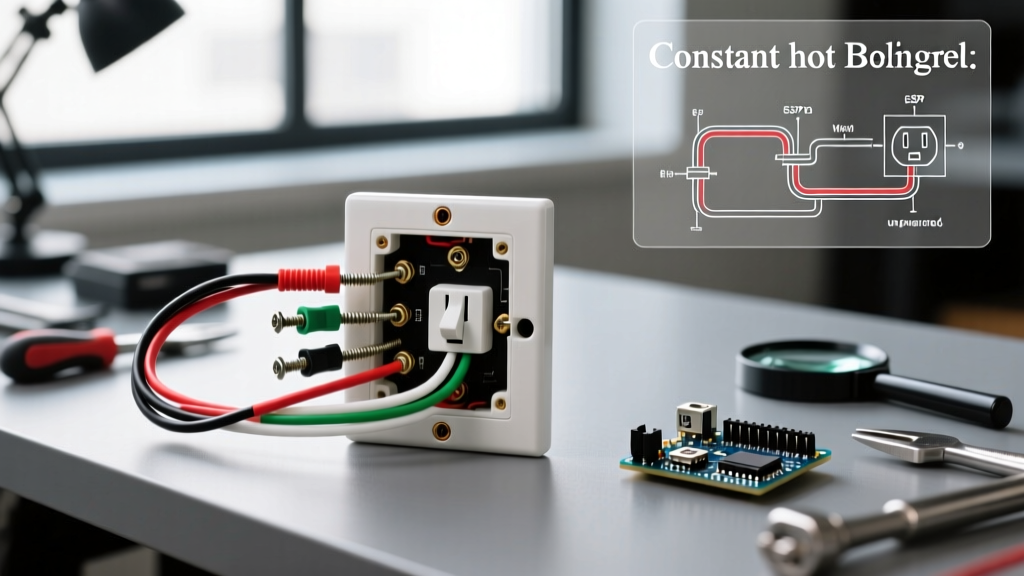
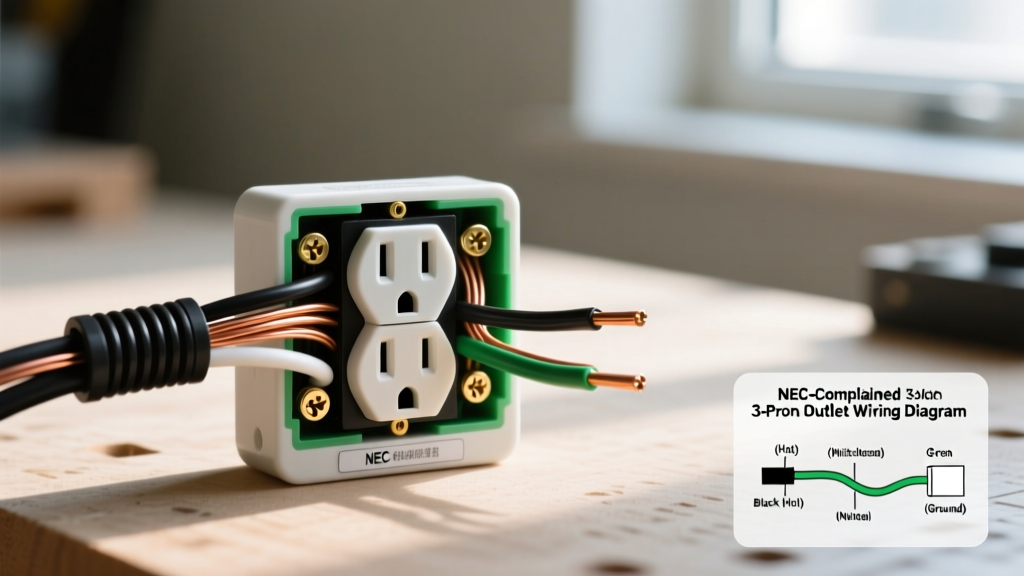
Before touching a wire, you must understand the terminal anatomy on the back of the receptacle body:
- Brass Terminals (Hot/Line): Connects to the black (or red/blue) insulated wire carrying 120V AC from the breaker panel.
- Silver Terminals (Neutral): Connects to the white (or gray) insulated wire, completing the circuit back to the panel's neutral bus bar.
- Green Terminal (Ground): Connects to the bare copper or green insulated wire, providing a low-impedance fault path to trip the breaker during a short circuit.
Standard 15A Three Prong Outlet Wiring Diagram
The NEMA 5-15R is the ubiquitous 15-amp, 125-volt receptacle found in living rooms, bedrooms, and hallways. It requires a minimum of 14 AWG copper wire protected by a 15-amp breaker, though 12 AWG wire on a 15-amp breaker is also perfectly acceptable and often preferred for voltage drop mitigation on long runs.
Step-by-Step Termination Procedure
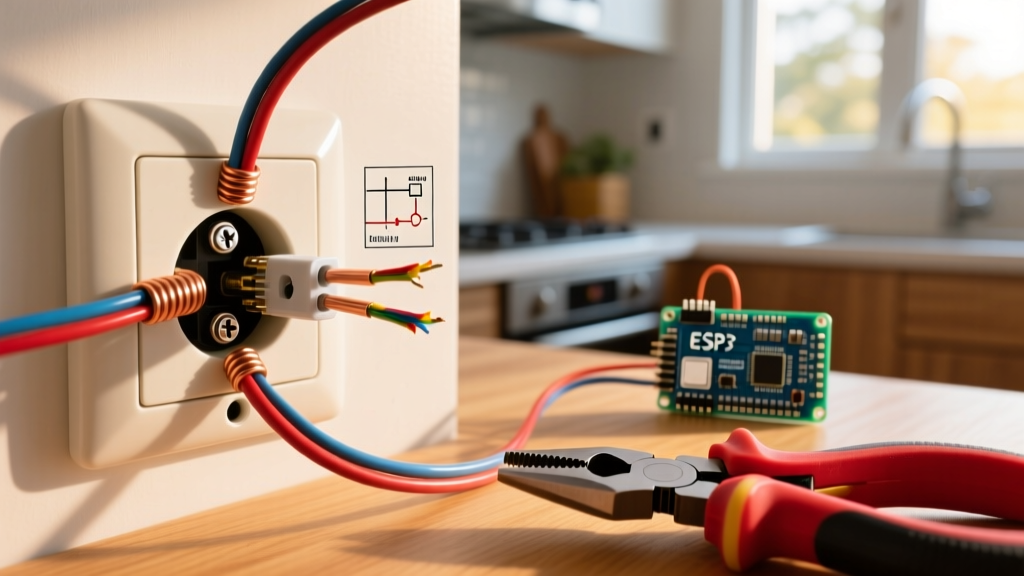
- Strip the Wire: Use a precision wire stripper to remove exactly 5/8-inch (16mm) of insulation. Stripping too little leaves exposed copper outside the terminal; stripping too much leaves bare wire exposed, creating a shock hazard.
- Form the J-Hook: Using needle-nose pliers, bend the stripped copper into a tight 'J' hook. The hook must curve clockwise.
- Seat the Wire: Loop the hook around the brass or silver terminal screw. When you tighten the screw clockwise, the loop will pull tighter around the shaft rather than splaying outward.
- Apply Torque: Tighten the terminal screw to the manufacturer's specification. For industry-standard receptacles like the Leviton 5320-W or Hubbell 5362, this is typically 14 in-lbs (1.6 N-m).
- Ground Connection: Secure the bare copper ground wire to the green terminal screw at the bottom of the yoke.
20A Three Prong Outlet (NEMA 5-20R) Configuration
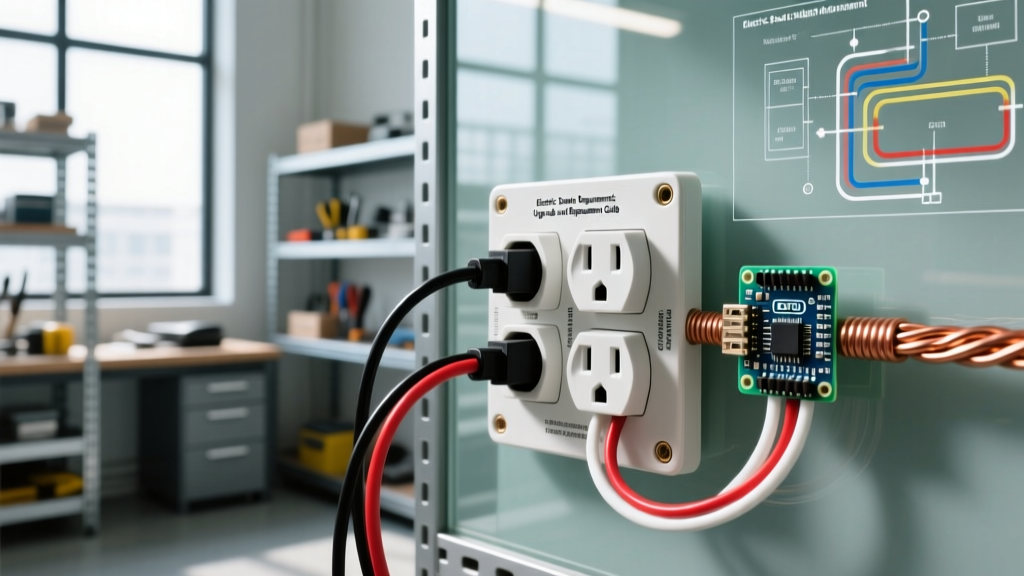
The 20-amp three prong electrical outlet features a distinct T-shaped neutral slot. This design allows it to accept both standard 15-amp plugs and specialized 20-amp plugs (NEMA 5-20P) used by heavy-draw appliances like commercial shop vacuums, large window air conditioners, and kitchen equipment.
15A vs 20A Receptacle Comparison Matrix
| Specification | NEMA 5-15R (15-Amp) | NEMA 5-20R (20-Amp) |
|---|---|---|
| Neutral Slot | Vertical Straight Blade | T-Shaped (Horizontal/Vertical) |
| Minimum Wire Gauge | 14 AWG Copper | 12 AWG Copper (Mandatory) |
| Breaker Size | 15 Amp | 20 Amp |
| Typical Cost (2026) | $1.50 - $3.00 | $3.50 - $6.00 |
| NEC Placement Rules | General living spaces | Kitchens, garages, commercial |
Note: The National Electrical Code (NEC) permits 15-amp receptacles to be installed on a 20-amp circuit, provided there is more than one receptacle on the yoke or circuit. However, you can never install a 20-amp receptacle on a 15-amp circuit or 14 AWG wire.
Line vs. Load: Daisy Chaining and Pigtailing
When wiring multiple three prong outlets on a single circuit, the power must pass from one box to the next. You have two methods for handling the incoming (Line) and outgoing (Load) wires:
Method 1: The Pass-Through (Feed-Through) Method
This involves connecting the incoming Line wires to the top terminals and the outgoing Load wires to the bottom terminals of the same receptacle. While fast, this method has a critical flaw: if the receptacle fails or is removed, all downstream outlets lose power. Furthermore, pushing two wires under a single terminal screw is a direct NEC violation.
Method 2: The Pigtail Method (Industry Best Practice)
Professional electricians overwhelmingly prefer pigtailing. You join the incoming Line wire, the outgoing Load wire, and a short 6-inch 'pigtail' wire using a wire nut (or push-in connector like a Wago 221). The single pigtail wire is then terminated to the receptacle screw.
Pro Tip: Pigtailing ensures that the receptacle itself is not part of the continuous circuit path. If the receptacle's internal brass contacts fail due to thermal fatigue, downstream devices remain powered, and troubleshooting becomes significantly easier.
Backstab vs. Screw Terminal Failures
Many budget-friendly three prong outlets feature 'backstab' or push-in terminals on the rear. These rely on a spring-steel wedge to grip the wire. While UL-listed, they are notorious for premature failure in high-draw scenarios.
When a 1500W space heater (drawing ~12.5 amps) is plugged in, the terminal heats up. When unplugged, it cools. Over hundreds of thermal expansion and contraction cycles, the spring steel loses tension. The wire loosens, creating a high-resistance connection that arcs and melts the polycarbonate housing. For permanent installations, always strip the wire and use the side-screw terminals or the screw-clamp plates found on premium 'spec-grade' receptacles (e.g., Leviton ProGrade 5362).
NEC 2026 Compliance: Torque and GFCI Mandates
Modern electrical codes have drastically tightened installation standards. Two critical updates impact your three prong outlet wiring:
- Calibrated Torque (NEC 110.14(D)): Hand-tightening is no longer sufficient for code compliance in inspected jurisdictions. You must use a calibrated torque screwdriver or torque driver set to the manufacturer's specified inch-pounds. Under-torquing causes arcing; over-torquing strips the brass threads or shears the screw head.
- Receptacle Replacements (NEC 406.4(D)): If you are replacing an old, ungrounded 2-prong outlet with a 3-prong outlet in an area that currently requires GFCI protection (kitchens, bathrooms, garages, outdoors, crawlspaces), you must install a GFCI receptacle or protect it with a GFCI breaker. You cannot install a standard 3-prong outlet in these zones without GFCI protection, even if the home was built in 1965.
For comprehensive safety guidelines regarding home electrical system upgrades and grounding, refer to the U.S. Department of Energy's Home Electrical Systems guide.
Troubleshooting Common Three Prong Wiring Faults
Before closing up the drywall or screwing on the faceplate, verify your wiring using a digital multimeter (DMM) or a dedicated receptacle tester like the Klein Tools RT210.
The 'Bootleg Ground' Hazard
In older homes lacking a true equipment grounding conductor, some DIYers illegally jumper the neutral (silver) terminal to the ground (green) terminal to trick a 3-prong tester into showing a 'correct' reading. This is called a bootleg ground and is lethally dangerous. If the neutral wire ever breaks upstream, the metal chassis of any plugged-in appliance will become energized at 120V.
How to test for it: Measure the voltage between Hot and Neutral (should be ~120V). Then measure Hot to Ground. If the readings are identical down to the decimal (e.g., 121.4V and 121.4V), and you know the home has older wiring, suspect a bootleg ground. A true ground will usually show a slight voltage variance due to the neutral carrying return current.
Reversed Polarity
If a tester indicates 'Hot/Neutral Reverse', the black wire was landed on the silver screw, and the white wire on the brass screw. While the appliance will still operate, the internal fuse of the device is now on the neutral side rather than the hot side, meaning the device's internal circuitry remains energized at 120V even if the fuse blows. Always ensure black goes to brass.
Frequently Asked Questions
Can I install a three prong outlet if my wall box has no ground wire?
Under NEC 406.4(D)(2), if no equipment grounding conductor exists in the box, you may replace a 2-prong outlet with a 3-prong GFCI receptacle. You must leave the ground terminal empty and apply the included 'No Equipment Ground' sticker to the faceplate. The GFCI will protect against shock, but it will not provide a true ground for surge protectors or sensitive electronics.
Why is my three prong outlet sparking when I plug something in?
A small blue spark when plugging in a device with a large capacitor (like a laptop charger or power tool) is normal inrush current. However, a large, bright orange spark accompanied by a popping sound or burning smell indicates a loose terminal connection, backstab failure, or a short circuit. Turn off the breaker immediately and inspect the terminal screws for thermal damage. For more on identifying electrical hazards, consult OSHA's wiring design and protection standards.