
The Hidden Danger of Legacy 240V Receptacles
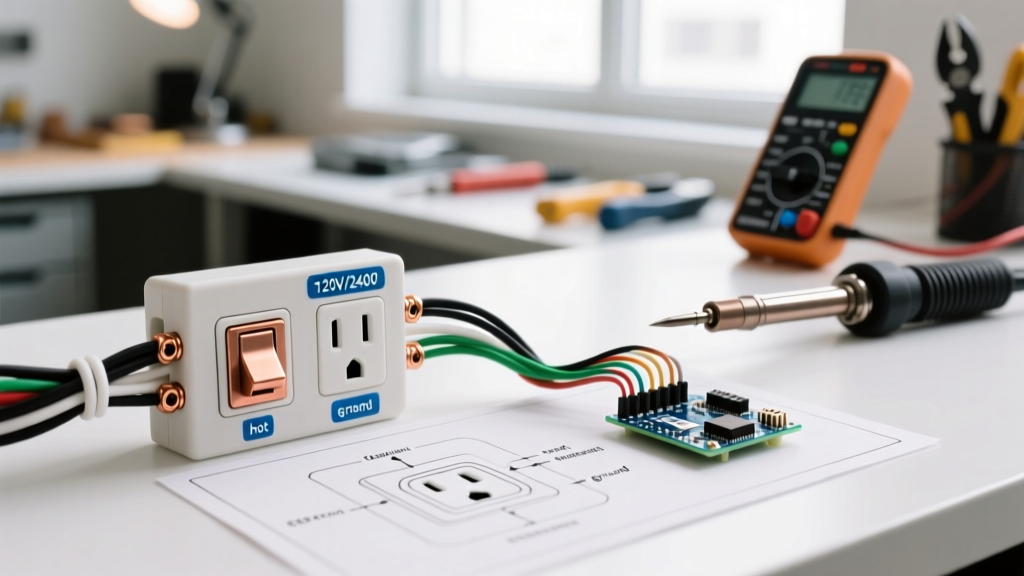
Upgrading a 240v electric outlet is no longer just a niche task for electricians installing heavy machinery. With the explosive growth of Level 2 home EV chargers, high-end workshop welders, and smart dual-fuel ranges, homeowners are increasingly pushing legacy electrical infrastructure to its absolute limits. If your home was built before 1996, you likely have a NEMA 10-series outlet (like the 10-30 or 10-50) which lacks a dedicated equipment grounding conductor. Relying on the neutral wire for grounding is a severe shock hazard and a direct violation of modern safety codes.
This comprehensive upgrade and replacement guide will walk you through transitioning from obsolete or damaged 240V receptacles to modern, code-compliant, and thermally stable configurations. We will cover specific industrial-grade hardware recommendations, 2026 NEC code mandates, and exact torque specifications to prevent thermal runaway.
NEMA Configuration Matrix: What Do You Actually Need?
Before pulling any wire, you must identify the correct National Electrical Manufacturers Association (NEMA) configuration for your specific appliance. Mismatching a plug via cheap adapters is a leading cause of residential electrical fires.
| NEMA Type | Amperage / Voltage | Poles & Wires | Primary Use Case | Upgrade Status |
|---|---|---|---|---|
| 10-30 / 10-50 | 30A / 50A @ 240V | 3-Pole, 3-Wire | Legacy Dryers / Ranges | Obsolete: Must be replaced with 14-series. |
| 14-30 | 30A @ 125/250V | 4-Pole, 4-Wire | Modern Electric Dryers | Standard: Requires 10 AWG copper. |
| 14-50 | 50A @ 125/250V | 4-Pole, 4-Wire | EV Chargers, Ranges, RV | High Demand: Requires 6 AWG copper. |
| 6-50 | 50A @ 250V | 2-Pole, 3-Wire | Arc Welders, Plasma Cutters | Specialty: No neutral wire required. |
The EV Charger Meltdown: Why Receptacle Grade Matters
The most critical mistake DIYers make when upgrading a 240v electric outlet for an EV charger is buying a standard residential-grade receptacle from a big-box hardware store. Brands like Leviton or Pass & Seymour manufacture inexpensive 14-50R outlets (often under $15) designed for intermittent loads, like an oven that cycles on and off.
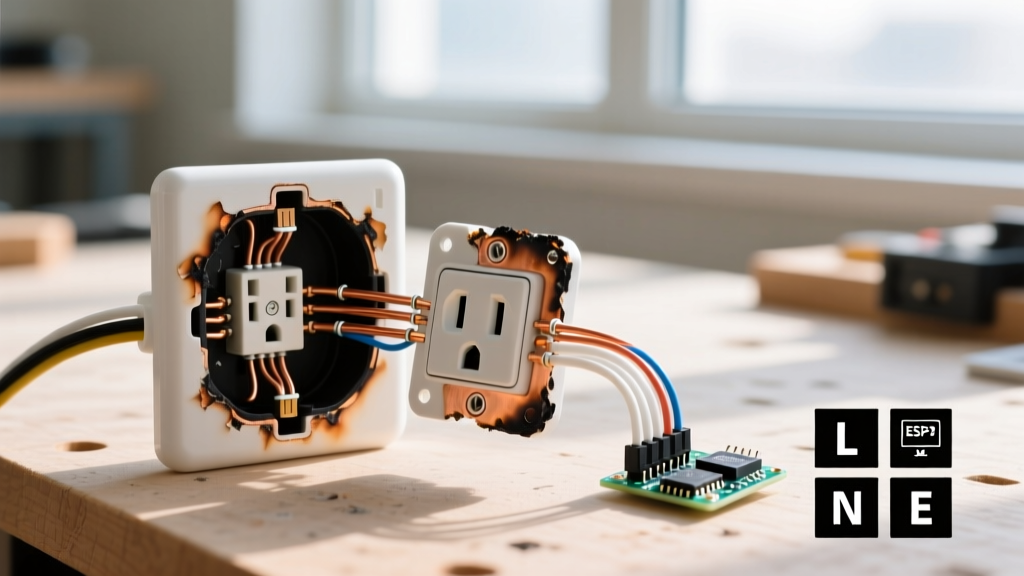
EV charging is a continuous load. Drawing 40 amps continuously for 8 to 10 hours generates massive thermal expansion and contraction inside the receptacle's brass contacts. Over a few months, residential-grade contacts loosen, increasing electrical resistance, which leads to arcing, melting plastic, and potentially a house fire.
Expert Recommendation: Always install an industrial-grade receptacle for continuous 240V loads. The Bryant 9450FR (Industrial Grade 50A 125/250V) or the Hubbell 9450A are the gold standards in 2026. They feature massive, high-tension brass contacts and heavy-duty thermoset phenolic faces that resist thermal deformation. Expect to pay between $45 and $85 for these units, but the safety ROI is immeasurable.
2026 NEC Code Mandates for 240V Upgrades
When replacing your outlet, you are legally required to bring the installation up to the current National Electrical Code (NEC). Two specific articles heavily impact 240V upgrades today:
1. GFCI Protection (NEC Article 210.8)
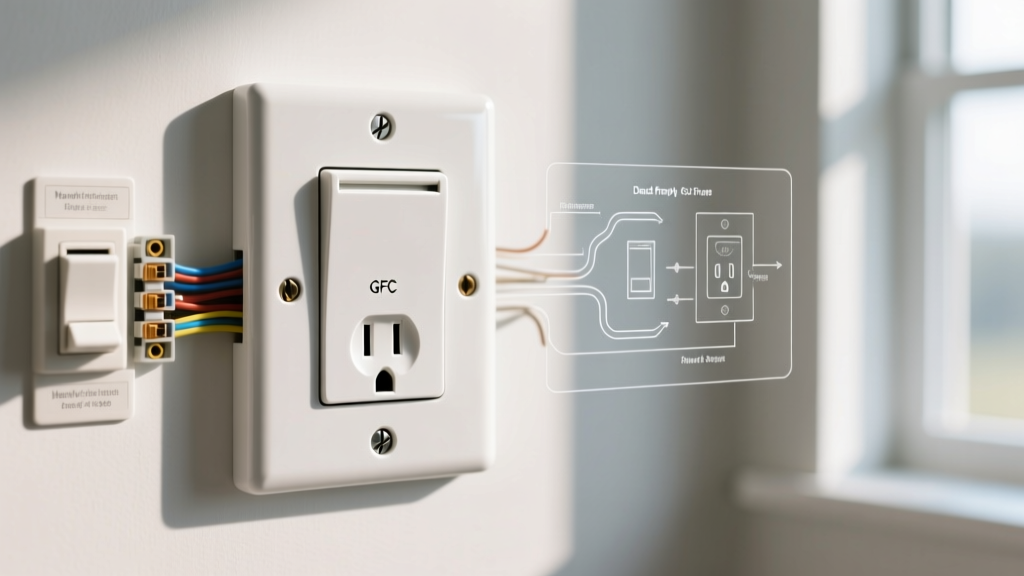
If your 240v electric outlet is located in a garage, basement, crawl space, or outdoors, it must be protected by a Ground Fault Circuit Interrupter (GFCI). Because GFCI receptacles for 50A/240V are virtually non-existent or prohibitively expensive, this means you must install a 50A Double-Pole GFCI Circuit Breaker in your main panel. According to the National Fire Protection Association (NFPA), this is non-negotiable for life safety in damp environments.
2. Verified Torque (NEC Article 110.14(D))
The NEC now mandates that terminations must be torqued to the manufacturer's specified values using a calibrated torque tool. Hand-tightening with a standard screwdriver is no longer code-compliant and will fail an inspection. For a Hubbell 9450A, the terminal torque specification is typically 75 in-lbs.
Step-by-Step 240v Electric Outlet Replacement
Warning: Working inside a 240V circuit carries lethal energy. If you are not confident in your ability to safely isolate and verify the circuit, hire a licensed electrician. Follow OSHA's Lockout/Tagout guidelines to ensure the breaker cannot be accidentally re-energized while you work.
- Isolate and Lockout: Turn off the double-pole breaker supplying the outlet. Apply a physical lockout tag to the panel door.
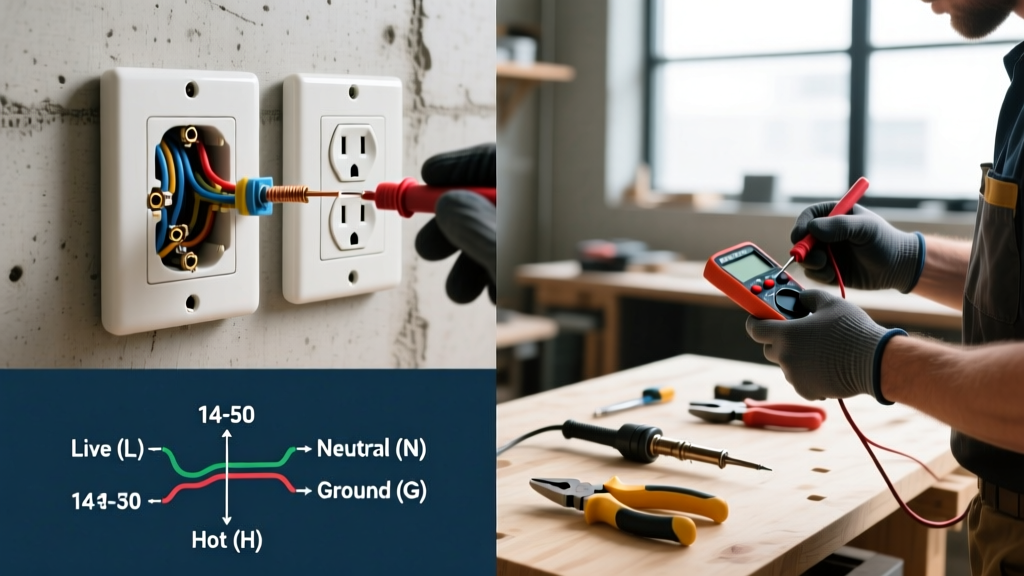
- Verify Zero Energy: Use a CAT III or CAT IV rated multimeter (like the Fluke 117). Test Phase A to Phase B (should read 240V), then Phase A to Ground, and Phase B to Ground (should read 120V each). Once verified dead, proceed.
- Extract the Legacy Yoke: Unscrew the faceplate and the yoke mounting screws. Gently pull the receptacle out. Note the wiring configuration. If you see a 3-wire setup (no bare copper or green ground), you must pull a new 4-wire cable (e.g., 6/3 NM-B or individual 6 AWG THHN in conduit) from the panel to add a dedicated ground.
- Dress and Strip the Wires: Cut back any frayed or oxidized copper. Strip exactly 3/4 inch of insulation from the 6 AWG conductors using heavy-duty wire strippers.
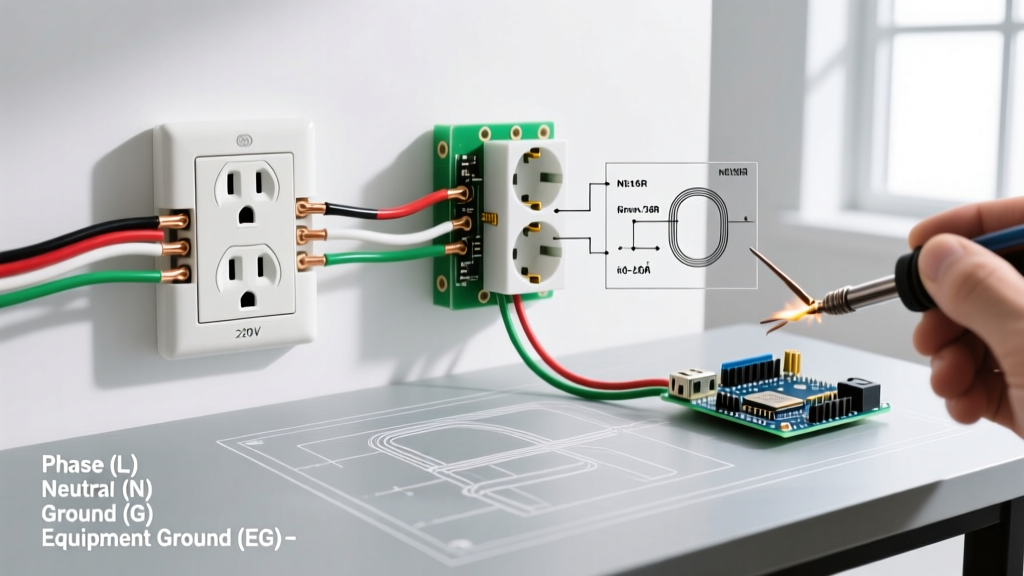
- Terminate to the Industrial Receptacle: Connect the bare/green wire to the Ground (G) terminal, the white wire to the Neutral (W) terminal, and the black and red wires to the Phase (X and Y) terminals. Note: For 240V-only loads like welders on a 6-50, the neutral terminal is left empty and the white wire is capped or not pulled.
- Apply Calibrated Torque: Use an insulated torque screwdriver (e.g., Klein Tools 706/12) set to the manufacturer's exact in-lb specification. Tighten until the tool clicks.
- Secure and Test: Push the wires neatly into the backbox, mount the yoke, and attach the heavy-duty faceplate. Remove the panel lockout, energize the breaker, and test the voltage at the receptacle slots before plugging in your appliance.
Project Cost Breakdown (2026 Estimates)
Upgrading a 240v electric outlet varies in price depending on whether you need to pull new wire or simply swap a damaged receptacle on an existing, code-compliant 4-wire run.
| Component / Service | DIY Material Cost | Pro Installed Cost |
|---|---|---|
| Industrial 14-50R Receptacle (Bryant/Hubbell) | $45 - $85 | Included in Labor/Markup |
| 50A Standard Double-Pole Breaker | $15 - $25 | $30 - $50 |
| 50A GFCI Double-Pole Breaker (If required) | $160 - $220 | $250 - $350 |
| 6/3 NM-B Cable (per foot) | $3.50 - $5.00 | $6.00 - $9.00 |
| Labor (Retrofit / Pulling new 50ft line) | $0 | $400 - $900 |
Troubleshooting Edge Cases: Voltage Drop and Thermal Runaway
Even after a perfect installation, high-draw 240V appliances can present unique challenges. According to the U.S. Department of Energy, maintaining stable voltage is critical for the longevity of EV onboard chargers and smart appliance logic boards.
Voltage Drop on Long Runs
If your 240v electric outlet is located more than 100 feet from the main service panel, 6 AWG copper wire may experience a voltage drop exceeding the recommended 3% threshold under a full 50A load. If your EV charger logs "low voltage" errors, you must upgrade the feeder wire to 4 AWG copper or 2 AWG aluminum to compensate for the distance. Always calculate voltage drop using the formula: VD = (2 x K x I x D) / CM, where K is 12.9 for copper.
Thermal Imaging Verification
After 30 days of continuous use, it is a best practice to inspect the outlet with a thermal imaging camera (like the FLIR ONE Pro). The faceplate and breaker should not exceed ambient room temperature by more than 15°F (8°C). If you spot a glowing hot-spot on one of the phase terminals, immediately power down the circuit. This indicates a loose termination, wire oxidation, or a failing breaker bus stab, requiring immediate re-termination and potentially a panel service call.
Upgrading your 240V infrastructure is a high-stakes project that bridges the gap between old-world electrical grids and modern, high-draw technology. By prioritizing industrial-grade components, adhering strictly to torque specifications, and respecting NEC GFCI mandates, you ensure your home's power delivery is both robust and inherently safe.