
Translating the Wiring Diagram for a Switched Outlet into Reality
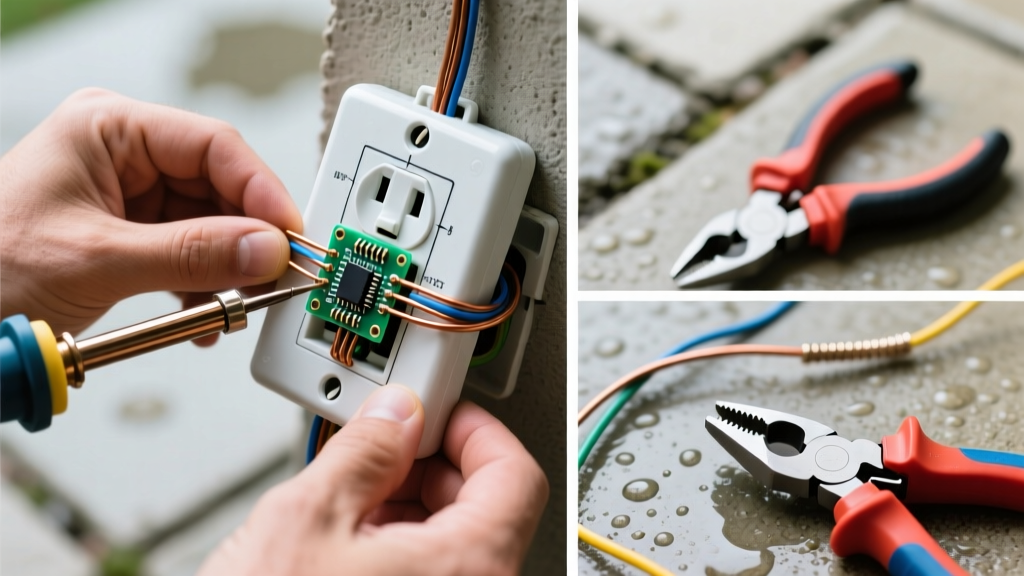
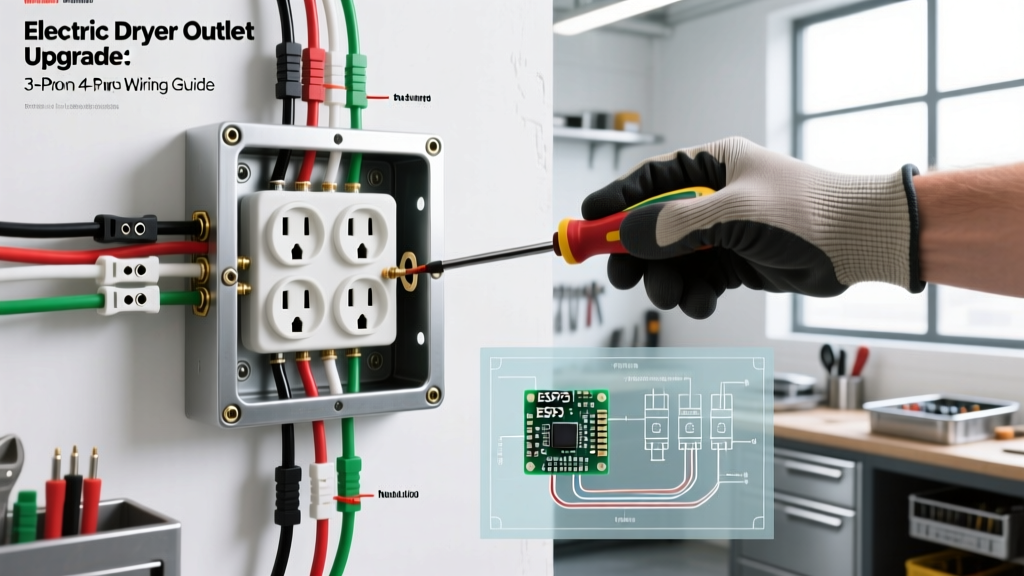
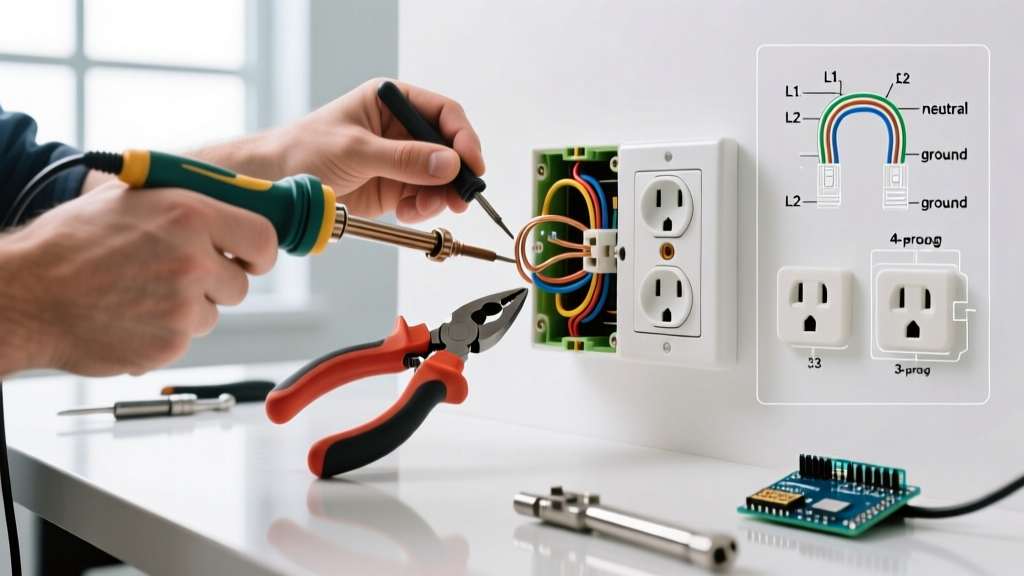
Setting up a switched outlet—whether fully controlled by a wall switch or configured as a "half-hot" (split-wired) receptacle for a table lamp—requires more than just a basic understanding of the circuit. To successfully translate a wiring diagram for a switched outlet into a safe, code-compliant physical installation, you need the exact materials and professional-grade tools. In this 2026 tool and material guide, we break down the precise components, wire gauges, and torque specifications required to execute this common residential wiring project without tripping breakers or creating fire hazards.
A theoretical diagram shows lines and circles; the physical installation requires stripping exact lengths of Romex, breaking specific brass tabs, and terminating wires to precise inch-pound torque values. Below, we detail everything you need to bridge the gap between paper and wall.
Decoding the Circuit Topology
Before purchasing parts, you must understand the physical topology represented in your wiring diagram. A standard switched outlet diagram features a power source (line), a switch loop, and the receptacle.
- Fully Switched Outlet: The switch controls both the top and bottom receptacles. The hot wire from the panel goes to the switch, and the switched hot continues to the brass terminal on the receptacle. The brass tab remains intact.
- Half-Hot (Split-Wired) Outlet: The bottom receptacle is always hot, while the top is controlled by the wall switch. This requires a 3-wire cable (like 14/3 or 12/3 Romex) between the switch and the outlet, and crucially, the brass break-off tab on the hot side of the duplex receptacle must be removed to isolate the top and bottom terminals.
Essential Materials: Receptacles, Switches, and Wire
Do not buy the cheapest contractor-grade parts in the bulk bin. For a switched outlet that will endure years of plug insertion and high current loads, specify commercial-grade (spec-grade) or high-quality residential components. Below is the exact bill of materials for a standard 15-amp circuit.
| Component | Recommended 2026 Model | Specifications | Avg. Price |
|---|---|---|---|
| Duplex Receptacle | Leviton Decora 15A TR (R52-05266-WMP) | 15A/125V, Tamper-Resistant, Side-Wire + Back-Wire Clamp | $3.50 |
| Single Pole Switch | Leviton Decora 15A (R52-05693-WMP) | 15A/120V, AC Only, Side-Wiring preferred | $4.25 |
| 2-Wire Cable (Line/Load) | Southwire 14/2 NM-B W/G Romex | 14 AWG Solid Copper, 600V, PVC Jacket | $0.45/ft |
| 3-Wire Cable (Switch Loop) | Southwire 14/3 NM-B W/G Romex | Required for half-hot split wiring diagrams | $0.65/ft |
| Wire Connectors | IDEAL 34 Yellow Wire-Nut | Connects 3 to 4 #14 AWG wires securely | $0.15/ea |
Why Spec-Grade Matters
The Leviton R52-05266-WMP features a "back-wire clamp" mechanism. Unlike cheap push-in (backstab) terminals that rely on a tiny metal spring that loosens over time due to thermal expansion, the clamp plate is tightened down by the side screw, providing a massive surface area contact identical to wrapping the wire around the screw itself. This drastically reduces arc-fault risks.
The Pro Tool Kit for Switched Outlet Wiring
Executing a wiring diagram flawlessly requires precision tools. Dull wire strippers nick the copper, creating hot spots. Under-torqued screws cause arcing. Here is the exact tool kit required for the job.
1. Wire Stripping and Prep
Klein Tools 11055 Wire Stripper/Cutter (~$28.00): This tool has a dedicated 14 AWG and 12 AWG solid wire hole. It strips the insulation cleanly without scoring the copper conductor. Scoring the copper reduces the wire's cross-sectional area and creates a mechanical weak point that can snap inside the terminal.
Strip Length Guide: Use the built-in gauge on the Leviton receptacle. Typically, you need exactly 3/4 inch of bare copper for side-wiring. If you see bare copper exposed outside the terminal block after tightening, the wire is stripped too long and poses a shock hazard.
2. Voltage Testing
Fluke 1AC-II VoltAlert (~$35.00): A non-contact voltage tester (NCVT) is your first line of defense. However, NCVTs can give false negatives on shielded cables. Always follow up with a Klein Tools RT250 GFCI Receptacle Tester (~$45.00) to verify the circuit is dead and to check for correct wiring topology once power is restored.
3. Torque Termination
Wiha 28501 Torque Screwdriver (~$85.00): Modern electrical best practices and manufacturer instructions dictate specific torque values for terminal screws (usually between 12 and 14 inch-pounds for 15A devices). Hand-tightening often leads to under-torqued connections. A loose neutral or hot wire will arc, melt the receptacle face, and potentially cause a fire. The Wiha preset driver ensures every screw is tightened to the exact manufacturer specification.
Step-by-Step Execution: From Diagram to Physical Wiring
Follow these steps to physically build the circuit represented in your wiring diagram.
- Kill and Verify: Turn off the breaker. Test with the Fluke 1AC-II, then plug in the RT250 to confirm zero voltage.
- Prepare the Cables: Strip 3/4 inch of the outer PVC jacket off the Romex using a cable ripper (avoid using a utility knife, which easily nicks the ground wire). Strip 3/4 inch of insulation from the individual conductors.
- Break the Tab (For Half-Hot Only): If your wiring diagram calls for a split receptacle, use your Klein 11055 side-cutters to carefully snap off the small brass fin connecting the top and bottom brass (hot) screws. Do not break the silver (neutral) tab.
- Make the Splices: Following the diagram, twist the bare copper grounds together with a green wire nut. Connect the neutral wires (whites) with yellow wire nuts.
- Terminate the Switch: Connect the line hot to the bottom brass screw on the switch, and the load hot (often red in a 14/3 cable) to the top brass screw. Wrap the bare ground around the green ground screw.
- Terminate the Receptacle: Insert the wires into the back-wire clamps. Use the Wiha torque screwdriver to tighten the terminal screws until the internal mechanism clicks or slips, indicating exact torque.
Common Failure Modes & Edge Cases
Even with a perfect wiring diagram, physical installation errors cause 90% of switched outlet failures. Watch out for these specific edge cases:
The "Backstab" Trap
Many DIYers use the push-in holes on the back of standard $1.50 receptacles. According to the Electrical Safety Foundation International (ESFI), loose connections are a leading cause of residential electrical fires. Push-in terminals rely on a small leaf spring that loses tension over years of thermal cycling (heating up under load and cooling down). Always use side-wiring or screw-clamp back-wiring.
Reversed Polarity on the Switch Loop
A dangerous mistake is switching the neutral wire instead of the hot wire. If you wire the white wire to the brass terminal and the black wire to the silver terminal, the switch will still turn the lamp on and off. However, the lamp socket remains energized at 120V even when the switch is off, creating a severe shock hazard if someone touches the socket threads while changing a bulb. Always ensure the black (or red) wire connects to the brass screw.
NEC Code Compliance & Safety Checks
When executing your wiring diagram, you must adhere to the latest National Electrical Code (NEC). According to NFPA 70: National Electrical Code, almost all 15A and 20A, 125V receptacles installed in dwelling unit living rooms, bedrooms, and hallways must be protected by an Arc-Fault Circuit Interrupter (AFCI). If your switched outlet is in one of these areas, the breaker controlling the circuit in your main panel must be an AFCI breaker.
Furthermore, if the switched outlet is located within 6 feet of a water source (like a wet bar sink) or outdoors, it must be GFCI protected. In these scenarios, the wiring diagram changes slightly: the GFCI protection must occur either at the breaker or upstream at another receptacle, as standard switched outlets do not have built-in GFCI logic. For comprehensive workplace and residential safety standards, always cross-reference your local amendments with OSHA Electrical Safety Guidelines.
Pro Tip: Before pushing the receptacle back into the electrical box, fold the wires in an accordion pattern. Push the bare ground wires deep into the back of the box first, followed by the neutrals, and finally the hot wires. This prevents the ground wire from getting pinched against the metal box or the receptacle yoke, which would instantly trip an AFCI/GFCI breaker upon energizing.
By combining a correct wiring diagram with commercial-grade materials and precision torque tools, your switched outlet will operate safely and reliably for decades. Never compromise on the physical execution of the circuit; the diagram is only as good as the tools and parts used to build it.