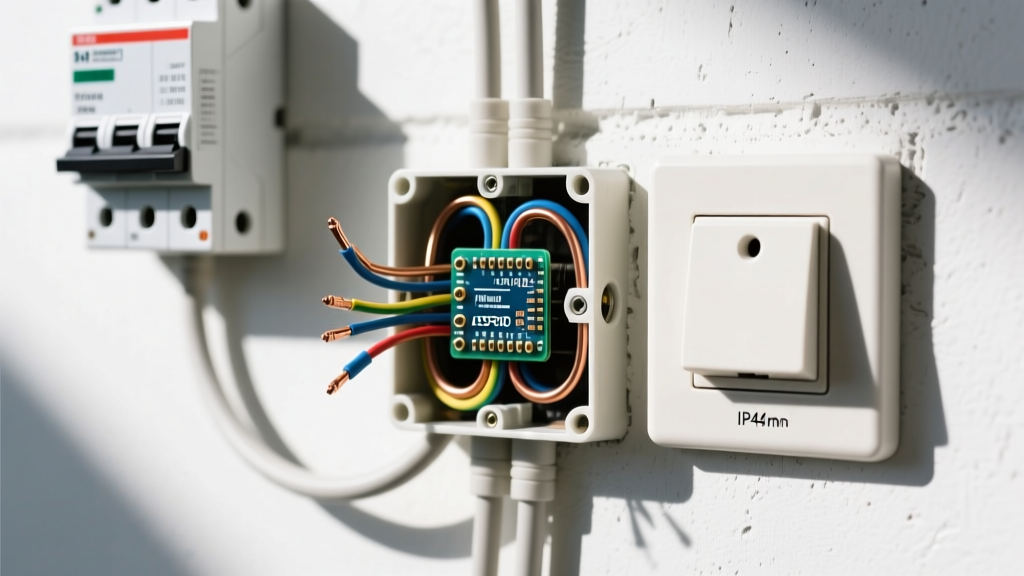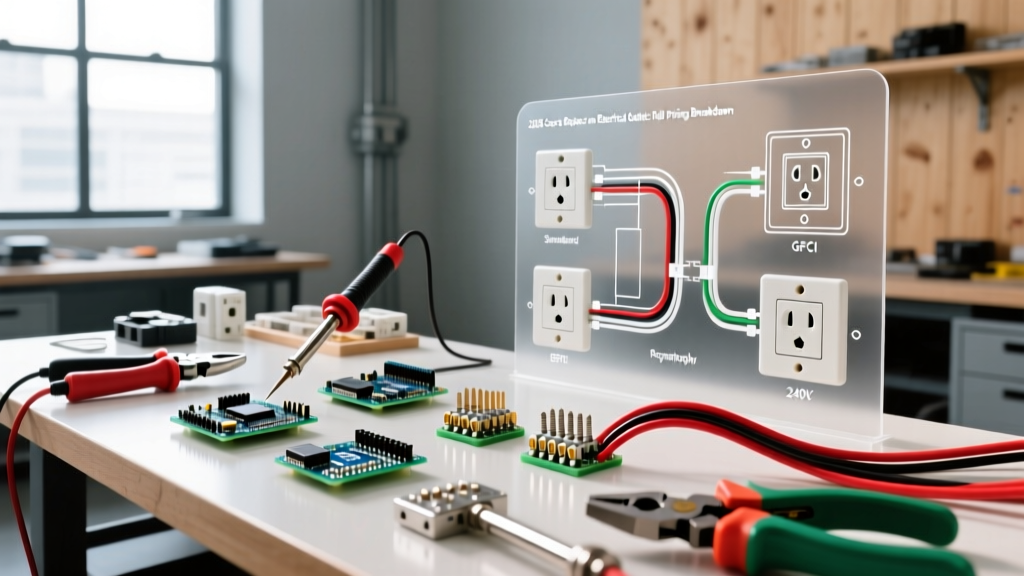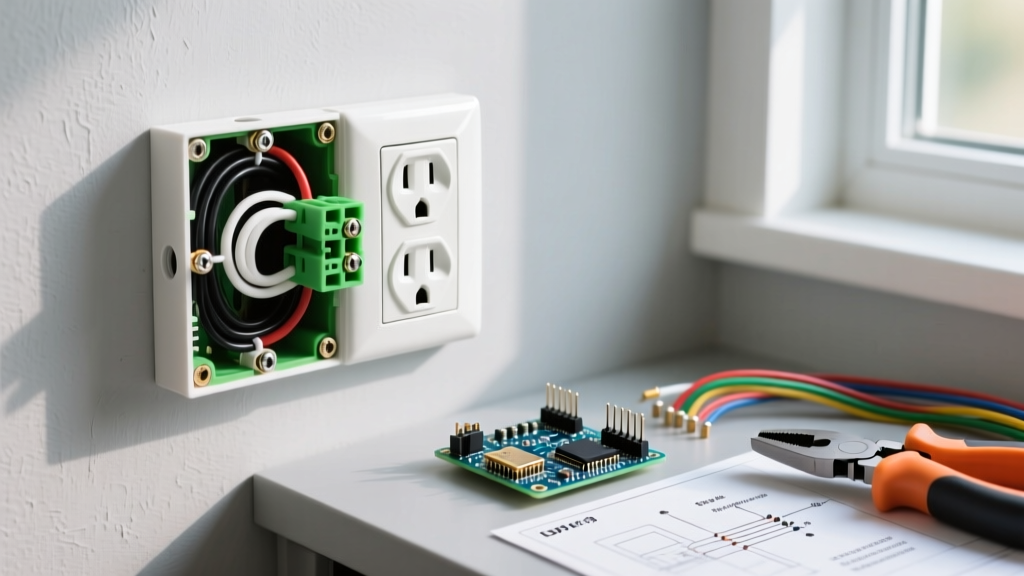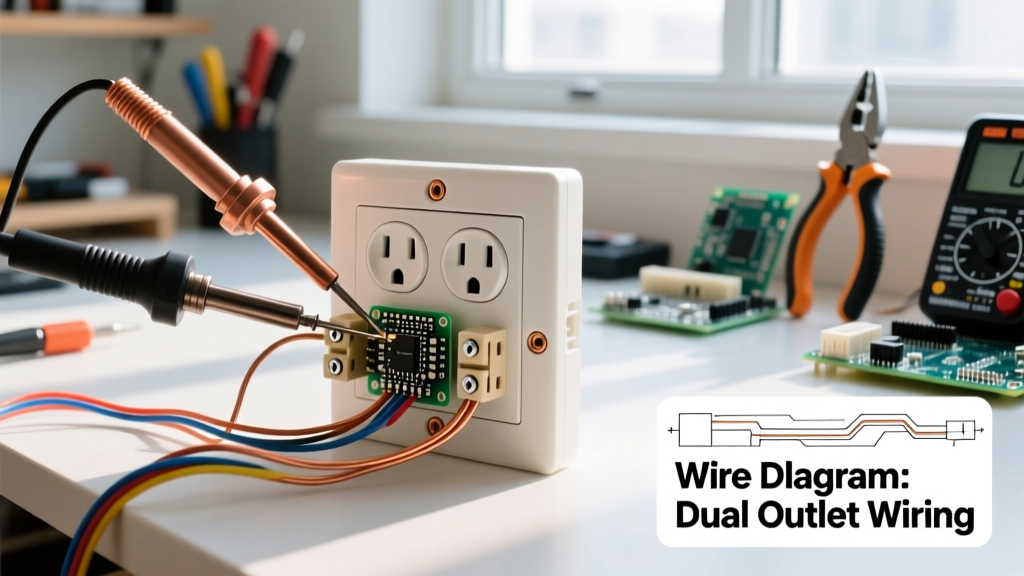

The Anatomy of a Dual Electrical Outlet
Replacing or installing a standard dual electrical outlet (technically known in the trade as a duplex receptacle) is one of the most fundamental skills for any DIY electrician or homeowner. Whether you are upgrading an aging, painted-over receptacle in a 1970s home or adding a new drop in your workshop, understanding the precise wiring sequence and National Electrical Code (NEC) requirements is critical for safety and longevity. In 2026, standard residential receptacles remain largely unchanged in their physical design, but the emphasis on secure terminations and arc-fault protection has never been higher.
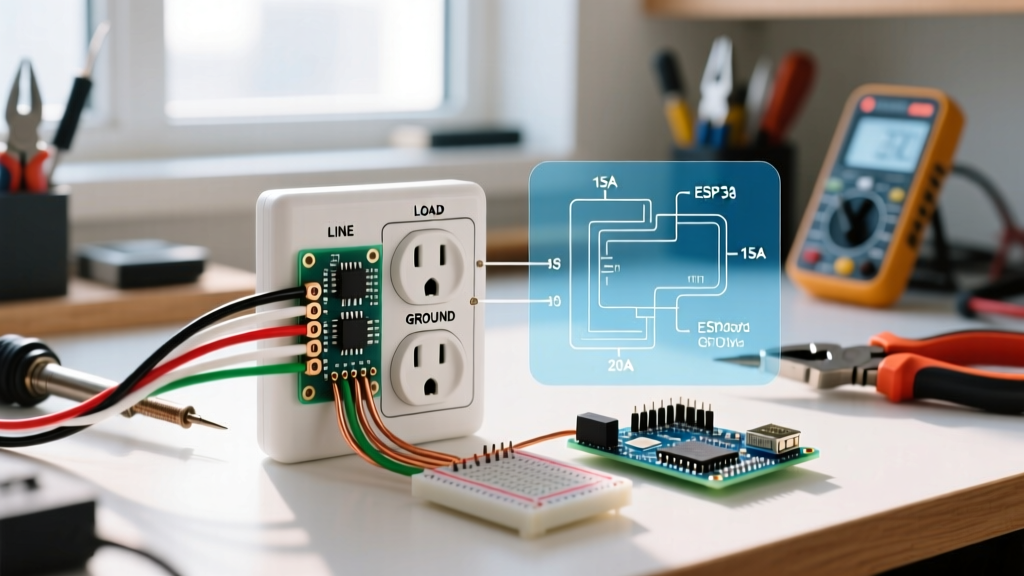
A standard dual electrical outlet features two identical halves, each capable of accepting a standard NEMA 1-15 (two-prong) or NEMA 5-15 (three-prong) plug. Internally, the brass (hot) and silver (neutral) terminals are connected by metal break-off tabs, allowing both halves to share a single circuit. In this beginner tutorial, we will walk through the exact process of wiring a 15-amp, 120-volt duplex receptacle using industry-best practices.
⚠️ CRITICAL SAFETY WARNING: Never work on live electrical circuits. Before beginning any work, turn off the corresponding circuit breaker at your main service panel and verify the power is dead using a non-contact voltage tester. According to the Electrical Safety Foundation International (ESFI), electrical fires account for tens of thousands of home fires annually, many stemming from improper DIY wiring and loose connections.
Tools and Materials Matrix
Using the right tools prevents damaged conductors and ensures a secure mechanical connection. Below is the recommended gear for a standard 15A dual outlet installation.
| Item | Specific Model / Type | Estimated Cost | Purpose |
|---|---|---|---|
| Receptacle | Leviton 5252-W (15A Duplex) | $1.25 - $1.80 | The primary dual electrical outlet device |
| Wire Strippers | Klein Tools 11055 | $24.00 - $28.00 | Strips 14 AWG and 12 AWG solid copper cleanly |
| Voltage Tester | Milwaukee 2202-20 NCVT | $25.00 - $30.00 | Verifies absence of voltage before touching wires |
| Screwdriver | #2 Robertson (Square) / Phillips | $8.00 - $12.00 | Leviton uses square-drive terminal screws for better grip |
| Wire Cable | 14/2 NM-B Romex (if 15A circuit) | $0.45 / ft | Feeds power to the outlet box |
15A vs. 20A: Sizing Your Receptacle
Before you wire your dual electrical outlet, you must verify the circuit's amperage. The NEC strictly regulates which receptacles can be installed on which circuits, as outlined in National Fire Protection Association (NFPA) guidelines under NEC Article 210.21(B)(3).
- 15-Amp Circuits (14 AWG Wire): You must use a standard 15A receptacle (like the Leviton 5252). Both slots will be vertical.
- 20-Amp Circuits (12 AWG Wire): You can use either a 20A receptacle (which features one horizontal T-shaped slot, like the Leviton 5262) or a standard 15A receptacle. However, you can never put a 20A receptacle on a 15A circuit, nor can you use 14 AWG wire on a 20A breaker.
Step-by-Step Installation Guide
Step 1: Power Verification and Box Prep
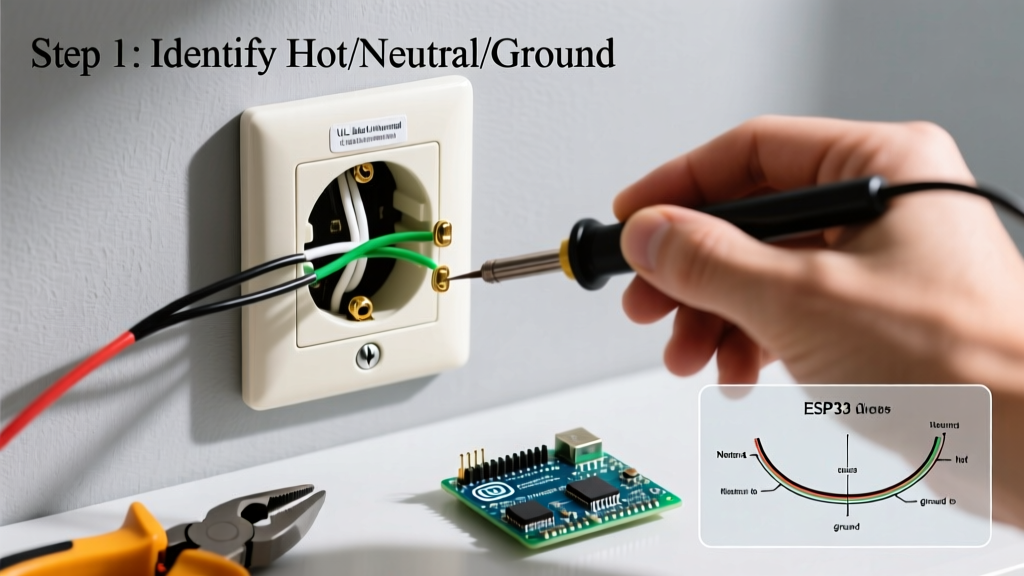
With the breaker off, insert your NCVT into both the top and bottom slots of the existing outlet to confirm zero voltage. Remove the faceplate, unscrew the top and bottom mounting screws, and gently pull the dual electrical outlet out of the gang box. Take note of how the existing wires are routed. If you are installing in a new box, ensure your 14/2 or 12/2 NM-B cable extends at least 8 inches past the front edge of the box.
Step 2: Precision Wire Stripping
Strip the outer sheathing of the Romex cable, leaving about 1/4 inch of sheath inside the box. Next, strip the individual conductors (black, white, and bare copper). Look at the back of your Leviton receptacle; you will see a small strip gauge molded into the plastic. Strip exactly 3/4 of an inch of insulation from the black and white wires. Stripping too little leaves exposed copper outside the terminal, creating a shock hazard; stripping too much leaves bare copper exposed outside the screw head.
Step 3: Forming the J-Hook
Using the needle-nose plier jaws of your wire strippers, bend the exposed 3/4 inch of solid copper wire into a tight 'J' shape or hook. The hook should be perfectly round to match the radius of the terminal screw. This ensures maximum surface area contact between the wire and the brass/silver plates under the screw head.
Step 4: Making the Terminations
Follow the strict color-code protocol for standard 120V wiring:
- Ground (Bare Copper): Hook the bare wire around the green grounding screw at the bottom of the yoke. Tighten firmly.
- Neutral (White Wire): Hook the white wire around one of the silver screws on the left side. Ensure the hook faces clockwise so that tightening the screw pulls the wire loop tighter, rather than pushing it out.
- Hot (Black Wire): Hook the black wire around one of the brass screws on the right side, again looping clockwise.
Expert Tip: Tighten the terminal screws until they are snug and the wire is firmly pinned. Do not overtighten to the point of stripping the brass threads, which compromises the mechanical bond.
Step 5: Folding and Securing
Gently fold the wires back into the gang box. Push the dual electrical outlet flush against the drywall or plaster. Use a torpedo level to ensure the yoke is perfectly plumb before driving in the top and bottom mounting screws. Finally, attach your faceplate, ensuring it sits flush without cracking the plastic from over-tightening.
Expert Insight: Why You Must Avoid "Backstab" Wiring
Many modern dual electrical outlets feature push-in holes on the back, known as 'backstab' or 'quick-wire' terminals. While the NEC permits their use for 14 AWG wire, professional electricians universally avoid them. Backstab connections rely on a tiny internal spring-steel clip to bite into the copper wire. Over time, the thermal cycling of the circuit (heating up under load and cooling down) causes the spring tension to degrade. This leads to micro-arcing, localized melting, and eventually, a dead outlet or an electrical fire. Always take the extra 60 seconds to use the side-screw terminal method detailed above for a permanent, high-integrity connection.
The Break-Off Tab: A Warning for Beginners
If you look closely at the brass (hot) side of your dual electrical outlet, you will see a small metal fin connecting the top and bottom screws. This is the break-off tab. In a standard installation where both the top and bottom outlets are always powered by the same circuit, this tab must remain intact. You only break this tab off using pliers if you are wiring a 'split-receptacle'—a setup where the top half is controlled by a wall switch (for a lamp) while the bottom half remains constantly hot. Breaking this tab by accident will result in the bottom half of your outlet having no power.
Post-Installation Troubleshooting Matrix
Once the breaker is turned back on, test the outlet with a simple $10 receptacle tester. If you encounter issues, consult this diagnostic table:
| Tester Indication | Meaning | Corrective Action |
|---|---|---|
| Open Neutral | White wire is disconnected or loose. | Check the silver terminal screw; ensure the J-hook is fully seated under the screw head. |
| Reverse Polarity | Hot and Neutral are swapped. | Move the black wire to the brass screw and the white wire to the silver screw immediately. This is a severe shock hazard. |
| Open Ground | Bare copper wire is not making contact. | Verify the ground screw is tight and the bare wire is not broken off inside the box. |
| No Power (GFCI Trip) | Upstream GFCI has tripped. | Locate the GFCI outlet earlier in the circuit loop (often in a bathroom or garage) and press the 'Reset' button. |
Final Thoughts on Outlet Safety
Mastering the installation of a dual electrical outlet builds the foundation for more complex DIY electrical projects, such as 3-way switch loops or smart home integrations. By prioritizing side-wire terminations, adhering to precise strip lengths, and respecting NEC amperage guidelines, you ensure your home's electrical infrastructure remains safe, code-compliant, and reliable for decades to come.