
Why Upgrade to a 6-Way Round Trailer Connector?
If you are towing a horse trailer, a heavy-duty utility trailer, or a vintage travel trailer, a standard 4-way flat connector simply will not suffice. The 4-way flat only supports basic lighting (tail, brake, and turn signals). When you need to activate electric trailer brakes or supply 12V auxiliary power to charge a trailer battery or run interior lights, you must upgrade. Understanding the correct wiring diagram for a 6 way trailer plug is the critical first step in this upgrade process.
As of 2026, the 6-way round connector remains a staple in the equestrian and heavy-duty utility towing sectors, even as the 7-way RV blade dominates the recreational market. Upgrading your tow vehicle and trailer to a 6-way round setup typically costs between $45 and $80 for the connectors and wiring kits, excluding the cost of a brake controller. In this guide, we will break down the exact pinouts, address the notorious 'center pin' wiring controversy, and provide a step-by-step replacement procedure.
The Standard Wiring Diagram for a 6 Way Trailer Plug
The 6-way round connector is governed by the SAE J1128 standard, which dictates specific wire colors and pin functions. However, before you begin splicing, you must understand that there are two competing wiring standards for the 6-way plug: the standard SAE layout and the alternate RV layout. The difference lies entirely in the center pin.
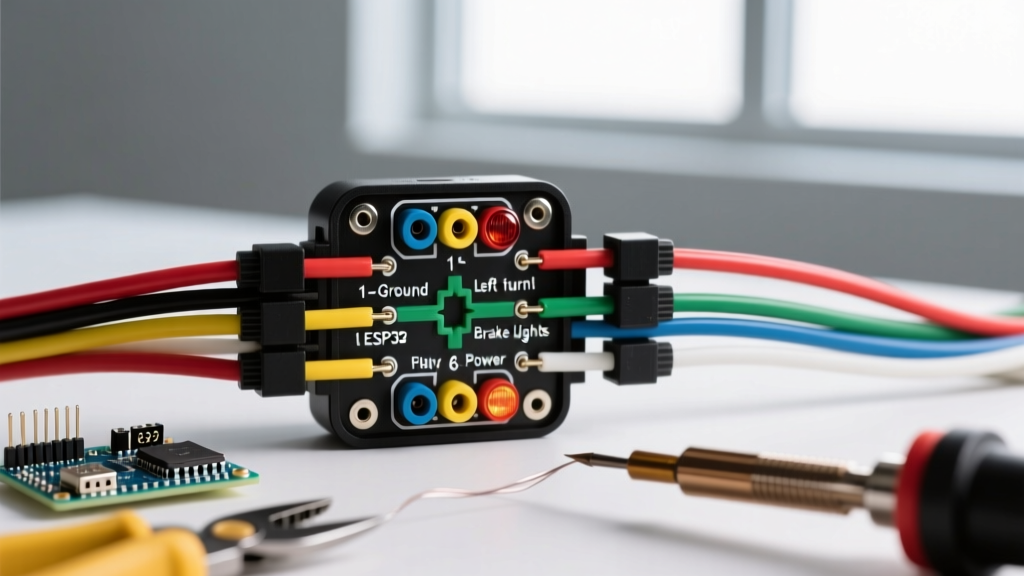
Pinout Matrix: SAE Standard vs. Alternate RV Layout
| Pin Position | SAE J1128 Standard (Most Common) | Wire Color | Alternate RV Layout |
|---|---|---|---|
| 12 O'Clock | Tail / Running Lights | Brown | Tail / Running Lights |
| 2 O'Clock | Left Turn / Stop | Yellow | Left Turn / Stop |
| 4 O'Clock | Electric Brakes | Blue | Electric Brakes |
| 8 O'Clock | 12V Auxiliary Power | Black (or Red) | Ground |
| 10 O'Clock | Right Turn / Stop | Green | Right Turn / Stop |
| Center Pin | Ground (Chassis) | White | 12V Auxiliary Power |
Expert Warning: Never assume the center pin is ground without testing. If you plug a trailer wired to the SAE standard (Center = Ground) into a tow vehicle wired to the Alternate RV layout (Center = 12V Aux), you will create a dead short. This will immediately blow your vehicle's auxiliary fuse and could melt the wiring harness. Always use a multimeter to verify the center pin voltage before connecting.
Step-by-Step 6-Way Plug Replacement Guide
Whether you are replacing a corroded CURT 58160 plug or upgrading from a 4-way flat, the physical wiring process requires precision. Standard vinyl electrical tape and twist-on crimps will fail under the high-vibration, high-moisture environment of a trailer hitch.
Tools and Materials Required
- Connector: CURT 58160 (6-Way Round Plug) or Hopkins 47435 (6-Way to 7-Way Adapter) - $14 to $22
- Wire: 10 AWG stranded copper (for Brakes and 12V Aux), 16 AWG stranded (for lighting circuits)
- Connectors: 3M Heat Shrink Butt Connectors (Nylon, dual-walled with adhesive lining)
- Sealant: Permatex 22058 Dielectric Grease
- Tools: Wire strippers, heat gun, crimping tool, digital multimeter
Execution Steps
- Prep the Harness: Cut the old connector off, leaving at least 6 inches of wire slack. Strip exactly 3/8 inch of insulation from each wire. Do not nick the copper strands, as this creates a weak point that will snap under road vibration.
- Route and Crimp: Slide the heat shrink butt connectors onto the wires. Match the wire colors to the corresponding screw terminals on the new 6-way plug based on the SAE diagram above. Crimp firmly using a ratcheting crimper.
- Heat Shrink Seal: Apply heat evenly with a heat gun until the adhesive lining oozes slightly from the ends of the connector. This creates a watertight seal that prevents green corrosion (copper oxide) from forming inside the wire strands.
- Terminal Protection: Apply a liberal coating of dielectric grease to all six brass pins before inserting them into the rubber housing. This prevents galvanic corrosion when the plug is exposed to road salt and rain.
Upgrading the Tow Vehicle Side: Brakes and Auxiliary Power
Installing the trailer-side plug is only half the battle. To utilize the 4 O'Clock (Brakes) and 8 O'Clock (12V Aux) pins, your tow vehicle must be equipped with the appropriate hardware. According to the Federal Motor Carrier Safety Administration (FMCSA), trailers exceeding certain weight thresholds require independent braking systems, making the electric brake circuit a legal necessity for heavy towing.
Wiring the Electric Brake Circuit
The blue brake wire must be routed from the 6-way plug directly to a dedicated brake controller in the vehicle's cabin. A highly reliable option for 2026 is the Tekonsha Prodigy P3 (approx. $155). You must run a 10 AWG blue wire from the controller to the plug. Using 12 AWG or 14 AWG wire for the brake circuit is a common DIY mistake that results in voltage drop, causing the trailer brakes to engage weakly or inconsistently during panic stops.
Wiring the 12V Auxiliary Circuit
The 12V auxiliary pin (Black wire) is used to charge trailer breakaway batteries or power interior lights. Never connect this wire directly to the vehicle's alternator or fuse box without protection. You must run a 10 AWG black wire from the vehicle's positive battery terminal to the 6-way plug, and install a 30-Amp inline circuit breaker (such as the Bussmann CB-18130, approx. $12) within 18 inches of the battery. This prevents a catastrophic electrical fire in the event of a short circuit on the trailer side.
Common Failure Modes and Troubleshooting
Even with a perfect wiring diagram for a 6 way trailer plug, real-world conditions introduce edge cases. Here is how to troubleshoot the most frequent post-upgrade issues:
- Trailer Brakes Lock Up When Connected: This usually indicates a crossed wire between the 12V Auxiliary (8 O'Clock) and the Electric Brakes (4 O'Clock). Use a multimeter to check for continuity between the blue and black wires. If continuity exists, you have a short in the harness.
- Dim Interior Trailer Lights / Slow Battery Charging: This is classic voltage drop. If your 12V auxiliary wire is longer than 20 feet and is only 12 AWG, the resistance will drop the voltage from 13.6V (at the alternator) down to 11.5V or lower by the time it reaches the trailer battery. Upgrade the entire auxiliary run to 10 AWG or even 8 AWG wire.
- Blown Vehicle Fuses Upon Connection: As mentioned in the pinout matrix, you have likely mismatched the center pin ground/aux configuration between the truck and the trailer. Rewire the trailer-side plug to match the vehicle's specific output.
Should You Upgrade to a 7-Way RV Blade Instead?
While the 6-way round plug is robust, the modern automotive industry has largely standardized around the 7-way RV blade connector. If you are starting an upgrade from scratch, you must weigh the pros and cons of each format.
| Feature | 6-Way Round | 7-Way RV Blade |
|---|---|---|
| Primary Use Case | Horse, Utility, Vintage Trailers | Modern RVs, Travel Trailers, 5th Wheels |
| Pin Durability | High (Solid brass round pins) | Moderate (Flat blade contacts can bend) |
| Reverse Lights Circuit | No (Requires separate adapter) | Yes (Dedicated center pin) |
| Availability of Adapters | High (Hopkins 47435) | Universal on all modern trucks |
For comprehensive towing standards and wire gauge specifications, DIYers and professionals should consult the SAE International Standards database, specifically referencing SAE J1128 for low-tension primary cable requirements in automotive and trailer applications.
Final Thoughts on Your 6-Way Upgrade
Mastering the wiring diagram for a 6 way trailer plug is about more than just matching colors; it requires an understanding of current draw, voltage drop, and the historical quirks of the center pin configuration. By utilizing 10 AWG wire for high-draw circuits, sealing connections with adhesive-lined heat shrink, and verifying pinouts with a multimeter before applying power, you will build a towing electrical system that is safe, legal, and impervious to the elements. Whether you are hauling a two-horse trailer to a competition or moving heavy equipment on a flatbed, a properly wired 6-way connector ensures you arrive safely.