
The Complete Beginner's Guide to Expanding Your Home's Wiring
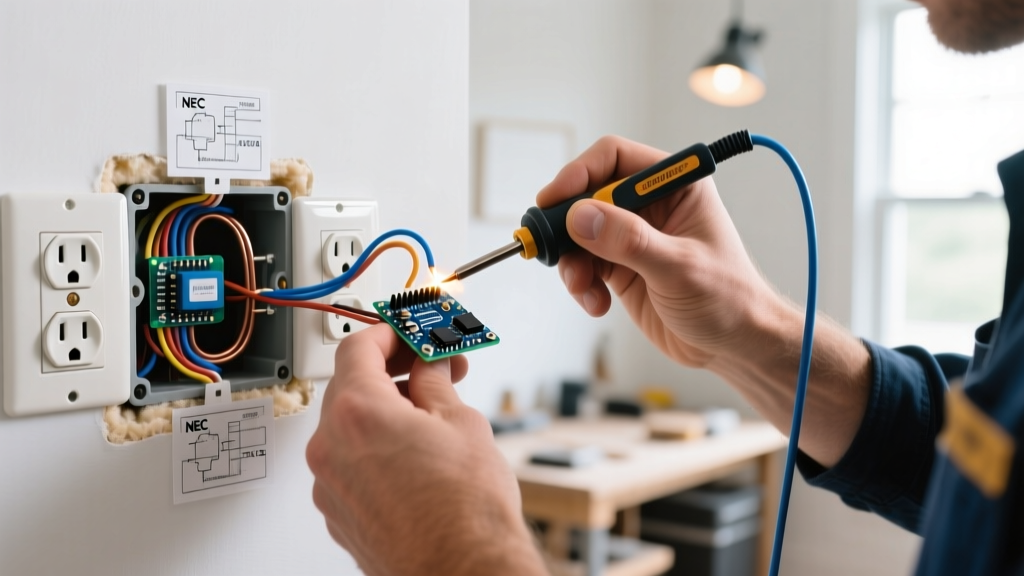
Whether you are mounting a new flat-screen TV, setting up a home office, or simply tired of relying on dangerous daisy-chained power strips, learning how to add an electrical outlet is one of the most valuable DIY skills you can acquire. Many homeowners search online for how to 'add a electrical outlet' without realizing the strict safety codes and precise techniques required to do it safely. In 2026, with the widespread adoption of the latest National Electrical Code (NEC) standards, simply twisting wires together and wrapping them in electrical tape is not just dangerous—it is a fire hazard and a code violation.
This tutorial will walk you through the exact process of tapping into an existing 15-amp or 20-amp branch circuit, running non-metallic (NM-B) cable, and terminating a modern, code-compliant receptacle. We will focus on the most common scenario: adding a new receptacle to an existing drywall surface using an 'old-work' (remodel) electrical box.
Crucial Safety and NEC Code Requirements
Before cutting into any drywall, you must understand the legal and safety framework governing your project. According to the National Fire Protection Association (NFPA), all new branch circuits supplying outlets in dwelling unit living areas must be protected by Arc-Fault Circuit Interrupters (AFCIs). Furthermore, if your new outlet is within 6 feet of a water source (like a wet bar or kitchen island), Ground-Fault Circuit Interrupter (GFCI) protection is mandatory.
Additionally, the Consumer Product Safety Commission (CPSC) mandates the use of Tamper-Resistant (TR) receptacles in all new installations to prevent childhood shock injuries. Never use standard, non-TR receptacles for this project.
Safety Override: Always turn off the circuit breaker at the main panel before beginning. Verify the power is off using a non-contact voltage tester (NCVT) at the existing outlet you plan to tap into, and test the NCVT on a known live circuit first to ensure the tool's battery is functioning.
Tools and Materials Checklist (2026 Pricing)
Professional electricians rely on specific, high-quality tools to ensure connections do not loosen over time. Below is the exact bill of materials you will need, featuring industry-standard models.
| Item | Recommended Model / Spec | Est. Cost (2026) |
|---|---|---|
| Receptacle | Leviton 15A Tamper-Resistant (R52-05320-WST) | $4.50 |
| Electrical Box | Carlon Single-Gang Old-Work (B114B) | $2.20 |
| Cable | Southwire 14/2 NM-B with Ground (for 15A circuits) | $0.55 / ft |
| Wire Strippers | Klein Tools 11055 (10-20 AWG) | $28.00 |
| Voltage Tester | Klein NCVT-2 Dual Range | $24.00 |
| Cable Ripper | Gardner Bender GCR-20 Zip-Rip | $6.50 |
Matching Wire Gauge to Circuit Breaker Size
A critical mistake beginners make is mismatching the wire gauge to the circuit breaker. You must identify the breaker size powering the existing outlet you are tapping into.
- 15-Amp Breaker: Requires minimum 14 AWG copper wire (White NM-B sheathing). You can use 12 AWG, but 14 AWG is standard and easier to bend in tight boxes.
- 20-Amp Breaker: Requires minimum 12 AWG copper wire (Yellow NM-B sheathing). Never use 14 AWG wire on a 20-amp circuit, as the wire will melt before the breaker trips.
Step-by-Step Installation Guide
Step 1: Cut the Drywall and Mount the Box
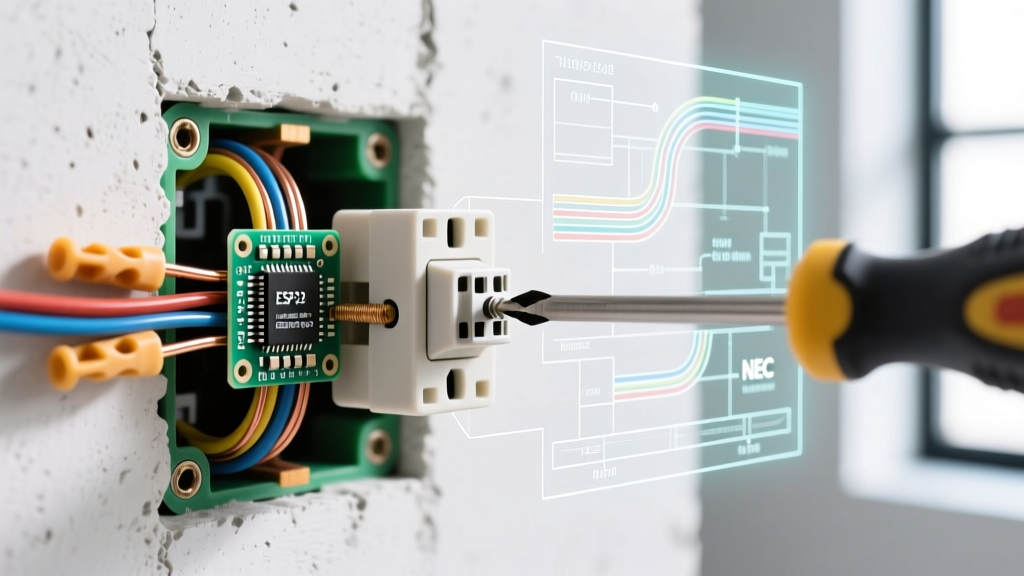
Locate the desired position for your new outlet, ensuring you are not drilling into a wall stud. Use a stud finder to verify the cavity is clear. Take your Carlon B114B old-work box, turn it upside down, and trace its outer flange onto the drywall with a pencil. Using a drywall hand saw or an oscillating multi-tool, carefully cut along the inside of your traced line. Insert the box into the hole, pull the cable through the integrated clamp, and tighten the two Phillips-head screws. As you tighten, the internal PVC wings will rotate and clamp securely against the back of the drywall.
Step 2: Run and Prepare the NM-B Cable
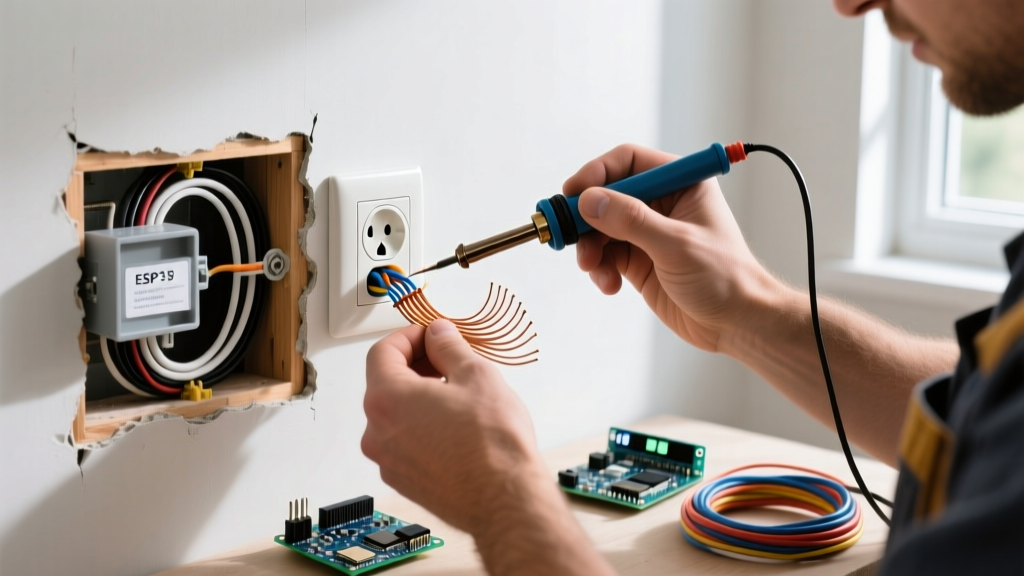
Feed your 14/2 or 12/2 Romex cable through the wall cavity from the existing power source to your new box. Leave at least 8 inches of cable extending past the front edge of the box. Use your cable ripper to carefully slit the outer vinyl sheathing without nicking the inner wire insulation. Strip exactly 3/4 of an inch of insulation from the black (hot) and white (neutral) wires using the Klein 11055 strippers. This specific 3/4-inch measurement is engineered to perfectly fit the screw terminals on a Leviton Decora receptacle without exposing bare copper outside the terminal housing.
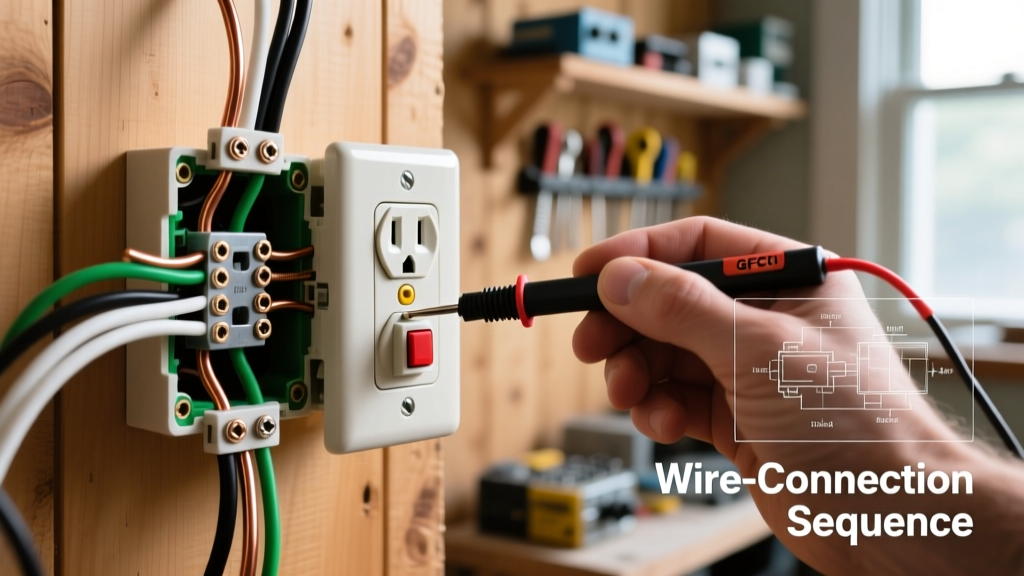
Step 3: Terminate the Receptacle (The Right Way)
Remove the Leviton receptacle from its packaging. You will notice brass screws (hot), silver screws (neutral), and a green screw (ground).
- The Ground: Loop the bare copper wire clockwise around the green grounding screw. Tighten firmly.
- The Neutral: Loop the white wire clockwise around the silver screw. The clockwise direction is vital: as you tighten the screw, the loop will naturally pull tighter around the shaft rather than being pushed out.
- The Hot: Loop the black wire clockwise around the brass screw.
Expert Warning: Never use the 'backstab' push-in holes on the back of cheap receptacles. The internal spring-loaded grips loosen over time due to thermal expansion and contraction, leading to arcing and fires. Always use the side-binding screw terminals or the screw-clamp plates found on higher-end commercial models.
Step 4: Secure, Torque, and Test
Carefully fold the wires into the back of the box using a 'Z' fold pattern to prevent pinching. Mount the receptacle using the provided 6-32 machine screws. While standard practice is to tighten until snug, NEC Article 110.14(D) increasingly emphasizes torque specifications. If you have an inch-pound torque screwdriver, set it to 12 in-lbs for standard 15A receptacles. Attach your faceplate, turn the breaker back on, and test the outlet using a 3-prong receptacle tester (like the Sperry ET6402) to confirm correct wiring and grounding.
Common Beginner Mistakes and Edge Cases
Even with careful planning, beginners often encounter specific failure modes. Here is how to troubleshoot them:
- Reverse Polarity: If your tester shows a red/yellow light pattern, you have swapped the black and white wires. Turn off the breaker immediately and swap them to the brass and silver screws, respectively.
- Open Ground: If you are tapping into an older home (pre-1960s) with ungrounded 2-wire cable, you cannot legally install a standard grounded receptacle. You must either run a new grounded cable from the panel or install a GFCI receptacle labeled 'No Equipment Ground' as permitted by NEC 406.4(D)(2).
- Tripped AFCI Breaker: If the breaker trips immediately upon restoring power, you likely have a 'neutral-to-ground' fault. This happens if the bare copper ground wire accidentally touches the silver neutral terminal or if the wire insulation was stripped too far back.
Frequently Asked Questions
Can I daisy-chain multiple new outlets from this one?
Yes, you can continue the circuit to additional outlets by running a second cable out of the new box. However, you must calculate the total expected load. A standard 15-amp circuit can safely handle 1440 watts of continuous load. Do not overload the circuit with high-draw appliances like space heaters or microwaves.
Do I need a permit to add an outlet?
In most municipalities, adding a single receptacle to an existing circuit does not require a permit, whereas running a new circuit from the main panel does. However, local codes vary wildly. Always check with your local building department before starting electrical work to ensure compliance with your specific county's 2026 amendments to the NEC.