
Mastering the Install: Exterior Electrical Outlet Wiring Scenarios
With the 2026 surge in outdoor smart-home ecosystems, patio-based remote workspaces, and high-draw holiday landscaping, having reliable outdoor power is no longer a luxury—it is a necessity. However, knowing how to install an exterior electrical outlet requires more than just drilling a hole in your siding. The wet environment, temperature fluctuations, and strict National Electrical Code (NEC) requirements demand specific materials and techniques.
Whether you are tapping into an interior wall, dropping down from a soffit light, or trenching a dedicated 20-amp circuit, this guide breaks down the three most common wiring scenarios. We will cover exact product models, real-world pricing, and the critical NEC code mandates you must follow to pass inspection and ensure safety.
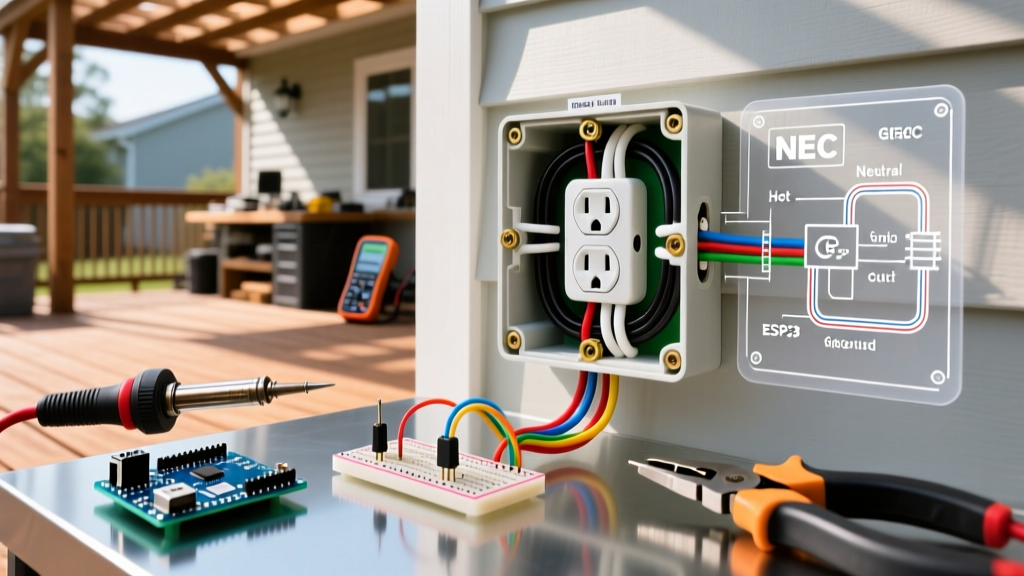
NEC Code Alert: Under NEC Article 210.8(A)(3) and 406.9(A), all 15A and 20A, 125V and 250V outdoor receptacles must be GFCI protected, Weather-Resistant (WR), Tamper-Resistant (TR), and fitted with an extra-duty in-use bubble cover. For comprehensive safety standards, always refer to the NFPA Electrical Safety Guidelines and the ESFI Outdoor Safety Resources.
Scenario 1: The Back-to-Back Interior Tap (Easiest & Most Cost-Effective)
If you have an interior outlet on an exterior wall that is on a circuit with adequate capacity (avoid kitchen or bathroom small-appliance circuits), you can install an exterior box directly behind it. This is the most common DIY scenario.
Materials & Cost Breakdown
- Receptacle: Leviton 8599-WR (20A Weather-Resistant TR GFCI) — $28.50
- Mounting Bracket: Arlington Industries 8161-1 (Non-metallic siding bracket with built-in bug/air seal) — $14.00
- Cover: TayMac TX1100C Extra-Duty Die-Cast Bubble Cover — $22.00
- Wiring: 12/2 NM-B (interior) and a short 1/2" rigid conduit nipple for the wall penetration — $8.00
- Total Estimated Cost: ~$72.50 (excluding basic hand tools)
Execution Steps
- Locate and Cut: Use a stud finder to ensure you are not drilling into a wall stud. Cut a 4-inch hole through the exterior siding and sheathing using a hole saw.
- Mount the Bracket: Slide the Arlington 8161-1 flange behind the siding. This specific model features an integrated air/moisture barrier that prevents drafts and water intrusion without needing separate caulking.
- Pull the Feed: Turn off the breaker. Remove the interior receptacle, attach new 12/2 NM-B cables using wire nuts (pigtailing the hot, neutral, and ground to maintain downstream power to the interior outlet).
- Feed Through the Wall: Push the exterior cable through a 1/2" rigid metal nipple into the exterior box. Pro Tip: Pack the interior of the nipple with Gardner Bender DS-210 Duct Seal to prevent moist exterior air from condensing inside your interior walls.
- Terminate and Seal: Connect the wires to the LINE terminals of the GFCI. Torque the terminal screws to exactly 14 in-lbs using a calibrated torque screwdriver to satisfy NEC 110.14(D) requirements. Attach the TayMac bubble cover and apply a bead of exterior-grade silicone across the top and sides of the cover flange (leave the bottom unsealed to allow condensation to weep).
Scenario 2: The Soffit Light Drop (Best for Landscaping & Holiday Power)
Tapping into an existing exterior soffit light is ideal when you need power near the ground but lack an interior wall nearby (e.g., on a detached garage or a long exterior span). The challenge here is that soffit lights are often switch-controlled. You will either need to bypass the switch or accept that the outlet will only work when the light is on.
Materials & Cost Breakdown
- Conduit: 1/2" Liquidtight Flexible Nonmetallic Conduit (LFNC-B) and fittings — $35.00
- Wire: 12 AWG THWN-2 individual conductors (Black, White, Green) — $18.00
- Box & Device: 1-Gang Cast FS Box with Leviton 8599-WR GFCI and TayMac Cover — $55.00
- Total Estimated Cost: ~$108.00
Execution Steps
- Identify the Power Source: At the soffit junction box, verify if the light is fed by a switch leg or a constant hot. If it is switch-controlled, consider installing a smart switch indoors that can be programmed to remain 'ON' permanently for the outlet, while using a dusk-to-dawn photocell sensor at the soffit to control the light independently.
- Run the Conduit: Mount the cast FS box to the wall at least 18 inches above grade (to prevent snow/splash ingress). Run the LFNC-B conduit from the soffit box down to the receptacle box. Use UV-rated nylon zip ties or aluminum conduit straps every 3 feet.
- Pull the THWN-2 Wires: Never use NM-B (Romex) inside exterior conduit, as condensation will rot the paper wrapping and degrade the insulation. Use individual THWN-2 wires rated for wet locations.
- Seal the Hubs: Water loves to travel down conduit threads. Apply a generous amount of duct seal around the conduit entries at both the soffit and the receptacle box.
Scenario 3: The Dedicated 20A Trench (Best for High-Draw & EV Applications)
If you are installing an exterior outlet for a patio heater, a high-capacity holiday light display, or a 120V EV trickle charger, you need a dedicated 20-amp circuit run directly from your main electrical panel. This prevents voltage drop and nuisance tripping.
Comparison Matrix: Trenching Methods
| Trenching Method | Minimum Burial Depth | Material Cost (per 50ft) | Labor Intensity | Best Use Case |
|---|---|---|---|---|
| 1/2" Schedule 80 PVC | 18 Inches | $110 - $140 | High (Glue, bends) | Under driveways, high physical damage areas |
| 12/2 UF-B Direct Burial | 24 Inches | $65 - $85 | Medium (Digging only) | Soft soil, straight runs to detached sheds |
| 1" EMT Conduit | 6 Inches (Rigid) | $180 - $220 | Very High (Threading) | Surface mounting on masonry/retaining walls |
Execution Steps for Direct Burial (UF-B)
- Call Before You Dig: Always dial 811 at least 3 business days before trenching to have underground utilities marked.
- Trench and Bed: Dig a trench 24 inches deep. Lay down a 2-inch bed of sand to protect the Southwire 12/2 UF-B cable from sharp rocks.
- Pull and Protect: Feed the UF-B cable from the panel to the exterior. Where the cable emerges from the ground and travels up the wall to the receptacle box, you must sleeve it in rigid PVC or EMT conduit from 18 inches below grade to at least 8 feet above grade (or up to the soffit) to protect it from physical damage (weed whackers, ladders).
- Panel Termination: Install a new 20A GFCI breaker (e.g., Square D HOM220GFIC) in your main panel. Note: If you use a GFCI breaker at the panel, you can use a standard WR/TR receptacle outside, but using a GFCI receptacle outside is preferred so you don't have to walk to the basement to reset a tripped breaker.
Critical Failure Modes to Avoid
Even experienced DIYers make mistakes when installing outdoor power. Avoid these common 2026 failure modes:
- The 'LOAD' Terminal Trap: If you are only wiring a single exterior outlet, connect your incoming power to the LINE terminals only. Connecting to LOAD when there is no downstream device can cause the GFCI to trip randomly or fail to reset.
- Over-Tightening Cover Screws: Die-cast bubble covers can warp if the corner screws are over-torqued, breaking the foam gasket seal. Hand-tighten these screws until snug, then give them exactly one-quarter turn with a screwdriver.
- Ignoring the Weep Hole: Never caulk the bottom edge of the exterior receptacle cover or the bottom of the exterior box. Trapped moisture must have a path to escape via gravity.
Frequently Asked Questions (FAQ)
Can I install an exterior outlet on a 15-amp circuit?
Yes, the NEC allows 15A or 20A outdoor receptacles. However, if the circuit is 20A, you must use a 20A-rated receptacle (like the Leviton 8599-WR) or a 15A duplex receptacle configured specifically for 20A circuits. For outdoor power tools and patio heaters, a 20A circuit is highly recommended.
Do I need a permit to install an outdoor outlet?
In almost all municipalities, adding a new circuit or extending an existing one outdoors requires an electrical permit and a final inspection. This ensures your trenching depth, GFCI protection, and weatherproofing meet local codes. Always check with your local building department before starting.
What is the difference between WR and TR receptacles?
WR (Weather-Resistant): These feature UV-resistant face plastics, brass-plated steel straps to resist corrosion, and specialized internal seals to keep moisture away from the contacts.
TR (Tamper-Resistant): These have internal spring-loaded shutters that block foreign objects from being inserted into the slots, a mandatory safety feature for all outdoor and indoor residential receptacles.
By selecting the right scenario for your property's layout and strictly adhering to NEC material and burial requirements, your new exterior outlet will provide safe, reliable power for decades of outdoor projects and entertainment.