
Navigating the Residential Kitchen Island Electrical Outlet Code
The kitchen island is the operational hub of the modern home, serving as a prep space, dining area, and makeshift office. However, bringing power to this freestanding structure requires strict adherence to the National Electrical Code (NEC). Understanding the residential kitchen island electrical outlet code is critical, as recent code cycles have fundamentally changed how and where receptacles can be installed on islands and peninsulas.
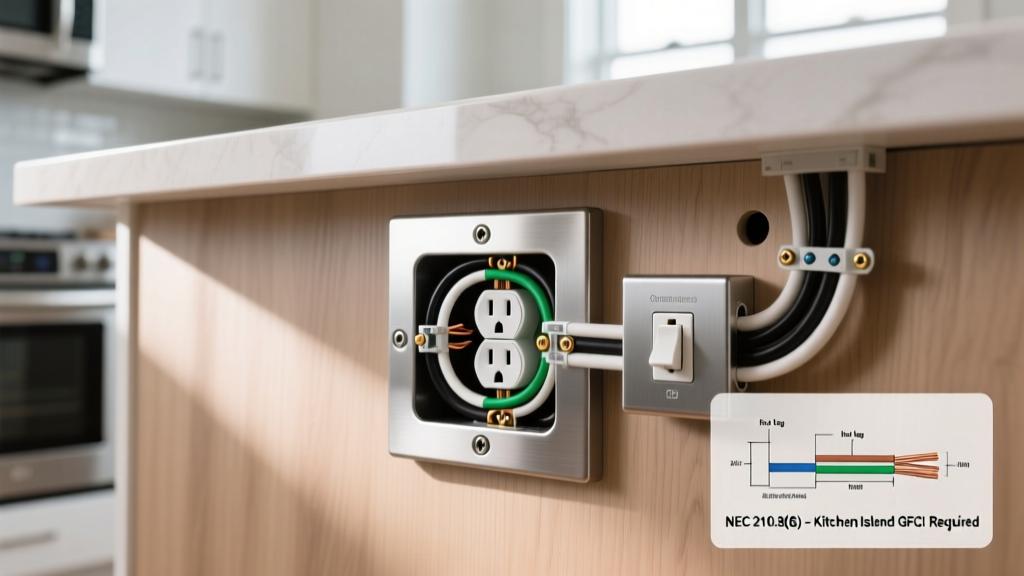
Historically, electricians mounted standard receptacles on the side panels of island cabinets. Due to severe safety hazards involving liquid spills cascading directly into energized side-mounted boxes, the NEC has drastically updated these requirements. Today, side-panel installations are strictly prohibited. Instead, power must be delivered via listed countertop assemblies, such as pop-up receptacles or specialized surface-mounted boxes.
Code Alert: Under NEC 210.52(C)(2), receptacle assemblies installed in countertops must be specifically listed for the application. Furthermore, NEC 210.8(A)(6) mandates that all kitchen countertop receptacles be protected by a Class A Ground-Fault Circuit Interrupter (GFCI). For a comprehensive review of these safety standards, consult the NFPA 70 National Electrical Code and the ESFI GFCI Safety Guide.
Required Tools and Materials
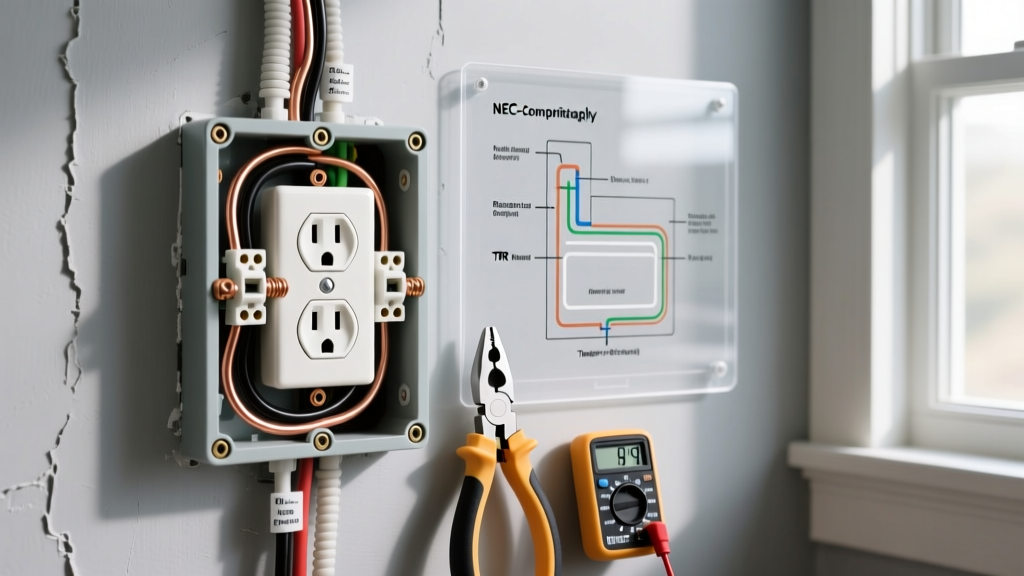
Before beginning your rough-in and trim-out, ensure you have the correct components. Using non-listed or improvised assemblies is a direct violation of the residential kitchen island electrical outlet code and will fail inspection.
| Component | Specification / Model | Estimated Cost |
|---|---|---|
| Pop-Up Assembly | Hubbell SystemOne or Leviton 68800-W | $140 - $185 |
| GFCI Receptacle | 20A Leviton GFNT2-W (Slim Profile) | $22 - $28 |
| Wiring | 12/2 NM-B (Romex) or 12/2 MC Cable | $0.75 / ft |
| Drilling Bit | 4-Inch Diamond Core Hole Saw (Wet/Dry) | $45 - $65 |
| Sealant | GE Advanced 100% Silicone (Kitchen/Bath) | $8 |
| Termination Tool | Calibrated Torque Screwdriver (inch-lbs) | $35 |
Step-by-Step Installation: Countertop Pop-Up Assembly
This guide assumes a 20-amp Small Appliance Branch Circuit (SABC) has already been routed to the cabinet base below the island. If you are retrofitting an existing island, you will need to fish 12/2 NM-B cable from an accessible junction box or adjacent SABC receptacle.
Step 1: Circuit Verification and Power Shutoff
Verify the circuit is a dedicated 20-amp SABC. Turn off the breaker and test the wires with a non-contact voltage tester and a multimeter. Edge Case Warning: If you are tapping into an existing Multi-Wire Branch Circuit (MWBC) that shares a neutral with another circuit, you must install a 2-pole GFCI breaker in the main panel. Standard pigtail GFCI receptacles will not function correctly and will nuisance-trip if they share a neutral wire downstream.
Step 2: Core Drilling the Countertop
Most listed pop-up assemblies (like the Leviton 68800 series) require a 4-inch diameter hole.
- Locate the joists: Use a stud finder to ensure you are not drilling through internal cabinet structural supports or existing plumbing lines.
- Create a guide block: Clamp a piece of scrap plywood with a pre-cut 4-inch hole over your mark to prevent the diamond core bit from wandering.
- Drill the surface: For quartz or granite, use a variable-speed drill at low RPM (300-500) with a continuous water feed to cool the diamond matrix and prevent micro-fractures in the stone. For butcher block or laminate, a standard bi-metal hole saw suffices, but you must seal the exposed wood edges with polyurethane to prevent moisture swelling.
Step 3: Mounting the Pop-Up Assembly
Drop the pop-up housing into the 4-inch hole. From underneath the countertop, thread the provided locking ring up to the housing and tighten it using a spanner wrench or strap wrench. Do not use channel locks, as they will mar the threads. Ensure the assembly sits perfectly flush with the countertop surface.
Step 4: GFCI Wiring and Termination
Feed the 12/2 cable through the knockout in the bottom of the pop-up assembly. Strip the Romex jacket, leaving at least 1/4 inch of the paper separator intact to protect the wire insulation from the metal clamp.
- Line vs. Load: Connect the incoming hot (black) and neutral (white) to the LINE terminals on the GFCI. If you are daisy-chaining another downstream receptacle, use the LOAD terminals.
- Pigtailing Grounds: Connect the bare copper ground to the green grounding screw on the GFCI, and run a secondary pigtail to the green grounding screw on the metal pop-up housing itself.
- Torque Specification: NEC 110.14(D) requires terminations to be made using a calibrated torque tool. For a standard Leviton 20A GFCI, set your torque screwdriver to 14 in-lbs. Under-torquing causes arcing and fires; over-torquing strips the brass terminal plates.
Step 5: Sealing and Final Testing
Lift the pop-up assembly slightly and apply a continuous, generous bead of 100% silicone sealant around the underside of the metal flange. Press it back down and wipe away the excess with a rag dampened with mineral spirits. Do not use acrylic or latex caulk, as they will degrade when exposed to kitchen cleaning chemicals and hot water. Once cured, press the 'TEST' button on the GFCI to ensure the mechanical trip mechanism functions, then reset and verify power with a receptacle tester.
Common Edge Cases and Troubleshooting
Thick Countertops and Extension Collars
Standard pop-up assemblies are designed for countertops up to 1.5 inches thick. If you are installing a 2-inch or 3-inch thick live-edge wood slab, the housing will not reach the surface. You must purchase a manufacturer-approved extension collar (e.g., Hubbell FD-EXT) to bridge the gap while maintaining the UL listing and fire rating of the assembly.
Drawer Interference Below the Island
The most common physical conflict in island installations is the pop-up housing colliding with the top drawer. The Leviton 68800 housing extends roughly 4.5 inches below the countertop. If your island features shallow cutlery drawers, you will need to reroute the drawer glides to drop the drawer box down by 2 inches, or swap to a shallow-profile surface-mounted countertop box instead of a recessed pop-up.
Frequently Asked Questions
Does the code require me to install an outlet on my kitchen island?
Under the most recent NEC adoptions, a receptacle is no longer strictly required on an island if the homeowner chooses not to have one. However, if you do install one, or if local municipal amendments still mandate it, it must comply fully with the residential kitchen island electrical outlet code (NEC 210.52(C)(2)), meaning no side-panel mounts and mandatory GFCI protection.
Can I use a standard wall receptacle box mounted under the countertop lip?
No. Installing a standard rectangular wall box horizontally under the countertop overhang is a severe code violation. It creates a shock hazard where users must blindly reach under a ledge to plug in appliances, often while their hands are wet. Only listed countertop or pop-up assemblies are permitted.
Do I need a dedicated circuit just for the island pop-up?
The island receptacle must be connected to one of the two required 20-amp Small Appliance Branch Circuits (SABCs) that serve the kitchen countertops. It does not necessarily need its own isolated, dedicated circuit, provided the total load on the shared SABC does not exceed the 80% continuous load threshold (16 amps) and it does not supply lighting or non-kitchen appliances.