
Initial Triage: Why Your Outside Electrical Outlet Does Not Work
It is a common weekend frustration: you plug in a string trimmer, pressure washer, or holiday lighting display, and nothing happens. When an outside electrical outlet does not work, the culprit is rarely a simple blown fuse. Outdoor receptacles exist in a hostile environment, enduring UV radiation, extreme thermal cycling, driving rain, and insect intrusion. According to the NFPA 70 National Electrical Code (NEC), outdoor wet locations demand rigorous protection standards that indoor circuits simply do not face.
This inspection and testing guide bypasses generic advice and provides a systematic, electrician-grade diagnostic workflow. We will cover upstream GFCI cascading, low-impedance voltage testing to eliminate phantom readings, physical teardown protocols, and specific Weather-Resistant (WR) replacement matrices.
Safety Warning: Before removing any receptacle cover, verify the circuit is de-energized using a non-contact voltage tester (NCVT) and a multimeter. Always practice Lockout/Tagout (LOTO) procedures at the main service panel to prevent accidental re-energization while your hands are inside the junction box.
Phase 1: The Upstream GFCI Cascade Hunt
The most frequent reason an outside electrical outlet does not work is a tripped Ground Fault Circuit Interrupter (GFCI) located upstream. Under current NEC Article 210.8(A)(3), all 15- and 20-ampere, 125-volt outdoor receptacles must have GFCI protection. However, builders and electricians often wire the exterior outlet to the LOAD terminals of an indoor GFCI to save money and meet code simultaneously.
Where to Look for Hidden Upstream GFCIs
- The Garage or Carport: Check the GFCI receptacle near the garage door motor or workbench.
- Interior Perimeter Walls: Inspect bathrooms, kitchens, or laundry rooms that share an exterior wall with the dead outlet.
- Basement/Crawlspace Panels: Look for GFCI circuit breakers in the main panel, identifiable by their pigtail wires and integrated test buttons.
Pro Tip: If you reset an upstream GFCI and it immediately trips again, you have a ground fault downstream. Do not force the reset. This indicates moisture has breached the outdoor enclosure or a wire nut connection has degraded, allowing current to leak to ground.
Phase 2: Voltage Testing and the 'Phantom Power' Trap
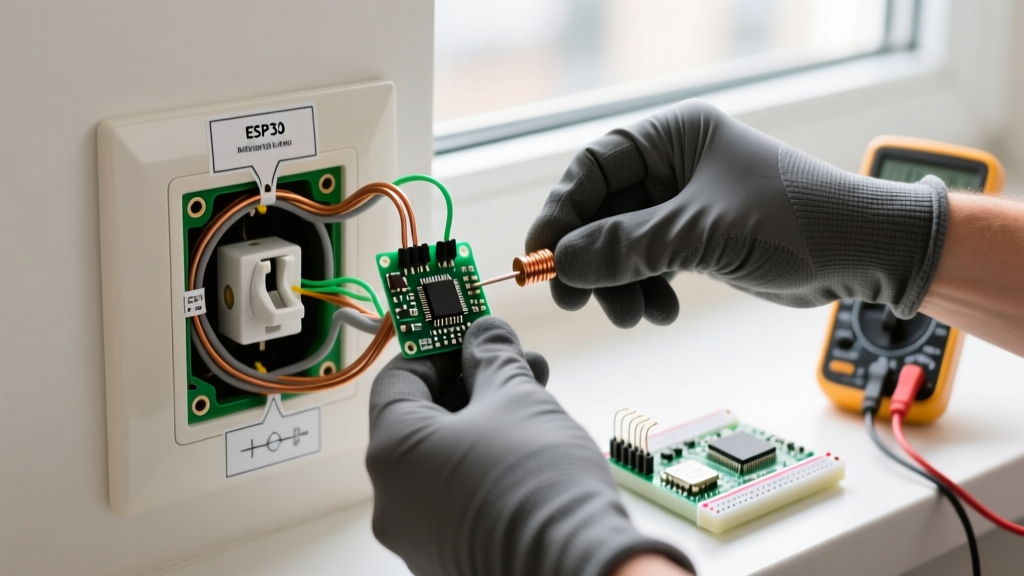
If the GFCI cascade checks out, it is time to test the receptacle itself. A standard digital multimeter (DMM) can be misleading outdoors due to 'phantom voltage'—induced electromagnetic coupling from adjacent live wires in the same conduit or junction box.
Step-by-Step Receptacle Testing
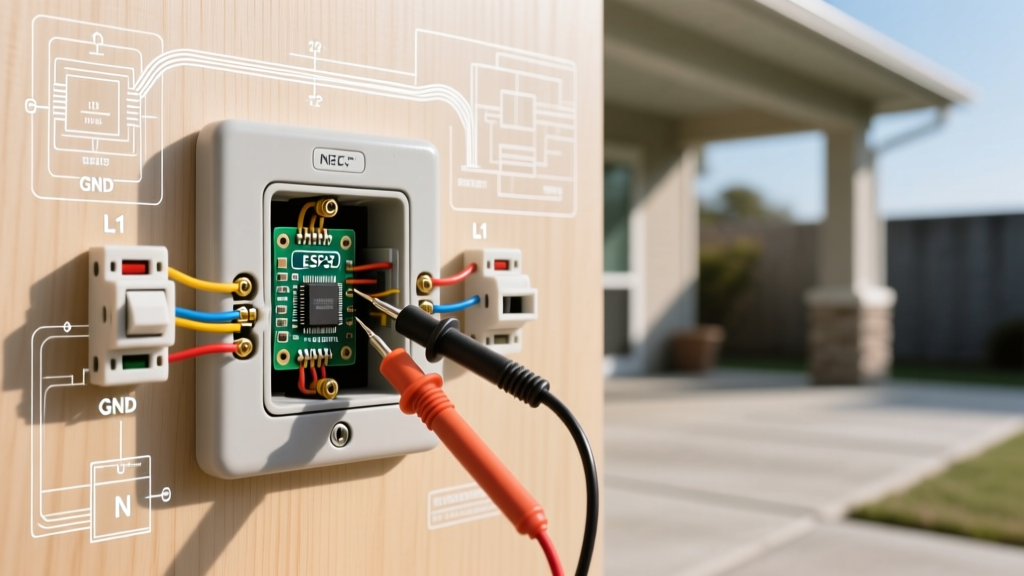
- Slot Test: Insert your DMM probes into the hot (short slot) and neutral (long slot). A healthy circuit reads 118V–122V.
- Ground Verification: Test hot to ground (the U-shaped pin). It should match the hot-to-neutral reading within 1V.
- Neutral Integrity: Test neutral to ground. This should read less than 2V. A reading of 120V here indicates a severed or disconnected neutral wire upstream.
If your high-impedance DMM reads 40V–70V, you are likely seeing phantom voltage on an open neutral or open hot. Switch your meter to 'LoZ' (Low Impedance) mode, or use a solenoid-based voltage tester (like a classic 'Wiggy'). LoZ meters place a small load on the circuit, instantly collapsing phantom voltages to a true 0V reading and confirming a hard break in the wiring.
Diagnostic Matrix: Multimeter Readings & Failure Modes
| Hot-to-Neutral | Hot-to-Ground | Neutral-to-Ground | Diagnosis & Required Action |
|---|---|---|---|
| 0V | 0V | 0V | Open Hot or tripped breaker/GFCI upstream. Trace circuit back to panel. |
| 120V | 0V | 120V | Open Ground. The grounding conductor is severed or disconnected at the panel/bus. |
| 120V | 120V | 120V | Open Neutral. High danger. The neutral wire has failed; load will not operate. |
| 40V-70V | 40V-70V | 0V | Phantom Voltage (Induced). Use LoZ mode to confirm open wire connection. |
Phase 3: Teardown and Physical Inspection
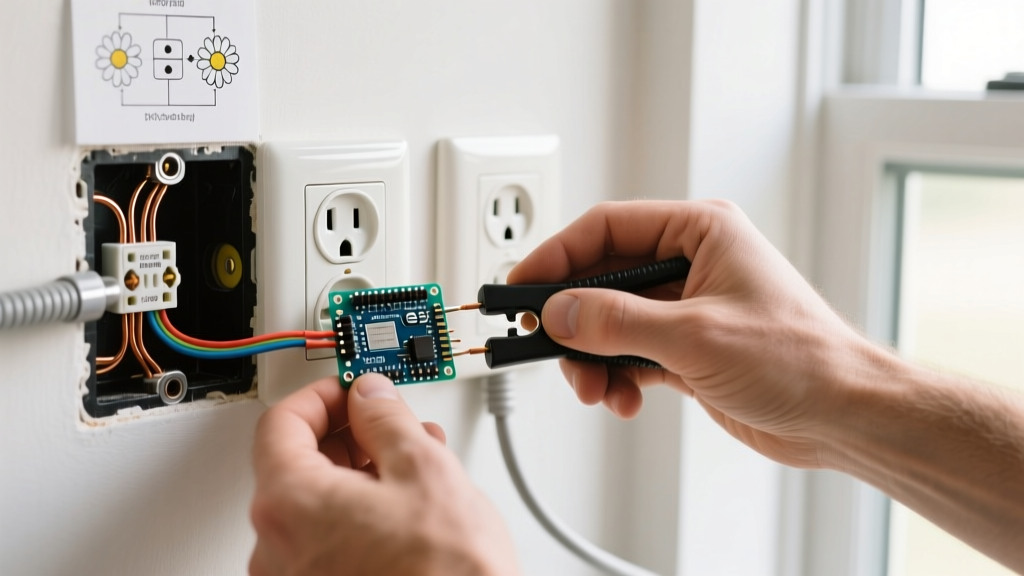
When voltage is present at the terminals but the outlet still fails to power a device, or if you have confirmed 0V at a point where power should exist, you must remove the receptacle from the weatherproof box. This is where environmental damage becomes obvious.
Identifying Corrosion and UV Degradation
Outdoor receptacles are subjected to severe thermal expansion and contraction. If the installer used the push-in 'backstab' connections on the rear of the receptacle, the internal brass grippers often lose tension over years of temperature swings, leading to an open circuit or dangerous arcing.
- Green Crust (Copper Oxide): Indicates moisture ingress. The weatherproof cover seal has failed, or the caulk around the siding flange has degraded.
- White Powder (Galvanic Corrosion): Occurs when dissimilar metals interact, such as aluminum wiring connected to copper-brass terminals without proper antioxidant compound (e.g., Noalox) or CO/ALR rated devices.
- Brittle Nylon Yokes: Standard indoor receptacles will turn yellow and brittle from UV exposure. If the strap snaps when you unscrew the mounting yoke, it was not a Weather-Resistant (WR) rated device.
Repair vs. Replace: 2026 WR Receptacle Matrix
If the internal contacts are pitted, corroded, or backstabbed, repair is not an option. You must replace the device. As of 2026, the market standard for outdoor replacements mandates a 'WR' (Weather-Resistant) stamp on the yoke, featuring UV-stabilized thermoplastics and nickel-plated brass contacts to resist corrosion.
Furthermore, the U.S. Consumer Product Safety Commission (CPSC) strongly advises that any replacement outdoor receptacle be a GFCI type if it is not already protected by an upstream GFCI breaker or device.
Component Cost and Specification Guide
- Standard WR Receptacle (e.g., Leviton 5262-WR): $4.50 – $6.00. Use only if upstream GFCI protection is verified. Features TR (Tamper-Resistant) shutters and nickel-plated contacts.
- GFCI WR Receptacle (e.g., Hubbell GFWR20-W): $22.00 – $28.00. Required if the circuit lacks upstream GFCI protection. Includes built-in cold-weather testing mechanisms.
- Extra-Duty In-Use Cover (e.g., TayMac MM540C): $16.00 – $22.00. NEC 406.9(B)(1) requires covers that are 'extra-duty' and weatherproof even when a cord is plugged in. Do not reuse old, cracked bubble covers.
NEC Compliance and Final Torque Verification
When wiring the new WR receptacle, strip the insulation exactly 3/4 inch and use the side-wire terminal screws. Never use the backstab holes outdoors. More importantly, modern electrical codes require verified torque on terminal screws to prevent thermal loosening.
According to the Electrical Safety Foundation International (ESFI), loose connections are a primary cause of electrical fires. Use a calibrated torque screwdriver set to the manufacturer's specification—typically 12 to 14 inch-pounds for 12 AWG copper wire. Finally, apply a bead of high-grade exterior silicone sealant (like GE Silicone II) around the top and sides of the in-use cover flange, leaving the bottom unsealed to allow any internal condensation to weep out. By following this rigorous testing and inspection protocol, you ensure your exterior power is not only functional but safe for years to come.