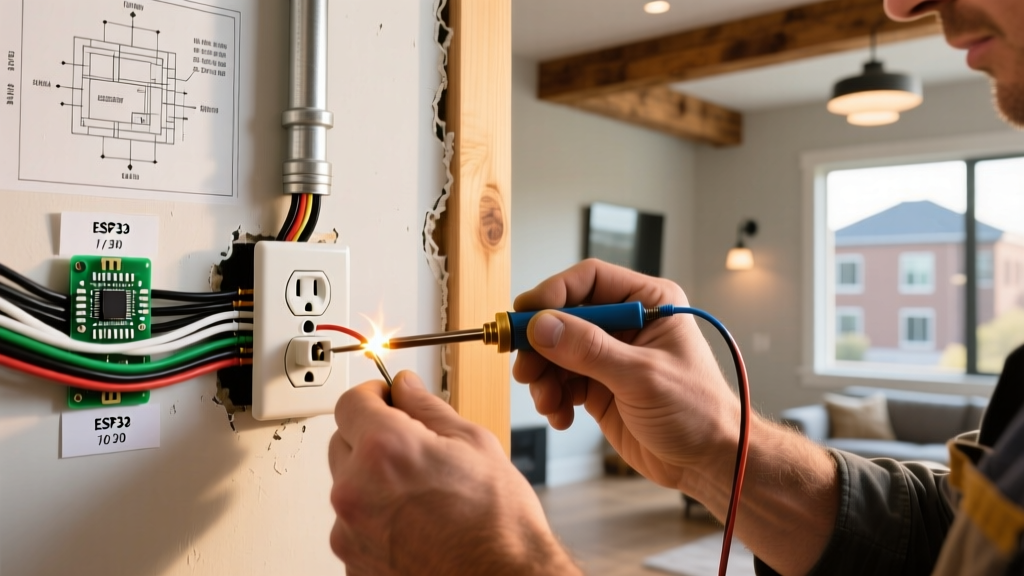

Understanding how to install outlet for electric stove configurations requires more than just following a basic wiring diagram. Modern electric ranges draw massive amounts of current—often exceeding 12,000 watts—and a poorly executed 240-volt, 50-amp circuit can lead to catastrophic arcing, fried control boards, or electrical fires. As a senior electrical technician, I approach stove outlet installation not just as a wiring task, but as a diagnostic process. From verifying wire gauge to troubleshooting the latest NEC GFCI mandates, this guide will walk you through the installation and diagnosis of a NEMA 14-50R receptacle with absolute precision.
Pre-Installation Diagnostics: Sizing the Circuit and Wire
Before pulling a single foot of wire, you must diagnose your panel's capacity and select the correct materials. In 2026, with copper prices stabilizing but still elevated, many DIYers attempt to use aluminum wire without adjusting the gauge, leading to overheating at the lugs.
| Breaker Size | Copper Wire (THHN/THWN) | Aluminum Wire (XHHW) | Max Continuous Load | Receptacle Type |
|---|---|---|---|---|
| 40 Amp | 8 AWG | 6 AWG | 9,600W | NEMA 14-50R (Derated) |
| 50 Amp | 6 AWG | 4 AWG | 12,000W | NEMA 14-50R |
| 60 Amp | 4 AWG | 2 AWG | 14,400W | Hardwired Only (No 14-50) |
Expert Insight: Never install a 60-amp breaker on a NEMA 14-50R receptacle. The receptacle is only rated for 50 amps. If your stove requires a 60-amp circuit, the National Electrical Code (NEC) mandates that it must be hardwired directly into a junction box.
The NEC GFCI Dilemma: Diagnosing Nuisance Trips
One of the most common troubleshooting calls I receive in 2026 involves a brand-new stove outlet that trips the breaker the moment the oven is turned on. This is almost always tied to recent NEC adoptions (specifically Article 210.8(D)), which require Ground Fault Circuit Interrupter (GFCI) protection for kitchen receptacles.
Code Alert: If your local jurisdiction has adopted the 2023 or later NEC, a standard 50A double-pole breaker will fail inspection if the receptacle serves a kitchen area. You must install a 50A GFCI breaker (e.g., Square D HOM250GFICP, retailing around $135). However, modern stoves with complex switching power supplies can cause capacitive coupling, leading to GFCI nuisance tripping. If your stove repeatedly trips a GFCI breaker, the ultimate diagnostic fix is to hardwire the stove and eliminate the receptacle entirely.
Step-by-Step Installation with Inline Troubleshooting
When learning how to install outlet for electric stove setups, precision at the terminations is where you prevent future failures.
1. Panel Termination and Torque Diagnostics
Strip exactly 3/4 inch of insulation from your 6 AWG copper conductors. Insert them into the 50A double-pole breaker lugs. Do not guess the tightness. Use a calibrated torque screwdriver (like the Klein Tools 69060) set to the manufacturer's specification—typically 50 in-lbs for Square D HOM breakers. Loose connections cause high-resistance faults that generate immense heat, eventually melting the breaker bus bar.
2. Routing and Stapling (NEC 300.4)
Run your 6/3 NM-B (Romex) or individual THHN wires in conduit. If using NM-B, staple within 8 inches of the panel and every 4.5 feet thereafter. Diagnostic Check: Ensure the cable is not resting against sharp metal edges or nailed too tightly, which compresses the internal insulation and causes ground faults months later.
3. Receptacle Termination (Leviton 279-S00)
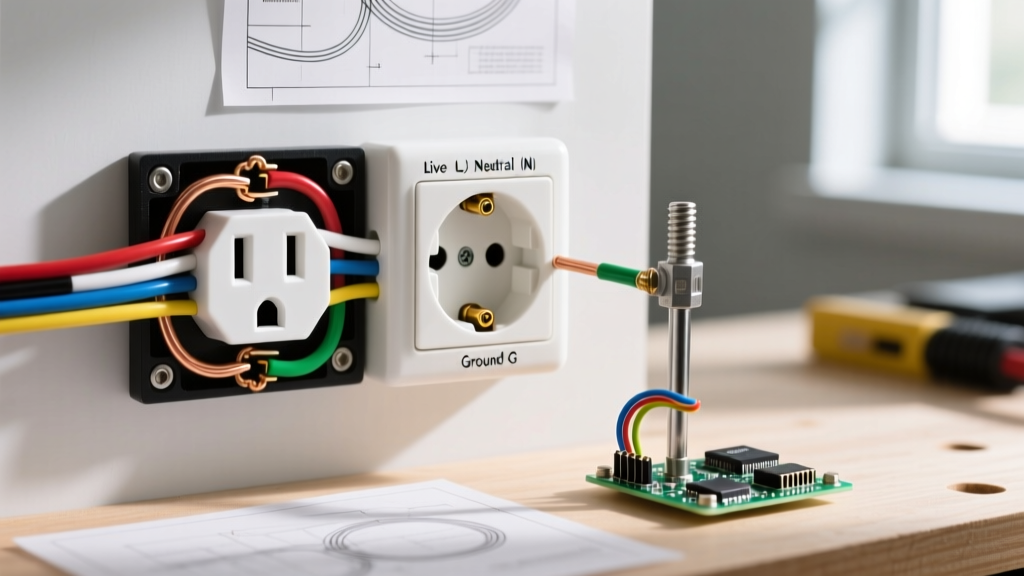
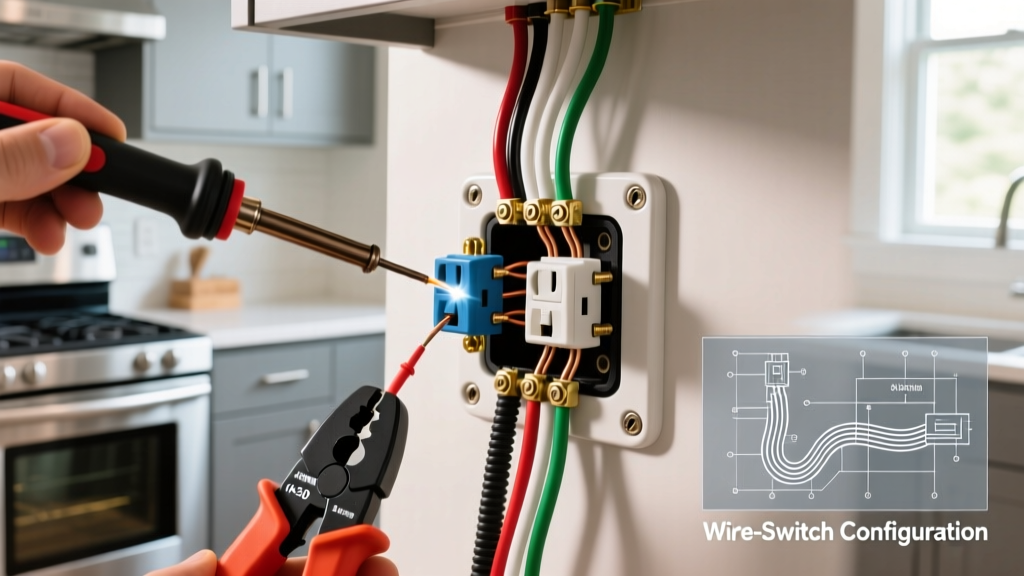
Wire the NEMA 14-50R receptacle as follows:
- X (Hot 1): Black wire to the brass terminal.
- Y (Hot 2): Red wire to the opposite brass terminal.
- Neutral (W): White wire to the silver terminal.
- Ground (G): Bare/Green wire to the green terminal.
Crucial Troubleshooting Step: Perform the 'tug test'. Gently pull each wire after torquing the terminal screws. If a wire slips, your stripping length was incorrect or the screw wasn't torqued, guaranteeing an arc-fault under load.
Post-Installation Multimeter Diagnostics
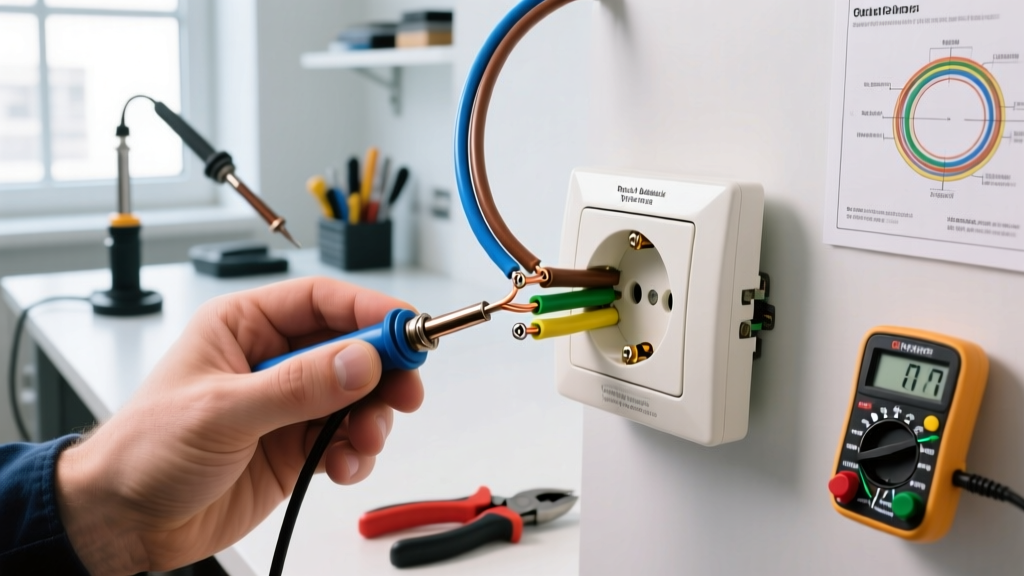
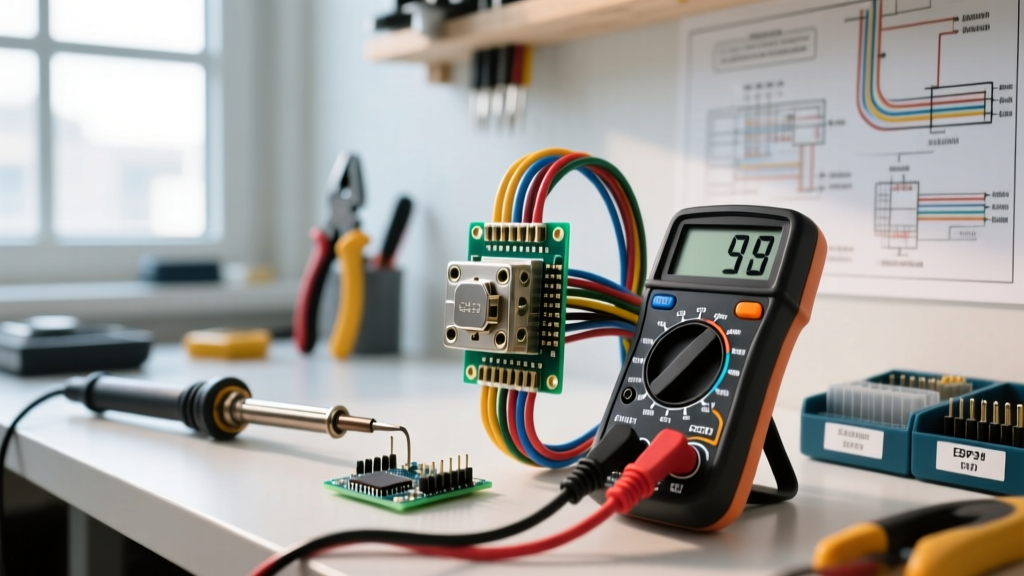
Before plugging in your $2,000 electric range, you must verify the outlet's electrical health using a digital multimeter (DMM) set to AC Voltage (V~). Insert the probes into the receptacle slots and record your readings.
| Probe Placement | Expected Reading | Diagnostic Meaning of Fault |
|---|---|---|
| X to Y (Hot to Hot) | 230V - 250V | If 120V: One breaker pole is dead or a hot wire is disconnected. |
| X to W (Hot to Neutral) | 115V - 125V | If 0V: Open neutral. The stove's 120V electronics (clock, lights) will not work. |
| Y to W (Hot to Neutral) | 115V - 125V | If 240V: Neutral and Ground are swapped at the panel or receptacle. |
| W to G (Neutral to Ground) | 0V - 2V | If 120V: Severe wiring fault; neutral is energized. Do not plug in appliance. |
Troubleshooting Matrix: Common Stove Outlet Failures
Even after a flawless installation, the appliance itself can reveal hidden circuit issues. Use this matrix to diagnose symptoms once the stove is powered on.
| Symptom | Diagnostic Root Cause | Solution |
|---|---|---|
| Oven control board clicks rapidly or resets when burners turn on. | Voltage drop due to undersized wire or a loose neutral connection causing 120V fluctuation. | Check neutral termination torque at both panel and receptacle. Verify wire run length does not exceed 100ft without upsizing to 4 AWG copper. |
| Stove works, but the 50A breaker feels hot to the touch after 30 mins of baking. | Breaker lug undertorqued, or wire insulation stripped too far back, exposing bare copper near the bus bar. | Shut off main power. Re-strip wires to exactly 3/4 inch and re-torque lugs to 50 in-lbs. |
| Burners heat up, but the oven remains completely cold. | Loss of one 120V leg. Oven elements often require 240V (both legs), while some burners can run on 120V. | Test X-to-Y voltage at the receptacle. If 120V, replace the double-pole breaker (one internal pole has failed). |
| GFCI breaker trips instantly when the oven door is opened. | EMI/RFI interference from the oven light switch or a microscopic ground leakage in the stove's heating element. | Test stove on a known-good non-GFCI 50A circuit (if code allows). If it still trips, the stove has an internal ground fault. If it doesn't, hardwire the stove to bypass GFCI receptacle nuisance tripping. |
Addressing the 3-Prong to 4-Prong Legacy Conversion
If you are upgrading an older home, you may encounter a NEMA 10-50R (3-prong) outlet. The NEC banned the installation of new 3-prong stove outlets in 1996. If you are learning how to install outlet for electric stove setups in a retrofitted kitchen, you must upgrade to a 4-prong NEMA 14-50R. This requires pulling a new 6/3 cable with a dedicated ground wire from the panel. Never attempt to 'bootleg' a ground by strapping the neutral to the ground at the receptacle—this creates a lethal shock hazard if the neutral wire ever breaks upstream.
When to Call a Licensed Electrician
While understanding the diagnostics of a 240V circuit is vital for any advanced DIYer, you must call a licensed professional if:
- Your main service panel lacks the physical space for a 2-inch double-pole breaker.
- Your main service is only 100 Amps, and you are simultaneously running an EV charger, electric water heater, and HVAC system (requiring a formal load calculation).
- You are transitioning from aluminum branch wiring to copper pigtails, which requires specialized AlumiConn or COPALUM connectors to prevent galvanic corrosion.
For comprehensive safety standards and code compliance, always refer to the National Fire Protection Association (NFPA) National Electrical Code. Additionally, the U.S. Consumer Product Safety Commission (CPSC) Electrical Safety Guide provides vital data on arc-fault prevention and home fire statistics related to improper 240V appliance wiring.