
Upgrading to a Hardwired USB to Electrical Outlet Converter
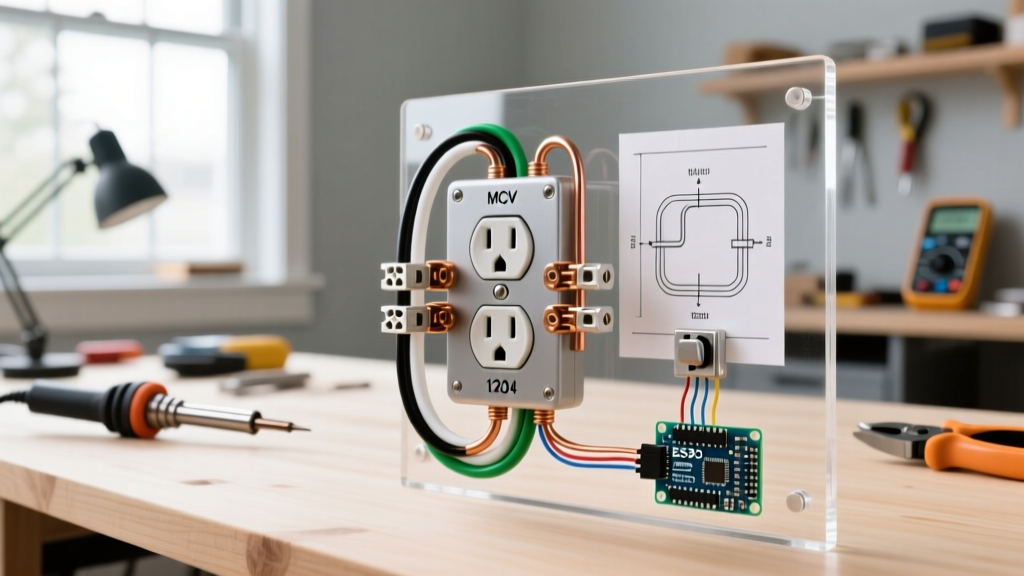
When homeowners search for a "usb to electrical outlet converter," they are often looking for a way to integrate modern device charging into their home's existing infrastructure without relying on bulky plug-in adapters. While plug-in bricks offer a temporary fix, the permanent, code-compliant solution is replacing your standard duplex receptacle with a hardwired USB-integrated electrical outlet. This effectively converts your standard wall socket into a dual-purpose power and charging hub.
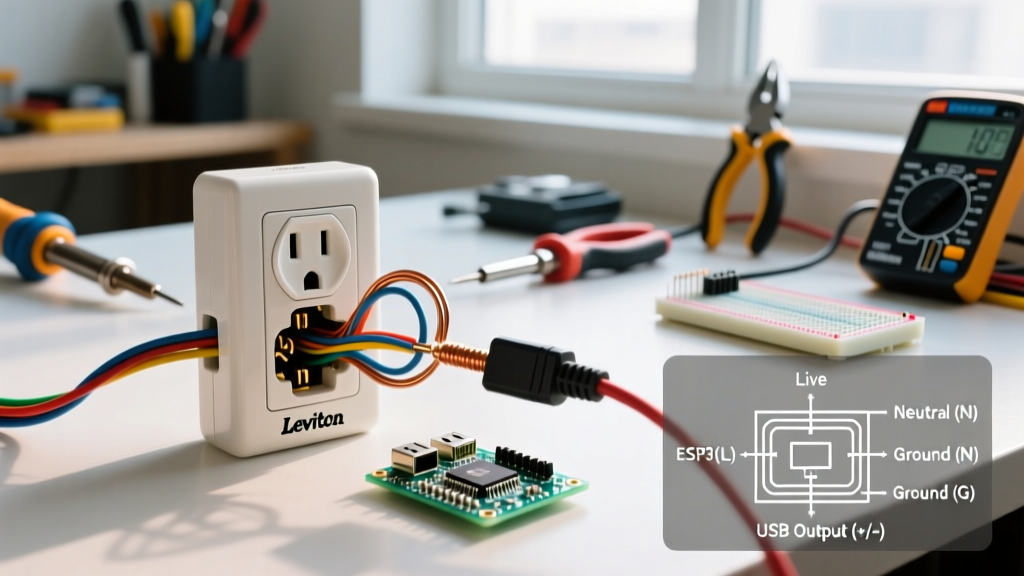
As of 2026, the market has shifted heavily toward USB-C Power Delivery (PD) receptacles. Older models maxed out at 10.5W (5V/2.1A), which is insufficient for modern smartphones and tablets. Today's premium hardwired converters, like the Leviton T5632 (USB-C/A) or the Eaton TR7745, deliver up to 30W of USB-C PD, allowing for rapid charging of everything from flagship smartphones to low-draw laptops, all while keeping both standard 15A AC sockets completely free for your appliances.
Hardwired Receptacles vs. Plug-In Adapters
Why go through the effort of wiring a new outlet when you can just buy a plug-in adapter? Here is how the hardwired conversion compares to standard plug-in USB bricks.
| Feature | Plug-In USB Adapter (e.g., Anker 40W) | Hardwired USB Receptacle (e.g., Leviton T5632) |
|---|---|---|
| Cost | $15 - $25 | $28 - $45 (plus installation) |
| Aesthetics | Bulky, blocks adjacent sockets | Flush, clean, integrated faceplate |
| Available AC Sockets | Often blocks 1 or both standard sockets | Leaves both 15A/20A AC sockets fully usable |
| Safety & Code | Prone to falling out; rare TR (Tamper-Resistant) features | Meets NEC Article 406.12 for Tamper-Resistant mandates |
| Heat Dissipation | Trapped in plastic casing, can overheat | Internal transformer vented into the junction box |
Tools and Materials Required
Before beginning, ensure you have the correct tools. Working with 120V AC requires precision and safety verification.
- Voltage Tester: Klein Tools NCVT-1 Non-Contact Voltage Tester (~$20)
- Wire Strippers: Klein Tools 11055 (capable of stripping 14 AWG and 12 AWG solid copper) (~$25)
- Screwdrivers: #2 Phillips and 1/4-inch flathead (insulated preferred)
- Needle-Nose Pliers: For forming precise wire loops
- The Converter Receptacle: Leviton T5632-W (15A Tamper-Resistant USB-C/A Receptacle, ~$32) or equivalent UL-listed model.
- Deep Junction Box (If needed): 22+ cubic inch capacity
Step-by-Step Installation Guide
Step 1: Kill the Power and Verify
Navigate to your main electrical panel and switch off the breaker controlling the room you are working in. Do not rely solely on wall switches. Insert a lamp into the outlet to verify the AC power is dead, then use your Klein NCVT-1 to scan the outlet faceplate. The tester must remain completely dark and silent. According to the Consumer Product Safety Commission, verifying the absence of voltage is the single most critical step in preventing residential electrocution.
Step 2: Extract the Existing Receptacle
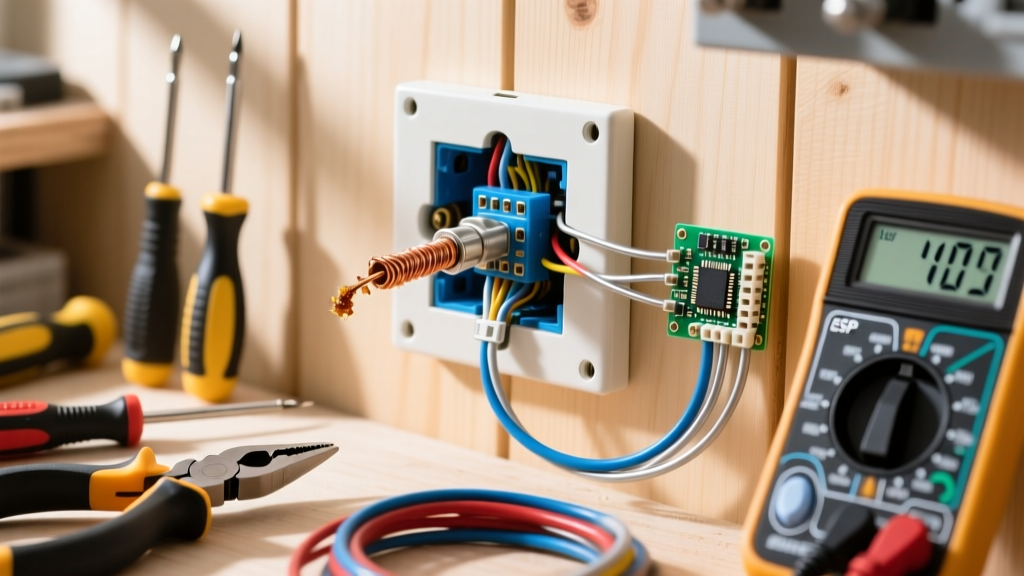
Remove the center screw holding the faceplate. Next, remove the top and bottom mounting screws securing the receptacle to the junction box. Gently pull the receptacle out. Take a photo of the existing wiring before disconnecting anything. You will typically see a black (hot), white (neutral), and bare copper/green (ground) wire connected to the brass, silver, and green screws, respectively.
Step 3: Prepare the Wires
Disconnect the wires. Inspect the copper ends. If they are heavily oxidized, corroded, or damaged from previous "backstab" push-in connections, snip the ends off and re-strip them to exactly 3/4 of an inch. Ensure you are using the correct gauge hole on your wire strippers (14 AWG for 15-amp circuits, 12 AWG for 20-amp circuits).
Step 4: Terminate the New USB Receptacle
Expert Warning: Never use the push-in "backstab" connectors on the back of a USB receptacle. The internal DC transformer draws a continuous micro-load, and backstab connections are notorious for loosening over time due to thermal expansion, leading to arcing.
- Ground First: Form a clockwise J-hook with the bare copper wire and loop it around the green ground screw. Tighten firmly.
- Neutral (White): Loop the white wire clockwise around one of the silver screws. The clockwise direction ensures that tightening the screw pulls the loop tighter rather than pushing it out.
- Hot (Black): Loop the black wire clockwise around the brass screw.
Note on LINE vs. LOAD: Standard USB receptacles (non-GFCI) do not have LINE and LOAD terminals. They only have one set of hot and neutral terminals. If you have two sets of cables in your box (indicating a daisy-chained circuit), you must use a wire nut to pigtail the two black wires together, and the two white wires together, before connecting a single pigtail to the receptacle.
Step 5: Box Fill Verification and Mounting
Before pushing the new outlet into the wall, you must address the physical depth of the device. USB receptacles contain internal step-down transformers and voltage regulators, making them significantly deeper (often 1.6 to 2.0 inches) than standard $2 duplex receptacles.
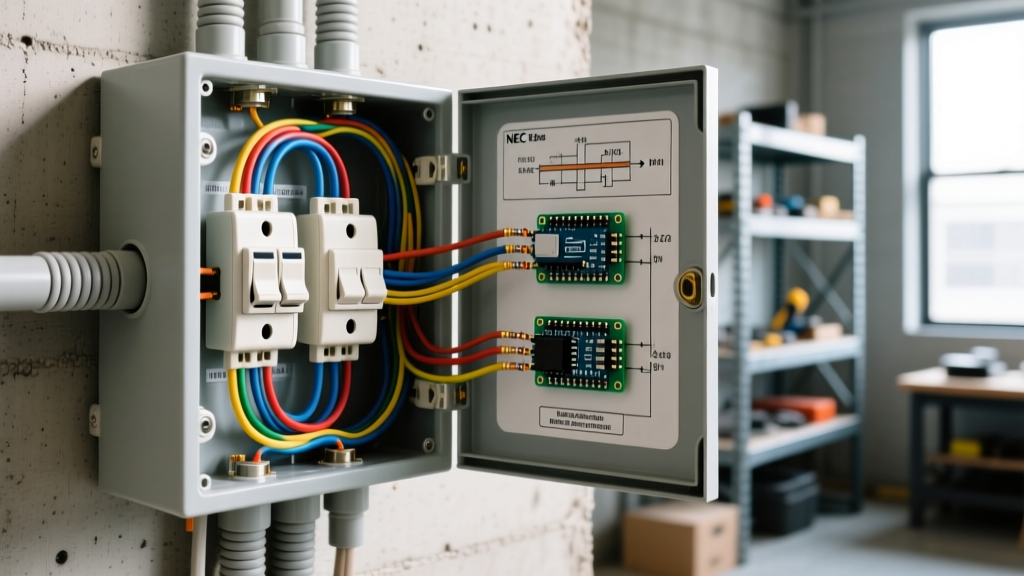
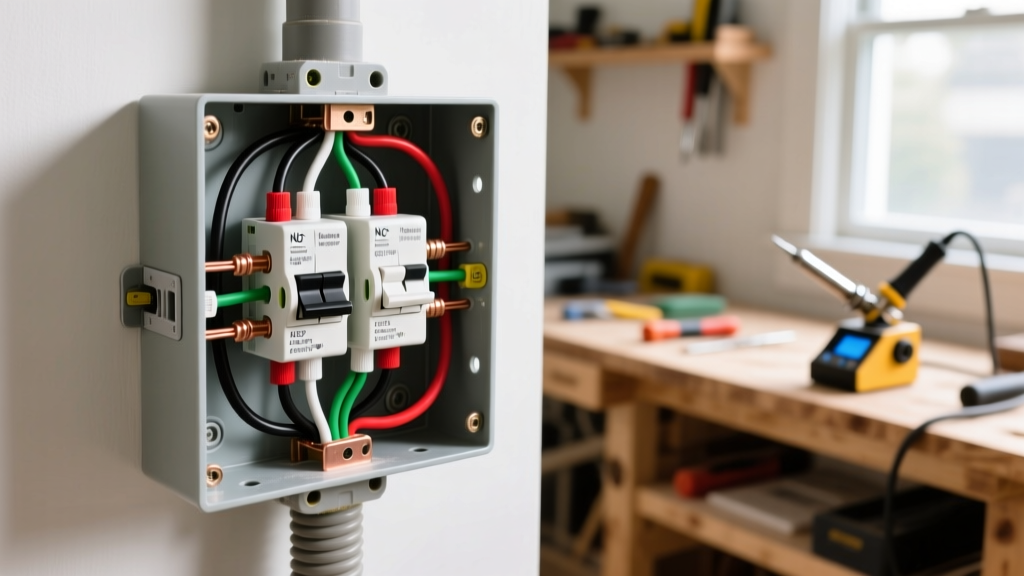
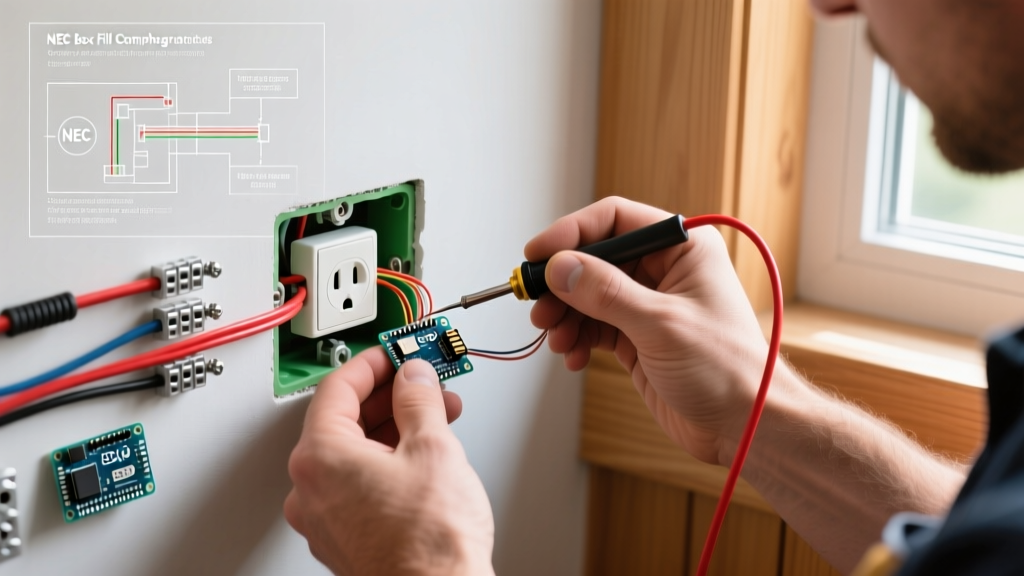
NEC Box Fill Warning: The National Fire Protection Association (NFPA) mandates strict box fill calculations under NEC Article 314.16. If your existing junction box is a shallow 14-cubic-inch box, forcing a deep USB receptacle inside will crush the wires against the back of the box. This damages wire insulation and creates a severe fire hazard. If the fit is overly tight, you must install a box extender ring or replace the box with a deep 22-cubic-inch "old work" box before proceeding.
Once you have confirmed adequate clearance, carefully fold the wires in an accordion pattern (ground in back, neutrals in middle, hots in front), push the receptacle flush against the wall, and secure it with the provided mounting screws. Snap on the decorative faceplate, restore power at the breaker, and test both the AC sockets and the USB ports.
Troubleshooting Common Failure Modes
If your installation doesn't work perfectly on the first try, use this diagnostic matrix:
- Symptom: AC sockets work, but USB ports do not charge devices.
Diagnosis: The internal DC transformer requires a complete neutral return path. Check your white neutral wire connection. A loose neutral will allow 120V AC to pass through to a plugged-in appliance (completing the circuit through the appliance), but the internal USB transformer will fail to activate. - Symptom: Faceplate feels unusually warm to the touch.
Diagnosis: While a slight warmth is normal when fast-charging a device at 30W, excessive heat indicates poor wire termination (high resistance) or an overloaded circuit. Turn off the breaker immediately and re-terminate your wire loops. - Symptom: USB-C charges phone slowly (5W instead of 20W+).
Diagnosis: You may have purchased an older inventory USB-A only model, or a hybrid model that splits wattage. Ensure your receptacle specifically advertises "USB-C PD 3.0" or higher for 2026 fast-charging standards.
Frequently Asked Questions
Do USB outlets consume phantom power?
Yes, but the amount is negligible. Modern UL-listed USB receptacles draw between 0.05W and 0.15W of standby phantom power to keep the internal charging IC (Integrated Circuit) awake and ready to negotiate Power Delivery handshakes. This translates to less than $1.50 per year in electricity costs.
Can I install a 15A USB receptacle on a 20A breaker circuit?
Yes, but with a strict caveat. According to NEC Table 210.21(B)(3), you can install a 15A-rated receptacle on a 20A circuit only if there is more than one receptacle on that circuit. Since a duplex receptacle (which includes the USB models) counts as two receptacles, installing a 15A USB duplex outlet on a 20A circuit is fully code-compliant for standard residential wiring.
Are hardwired USB outlets required to be Tamper-Resistant?
Absolutely. The Electrical Safety Foundation International (ESFI) highlights that the NEC requires all 15A and 20A receptacles in dwelling units to be Tamper-Resistant (TR). Always ensure the USB converter you purchase has the "TR" stamp on the yoke, which indicates it features internal shutters that prevent children from inserting foreign objects into the AC slots.