
The Unique Landscape of Cuban Electrical Infrastructure
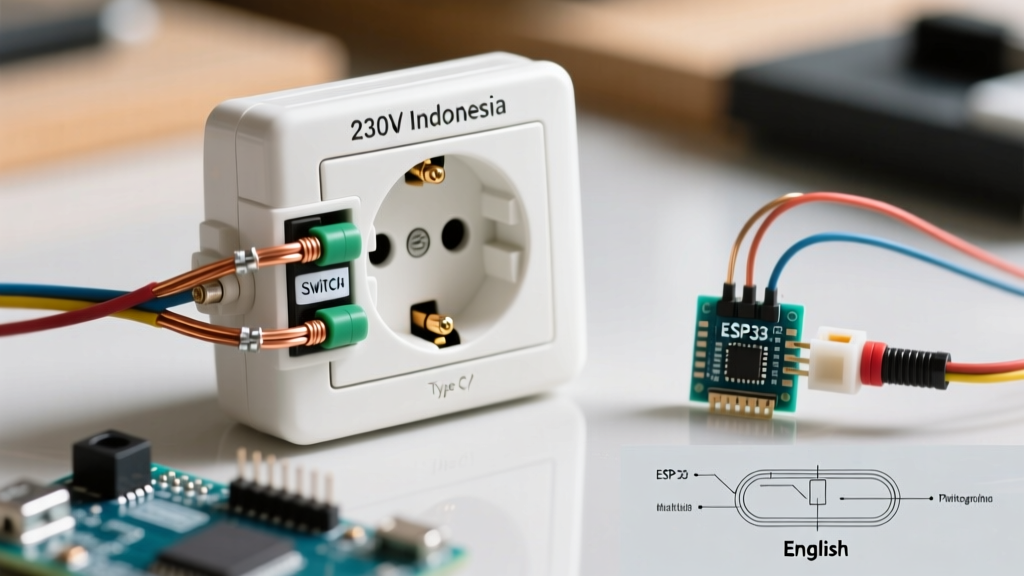
Wiring a Cuba electric outlet requires an understanding of one of the most unique electrical grids in the Western Hemisphere. Due to a complex history of American influence prior to 1959 and subsequent Soviet and European infrastructure imports, Cuba operates on a dual-voltage reality. While the national grid standard is officially 110V at 60Hz (utilizing North American NEMA Type A and B receptacles), a massive proliferation of 220V at 60Hz systems (utilizing European Type C and Schuko receptacles) exists in modern hotels, newly constructed homes, and off-grid solar setups.
For electrical DIYers, expats, or technicians working on casas particulares (private homestays), navigating this hybrid environment is critical. Plugging a 110V appliance into a 220V Cuban receptacle will result in immediate catastrophic failure, while running 220V European appliances on 110V circuits will cause motor burnout and severe voltage drop. This wiring diagram reference provides the exact specifications, wire mappings, and edge-case troubleshooting required to safely install and adapt Cuban receptacles.
Cuba Electric Outlet Specifications Matrix
Before pulling wire, identify the target voltage and receptacle type. The table below outlines the standard wiring parameters for both prevalent systems found across the island.
| System Standard | Voltage / Freq | Receptacle Type | Standard Wire Colors | Recommended Wire Gauge | Breaker Size |
|---|---|---|---|---|---|
| North American (Legacy/Standard) | 110V / 60Hz | NEMA 1-15R (Type A) or NEMA 5-15R (Type B) | Black (Line), White (Neutral), Bare/Green (Ground) | 14 AWG (15A) or 12 AWG (20A) THHN/Copper | 15A or 20A Single-Pole |
| European / Soviet (Modern/AC) | 220V / 60Hz | CEE 7/16 (Type C) or CEE 7/3 (Schuko) | Brown (Line), Blue (Neutral), Green-Yellow (Ground) | 2.5 mm² (approx 14 AWG) or 4.0 mm² (approx 12 AWG) | 16A or 20A Double-Pole |
Wiring Diagram Reference: 110V NEMA 5-15R (Type A/B)
The 110V system remains the baseline for general lighting and standard household appliances in older Cuban residential buildings. When wiring a standard grounded NEMA 5-15R receptacle, adherence to North American color codes and terminal torque specifications is required to prevent arc faults, especially in humid coastal environments like Havana or Santiago de Cuba.
Terminal Mapping and Installation Specs
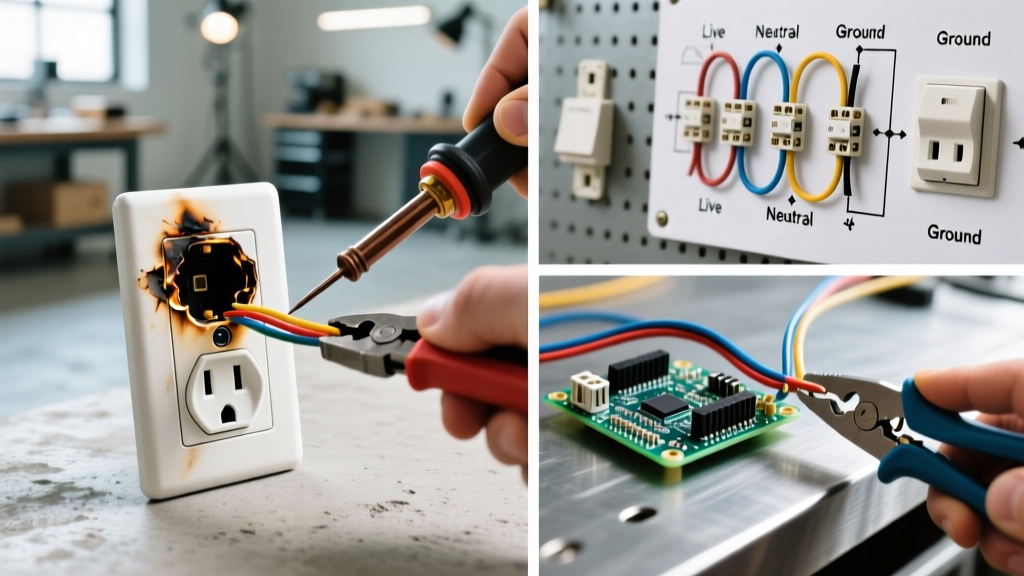
- Line (Hot): Connect the Black wire to the Brass (dark-colored) terminal screw. Torque to 14 in-lbs.
- Neutral: Connect the White wire to the Silver (light-colored) terminal screw. Torque to 14 in-lbs.
- Ground: Connect the Bare or Green wire to the Green terminal screw. Torque to 14 in-lbs.
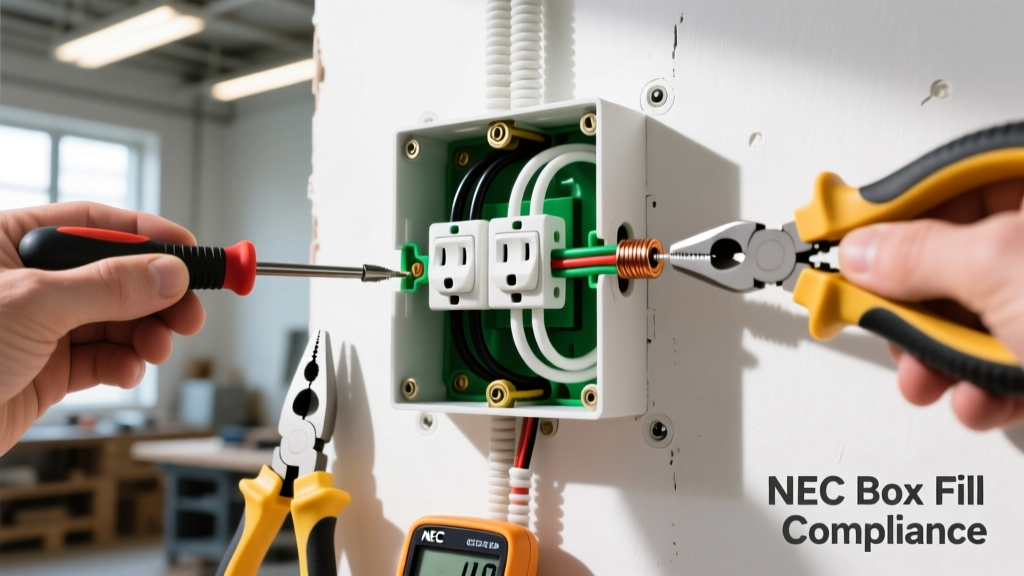
- Box Grounding: If using a metal junction box, a pigtail ground wire must connect the receptacle's green screw to the metal box using a 10-32 ground screw.
Wiring Diagram Reference: 220V Schuko / Type C
To accommodate high-draw appliances like mini-split air conditioners, electric water heaters, and European tourist devices, many modern Cuban renovations install 220V circuits. Unlike the US 240V split-phase system (which uses two hot legs and no neutral for appliances), Cuba's 220V is typically single-phase, derived from a step-up transformer or a specific 220V grid tap, requiring a Line, Neutral, and Ground.
IEC Color Code Mapping
Imported European wiring (often sourced from Spain or China) follows IEC 60446 standards. Miswiring these colors using US logic is a common and dangerous mistake.
- Line (Hot): Brown wire connects to the designated Line terminal (often marked 'L' or left-side pin on Schuko).
- Neutral: Blue wire connects to the Neutral terminal (marked 'N' or right-side pin).
- Ground: Green with Yellow Stripe wire connects to the Schuko grounding clips or central ground pin.
CRITICAL WARNING: Never assume a 220V Cuban circuit is split-phase like a US dryer outlet. It is single-phase 220V. Connecting a US 240V split-phase appliance directly to a Cuban 220V single-phase outlet without verifying the internal appliance wiring diagram will result in equipment failure.
The "Casa Particular" Dual-Voltage Workaround
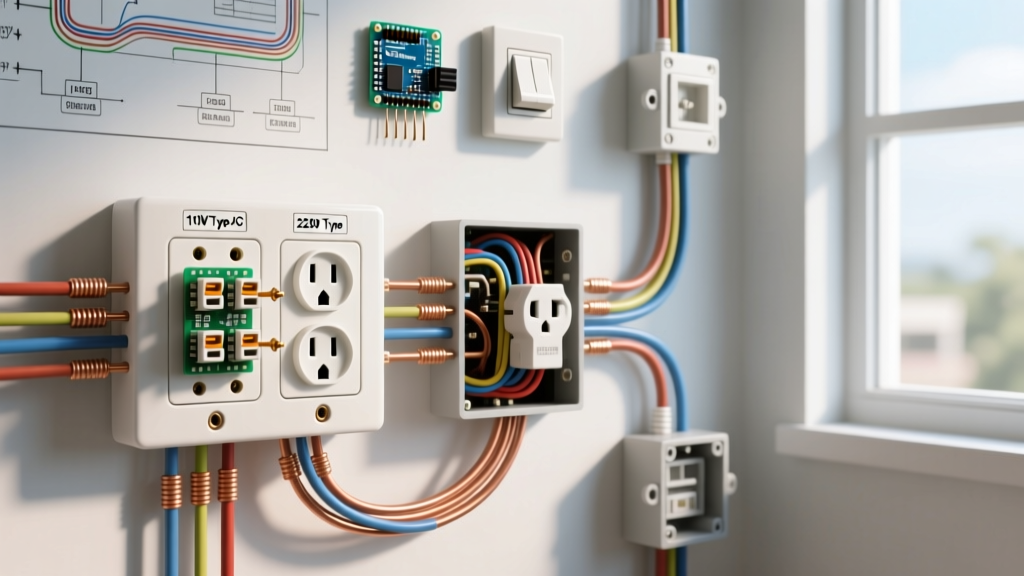
Tourism drives the Cuban economy, and hosts of casas particulares frequently need to provide 110V outlets for North American tourists in rooms wired exclusively for 220V. The safest, code-compliant method to achieve this without rewiring the entire building is installing a localized step-down transformer behind a dual-gang wall plate.
Step-by-Step Transformer Wiring (220V to 110V)
For a 500VA (approx. 4.5 Amp) continuous load step-down transformer housed in a deep 2-gang junction box:
- Feed the Primary: Connect the 220V Brown (Line) and Blue (Neutral) supply wires to the transformer's Primary input terminals (labeled 220V/240V).
- Ground the Core: Connect the supply Green/Yellow ground wire directly to the transformer's metal chassis grounding lug and the metal junction box.
- Wire the Secondary: Connect the transformer's Secondary output terminals (labeled 110V/120V) to a standard NEMA 5-15R receptacle using 14 AWG THHN wire (Black to Brass, White to Silver).
- Secondary Grounding: Bond the NEMA 5-15R ground screw to the transformer chassis ground. Do not bond the secondary neutral to the ground inside the box; this creates a dangerous neutral-to-ground loop.
- Overcurrent Protection: Ensure the 220V supply breaker is sized correctly for the transformer's primary draw (typically a 6A or 10A double-pole breaker for a 500VA unit).
Grounding Realities and Edge Cases in Older Buildings
One of the most severe edge cases when wiring a Cuba electric outlet in pre-1959 Havana or Trinidad buildings is the lack of a true earth ground. Many older structures feature "bootleg grounds"—where a jumper wire connects the neutral terminal to the ground screw on the receptacle to trick modern 3-prong testers. This is highly lethal if the neutral wire breaks upstream, energizing the appliance chassis with 110V.
Installing a Supplemental Grounding Electrode
If the main panel lacks a verified ground bus bar tied to a grounding electrode system, you must install a localized ground for sensitive electronics or GFCI receptacles.
- Electrode Spec: Drive a 5/8-inch copper-clad steel grounding rod at least 8 feet into the earth outside the exterior wall.
- Conductor: Run a continuous 8 AWG bare copper grounding electrode conductor (GEC) from the rod clamp to the specific outlet's metal junction box.
- Testing: Use a 3-point fall-of-potential earth ground tester. In Cuba's rocky or dry coastal soil, you may need to drive two rods spaced 6 feet apart and bond them together to achieve a resistance of less than 25 ohms, as recommended by the National Electrical Code (NFPA).
2026 Solar and Inverter Integration
As of 2026, grid instability and rolling blackouts (apagones) have made hybrid solar inverter systems a standard feature in middle-class Cuban homes. When wiring a Cuba electric outlet to a dedicated critical-loads subpanel backed by a pure sine wave inverter, voltage drop calculations are paramount.
Inverter output voltage can sag under heavy startup loads (like a refrigerator compressor). To mitigate this:
- Upsize the wire gauge. If the run from the inverter subpanel to the receptacle exceeds 50 feet, use 10 AWG copper instead of the standard 14 AWG for a 15A circuit.
- Ensure the inverter's neutral-to-ground bonding relay is correctly configured. Most modern off-grid inverters require the neutral and ground to be bonded only at the main service disconnect, not at the individual receptacle.
- Install a whole-house Surge Protective Device (SPD) at the inverter output bus. The Cuban grid is notorious for massive voltage transients when power is restored after a blackout, which will instantly destroy the MOSFETs in an unprotected solar inverter.
Authoritative References and Standards
When planning electrical modifications in Cuba, always cross-reference local adaptations with international safety standards. The following resources provide foundational data on plug types, voltage tolerances, and safety codes:
- World Standards: Cuba Plugs and Sockets - Comprehensive breakdown of Type A, B, C, and L receptacles found across the island.
- IEC World Plugs Map - The International Electrotechnical Commission's official database on global voltage and frequency standards.
- NFPA National Electrical Code (NEC) - The benchmark for grounding electrode systems, torque specifications, and overcurrent protection referenced in international DIY and professional installations.