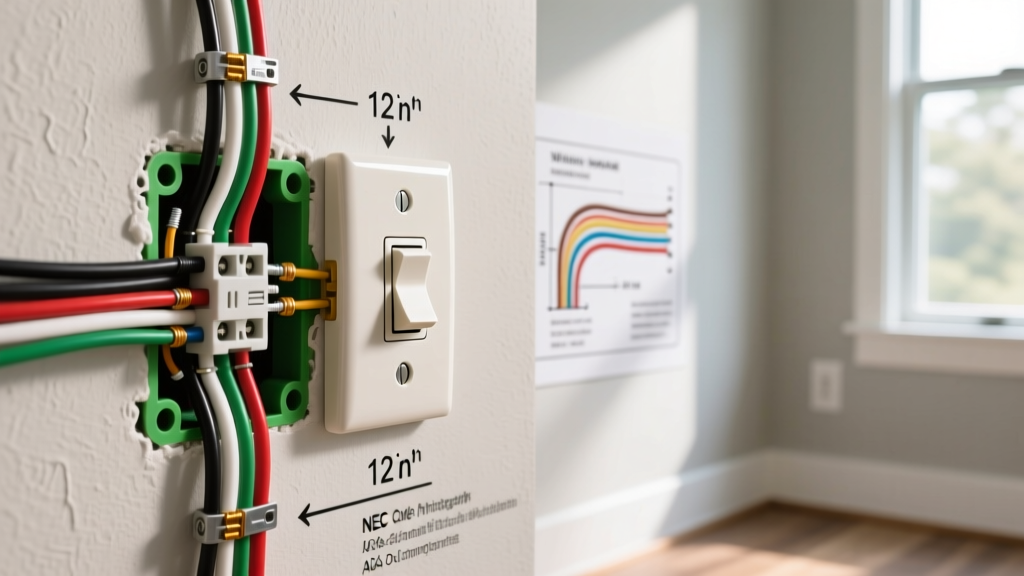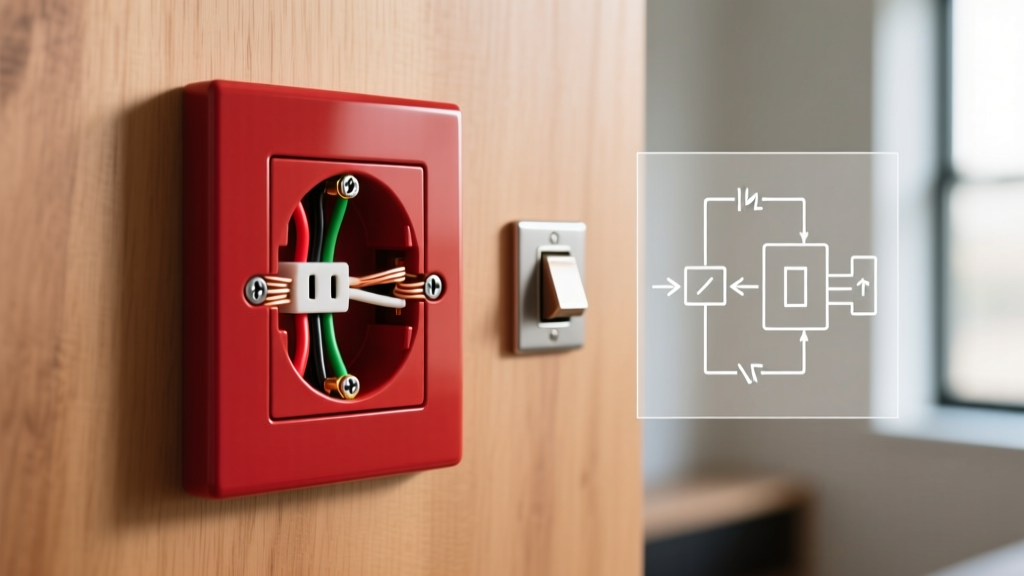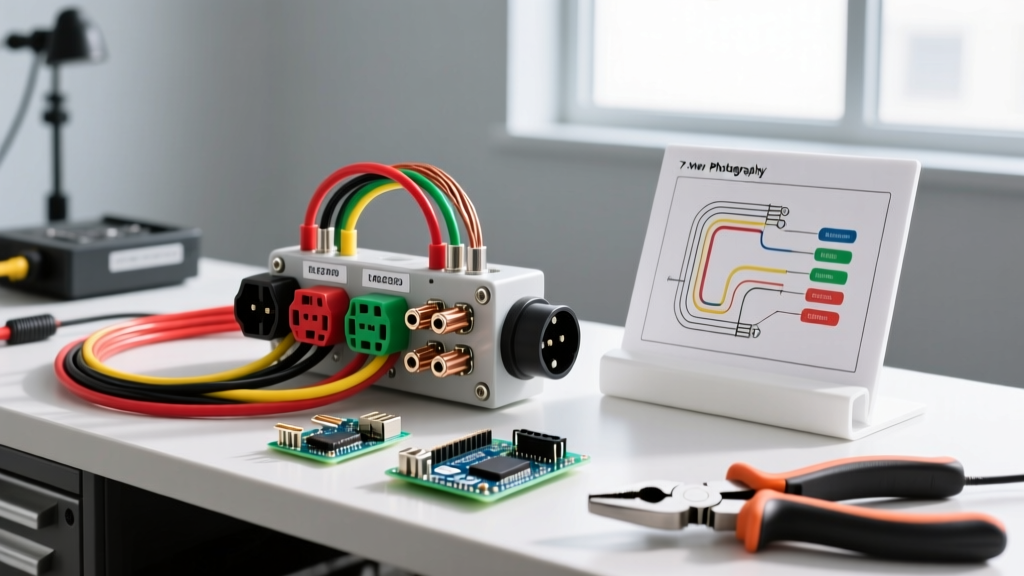

The Definitive Tool and Material Guide for Trailer Socket Wiring
Wiring a trailer socket is one of the most common yet frequently botched DIY electrical projects in the automotive and RV space. Whether you are outfitting a heavy-duty equipment hauler, a travel trailer, or a simple utility trailer, relying on cheap crimp connectors and guessing the pinout is a recipe for blown fuses, damaged brake controllers, and dangerous highway failures. According to the National Highway Traffic Safety Administration (NHTSA), faulty trailer lighting and braking connections are a leading cause of tow-related accidents.
In this comprehensive guide, we move beyond generic advice. We provide the exact wiring diagram for a trailer socket (focusing on the industry-standard 7-way RV blade and 4-way flat), alongside a meticulously curated list of professional-grade tools and materials required to execute a waterproof, vibration-proof, and DOT-compliant installation in 2026.
Decoding the Wiring Diagram: 7-Way RV Blade & 4-Way Flat
Before purchasing a single foot of wire, you must understand the pinout standards. The etrailer wiring authority database confirms that while color codes can occasionally vary on older custom rigs, the physical pin positions on the socket (vehicle side) remain strictly standardized by SAE and RVIA guidelines.
7-Way RV Blade Socket Pinout (Vehicle Side)
When looking directly at the face of the 7-way socket mounted on your vehicle, the pins are arranged in a clock-face pattern:
| Clock Position | Function | Standard Wire Color | Recommended AWG |
|---|---|---|---|
| Center | 12V Constant (Battery Charge) | Black | 10 AWG |
| 1 o'clock | 12V Auxiliary / Reverse Lights | Red or Orange | 12 AWG |
| 3 o'clock | Right Turn / Stop | Green | 14 AWG |
| 5 o'clock | Electric Brakes | Blue | 10 AWG |
| 7 o'clock | Ground (Chassis / Battery Neg) | White | 10 AWG (Min) |
| 9 o'clock | Left Turn / Stop | Yellow | 14 AWG |
| 11 o'clock | Tail / Running / License Lights | Brown | 14 AWG |
4-Way Flat Socket Pinout
For lighter utility trailers without electric brakes or 12V auxiliary needs, the 4-way flat is standard. From left to right (looking at the vehicle-side female connector): Ground (White), Tail/Running (Brown), Left Turn (Yellow), and Right Turn (Green).
The Essential Tool Kit: Stop Using Pliers
The number one reason trailer wiring fails within six months is improper crimping. Standard pliers crush the terminal unevenly, creating micro-gaps where moisture enters and oxidizes the copper. To build a harness that survives salt, mud, and highway vibration, you need the following tools:
1. Ratcheting Terminal Crimper
Ditch the cheap stamped-metal crimpers. Invest in a ratcheting crimper specifically calibrated for heat-shrink terminals. The Iwiss IWS-16 (approx. $45) or the Knoweasy Heat Shrink Crimper features a ratcheting mechanism that ensures the terminal is compressed to the exact factory specification before releasing. This creates a gas-tight mechanical bond that is actually stronger than the wire itself.
2. Precision Wire Strippers
Nicking the copper strands during stripping reduces the wire's ampacity and creates a fracture point under vibration. The Klein Tools 11055 (approx. $32) allows you to dial in the exact gauge (from 10 AWG to 14 AWG) and strip the insulation cleanly without scoring the copper.
3. Digital Multimeter & Circuit Tester
Do not rely on cheap incandescent test lights, which can draw enough current to fry modern multiplexed tow-module circuits found in 2020+ trucks (like the Ford F-150 or Ram 1500). Use a high-impedance digital multimeter like the Fluke 115 or a specialized LED trailer circuit tester like the Draw-Tite 40376 to verify pinout signals without risking vehicle ECU damage.
Material Selection: Wire, Terminals, and Sockets
According to Federal Motor Carrier Safety Administration (FMCSA) regulations governing commercial trailer lighting, wiring must be protected against abrasion, moisture, and corrosion. While DIYers aren't strictly bound by commercial DOT inspections, applying these standards guarantees longevity.
Wire Gauge and Jacket Type
Never use standard household THHN copper wire. It is solid-core (which snaps under vibration) and the insulation degrades rapidly under UV exposure and road chemicals. You must use Stranded Copper Primary Wire (SAE J1128 / GXL or TXL type).
- 10 AWG: Mandatory for the Ground (White), Electric Brakes (Blue), and 12V Constant (Black). Brake controllers can pull up to 15-20 amps under heavy stopping loads; undersized wire causes voltage drop, resulting in weak trailer brakes.
- 12 AWG: Used for the 12V Auxiliary circuit to handle interior trailer lights or winch solenoid triggers.
- 14 AWG: Sufficient for LED running lights and turn signals, which draw minimal amperage.
Marine-Grade Heat Shrink Terminals
Standard vinyl-insulated butt splices are a liability. Purchase Adhesive-Lined Marine Heat Shrink Terminals (brands like Ancor or Tinned Copper equivalents). When heated, the inner thermoplastic adhesive melts and flows around the wire strands, creating a 100% waterproof seal that prevents capillary action from wicking moisture down the wire jacket.
The Socket Itself
Avoid $12 plastic sockets from big-box auto parts stores; the pins tarnish and the spring-loaded flap breaks. Upgrade to the Pollak 11-893 or Hopkins 48425 (approx. $28-$35). These feature heavy-duty brass or nickel-plated contacts, robust die-cast or high-impact ABS housings, and heavy spring tension to keep water out.
Execution Strategy & The "Ground Loop" Failure Mode
Even with the perfect wiring diagram for a trailer socket and premium tools, 80% of electrical gremlins stem from a single mistake: The Ground Wire Fallacy.
Expert Warning: Never rely on the trailer hitch ball and coupler as your primary electrical ground. The friction, rust, and grease on the hitch create high electrical resistance. This causes "backfeeding," where applying the brakes accidentally turns on the trailer's running lights, or the turn signals pulse dimly.
Step-by-Step Execution Protocol
- Run a Dedicated Ground: Run the 10 AWG White wire all the way from the 7 o'clock pin on the socket directly to the vehicle's main chassis ground bolt or battery negative terminal. Do the same on the trailer side.
- Strip and Insert: Strip exactly 5/16" of insulation. Insert the wire into the marine heat-shrink butt splice until it bottoms out.
- Ratchet Crimp: Place the terminal in the correct color-coded nest of the Iwiss crimper. Squeeze until the ratchet releases. Tug firmly on the wire to verify the mechanical hold.
- Heat Shrink Properly: Use a heat gun (not a lighter, which scorches the adhesive). Start heating in the middle of the tubing and work your way outward to the edges. You know the seal is perfect when a small bead of clear adhesive squeezes out of both ends.
- Dielectric Grease: Pack the finished socket pins with Permatex 22058 Dielectric Tune-Up Grease. This prevents galvanic corrosion between the brass socket and the steel plug, ensuring a flawless connection for years.
2026 Cost Breakdown for a Professional-Grade Setup
Building a bombproof trailer wiring harness requires an upfront investment in tools, but these tools will last a lifetime of DIY automotive projects.
| Item Category | Specific Recommendation | Estimated 2026 Cost |
|---|---|---|
| Ratcheting Crimper | Iwiss IWS-16 or Glarks SN-58B | $35.00 - $45.00 |
| Wire Strippers | Klein Tools 11055 | $30.00 - $35.00 |
| 7-Way RV Socket | Pollak 11-893 (Heavy Duty) | $28.00 - $38.00 |
| Wiring (100ft spools) | Southwire / Ancor GXL (10, 12, 14 AWG) | $80.00 - $120.00 |
| Terminals & Grease | Ancor Heat Shrink + Permatex Grease | $25.00 - $35.00 |
| Total Investment | Professional Grade DIY Kit | $198.00 - $273.00 |
Troubleshooting & Final Safety Checks
Before connecting the trailer, use your multimeter to verify the voltage at the socket. With the vehicle running, the Center Pin (12V Constant) should read between 13.5V and 14.2V, indicating the alternator is charging. If it reads below 12.5V, you have excessive resistance in the wire run—likely due to undersized wire or a poor crimp.
Furthermore, ensure your tow vehicle is equipped with a modern, smart trailer module (like the Curt 56413 or Tekonsha Prodigy P3) rather than hardwiring the socket directly to the vehicle's tail light circuits. Modern vehicles use CAN-bus systems and pulse-width modulation (PWM) for lighting; tapping directly into them without a powered converter module will trigger dashboard warning lights and potentially fry the vehicle's body control module (BCM).
By strictly following this wiring diagram for a trailer socket and utilizing the exact marine-grade materials and ratcheting tools outlined above, you eliminate the guesswork. You will achieve a reliable, weather-sealed, and highway-safe electrical connection that outperforms factory-installed dealer harnesses.