
Understanding the Cambodia Electrical Outlet Standard
Wiring a Cambodia electrical outlet requires navigating a unique transitional landscape in the country's electrical infrastructure. Historically, Cambodia has been a melting pot of plug types due to imported appliances and varying foreign influences. You will frequently encounter Type A (North American/Japanese ungrounded), Type C (Europlug), and Type G (British) sockets in older buildings across Phnom Penh and Siem Reap. However, the official national standard adopted by the Cambodian government is Type O (TIS 166-2547), which features three round pins in a triangular pattern and is rated for 16A at 230V/50Hz.
As of 2026, new commercial builds and high-end residential developments are strictly mandated to use Type O or high-quality universal receptacles that safely accommodate Type O, C, and G plugs. The standard grid voltage is 230V with a tolerance of ±10%, and the frequency is 50Hz. When replacing or installing a new Cambodia electrical outlet, DIYers and electricians must adhere to IEC wiring color codes, ensure proper earthing (which is notoriously absent in legacy builds), and select receptacles rated for the humid, tropical climate to prevent terminal corrosion.
Cambodia Plug & Socket Compatibility Matrix
Before purchasing your receptacle, it is critical to understand what plug types your new outlet must support. While Type O is the legal standard, universal sockets remain the most practical choice for renovations in 2026 to support legacy appliances.
| Plug Type | Pin Configuration | Grounding | Common Use Case in Cambodia |
|---|---|---|---|
| Type O | 3 Round Pins (Triangular) | Yes | Official standard; new government and commercial builds. |
| Type A | 2 Flat Parallel Pins | No | Legacy imports, older USB chargers, small electronics. |
| Type C | 2 Round Pins | No | European appliance imports, standard lighting plugs. |
| Type G | 3 Rectangular Pins | Yes | Heavy appliances, UK/Singapore imports, older luxury villas. |
For a comprehensive breakdown of global plug configurations and the specific dimensions of the Type O standard, refer to the World Standards Type O Guide. Additionally, the IEC World Plugs database provides authoritative maps and safety regulations regarding international socket compatibility.
Essential Tools & Materials for 230V Installation
Do not attempt this installation without the proper diagnostic and safety equipment. Working with 230V AC requires strict adherence to safety protocols. In 2026, the Cambodian hardware market (such as those in Phnom Penh's Monivong Boulevard district) is well-stocked with international brands. Expect to pay around $4 to $8 USD for a premium universal receptacle and $18 to $25 USD for a 20A RCBO breaker.
- Receptacle: Schneider Electric AvatarOn Universal Socket or Panasonic Wide Series (WEG7901) with polycarbonate faceplates for UV and humidity resistance.
- Wire: 2.5mm² THHN stranded copper wire (Brown, Blue, Green/Yellow).
- Breaker: 16A or 20A Type C MCB (Miniature Circuit Breaker) or RCBO for wet areas.
- Backbox: 35mm to 45mm deep PVC flush-mount backbox.
- Tools: Fluke 117 True-RMS Multimeter, insulated VDE screwdriver set, wire strippers, and a torque screwdriver (calibrated to 0.5 Nm - 0.8 Nm).
- Safety: Lockout/Tagout (LOTO) kit and Class 0 insulated gloves.
Step-by-Step Installation Guide
Step 1: Isolate the Circuit and Verify Zero Energy
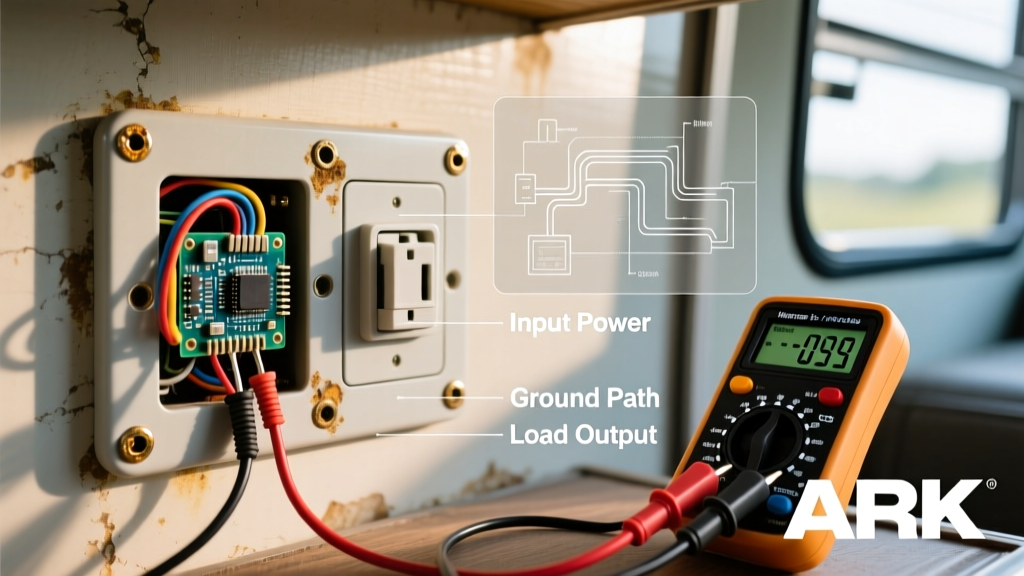
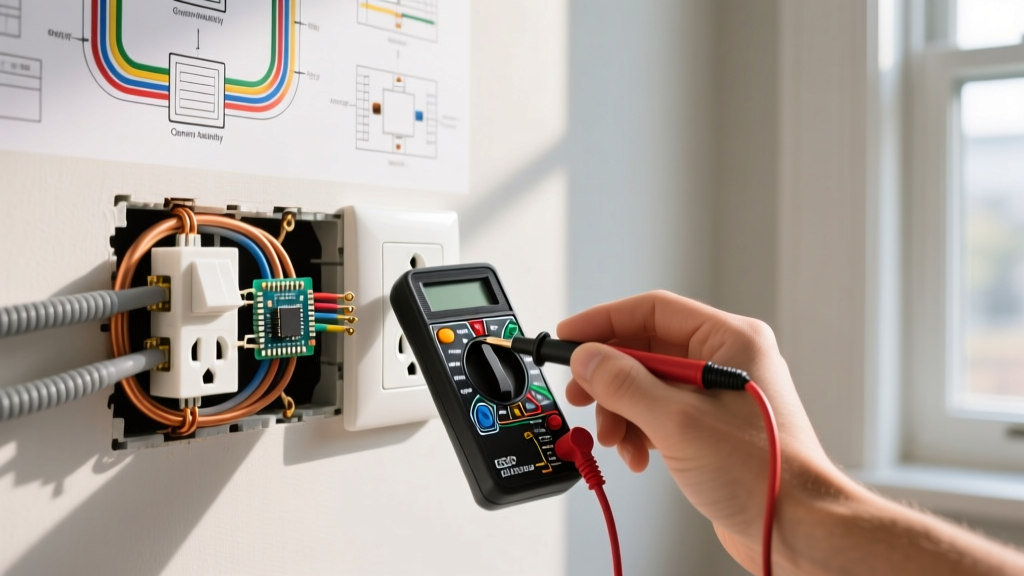
Locate your main distribution board (DB). Identify the specific 16A or 20A MCB controlling the room where you are working. Switch the breaker to the OFF position and apply a physical lockout tag to prevent accidental re-energization. Remove the existing outlet faceplate carefully. Using your Fluke 117 multimeter, test between the suspected Live (Phase) and Neutral wires, then between Live and Earth, and finally Neutral and Earth. The multimeter must read 0.0V across all combinations. Never rely solely on a non-contact voltage tester, as capacitive coupling in adjacent wires can yield false positives.
Step 2: Prepare the Backbox and Route Wires
If you are replacing an old, shallow metal box (common in 1990s Cambodian builds), chisel out the masonry and install a modern 40mm deep PVC backbox. Shallow boxes cause severe wire crowding, leading to heat buildup and potential arcing at the terminals. Feed your 2.5mm² THHN cables through the PVC conduit. Ensure you have at least 150mm (6 inches) of wire slack protruding from the backbox to allow for proper stripping and looping.
Step 3: Strip, Terminate, and Torque
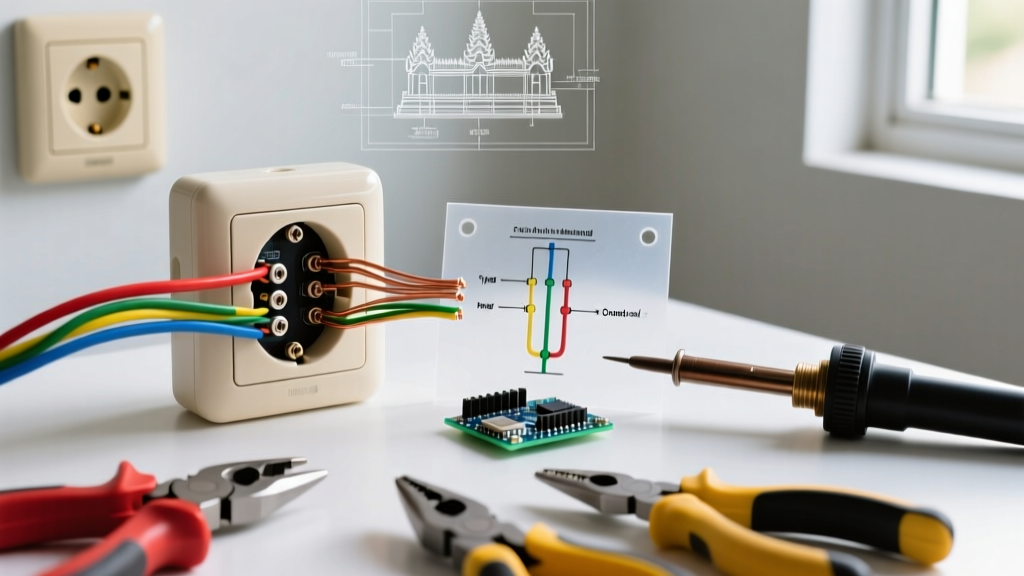
Cambodia follows the IEC 60446 color code standard for new installations: Brown for Live (Phase), Blue for Neutral, and Green/Yellow for Earth. However, if you are working in an older building, you may encounter non-standard colors (e.g., Black for Live, Red for Neutral). Use your multimeter to definitively identify the conductors before the power is cut.
Strip exactly 12mm of insulation from the end of each 2.5mm² wire. Insert the bare copper into the corresponding terminals on the back of the Schneider or Panasonic receptacle:
- Earth (E / ⏚): Insert the Green/Yellow wire into the center or top grounding terminal.
- Live (L): Insert the Brown wire into the terminal marked 'L' (usually on the right side when facing the socket).
- Neutral (N): Insert the Blue wire into the terminal marked 'N' (usually on the left side).
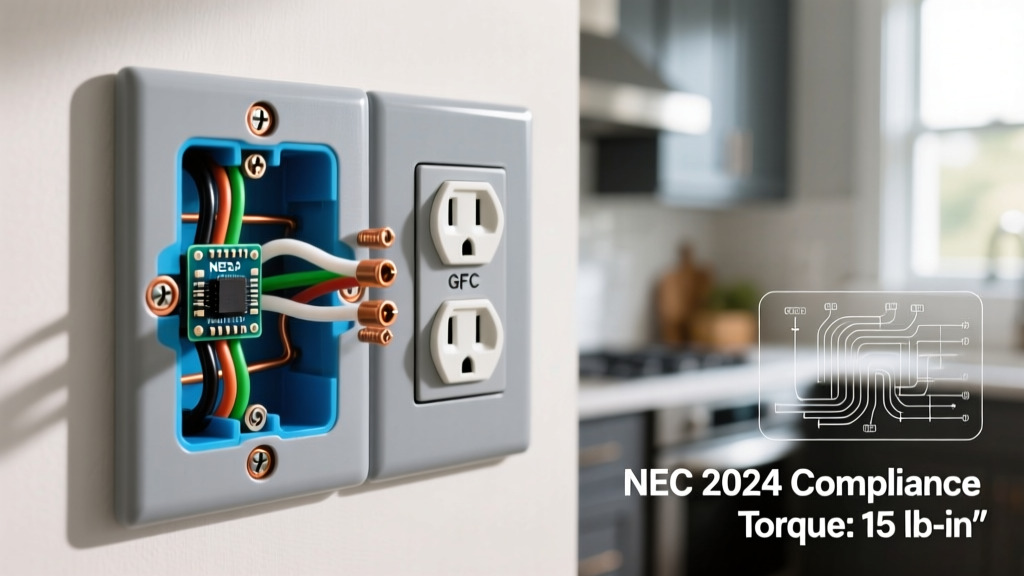
Using your torque screwdriver set to 0.7 Nm, tighten the terminal screws. Proper torque is critical; under-tightened screws cause high-resistance connections that melt the receptacle faceplate under heavy loads (like air conditioners or kettles), while over-tightening can shear the stranded copper or crack the ceramic/nylon terminal block.
Step 4: Mount the Receptacle and Faceplate
Carefully fold the wires into the backbox using a gentle 'Z' or accordion fold. Do not force the wires, as pinching the insulation against the backbox edges can expose bare copper and cause a short circuit to a metal box or masonry. Align the receptacle chassis with the mounting holes and secure it using the provided M4 machine screws. Snap the polycarbonate faceplate into place until you hear a firm click on all four corners.
Step 5: Energize, Test, and Commission
Remove your LOTO devices and switch the MCB back to the ON position. Use a dedicated socket tester (such as a Kyoritsu or Fluke receptacle tester) rated for 230V. Plug it into the new Cambodia electrical outlet. The LED sequence on the tester will confirm correct wiring, proper grounding, and correct polarity. Finally, plug in a high-draw resistive load (like a 1500W hair dryer or space heater) and let it run for 10 minutes. Use an infrared thermometer to check the faceplate; the temperature should not rise more than 10°C above ambient room temperature.
Real-World Troubleshooting & Edge Cases
Missing Earth Ground in Legacy Buildings
The most dangerous edge case when wiring a Cambodia electrical outlet in older properties is the absence of a true earth ground. Many older buildings in Phnom Penh utilize a makeshift TT earthing system or, worse, no earthing at all. If your multimeter reads 230V between Live and Neutral, but 0V (or a floating ghost voltage) between Live and Earth, your ground is compromised. Do not bridge Neutral and Earth at the socket. This creates a lethal shock hazard if the Neutral wire ever breaks upstream. You must run a dedicated 2.5mm² Green/Yellow earth wire back to a properly grounded distribution board or install a localized earth rod with a resistance of less than 5 ohms.
Voltage Fluctuations and Monsoon Surges
Cambodia's power grid, particularly in rural provinces and the outskirts of major cities, is susceptible to voltage sags and lightning-induced surges during the monsoon season (May to October). To protect sensitive electronics plugged into your newly installed outlets, it is highly recommended to install a Type 2 Surge Protective Device (SPD) directly in your distribution board. Pair this with a 30mA RCBO (Residual Current Breaker with Overcurrent) instead of a standard MCB. The RCBO will instantly trip if it detects a ground fault (such as a user touching a live chassis in a humid environment), providing life-saving protection that a standard breaker cannot offer.
Expert Safety Warning: Never install a standard 16A receptacle on a circuit protected by a 32A breaker. If a fault occurs, the 2.5mm² wire and the receptacle terminals will melt and catch fire long before the 32A breaker trips. Always match the breaker rating (16A or 20A) to the wire gauge and receptacle rating.