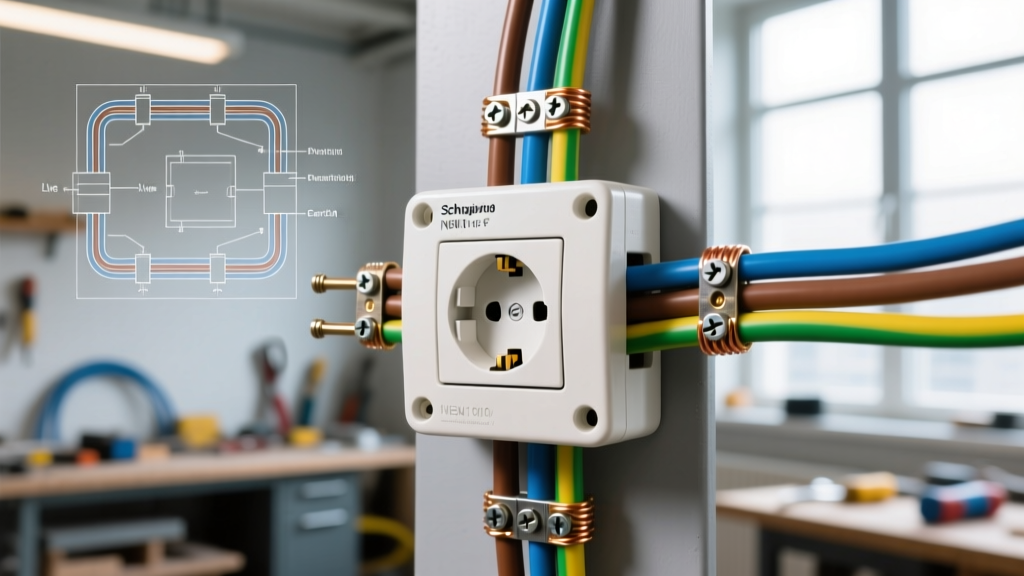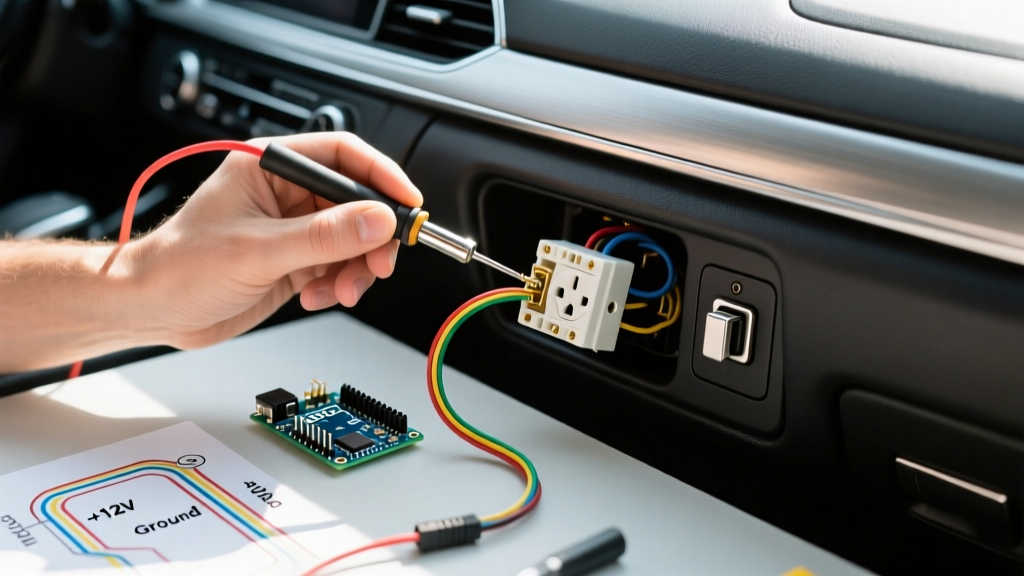

Why Install an Aftermarket Electrical Outlet in Car?
Whether you are outfitting a work truck, upgrading a daily commuter, or building a DIY campervan, adding an aftermarket electrical outlet in car cabins is one of the most practical modifications you can make. While modern vehicles often come with USB-C ports, they rarely provide enough raw amperage to run high-draw accessories like portable air compressors, 12V coolers, or heavy-duty laptop chargers. By installing a dedicated 12V auxiliary socket or a 120V AC inverter receptacle, you gain total control over your mobile power distribution.
In this comprehensive 2026 beginner tutorial, we will walk through the exact steps to safely wire a 12V DC auxiliary socket, explore the option of adding a 120V AC inverter outlet, and detail the specific wire gauges, fuse ratings, and failure modes you must know to prevent electrical fires or battery drain.
12V DC vs. 120V AC: Choosing Your Outlet Type
Before cutting into any dashboard panels, you must decide which type of power delivery your accessories require. Here is a comparison matrix to help you choose the right configuration for your build.
| Feature | 12V DC Auxiliary Socket | 120V AC Inverter Receptacle |
|---|---|---|
| Best For | Tire inflators, 12V fridges, dashcams, CPAP machines | Standard laptops, power tools, household appliances |
| Max Power (Typical) | 120W - 180W (10A - 15A) | 300W (Cigarette plug) to 2000W (Direct battery) |
| Wiring Complexity | Low (Interior fuse box tap) | High (Requires heavy-gauge direct battery wiring) |
| Estimated Cost (2026) | $25 - $45 | $80 - $350+ |
| Efficiency | 100% (Native vehicle voltage) | 80% - 92% (DC to AC conversion loss) |
Essential Tools and Materials (2026 Pricing)
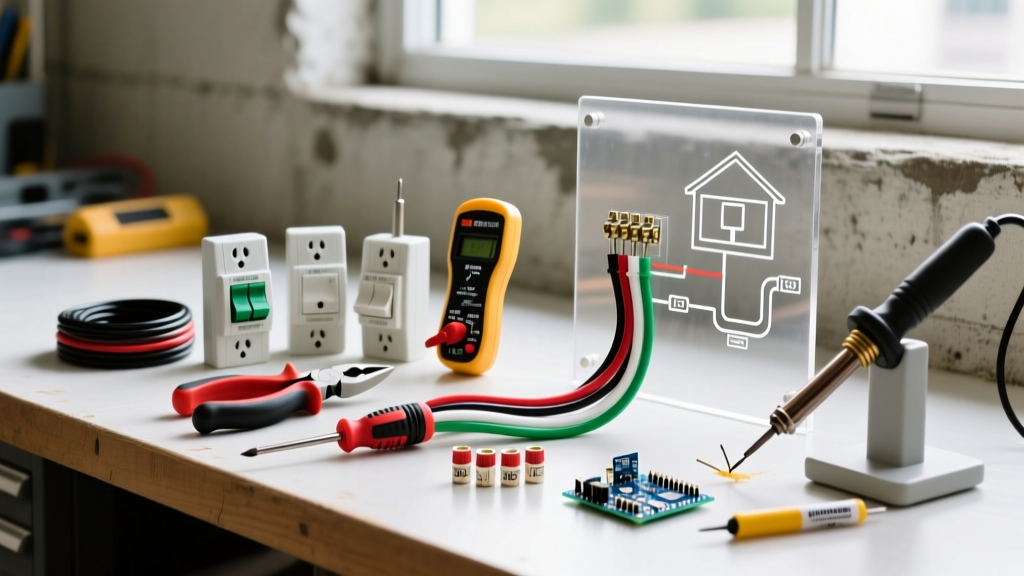
Skip the cheap, unbranded kits found in bargain bins. Poor internal contacts in low-tier sockets cause voltage drops and melting housings. Here is the professional-grade Bill of Materials (BOM) for a standard 12V installation:
- Socket: Blue Sea Systems 1011 Marine-Grade 12V Socket ($18 - $24). Features a watertight cap and heavy-duty silver-plated contacts.
- Power Tap: Littelfuse FHM Add-a-Circuit Fuse Tap ($12 - $15). Allows you to piggyback onto an existing fuse slot without cutting factory wires.
- Wire: 12 AWG stranded copper automotive primary wire (GXL or TXL cross-linked insulation). ($15 for a 25ft spool).
- Terminals: Heat-shrink ring terminals and quick-disconnect spades ($8).
- Tools: Klein Tools 11055 wire strippers, a digital multimeter, a 1-1/16" (27mm) hole saw (for the Blue Sea socket), and a heat gun.
Step-by-Step: Wiring a 12V Auxiliary Socket
Step 1: Circuit Selection and Fuse Tapping
The most critical decision is whether you want the outlet to be switched (turns off when the ignition is off) or constant (always on, risking battery drain if you forget to unplug devices). For beginners, a switched circuit is highly recommended.
- Locate your interior fuse box (usually under the dashboard or in the passenger kick panel).
- Using a digital multimeter, probe the fuse slots with the car OFF, then with the car in the 'Accessory' or 'Run' position. Find a 10A or 15A circuit that only shows 12V when the car is ON (e.g., the radio or wiper circuit). Never tap into safety-critical circuits like airbags, ABS, or ECU fuses.
- Pull the factory fuse and insert it into the bottom slot of the Add-a-Circuit tap.
- Insert a new 10A or 15A fuse (matching your socket's max rating) into the top slot of the tap.
Step 2: Routing and Grounding
According to guidelines referenced by the National Fire Protection Association (NFPA), improper grounding and loose connections are leading causes of automotive electrical fires.
- Crimp a ring terminal to the black (negative) wire of your socket.
- Locate a solid, unpainted metal bolt on the vehicle's chassis near your mounting location.
- Use a wire brush or sandpaper to remove any paint or rust from the grounding point to ensure bare metal-to-metal contact.
- Secure the ground using a star washer to prevent vibration from loosening the connection over time.
Step 3: Drilling and Mounting
Measure twice, drill once. The Blue Sea Systems 1011 socket requires a 1-1/16" (27mm) hole. If you are mounting in a plastic dashboard panel, use a step bit or a carbide-tipped hole saw to prevent the plastic from cracking or melting. Feed the red (positive) wire from the Add-a-Circuit tap through the back of the panel, connect it to the socket's positive terminal, and snap the socket housing into the hole until the retaining clips lock securely.
Pro-Tip for 2026 EV & Hybrid Owners: Many modern electric vehicles utilize advanced Battery Management Systems (BMS) that put the 12V accessory battery to sleep. If your multimeter reads 0V at the fuse box despite the car being "on," consult your owner's manual to locate the dedicated "Awake" or "Accessory Wake" trigger wire before tapping a circuit.
Advanced Setup: Adding a 120V AC Inverter Receptacle
If you need to plug in standard household devices, you must install a power inverter. As noted by the U.S. Department of Energy, DC-to-AC conversion inherently loses some energy as heat, meaning you must oversize your wiring to compensate for efficiency drops and amperage spikes.
For a 400W pure sine wave inverter (like the Renogy or BESTEK models), you will draw roughly 35 amps from a 12V system at peak load. Do not wire this through the interior fuse box. You must run 8 AWG or 6 AWG wire directly from the under-hood battery terminals, utilizing an inline ANL fuse holder within 18 inches of the positive battery post. The inverter's AC output can then be wired to a standard 15A 120V duplex receptacle mounted in your center console or trunk area.
Troubleshooting Common Installation Failures
Even with careful planning, DIY automotive electrical work can present quirks. Use this diagnostic table if your new electrical outlet in car setups fails to power your devices.
| Symptom | Likely Cause | Solution |
|---|---|---|
| Socket has 12V but device won't turn on | Loose internal socket contacts or incompatible plug center-pin depth. | Use a multimeter to verify voltage under load. Bend the internal side-springs outward slightly for a tighter grip. |
| Add-a-Circuit fuse blows immediately | Short circuit in the wiring or tapping into a low-amperage CAN-bus circuit. | Inspect wire routing for pinched insulation. Move the fuse tap to a high-draw accessory circuit like the 12V cigar lighter or rear defroster. |
| Voltage drops below 11.5V at the socket | Wire gauge is too thin for the run length, or poor chassis ground. | Upgrade from 14 AWG to 10 AWG wire. Sand the ground point down to bare, shiny metal. |
| Socket melts or smells like burning plastic | Exceeding the socket's amperage rating (e.g., pulling 18A on a 10A socket). | Never bypass the fuse. Upgrade to a heavy-duty marine socket rated for 15A+ and ensure the fuse matches the wire gauge. |
Safety and Compliance Standards
When modifying vehicle wiring, always adhere to basic automotive electrical safety standards. The National Highway Traffic Safety Administration (NHTSA) advises that aftermarket modifications should never interfere with a vehicle's factory safety systems, airbags, or structural integrity. Always disconnect the negative terminal of your vehicle's battery before stripping wires or crimping terminals to prevent accidental short circuits against the chassis. By using automotive-grade GXL wire, proper heat-shrink terminals, and correctly rated fuses, your new outlet will provide reliable, safe power for years on the road.