
Transforming Your Outdoor Space with Reliable Power
Adding a dedicated garden electrical outlet is one of the most practical upgrades you can make to your property. Whether you are powering landscape lighting, a pond pump, holiday displays, or heavy-duty electric trimmers, relying on extension cords from indoor receptacles is a severe shock and fire hazard. According to the Electrical Safety Foundation International (ESFI), outdoor electrical environments demand specialized weather-resistant (WR) components and strict ground-fault protection to prevent fatal electrocution in damp conditions.
This comprehensive guide walks you through the exact steps to install a code-compliant, weatherproof garden electrical outlet. We will cover trenching depths, specific 2026 material costs, and the precise wiring techniques required for a safe, long-lasting installation.
Tools and Materials Matrix (2026 Pricing)
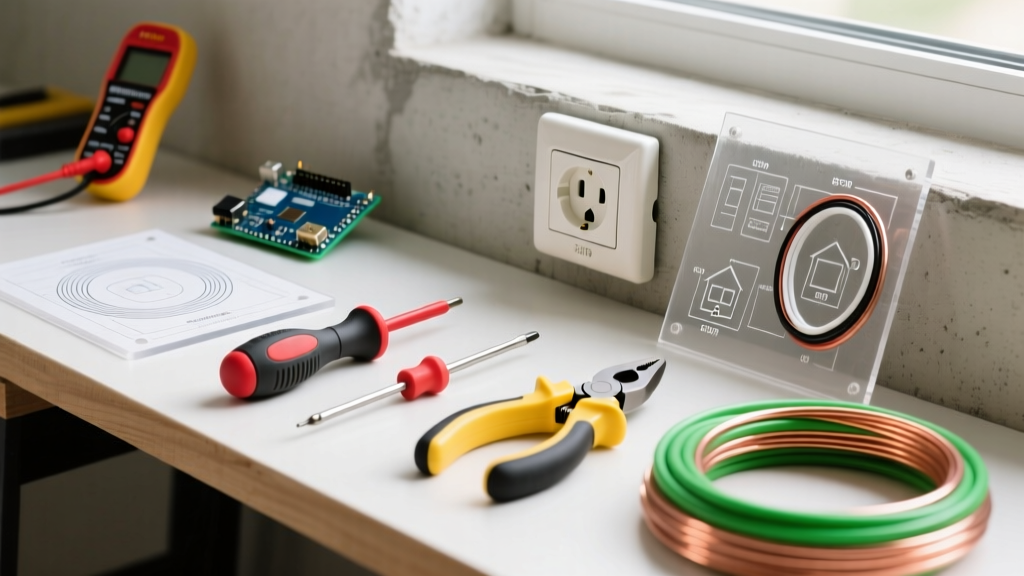
Before breaking ground, ensure you have the correct components. Standard indoor receptacles will corrode and fail outdoors within months. You must use UV-stabilized, weather-resistant (WR) rated gear.
| Component | Recommended Model / Spec | Estimated Cost |
|---|---|---|
| GFCI Receptacle | Leviton GFNT2-W (20-Amp, WR, Tamper-Resistant) | $26.00 |
| Weatherproof Box | Carlon E989R-DB (Non-metallic, Direct Burial) | $14.50 |
| In-Use Cover | TayMac MM540C (Extra-Duty, While-in-Use) | $22.00 |
| Underground Cable | Southwire 12/2 UF-B (Underground Feeder) | $1.15 / ft |
| Wire Connectors | Ideal SureConnect Silicone-Filled (Purple) | $8.00 / pk |
Note: Total DIY material costs typically range from $90 to $150, depending on the trenching distance from your main panel or interior junction box.
Crucial NEC Code Requirements
Outdoor wiring is heavily regulated due to the presence of moisture and earth. The National Fire Protection Association (NFPA) outlines strict rules in the National Electrical Code (NEC) that you must follow:
NEC Article 210.8(A)(3): All 15- and 20-ampere, 125-volt receptacles installed outdoors must have GFCI protection. Furthermore, the receptacle itself must carry the 'WR' (Weather-Resistant) stamp, indicating it has been tested for UV and cold-impact resistance.
NEC Article 300.5(A): Direct-burial UF-B cable must be trenched at a minimum depth of 24 inches. If you use PVC conduit with THWN individual wires, the minimum trench depth is 18 inches.
Step-by-Step Installation Guide
Step 1: Power Isolation and Trenching
Shut off the breaker at the main service panel that feeds the circuit you plan to tap into. Use a non-contact voltage tester at the source receptacle to verify the power is dead. Next, map out your trench path. Avoid existing irrigation lines or gas pipes (call 811 before digging). Dig a trench exactly 24 inches deep for your 12/2 UF-B cable. If the cable must emerge from the ground and travel up a wall or post, you must protect it with PVC conduit extending from 18 inches below grade to at least 8 feet above grade.
Step 2: Routing the UF-B Cable
Feed the 12/2 UF-B cable through the trench. Leave about 18 inches of slack at both the source box and the new garden electrical outlet location. When pushing the cable into the Carlon weatherproof box, use a liquid-tight non-metallic connector to ensure a watertight seal where the cable jacket enters the box. Do not strip the outer gray sheathing inside the box; it must enter the enclosure intact to prevent moisture wicking.
Step 3: Mounting the Weatherproof Box
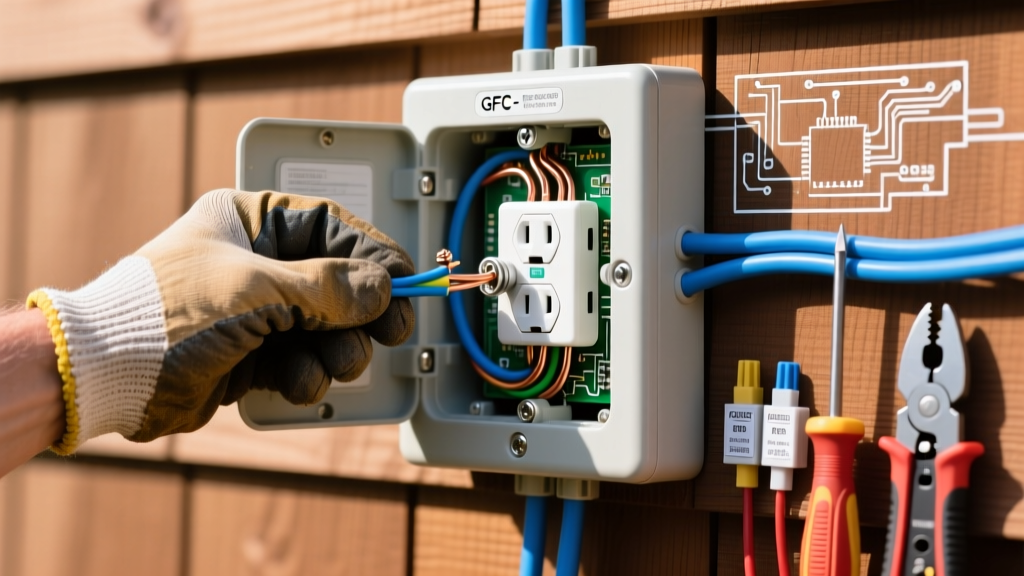
Secure the Carlon E989R-DB box to your mounting surface (a wooden post, fence, or exterior wall) using exterior-grade galvanized screws. If mounting to masonry, use Tapcon screws with a silicone sealant injected into the pilot holes to prevent water intrusion behind the box. Ensure the box is perfectly level; a tilted box will cause the weatherproof cover gasket to seat improperly.
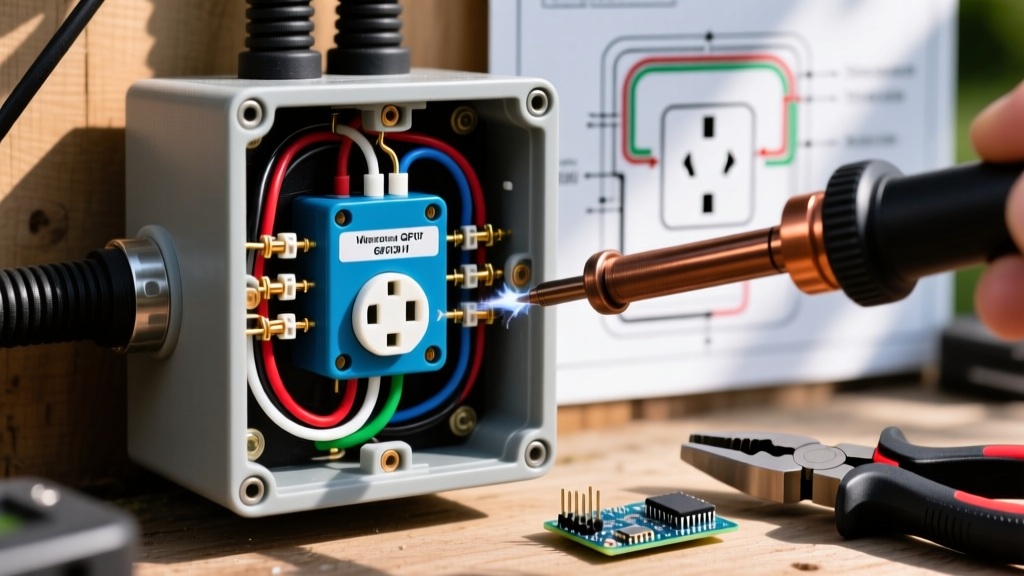
Step 4: Wiring the WR GFCI Receptacle
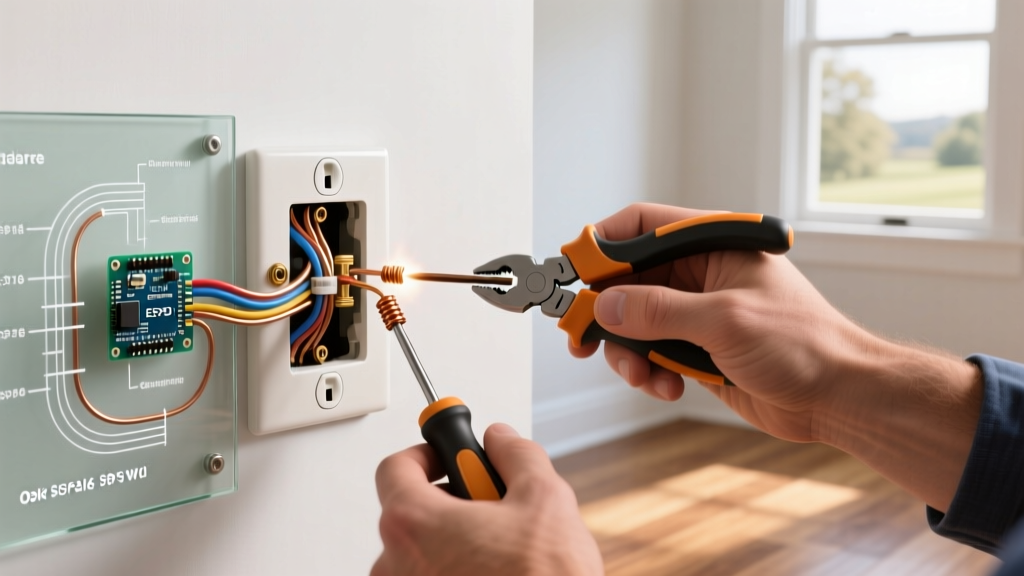
Strip the cable sheathing and prepare the wires. Connect the bare copper ground wire to the green grounding screw on the Leviton GFCI, and pigtail it to the metal grounding clip inside the Carlon box if applicable.
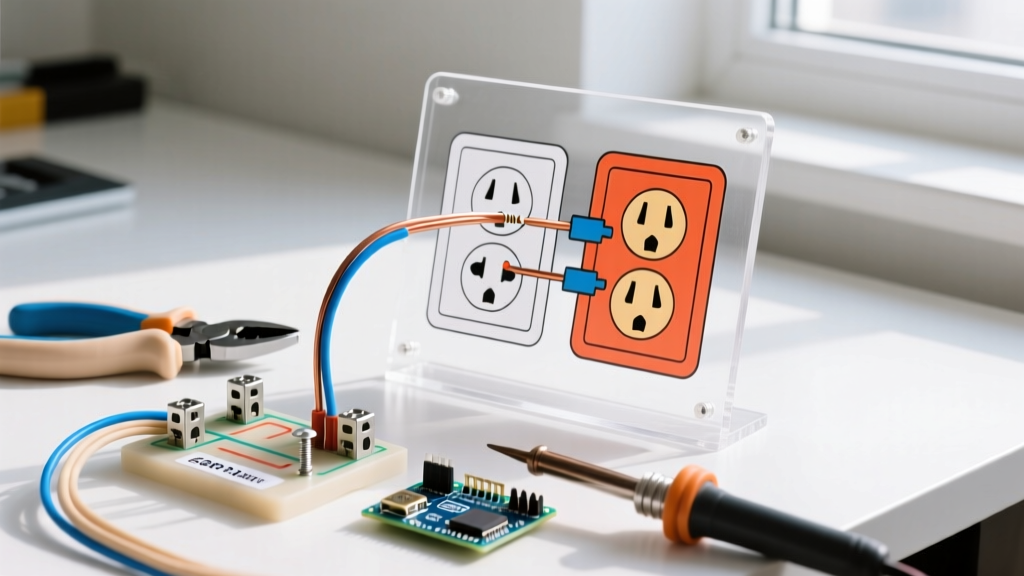
- Line vs. Load: Connect the black (hot) and white (neutral) wires coming from your power source to the brass and silver screws marked LINE. If you are daisy-chaining another outlet downstream, use the LOAD terminals. For a standalone garden outlet, only use the LINE terminals and cap off the load terminals with electrical tape.
- Torque Specifications: Tighten the terminal screws to exactly 14 in-lbs. Under-torquing causes arcing and heat buildup; over-torquing can strip the brass threads or snap the screw head.
Step 5: Sealing and Final Testing
Mount the Leviton GFCI into the box. Place the foam gasket over the receptacle, followed by the TayMac MM540C extra-duty cover. Apply a thick bead of GE Silicone II clear caulk along the top and both sides of the cover flange where it meets the mounting surface. Do not caulk the bottom edge. Leaving the bottom unsealed creates a vital 'weep hole' that allows internal condensation to drain out rather than pooling inside the receptacle.
Restore power at the panel. Press the 'TEST' button on the GFCI; it should click and cut power. Press 'RESET' to restore it. Plug in a receptacle tester to verify correct wiring and GFCI functionality.
Common Edge Cases and Troubleshooting
Even experienced DIYers encounter issues when installing a garden electrical outlet. Here is how to handle the most common failure modes:
- Immediate GFCI Tripping: If the GFCI trips the moment you reset it, you likely have a neutral-to-ground fault. This happens if the bare ground wire is touching the silver neutral terminal, or if you incorrectly wired the LINE and LOAD terminals. Double-check your terminal assignments.
- Moisture Ingress Corrosion: If the outlet fails after a heavy rainstorm, the in-use cover gasket may be pinched, or the cable connector was left loose. Always use silicone-filled wire nuts (like the Ideal SureConnect purple connectors) inside outdoor boxes to seal the wire splices from humid air.
- Voltage Drop on Long Runs: If your garden outlet is more than 100 feet from the panel, a 12/2 cable may experience voltage drop when running high-draw tools (like a 15-amp electric lawnmower). In runs exceeding 100 feet, upgrade to 10/2 UF-B cable to maintain a stable 120V delivery.
Frequently Asked Questions
Can I use a standard indoor GFCI outdoors if it has a weatherproof cover?
No. The NEC mandates the use of a Weather-Resistant (WR) marked receptacle for outdoor installations. Standard indoor GFCIs lack the UV inhibitors and cold-impact plastics required to survive direct sunlight and freezing temperatures. Over time, an indoor GFCI's plastic face will become brittle and crack, exposing live components.
Do I need a permit to install a garden electrical outlet?
In most municipalities, adding a new outdoor circuit or extending an existing one requires an electrical permit and a final inspection. This ensures your trenching depth and GFCI protection meet local codes. Always check with your local building department before starting excavation.
Can I tap into an existing outdoor light fixture to power an outlet?
Generally, no. Light fixtures are often wired on a switched loop (where the neutral is absent or the hot is interrupted by a switch). Furthermore, lighting circuits are typically 14-gauge (15-amp), whereas outdoor receptacles should ideally be on a dedicated or shared 20-amp circuit using 12-gauge wire to handle landscaping equipment loads safely.