
Introduction to Exterior Electrical Safety and Code Compliance
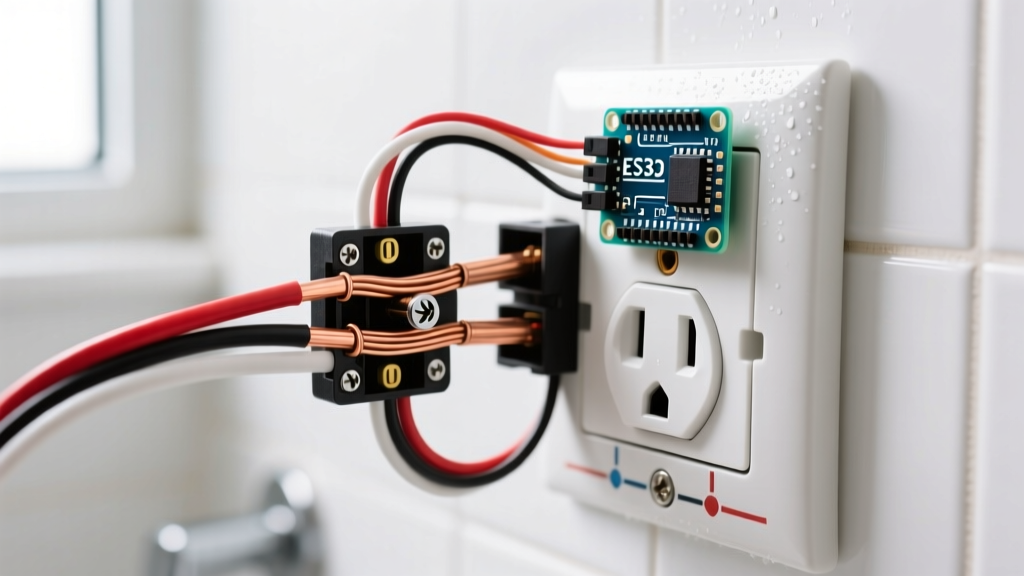
Wiring an electrical outlet exterior to your home involves navigating strict moisture, UV, and physical damage hazards. Unlike indoor receptacles, outdoor outlets are exposed to extreme temperature fluctuations, driving rain, and landscaping equipment. According to the National Fire Protection Association (NFPA), the National Electrical Code (NEC) mandates stringent protections for all outdoor receptacles.
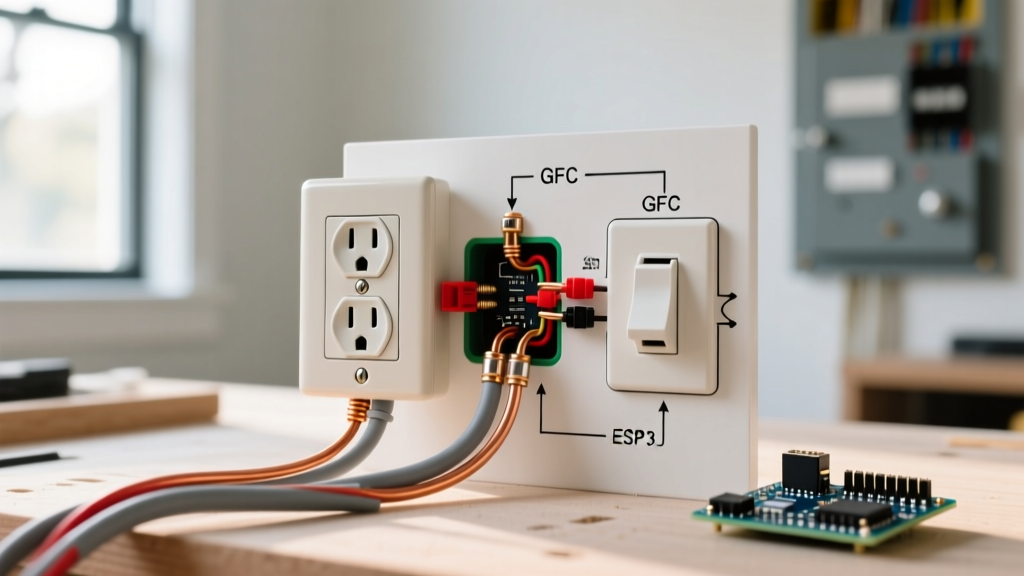
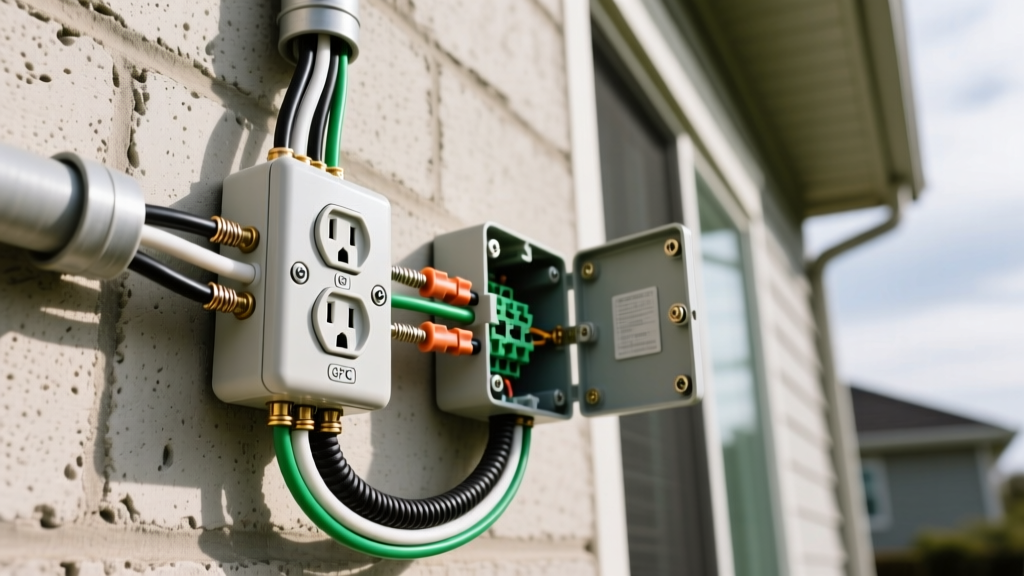
Under NEC Article 210.8(F), all 15-amp and 20-amp, 125-volt and 250-volt outdoor receptacles must be GFCI (Ground Fault Circuit Interrupter) protected. Furthermore, NEC 406.9(B)(1) requires that receptacles installed in wet locations be listed as Weather-Resistant (WR) and Tamper-Resistant (TR). Standard indoor GFCIs will rapidly corrode and fail when subjected to outdoor humidity. In this guide, we break down the three most common exterior wiring scenarios, providing exact product specifications, material costs, and code-compliant installation methods for 2026.
Scenario 1: The Back-to-Back Interior-to-Exterior Feed
The most cost-effective and common retrofit for adding an outdoor outlet is tapping into an existing interior receptacle located on an exterior wall. This "back-to-back" method minimizes drywall repair and eliminates the need for long conduit runs.
Step-by-Step Execution
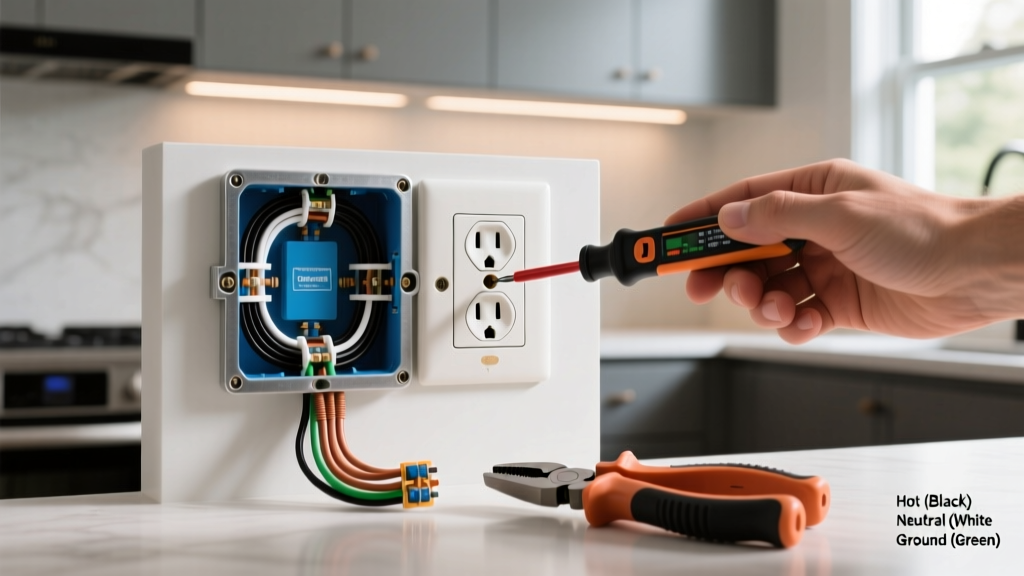
- Power Down and Verify: Shut off the circuit breaker and verify zero voltage with a non-contact tester and a multimeter.
- Drill the Penetration: Remove the indoor receptacle. Using a 3/4-inch or 1-inch auger bit, drill through the drywall, sheathing, and exterior siding. Pro Tip: Drill at a slight upward angle from the outside in to prevent water from tracking back into the wall cavity.
- Install a Siding Block: Do not simply push the cable through the siding. Install a non-metallic siding block, such as the Arlington 8141 (for standard lap siding) or Arlington 8142 (for Dutch lap siding). These blocks integrate a mounting flange and a built-in cable clamp, costing approximately $12 to $15 each.
- Seal the Penetration: Apply a high-quality polyurethane sealant like OSI Quad Max behind the siding block flange to create a watertight barrier against the exterior sheathing.
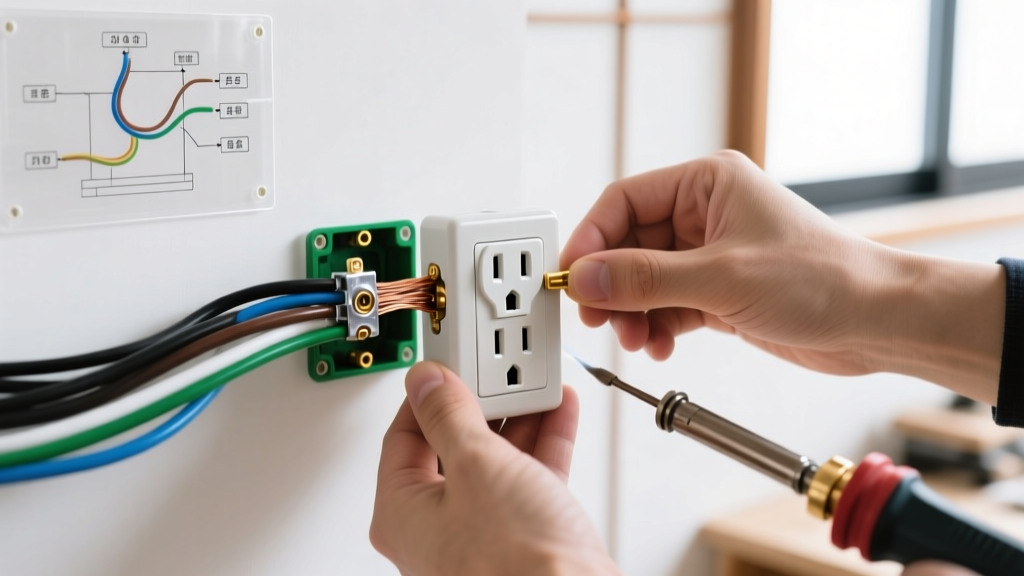
- Wire Connections: Use Wago 221 lever nuts (rated for 600V and 20A) to pigtail the new exterior feed to the existing indoor line and load wires. This maintains the downstream interior circuit while feeding the new outdoor box.
Code Alert: You cannot simply daisy-chain off the LOAD terminals of an indoor GFCI to feed an outdoor receptacle unless the outdoor receptacle is also a GFCI. It is best practice to feed the outdoor outlet from the LINE side of the indoor circuit and install a dedicated WRTR GFCI in the exterior weatherproof box.
Scenario 2: Vertical Conduit Drops on Exterior Walls
When an interior back-to-back feed is impossible, electricians must route power along the exterior wall surface. This scenario requires robust physical protection for the wiring.
Conduit Selection and Expansion Fittings
For vertical runs subject to physical damage (e.g., near walkways or driveways), Schedule 80 PVC is the industry standard. While EMT (Electrical Metallic Tubing) is cheaper, it is not rated for wet locations on building exteriors unless specifically protected and sealed, making PVC or Rigid Metal Conduit (RMC) vastly superior.
- Material Cost: Schedule 80 PVC costs roughly $3.50 to $5.00 per 10-foot stick in 2026.
- Expansion Fittings: PVC expands and contracts significantly with temperature changes (approximately 1/4 inch per 10°F per 100 feet). For any vertical run exceeding 25 feet, you must install a PVC expansion coupling to prevent the conduit from buckling or tearing the weatherproof box off the wall.
- The Final Whip: Use Liquidtight Flexible Nonmetallic Conduit (LFNC) for the final 6 to 12 inches where the rigid PVC enters the exterior junction box. This absorbs vibration and allows for precise alignment with the box knockouts.
Scenario 3: Mounting on Masonry, Brick, or Stucco
Penetrating masonry or stucco requires specialized hardware to maintain the structural integrity of the wall and prevent moisture intrusion behind the veneer.
Masonry Box Installation
Do not use standard plastic nail-on boxes for masonry. Instead, use a 4x4 steel masonry box (such as those manufactured by Steel City or Hubbell) paired with a cast weatherproof cover.
- Use a hammer drill with a carbide-tipped masonry bit to drill into the brick itself, not the mortar joint. Drilling into mortar compromises the wall's structural binding and makes future repairs highly visible.
- Secure the box using Tapcon masonry screws (typically #10 x 1-1/2 inch).
- Seal the perimeter of the box with a polyurethane masonry sealant. Silicone is insufficient for porous brick and will peel within two seasons.
Enclosure and Cover Selection Matrix
Choosing the correct enclosure is critical for passing inspection and ensuring longevity. Below is a comparison of common exterior box and cover configurations.
| Enclosure Type | Material | Best Use Case | Approx. Cost (2026) | Example Model |
|---|---|---|---|---|
| Standard Die-Cast Box | Zinc/Aluminum | Protected patios, under eaves (Damp Locations) | $8 - $12 | Sigma 4x4 Cast Box |
| Extra-Duty In-Use Cover | Polycarbonate | Exposed walls, driveways (Wet Locations) | $15 - $25 | TayMac ML550 1-Gang |
| Non-Metallic Siding Block | UV-Rated PVC | Lap siding, vinyl siding retrofits | $12 - $18 | Arlington 8141 |
| Heavy-Duty Cast In-Use | Cast Aluminum | Commercial, high-impact zones | $35 - $55 | Hubbell Bell PCC100 |
Critical Failure Modes and Edge Cases
Even with code-compliant materials, exterior outlets frequently fail due to environmental edge cases. Recognizing these failure modes separates professional installations from amateur DIY jobs.
1. Condensation and Nuisance GFCI Tripping
GFCIs are highly sensitive to micro-ampere current leaks. In deep weatherproof boxes, temperature swings cause internal condensation. If water pools on the exposed LOAD terminals of the GFCI, it will nuisance-trip. Solution: Wrap the entire body of the GFCI and the terminal screws with high-quality vinyl electrical tape (e.g., 3M Super 33+), leaving only the test/reset buttons and the receptacle face exposed. Alternatively, drill a 1/8-inch weep hole in the absolute lowest point of the cast box to allow condensation to drain.
2. UV Degradation of Nylon Covers
Cheap, nylon-based "bubble" covers degrade under UV exposure, becoming brittle and cracking within 18 to 24 months. Always specify UV-stabilized polycarbonate or die-cast aluminum covers for south- or west-facing walls that receive direct sunlight.
3. Direct Burial Depth Violations
When feeding an exterior outlet via underground trenching, NEC Table 300.5 dictates burial depths. Standard UF-B cable requires 24 inches of cover. However, if the circuit is a residential branch circuit, 120V or less, 20A or less, and GFCI protected, the burial depth can be legally reduced to 12 inches. Always mark the trench with caution tape 12 inches above the cable before backfilling.
Frequently Asked Questions
Can I use a standard indoor GFCI receptacle inside a weatherproof outdoor box?
No. While the weatherproof box protects against direct rain, it cannot stop ambient humidity. You must use a receptacle specifically stamped with WR (Weather-Resistant) and TR (Tamper-Resistant). WR receptacles feature nickel-plated brass contacts and UV-resistant thermoplastic faces that resist corrosion and cracking.
Do I need a permit to add an exterior outlet?
In most municipalities, adding a new circuit or extending an existing one to the exterior of a home requires an electrical permit and a subsequent inspection. The Occupational Safety and Health Administration (OSHA) and local AHJs (Authority Having Jurisdiction) enforce these rules to ensure grounding and GFCI parameters are met, mitigating severe shock hazards in damp environments.
What wire gauge should I use for a 20-amp outdoor receptacle?
You must use 12 AWG copper wire for a 20-amp circuit. If using direct burial cable, purchase 12/2 UF-B (Underground Feeder). If pulling through conduit, use individual THWN-2 stranded conductors, which are rated for wet locations and pull much easier through PVC bends than solid Romex.