
Decoding Electrical Outlet Components for Common Wiring Scenarios
Whether you are upgrading a single bedroom receptacle or wiring a new home office, understanding the internal and external electrical outlet components is the foundation of a safe, code-compliant installation. While a standard duplex receptacle might look like a simple block of plastic and metal, it is a precisely engineered device governed by strict Underwriters Laboratories (UL 498) and National Electrical Manufacturers Association (NEMA) standards. In 2026, with the widespread adoption of smart home ecosystems and stricter National Electrical Code (NEC) torque requirements, knowing exactly how these components function in various wiring scenarios is more critical than ever.
This guide breaks down the anatomy of standard 15-amp and 20-amp receptacles, exploring how specific components dictate your wiring strategy for standard, split-wired, and GFCI-protected circuits.
The Core Anatomy: Face, Yoke, and Internal Strap
Before connecting a single wire, you must understand the physical housing and structural components of the receptacle.
- The Face (Body): Typically made of high-impact, flame-retardant thermoplastic (like nylon or polycarbonate). It houses the internal contacts and provides the physical slots for the plug blades. The face is designed to resist UV degradation and thermal warping.
- The Yoke (Mounting Strap): The metal bracket that secures the outlet to the electrical box. On commercial and hospital-grade outlets, the yoke is noticeably thicker and wider to prevent the device from twisting inside the box when plugs are inserted or removed.
- Internal Wipers (Contacts): Hidden inside the face, these are the brass or copper-alloy springs that grip the prongs of a plug. The tension of these wipers determines the quality of the connection. Worn wipers lead to arcing, which is a leading cause of residential electrical fires.
Terminal Screws and the Death of the 'Backstab' Connector
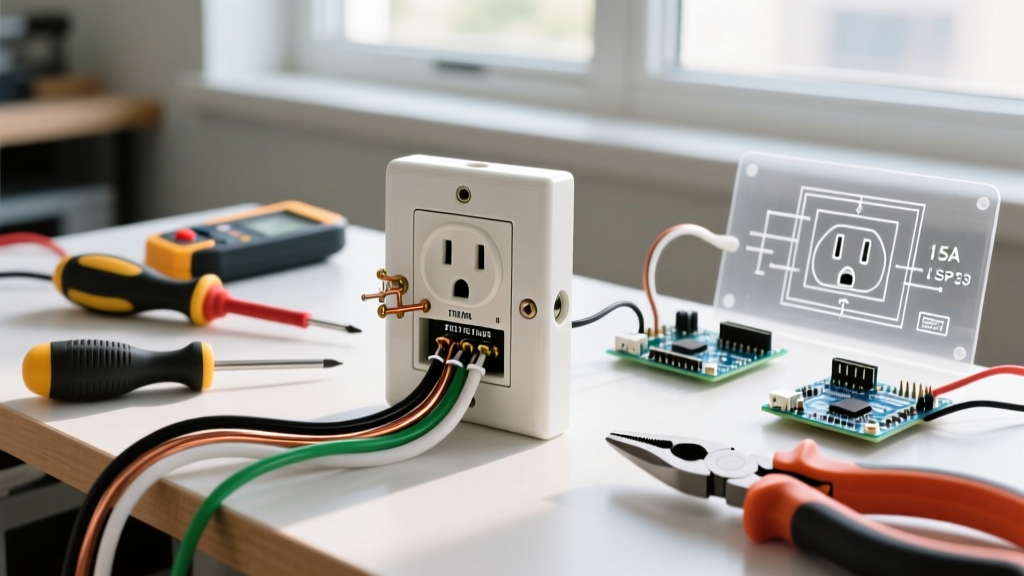
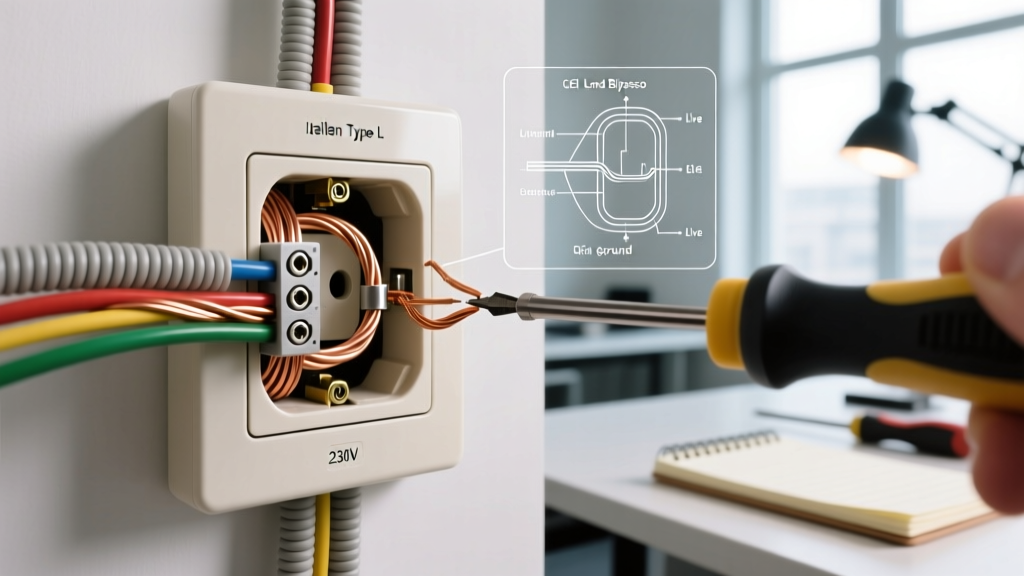
The terminal components are where your wiring scenario physically meets the outlet. A standard duplex receptacle features five terminal screws:
- Two Brass Screws (Hot): Connect to the black (or red) ungrounded conductor.
- Two Silver Screws (Neutral): Connect to the white grounded conductor.
- One Green Screw (Ground): Connects to the bare copper or green insulated grounding conductor.
The Backstab vs. Side-Wiring vs. Back-Wiring Debate
Many residential-grade outlets (priced between $1.00 and $2.50) feature push-in 'backstab' holes on the rear of the device. These rely on a small spring-steel clip to hold a stripped 14 AWG wire. Do not use them. According to the U.S. Consumer Product Safety Commission (CPSC), thermal cycling (the heating and cooling of wires under load) causes these spring clips to lose tension over 5 to 10 years, resulting in high-resistance connections, melting, and arcing.
Instead, utilize the side-wiring terminal screws or, preferably, the 'back-wiring' clamps found on commercial-grade receptacles (like the Hubbell 5362). Back-wiring clamps allow you to insert a straight-stripped wire into the rear of the device, then tighten the side screw to pull a solid brass pressure plate down onto the wire. This provides maximum surface contact and is the preferred method for 12 AWG and 10 AWG wires in 2026 installations.
Torque Specifications: A 2026 NEC Mandate
The NEC now strictly enforces NFPA 70 (National Electrical Code) Section 110.14(D), which requires terminations to be tightened to the manufacturer's specified torque using a calibrated tool. For most 15A and 20A receptacles, this torque value is exactly 14 in-lbs. Hand-tightening with a standard screwdriver often results in under-torqued connections that vibrate loose, or over-torqued screws that strip the brass threads.
The Break-Off Tab: Mastering Split-Wired Scenarios
One of the most misunderstood electrical outlet components is the break-off fin (or tab) located on the side of the receptacle between the two brass screws, and occasionally between the two silver screws.
Scenario: The Half-Hot Bedroom Outlet
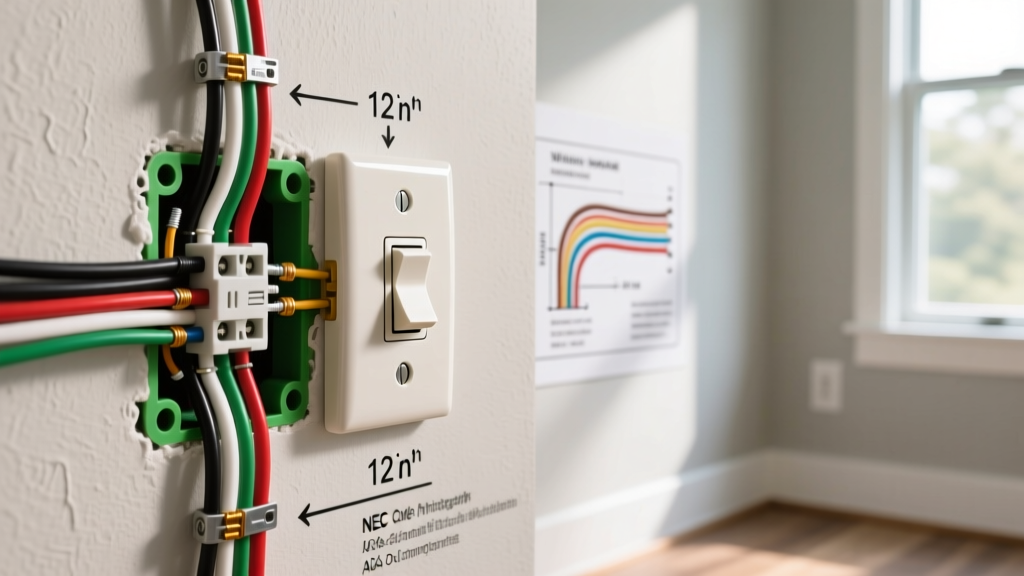
In many homes, the top half of a bedroom outlet is controlled by a wall switch, while the bottom half remains constantly hot for lamps or vacuums. To achieve this, you must snap off the brass break-off tab using a pair of needle-nose pliers. This isolates the top brass terminal from the bottom brass terminal.
- Top Brass Terminal: Wired to the switched-hot wire (often red or black with tape) coming from the wall switch.
- Bottom Brass Terminal: Wired to the constant-hot wire (black) from the breaker panel.
- Silver Terminals: The silver tab remains intact, and a single white neutral pigtail connects to one silver screw, completing the circuit for both halves.
Edge Case Warning: Never break the tab on a standard 15A duplex receptacle if you are feeding it from a 20A multi-wire branch circuit (MWBC) with two different phases, unless the receptacle is specifically rated and the neutral tab is also broken to prevent overloading the shared neutral. In 2026, most electricians avoid split-wired receptacles entirely, opting instead to run separate neutrals or use smart plugs to achieve switched control.
GFCI Receptacle Components: LINE vs. LOAD
Ground Fault Circuit Interrupter (GFCI) outlets contain a solid-state internal sensor toroid that monitors the current differential between the hot and neutral conductors. If the imbalance exceeds 4 to 6 milliamps, an internal solenoid trips the contacts in under 25 milliseconds. However, the external terminal components dictate your wiring scenario.
Scenario: Daisy-Chaining Downstream Protection
A GFCI receptacle features two distinct sets of terminals: LINE and LOAD.
- LINE Terminals: These must connect to the incoming power from the breaker panel. If you wire the incoming power to the LOAD terminals, the GFCI will power the outlet, but the internal sensor will be bypassed, rendering the shock protection completely useless.
- LOAD Terminals: These feed downstream standard receptacles. By wiring the next outlet in the chain to the LOAD terminals, you extend GFCI protection to multiple locations using only one expensive GFCI device.
Comparison Matrix: Choosing the Right Outlet Grade
Not all electrical outlet components are manufactured to the same durability standards. Selecting the right grade for your specific wiring scenario prevents premature failure.
| Receptacle Grade | Model Example | 2026 Price Range | Component Differences | Ideal Wiring Scenario |
|---|---|---|---|---|
| Residential | Leviton 5362 | $1.50 - $2.50 | Thinner yoke, basic internal wipers, push-in backstab holes included. | Low-traffic bedrooms, guest rooms, hallways. |
| Commercial | Hubbell 5362 | $4.50 - $7.00 | Thick steel yoke, heavy-duty brass wipers, back-wire pressure clamps, no backstab holes. | Home offices, kitchens, living rooms, retail spaces. |
| Hospital Grade | Leviton 8300 | $14.00 - $18.00 | Massive internal contacts, reinforced thermoplastic face, green identification dot, highest grip tension. | Home medical equipment, sump pumps, critical server racks. |
Edge Cases and Common Failure Modes
Even with a firm grasp of electrical outlet components, specific wiring scenarios present unique failure modes that DIYers and junior electricians often overlook.
The 'Bootleg Ground' Scenario
In older homes lacking a ground wire, some attempt to create a ground by installing a jumper wire between the silver neutral screw and the green ground screw. This is a lethal hazard known as a bootleg ground. If the neutral wire ever disconnects upstream, the metal faceplate and any plugged-in appliance chassis will become energized at 120V. The correct solution is to install a GFCI receptacle, wire it to the ungrounded and grounded (neutral) conductors only, and apply the 'No Equipment Ground' sticker provided in the GFCI packaging, as permitted by the NEC.
Aluminum Wire Incompatibility
If you are wiring a home built in the late 1960s or early 1970s, you may encounter aluminum branch wiring. Standard brass terminal components on modern receptacles are not rated for aluminum wire. The galvanic corrosion between aluminum and brass, combined with aluminum's higher coefficient of thermal expansion, will cause the connection to loosen and arc. You must use receptacles specifically marked 'CO/ALR' (Copper-Aluminum Revised) or use AlumiConn aluminum-to-copper lug connectors inside the box before pigtailing to a standard copper-rated receptacle.
Final Thoughts on Component Integrity
Understanding electrical outlet components transforms a confusing array of screws and plastic into a logical map for your wiring scenarios. Whether you are breaking a tab for a switched loop, identifying the LINE terminals on a GFCI, or upgrading to commercial-grade back-wire clamps for a high-draw home office, the physical components dictate the safety and longevity of your circuit. Always verify your local codes, use a calibrated torque screwdriver, and prioritize side-wiring or clamp-wiring over push-in connections to ensure your installation stands the test of time.
For further reading on wiring device dimensions and standard configurations, refer to the NEMA WD-1 and WD-6 standards documentation.