
Why a Dead Outlet is a Critical Safety Hazard
When an electrical outlet stopped working, homeowners often dismiss it as a minor inconvenience or a simple tripped breaker. However, from a safety and code compliance perspective, a dead 120V receptacle is a primary indicator of a potential high-resistance connection, a compromised neutral, or a failing upstream device. According to the National Fire Protection Association (NFPA), electrical failures or malfunctions are the second leading cause of home fires, with arcing at loose terminal connections being a major culprit. A dead outlet is not just an annoyance; it is a symptom of a circuit that may be actively generating dangerous heat behind your drywall.
This guide provides a rigorous, National Electrical Code (NEC) compliant approach to diagnosing and repairing a dead receptacle. We will bypass generic 'check the breaker' advice and dive deep into multimeter diagnostics, Multi-Wire Branch Circuit (MWBC) hazards, and modern torque requirements for 2026 code enforcement.
Phase 1: Lockout, Tagout, and Verification
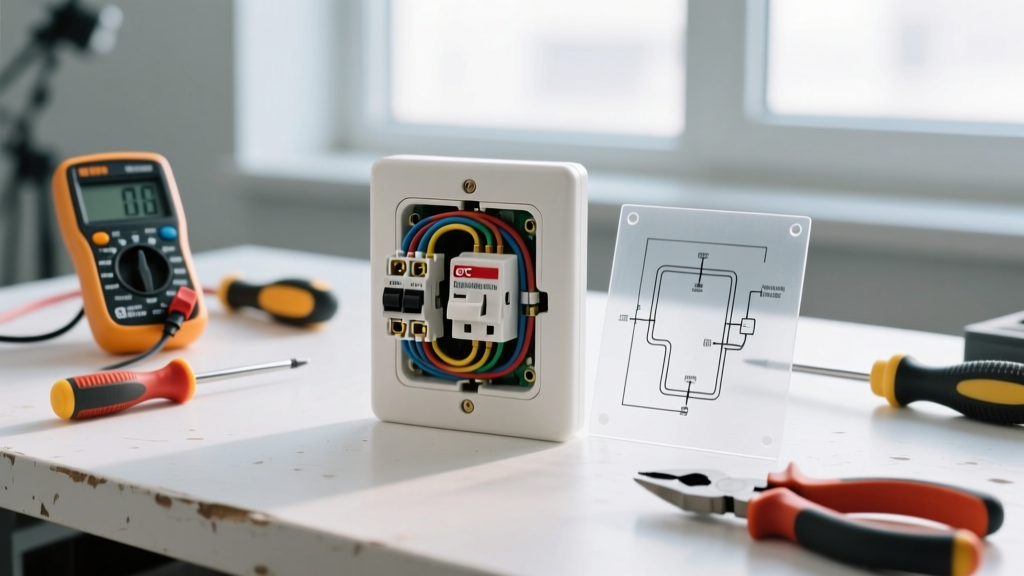
Before removing any faceplate, you must establish a zero-energy state. Relying solely on a non-contact voltage tester (NCVT) is a fatal error frequently made by DIYers. NCVTs can yield false negatives due to shielded cables or phantom voltages. The Occupational Safety and Health Administration (OSHA) mandates a strict Lockout/Tagout (LOTO) and live-dead-live testing protocol for all electrical work.
Essential Diagnostic Tools
- True-RMS Digital Multimeter: Fluke 117 ($180-$200) or Klein Tools MM400 ($45-$55). True-RMS is critical for accurate readings on non-linear loads.
- Non-Contact Voltage Tester: Klein NCVT-3 (Dual-range AC/DC) for initial field mapping.
- Receptacle Tester: Amprobe INSP-3 or Gardner Bender GFI-3501 for quick ground-fault simulation and wiring sequence checks.
- Calibrated Torque Screwdriver: Klein Tools 70009 or Wiha 28502. NEC 110.14(D) strictly requires calibrated torque tools for terminal connections.
The Live-Dead-Live Protocol:
1. Test the multimeter on a known live source (e.g., a working outlet in another room) to verify the meter is functioning.
2. Turn off the branch circuit breaker at the main panel. Apply a physical lock or zip-tie to the breaker panel cover to prevent accidental re-energization.
3. Test the dead outlet with the multimeter (Hot to Neutral, Hot to Ground) to verify zero voltage.
4. Re-test the multimeter on the known live source to confirm the meter did not blow a fuse during testing.
Phase 2: Multimeter Diagnostics & Fault Mapping
If the outlet is receiving power but devices are not functioning, or if you are trying to determine if the fault is upstream or downstream, use this diagnostic matrix. Set your True-RMS multimeter to AC Voltage (V~).
| Test Point | Expected Reading | Fault Indication & NEC Implication |
|---|---|---|
| Hot (Brass) to Neutral (Silver) | 118V - 122V | Circuit is healthy. If device still fails, check device cord or internal fuse. |
| Hot (Brass) to Ground (Green) | 118V - 122V | Confirms equipment grounding conductor (EGC) is intact back to the panel. |
| Neutral (Silver) to Ground (Green) | 0V - 2V | Normal. If reading is >5V, you have a high-resistance neutral or shared neutral overload (NEC 300.13 violation). |
| Hot to Neutral reads 0V, Hot to Ground reads 120V | 0V / 120V | Open Neutral. The neutral wire has disconnected upstream or at the device's silver screw. |
| Hot to Neutral reads 60V-90V | <120V | Phantom voltage or high-resistance backstab connection causing severe voltage drop under load. |
Top 3 NEC Code Violations Causing Dead Outlets
When an electrical outlet stopped working, the root cause is almost always a violation of current or historical electrical codes. Identifying these ensures your repair brings the circuit up to 2026 safety standards.
1. The 'Backstab' Push-In Terminal Failure
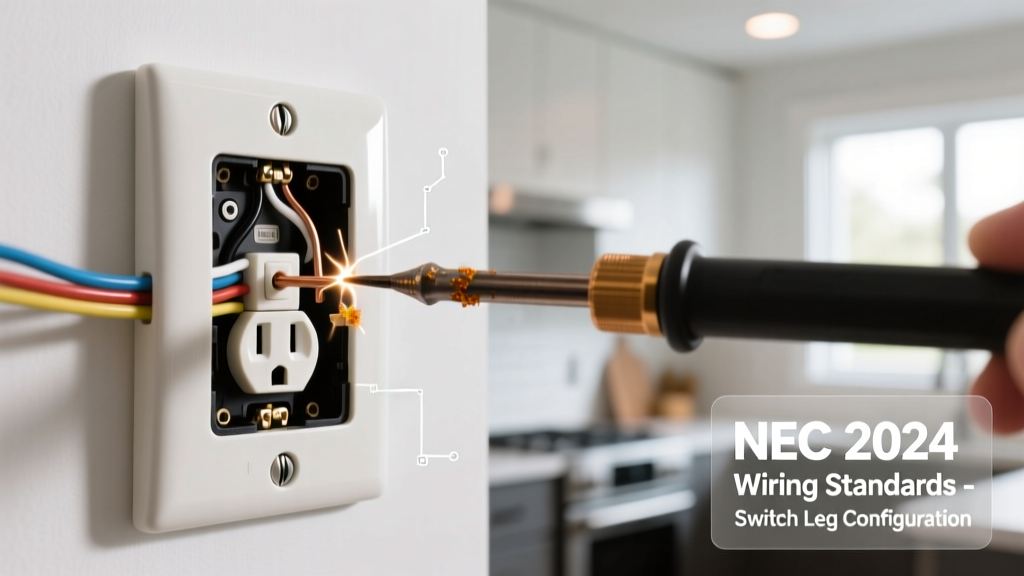
Older and builder-grade 15A receptacles (like early Leviton or Pass & Seymour models) feature spring-loaded push-in terminals on the back. While technically listed by UL for 14 AWG solid copper wire, these connections are notorious for failing under thermal cycling. As the wire heats up under load and cools down, the spring tension degrades, leading to a high-resistance connection, arcing, and eventual open circuit. NEC 110.14(B) requires connections to be tight and secure. During your repair, you must cut off the backstabbed wire ends, strip 3/4 inch of fresh copper, and terminate using the side-binding screw plates.
2. Multi-Wire Branch Circuit (MWBC) Neutral Faults
If your home was wired between the 1970s and 2000s, you may have MWBCs (two hot wires sharing a single neutral). If an outlet on an MWBC stops working and you disconnect the shared neutral to replace it without turning off BOTH breakers, you will create a series 240V circuit through downstream 120V appliances, instantly destroying televisions and computer power supplies. NEC 210.4(B) now requires MWBCs to have a simultaneous disconnect (handle-tied or double-pole breaker). If you find a red and black wire on the same yoke, verify the breaker configuration immediately.
3. Untorqued Terminal Screws
A massive shift in code enforcement is the strict adherence to terminal torque specifications. Loose screws cause thermal expansion and contraction, eventually working the wire free. The U.S. Consumer Product Safety Commission (CPSC) has repeatedly highlighted loose terminations in fire investigations. Commercial-grade receptacles (e.g., Hubbell 5262 or Leviton 5262-IG) explicitly print torque specs on the device, typically 12 to 14 in-lbs. You must use a calibrated torque screwdriver to finalize the connection.
2026 Code Compliance Note: Under NEC 406.12, all 15A and 20A, 125V and 250V non-locking receptacles installed in dwelling units must be Tamper-Resistant (TR). Furthermore, NEC 210.8 mandates GFCI protection for kitchens, bathrooms, garages, outdoors, and unfinished basements. If your dead outlet is in one of these zones, you must replace it with a TR/GFCI model like the Leviton GFNT1-W (approx. $22-$28), not a standard duplex.
Phase 3: Code-Compliant 120V Receptacle Replacement
Once the fault is isolated to the receptacle itself, follow this exact procedure to restore power safely and legally.
- Prepare the Wires: Use a Klein 11055 wire stripper to remove exactly 3/4 inch of insulation. Do not nick the copper conductor; nicks create stress risers that will snap under screw tension.
- Form the J-Hook: Use needle-nose pliers to bend the exposed copper into a tight 'J' shape. The hook must be sized so it wraps snugly around the terminal screw shaft without extending past the screw head (which risks shorting to the metal box).
- Clockwise Termination: Loop the wire clockwise around the brass (hot) and silver (neutral) screws. As you tighten the screw, the clockwise rotation pulls the loop tighter rather than pushing it out.
- Torque to Spec: Set your torque screwdriver to the manufacturer's specification (usually 14 in-lbs). Tighten until the tool clicks. Do not overtighten, which strips the brass threads.
- Grounding Pigtailing: If the metal box is grounded, the bare copper ground wire must pigtail to both the box (via a 10-32 green grounding screw) and the receptacle's green screw. NEC 250.148 prohibits using the receptacle itself as the sole bonding path for downstream grounds.
- Wrap and Seat: Wrap the sides of the receptacle with 3/4 inch 3M Super 33+ electrical tape to cover exposed terminal screws. This prevents accidental contact with the metal junction box when pushing the device back in. Secure with 6-32 machine screws, ensuring the yoke sits flush against the plaster ears.
When to Call a Licensed Electrician
While replacing a standard duplex receptacle is well within the capabilities of an informed DIYer, certain scenarios require a licensed professional to ensure compliance and safety:
- Aluminum Wiring: If your home was built between 1965 and 1973 and you see dull grey wire, stop immediately. Aluminum requires CO/ALR rated devices and specific antioxidant paste (Penetrox-A). Standard copper-rated terminals will cause galvanic corrosion and fire.
- Burnt or Melted Yokes: If the plastic face of the old receptacle is brown or melted, the circuit has experienced a severe thermal event. The wire insulation may be compromised inside the wall and require professional assessment.
- Missing Ground (2-Prong to 3-Prong Upgrades): You cannot simply swap a 2-prong outlet for a 3-prong without an equipment ground. NEC 406.4(D)(2) allows installing a GFCI receptacle to provide shock protection on an ungrounded circuit, but it must be labeled 'No Equipment Ground' and 'GFCI Protected'.
Frequently Asked Questions
Why did my outlet stop working after plugging in a space heater?
Space heaters draw 12.5 to 15 amps continuously. If your outlet was backstabbed, the high continuous load caused the spring terminal to overheat, lose tension, and fail. Always plug high-draw appliances directly into a wall outlet (never a power strip) and ensure the receptacle is wired via side-screw terminals.
Can a bad GFCI outlet kill power to other rooms?
Yes. GFCI receptacles have 'LINE' and 'LOAD' terminals. If downstream standard outlets are wired to the LOAD terminals of a GFCI, a tripped or failed GFCI in a bathroom or garage will cut power to those downstream rooms. Always check upstream GFCIs first when troubleshooting a dead standard outlet.
What is the cost to have an electrician fix a dead outlet?
For a simple receptacle replacement where the wires are intact, expect to pay $125 to $175 for the service call and first hour of labor in 2026. If the fault is a broken wire inside the wall requiring drywall repair and rewiring, costs can easily exceed $400 to $600 depending on local labor rates and finish repair requirements.