
Mastering the Electrical Code for Outlet Height
When wiring a new room or remodeling an older home, guessing where to place your receptacles is a fast track to a failed electrical inspection. The electrical code for outlet height is not just a matter of aesthetic preference; it is a critical safety and accessibility standard governed by the National Electrical Code (NEC) and, in many commercial or multi-family applications, the Americans with Disabilities Act (ADA). While the NEC focuses heavily on the spacing of receptacles (the famous '6-12 rule' in NEC Article 210.52), local building codes and ADA guidelines dictate strict vertical parameters to prevent fire hazards, ensure accessibility, and maintain functional ergonomics.
In this comprehensive guide, we break down the exact height requirements for every room in a modern dwelling and provide a professional, step-by-step installation workflow used by licensed electricians in 2026.
Room-by-Room Outlet Height Requirements
Before cutting into drywall or running 12/2 NM-B Romex, you must map out your installation heights. The table below outlines the industry standards, NEC mandates, and ADA compliance metrics for standard residential and light-commercial builds.
| Location | Code / Standard Reference | Typical Height (From Finished Floor) | Critical Notes |
|---|---|---|---|
| General Living Spaces | NEC 210.52(A) / Industry Std | 12' to 16' to center of box | No strict NEC max height, but 48' is the ADA maximum for unobstructed reach. |
| Kitchen Countertops | NEC 210.52(C) | 44' to 48' (approx. 15' above counter) | Must be GFCI protected. Cannot be mounted face-up on the counter surface. |
| Bathroom Vanities | NEC 210.52(D) | 44' to 48' (15' above vanity top) | Must be within 36' of the outside edge of the sink basin. GFCI required. |
| Kitchen Islands | NEC 2023/2026 Revisions | N/A (No longer mandated) | NEC removed the island receptacle mandate to prevent dangling cords over hot cooktops. If installed, max 12' below counter. |
| Garages / Utility Rooms | IRC M1307.3 / Local AHJ | 18' minimum above floor | Prevents ignition of heavier-than-air flammable vapors (e.g., gasoline fumes). |
| ADA Accessible Routes | ADA Section 308 | 15' minimum / 48' maximum | Applies to multi-family, commercial, and public accommodations. |
Expert Insight: The 'Finished Floor' metric is critical. Always mark your stud walls based on the final flooring thickness (e.g., add 3/4' for hardwood or 1/2' for tile) before installing your rough-in boxes. Failing to account for flooring is the #1 cause of outlets ending up too low during final inspections.
Tools and Materials for Code-Compliant Installation
To execute this installation to professional standards, you will need specific tools that ensure precision and NEC compliance.
- Receptacles: Leviton T5252 20-Amp Tamper-Resistant (TR) Duplex Receptacle (approx. $3.50 each). TR shutters are mandated by NEC 406.12 for all 15A and 20A dwelling unit receptacles.
- Boxes: Carlon B618R (Single-Gang Old Work) or Raco 8418 (New Work Nail-On). Ensure a minimum depth of 2.5' to accommodate 12 AWG wire bending radius.
- Layout Tools: Bosch GLL30 30-Foot Cross-Line Laser Level and a custom wooden 'story pole' pre-marked at 12' and 48'.
- Termination: Klein Tools 69500 Torque Screwdriver. NEC 110.14(D) requires terminals to be tightened to the manufacturer's specified torque (typically 14 in-lbs for standard receptacles).
Step-by-Step Installation Guide
Step 1: Layout and Story Pole Marking
Do not use a tape measure for every single box; human error will result in outlets that are visibly misaligned. Instead, build a 'story pole'—a straight 1x4 board with lines clearly drawn at your target heights (e.g., 12' for living rooms, 48' for switches). Place your laser level at the center of the room, align it with your story pole marks, and shoot a level chalk line across all wall studs. This guarantees every box in the room sits at the exact same elevation relative to the finished floor.
Step 2: Box Mounting and Depth Calibration
For new construction, nail your Raco 8418 boxes to the side of the studs. Crucial Code Check: NEC 314.20 dictates that in walls constructed of combustible material (like wood studs with drywall), the front edge of the box must not be set back more than 1/4' from the finished surface. If you are using 5/8' Type X fire-rated drywall, ensure your box extends exactly to that depth. For retrofit (old work) installations, use the Carlon B618R and tighten the mounting wings until the flange pulls flush against the existing drywall without cracking the paper face.
Step 3: Rough-In Wiring and Bending Radius
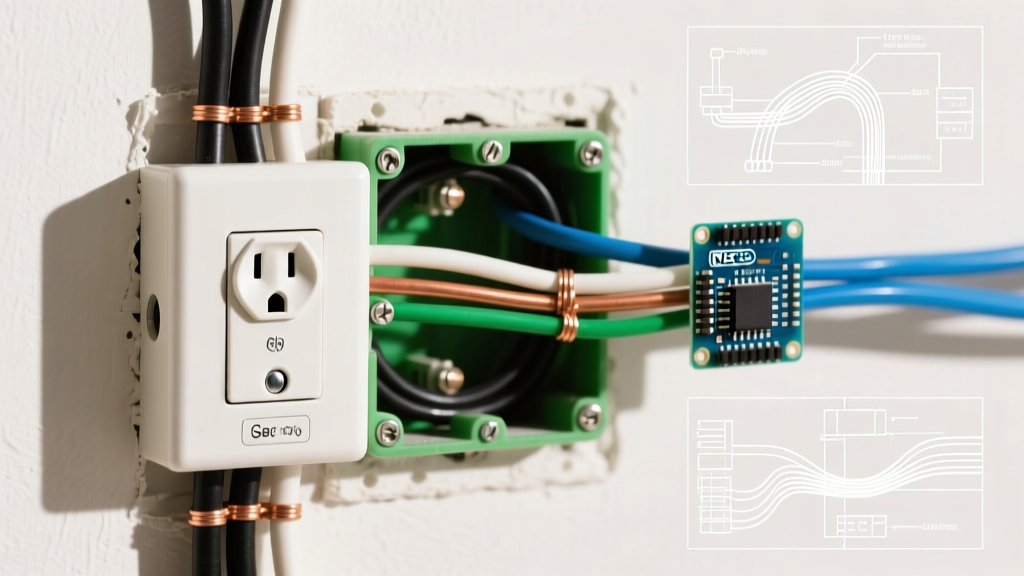
Run your 12/2 NM-B cable into the box, securing it within 8' of the box edge using proper Romex staples (NEC 334.30). Strip the outer sheathing so that exactly 1/4' to 1/2' enters the inside of the box. Leave at least 6' of free conductor length extending past the front edge of the box. This is not just a best practice; NEC 300.14 requires at least 6' of free conductor at each outlet point to ensure safe termination and future maintenance.
Step 4: Precision Termination
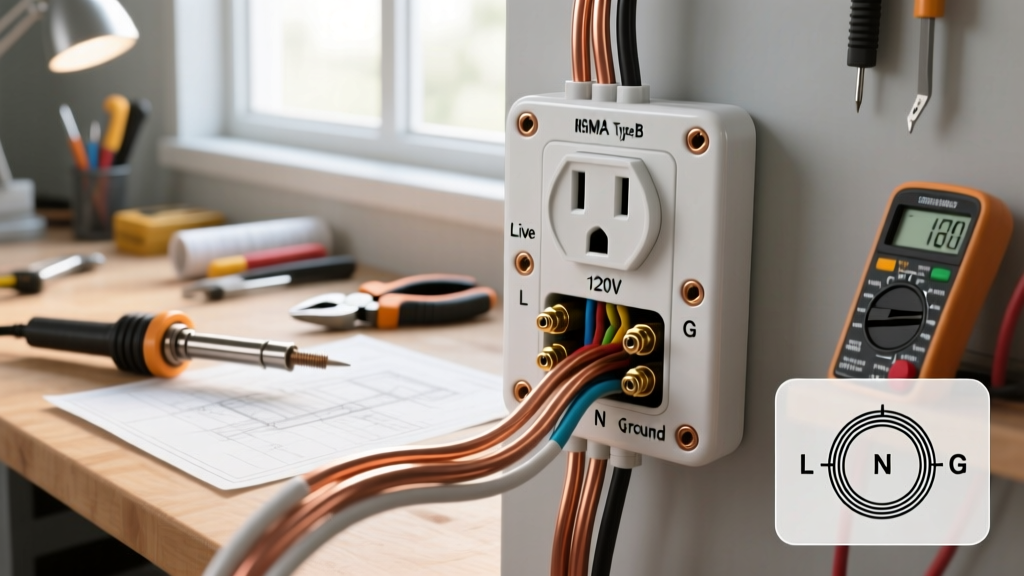
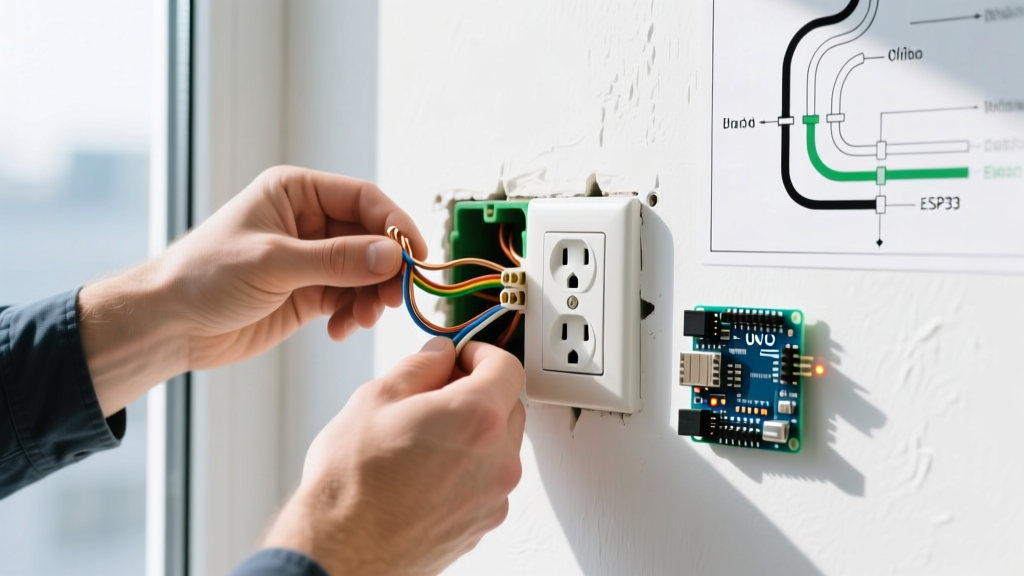
After drywall and paint are complete, strip 3/4' of insulation from the black (hot) and white (neutral) wires using Klein Tools 11055 wire strippers. Form a precise clockwise hook using needle-nose pliers. Loop the wire around the brass and silver terminal screws. Here is where amateurs fail: use your Klein Tools torque screwdriver set to 14 in-lbs to tighten the screws. Under-torqued connections cause arcing and fires; over-torqued connections strip the brass threads or damage the wire, leading to a hot spot that will trip an AFCI breaker.
Step 5: Final Placement and Leveling
Push the wires neatly into the back of the box using a 'Z-fold' technique to prevent pinching the ground wire against the metal strap. Mount the Leviton TR receptacle using the provided plaster ears to keep it perfectly plumb. A crooked outlet is an immediate red flag for meticulous electrical inspectors.
Edge Cases and Common Code Violations
Even seasoned DIYers stumble on specific edge cases regarding the electrical code for outlet height. Avoid these common violations:
- The Kitchen Backsplash Trap: NEC 210.52(C)(5) explicitly forbids mounting receptacles face-up on countertop work surfaces. They must be mounted vertically on the backsplash or wall. Furthermore, they cannot be installed more than 12' above the countertop surface.
- Bathroom Sink Proximity: The code requires a bathroom receptacle to be within 36' of the outside edge of the sink basin. Many installers measure from the center of the sink, resulting in a violation if the vanity is particularly wide.
- Garage Ignition Zones: While the NEC itself focuses on electrical safety, the International Residential Code (IRC M1307.3) and local fire codes often mandate that any outlet in a garage capable of igniting flammable vapors must be at least 18' above the floor. Always check with your local Authority Having Jurisdiction (AHJ) before roughing in garage circuits.
Authoritative Resources
Electrical codes are updated on a three-year cycle, and local municipalities may adopt them with specific amendments. Always verify your local requirements before beginning work. For deeper reading on the standards referenced in this guide, consult the following authoritative resources:
- National Fire Protection Association (NFPA) - National Electrical Code
- U.S. Department of Justice - ADA Design Standards
- U.S. Access Board - ADA Accessibility Guidelines
By adhering strictly to these height parameters and utilizing professional-grade termination techniques, you ensure your electrical installation is safe, accessible, and fully compliant with modern building codes.