
The Anatomy of a Failing 15a Electrical Outlet
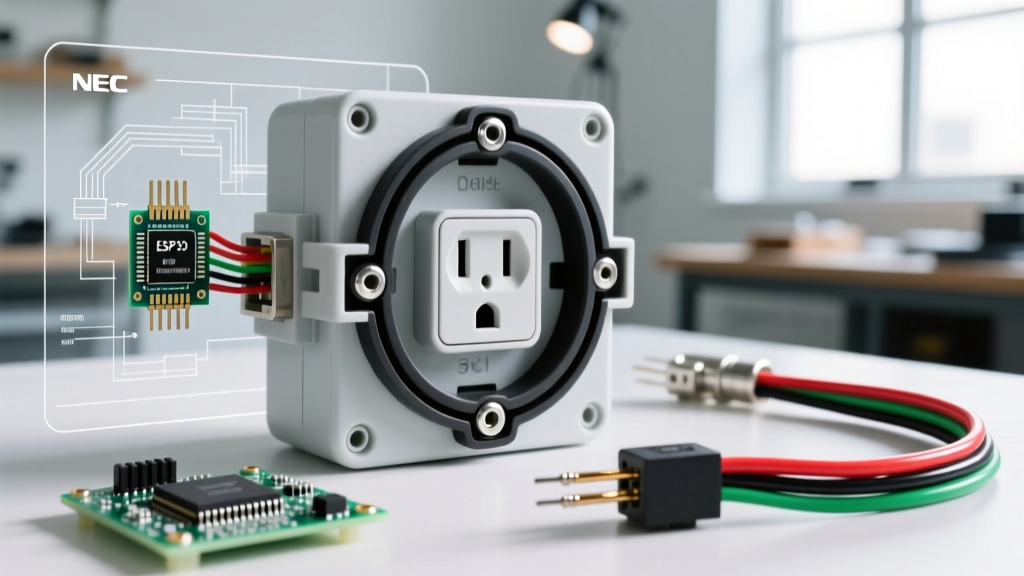
The standard 15a electrical outlet (technically designated as a NEMA 5-15R receptacle) is the most ubiquitous electrical component in North American homes. Despite its simplicity, it is a mechanical device subject to wear, thermal cycling, and physical stress. As we navigate the electrical standards of 2026, upgrading aging or damaged 15A receptacles is no longer just about aesthetics; it is a critical fire-prevention measure. According to the Occupational Safety and Health Administration (OSHA), faulty receptacles and degraded connections are leading contributors to residential electrical fires.
Many homes built before 2010 still rely on builder-grade 15A outlets that utilize push-in back-wiring. Over years of thermal expansion and contraction, the internal spring steel grips lose tension. This results in a high-resistance connection, generating excessive heat and, eventually, arc faults. If you are managing a home upgrade or renovation, understanding when and how to replace a 15a electrical outlet is an essential DIY skill.
Diagnostic Checklist: When to Replace Your 15A Receptacles
Do not wait for a breaker to trip or a scorch mark to appear. Use this diagnostic framework to evaluate the health of your existing 15A outlets:
- The Plug-Pull Test: Insert a standard 3-prong plug into the top and bottom sockets. If the plug slides out with minimal resistance or feels 'loose' when wiggled side-to-side, the internal brass contacts have fatigued. The outlet must be replaced immediately.
- Visual Inspection for Thermal Damage: Look for brown discoloration on the faceplate, melted PVC around the slot openings, or a faint 'fishy' or ozone odor near the wall. These are definitive signs of arcing.
- Cracked or Painted Faceplates: Paint seeping into the receptacle slots can create a conductive path or prevent the plug blades from making full contact. Cracked nylon covers compromise the physical barrier to live voltage.
- Ungrounded (2-Prong) Outlets: If your home still features ungrounded NEMA 1-15R receptacles, upgrading to a grounded 15a electrical outlet (or a GFCI-protected alternative) is mandatory for modern appliance safety.
15A vs. 20A Outlets: Understanding Circuit Compatibility
A common point of confusion during upgrades is whether you can install a 20A receptacle (NEMA 5-20R) on a standard 15-amp circuit. The National Electrical Code (NEC) is explicit on this matter. You can install a 15A receptacle on a 20A circuit (provided there are multiple outlets on the circuit), but you must never install a 20A receptacle on a 15A circuit wired with 14 AWG copper. A 20A outlet implies to the user that they can safely draw 20 amps; doing so on a 15A breaker and 14 AWG wire risks overheating the conductors inside the wall before the breaker trips.
Pro-Tip: Always verify the wire gauge in the backbox before upgrading. If you see 12 AWG copper (yellow or bare wire with a thicker diameter) and a 20A breaker, you have a 20A circuit. If you see 14 AWG (white Romex) and a 15A breaker, you are strictly limited to 15A NEMA 5-15R receptacles.
Selecting the Right 15a Electrical Outlet for 2026
Not all 15A receptacles are built equally. The market is divided into residential, commercial, and hospital grades. For most home upgrades, 'Commercial Spec Grade' offers the best balance of longevity and cost. Furthermore, the Consumer Product Safety Commission (CPSC) mandates that all new 15A installations in residential dwellings feature Tamper-Resistant (TR) shutters to prevent childhood shock hazards.
| Feature | Residential Grade (e.g., Leviton 5320-W) | Commercial Spec Grade (e.g., Hubbell 5262) |
|---|---|---|
| 2026 Avg. Price | $1.25 - $1.80 | $3.50 - $5.50 |
| Strap Material | Zinc-plated steel | Heavy-duty brass/steel alloy |
| Contact Grip | Standard brass | High-tension nickel-plated brass |
| Wiring Method | Side-wire & Push-in back-stab | Side-wire & Screw-clamp back-wire |
| Insertion Lifespan | ~5,000 cycles | ~10,000+ cycles |
The Verdict: Spend the extra $2.50 per outlet for Commercial Spec Grade. The heavy-duty strap resists bending during installation, and the screw-clamp back-wiring provides a vastly superior mechanical connection compared to residential push-in stabs.
Step-by-Step 15A Outlet Replacement Procedure
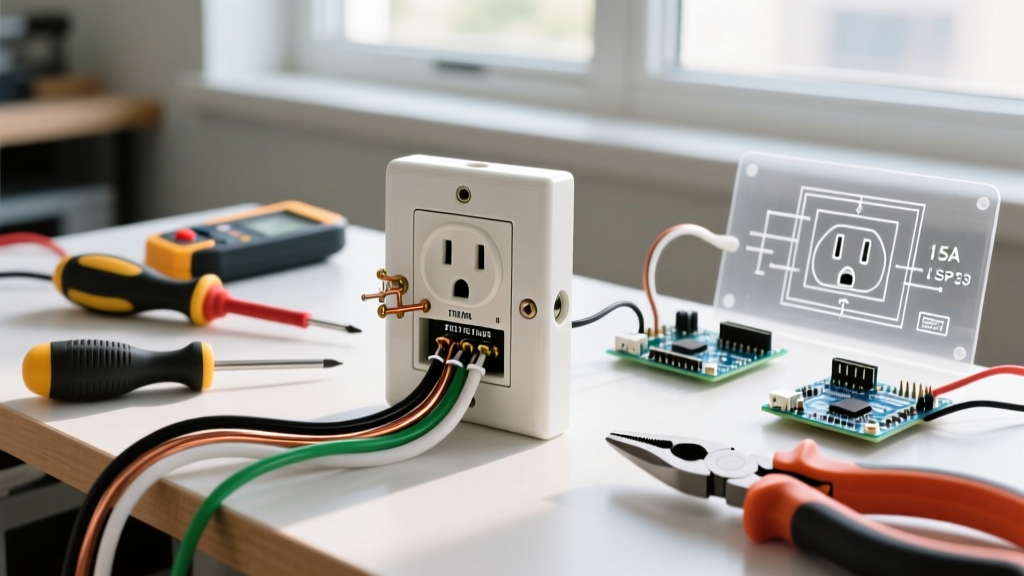
Replacing a 15a electrical outlet requires precision. Improper torque or stripped wire insulation can lead to catastrophic failure. Gather your tools: a Klein Tools NCVT-3 non-contact voltage detector, a solenoid voltage tester (Wiggy), wire strippers, and a torque screwdriver.
Step 1: Lockout and Verification
Turn off the circuit breaker and apply a lockout/tagout device if possible. Test the existing outlet with your NCVT detector, then verify with a solenoid tester across the hot-to-neutral and hot-to-ground slots. Never rely solely on a digital multimeter or NCVT pen for life-safety verification.
Step 2: Extraction and Wire Inspection
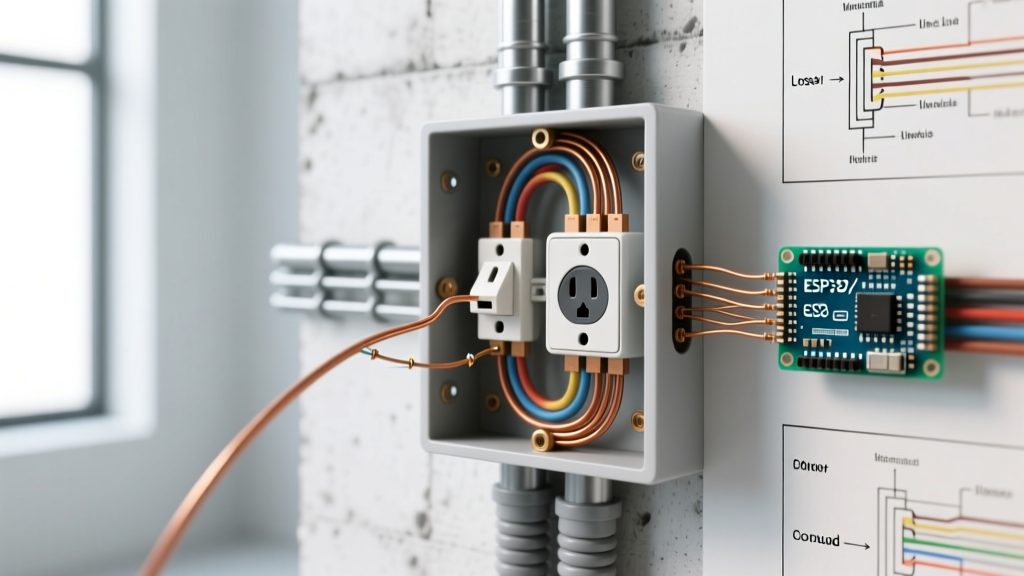
Remove the center screw and pull the receptacle from the backbox. Inspect the 14 AWG wires. If the insulation is brittle, cracked, or shows signs of heat shrinkage, you must trim the damaged section back and strip fresh wire. If the wire is too short to reach the new terminals, you must install a 6-inch 14 AWG pigtail using a Wago 221 lever-nut or a properly twisted wire-nut connection.
Step 3: Stripping and Forming the J-Hook
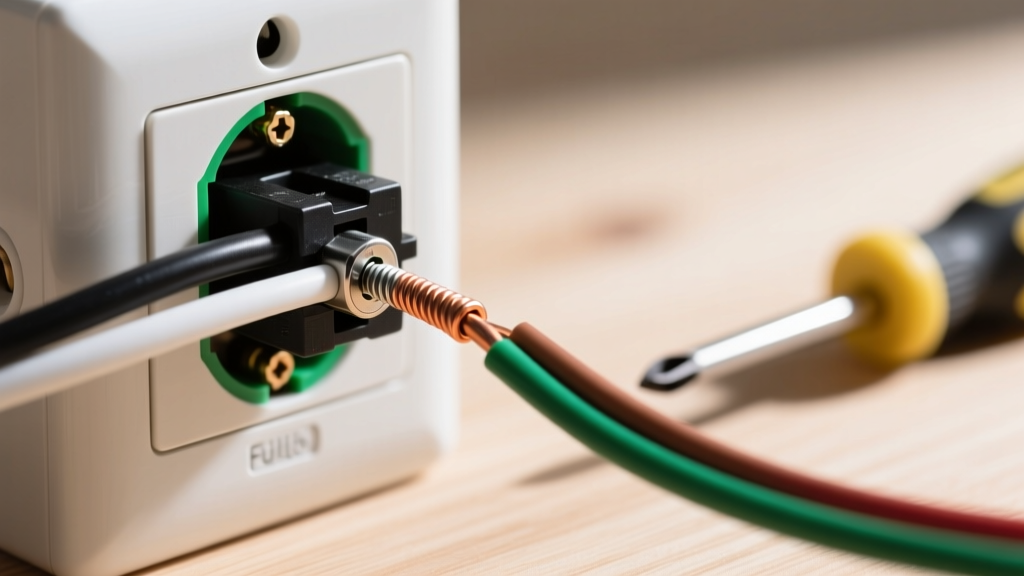
Use the 14 AWG guide on your wire strippers to remove exactly 5/8-inch of insulation (use the strip gauge molded into the back of your new Hubbell or Leviton receptacle). If side-wiring, use needle-nose pliers to form a tight 'J-hook' in the exposed copper.
Step 4: Termination and Torque
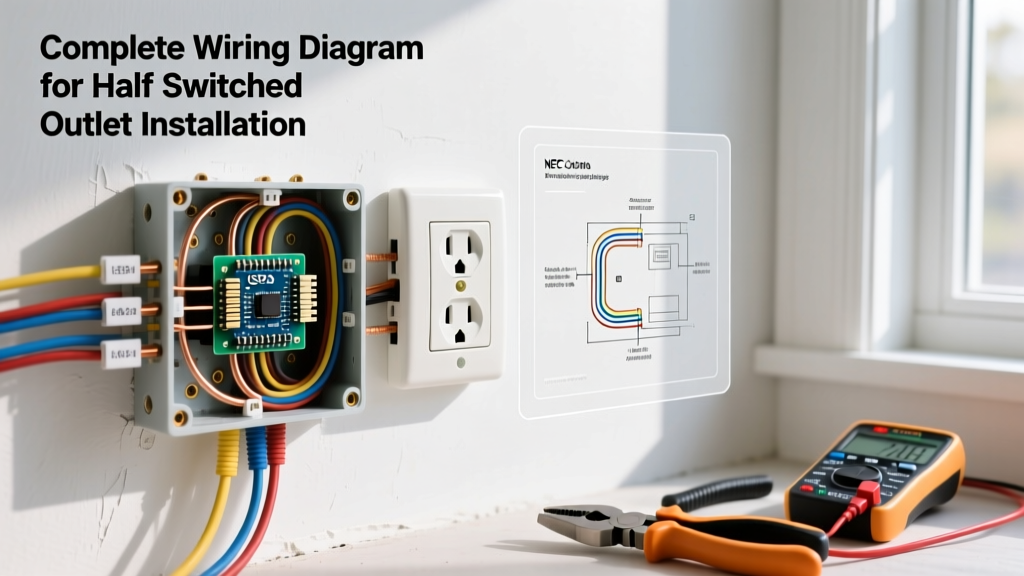
Hook the wire around the brass (hot) and silver (neutral) screws in a clockwise direction. This ensures the screw pulls the wire tighter as it is driven. For the bare copper ground, terminate it on the green grounding screw. Using a calibrated torque screwdriver, tighten the terminal screws to the manufacturer's specification—typically 14 in-lbs for 14 AWG solid copper. Proper torque prevents thermal loosening over decades of use.
Step 5: Box Dressing and Testing
Carefully fold the wires into the backbox using a 'Z-fold' pattern, pushing the grounding wires to the very back, followed by the neutrals, and finally the hots. Mount the receptacle using the provided mounting screws, ensuring it sits perfectly plumb. Restore power and test with a 3-light receptacle tester to confirm correct wiring.
NEC Code Requirements: GFCI and AFCI Considerations
When upgrading a 15a electrical outlet, you must comply with the latest adopted version of the National Electrical Code (NFPA 70). If you are replacing an outlet in a kitchen, bathroom, garage, outdoor area, or within 6 feet of a wet bar or laundry sink, the NEC requires Ground Fault Circuit Interrupter (GFCI) protection. You can achieve this by installing a 15A GFCI receptacle at the first point of the circuit or by using a GFCI circuit breaker.
Additionally, modern NEC revisions mandate Arc Fault Circuit Interrupter (AFCI) protection for nearly all 15A and 20A branch circuits supplying living areas, bedrooms, and hallways. If your home's panel lacks AFCI breakers, a simple 15A receptacle swap will not bring the circuit into full compliance for new construction standards, though replacing a damaged standard receptacle with a new standard TR receptacle is generally permitted under 'like-for-like' repair exemptions in existing dwellings. Always consult your local Authority Having Jurisdiction (AHJ) for specific municipal amendments.
Final Thoughts on Outlet Upgrades
Upgrading your home's 15A receptacles is one of the highest-ROI electrical projects a homeowner can undertake. By eliminating degraded back-stab connections, upgrading to commercial-grade TR receptacles, and applying precise torque specifications, you effectively eliminate the most common points of failure in a residential electrical system. Treat every 15a electrical outlet replacement as an opportunity to harden your home's electrical infrastructure for the next 30 years.