
The Hidden Danger of Recessed Electrical Outlets
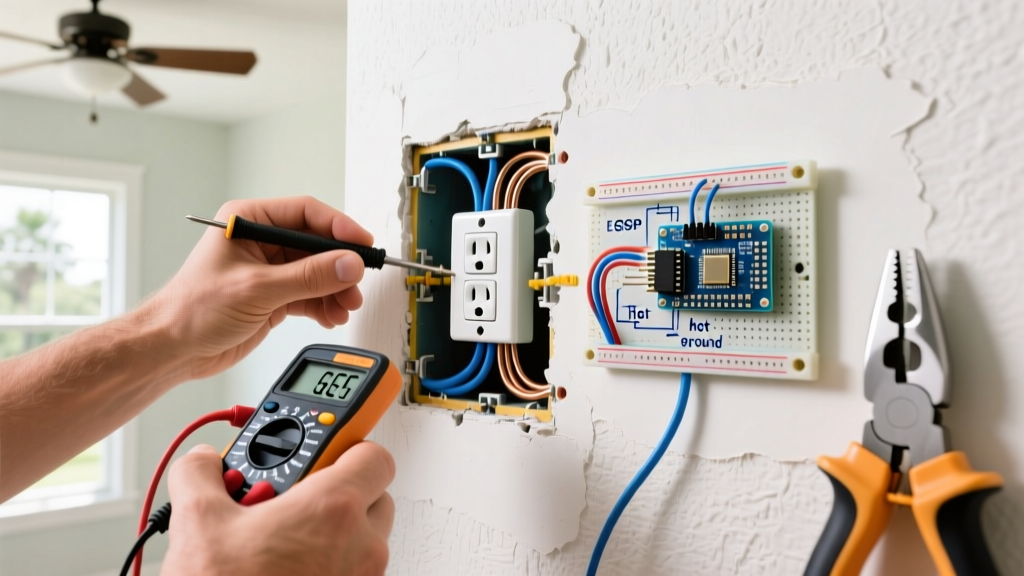
Every DIYer and professional electrician has encountered the same frustrating scenario: a newly tiled backsplash or a freshly mudded drywall wall has left the electrical box recessed deep behind the finished surface. When you plug in a vacuum or a heavy appliance cord, the entire receptacle dives backward into the wall cavity.
This is not just a cosmetic annoyance; it is a severe mechanical and electrical hazard. Repeated backward pressure places immense shear stress on the device yoke, the terminal screws, and the wire terminations. Over time, this mechanical fatigue can loosen 12 AWG or 14 AWG wire connections, leading to high-resistance faults, arcing, and potentially catastrophic electrical fires. According to the National Fire Protection Association (NFPA), improper device mounting and unsupported receptacles are leading contributors to residential electrical failures.
This guide serves as your definitive tool and material reference for selecting, sizing, and installing electrical outlet spacers (commonly called shims or extender rings) to bring recessed boxes up to code and ensure long-term mechanical stability.
The NEC Code Reality: Under NEC Article 314.20, boxes in non-combustible surfaces (like tile or concrete) can be recessed up to 1/4 inch. However, the device yoke itself must be rigidly supported. If the gap between the outlet's mounting yoke and the finished wall surface exceeds 1/8 inch, the device is considered unsupported by Underwriters Laboratories (UL) listing standards. You must bridge this gap using rated electrical outlet spacers.
Material Matrix: Choosing the Right Electrical Outlet Spacers
Not all spacers are created equal. Using improvised materials like folded cardboard, matchsticks, or plastic zip-ties is a direct violation of OSHA Electrical Safety Standards and NEC 110.12 (Mechanical Execution of Work). You must use manufactured, non-combustible, or specifically rated polymer spacers.
| Material Type | Brand / Model Example | Thickness / Depth | Best Application | Avg Cost (2026) |
|---|---|---|---|---|
| Plastic Shim Strips | Gardner Bender GSW-21 | 1/16" to 1/8" | Minor drywall gaps, standard 15A/20A receptacles. | $3.50 / 10-pack |
| Metal Outlet Shims | C.R. Laurence AS10 | 1/8" (Stainless) | Non-combustible walls (tile, stone, concrete). | $8.50 / 10-pack |
| Receptacle Extender Rings | Arlington Industries BE1 | 1/4" to 1-1/4" | Thick wainscoting, deep subway tile, stacked stone. | $2.75 / each |
| 3D Printed Custom Spacers | Custom (PETG/ABS) | Variable | Oddly shaped smart home devices, custom millwork. | $0.50 / material |
Why Metal vs. Plastic Matters
When working with combustible surfaces like wood paneling or standard drywall, UL-listed plastic shims are perfectly acceptable. However, if your outlet is recessed into a non-combustible surface like a ceramic tile backsplash, a marble countertop, or a concrete basement wall, best practices and strict inspector interpretations demand non-combustible metal shims or metallic extender rings. Plastic shims can melt or deform under the heat generated by a high-resistance connection or a heavy continuous load (like a 1500W space heater).
Step-by-Step Installation Flow for Outlet Shims
Proper installation requires precision. A sloppy shim job can cause the cover plate to bulge or the device to bind inside the box.
- Lockout/Tagout (LOTO) & Verification: Turn off the circuit breaker. Do not rely on the switch. Use a CAT III or CAT IV non-contact voltage tester (e.g., Fluke 2AC-II) followed by a digital multimeter to verify 0.0V across hot-to-neutral and hot-to-ground.
- Extract and Measure: Remove the 6-32 mounting screws and gently pull the receptacle out. Using a digital caliper, measure the exact distance from the front edge of the electrical box to the finished wall surface at all four corners.
- Clear the Box Fill: Before adding spacers, ensure the box has adequate volume. Push the wires neatly into the back. If you are upgrading to a GFCI or AFCI receptacle, verify the box meets the NEC 314.16 box fill requirements (usually 22.5 cubic inches for a standard GFCI).
- Cut and Stack the Shims: If using scored plastic or metal shim strips, snap them to match the width of the device yoke ears. Stack them over the mounting screw holes on the wall side of the yoke. Pro Tip: Never stack more than three individual shims per screw. If you need more than 3/8" of spacing, abandon shims and use an extender ring.
- Mount and Torque: Insert the 6-32 mounting screws through the yoke, through the shim stack, and into the box ears. Tighten until snug. Do not exceed 8 in-lbs of torque; overtightening brass screws into thin steel box ears will strip the threads, requiring a box repair.
- Verify Plumb and Flush: Use a small torpedo level to ensure the receptacle is perfectly vertical before fully tightening. The yoke should now sit flush against the shims, with zero backward play when pressure is applied.
Edge Cases: When Standard Spacers Fail
As we move deeper into 2026, the smart home ecosystem has fundamentally changed the physical footprint of electrical devices. Standard shim strips often fail when dealing with modern tech.
The Smart Switch Heat Sink Problem
Devices like the Leviton Decora Smart Wi-Fi series or Lutron Caseta dimmers feature massive aluminum heat sinks protruding from the back of the yoke. If your box is recessed by 1/4 inch, standard shims will bridge the gap at the screw holes, but the bulky heat sink will bottom out against the drywall or wires before the yoke seats against the shims. This creates a fulcrum effect, cracking the plastic face of the smart switch. Solution: You must use an Arlington Industries BE1 extender ring, which moves the entire mounting plane forward while leaving the center cavity open for the heat sink.
Tile Backsplash Overhang
In kitchen remodels, tilers frequently use thick mortar beds, pushing the finished surface up to 1/2 inch past the original drywall box. Shims cannot bridge a 1/2 inch gap safely. You must install a box extender (like the Caddy TS100 or Arlington BE2). These slip over the existing box, effectively bringing the entire enclosure forward to meet the tile, maintaining the required fire-rating and box volume.
Troubleshooting Matrix: Common Spacer Mistakes
- Mistake: Shimming only the top screw because the bottom is tight.
Result: The yoke bends, causing the cover plate to crack and the internal contacts to misalign. Fix: Always shim both top and bottom ears equally to maintain a parallel mounting plane. - Mistake: Using drywall mud or joint compound to 'fill' the gap behind the yoke.
Result: Moisture from the mud corrodes the steel yoke and creates a conductive path if it touches the terminal screws. Fix: Keep the cavity dry; use only mechanical spacers. - Mistake: Leaving the grounding pigtail too short when pulling the device forward with shims.
Result: The ground wire pulls taut, eventually ripping out of the wire nut or green grounding screw. Fix: Always leave 6 inches of free conductor length inside the box as mandated by NEC 300.14.
Final Thoughts on Mechanical Integrity
Electrical outlet spacers are a $5 fix that prevents thousands of dollars in property damage and mitigates severe shock hazards. Whether you are snapping 1/16-inch plastic shims for a slightly over-mudded bedroom wall or threading metal extender rings for a luxury stone kitchen backsplash, respecting the mechanical execution of the device mounting is just as critical as the wire terminations themselves. Always prioritize UL-listed materials, adhere to NEC box-fill and setback limits, and never compromise on rigid yoke support.