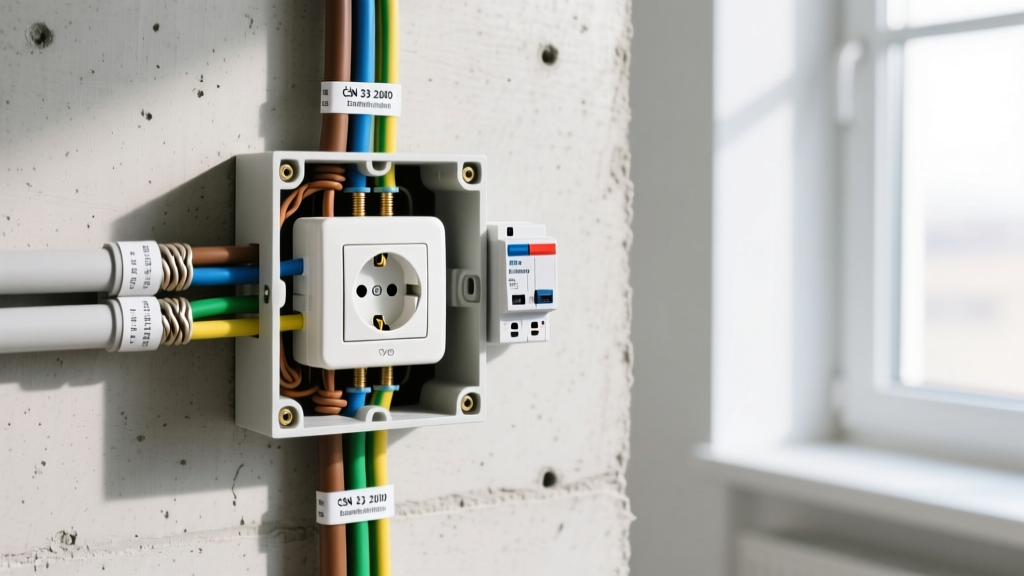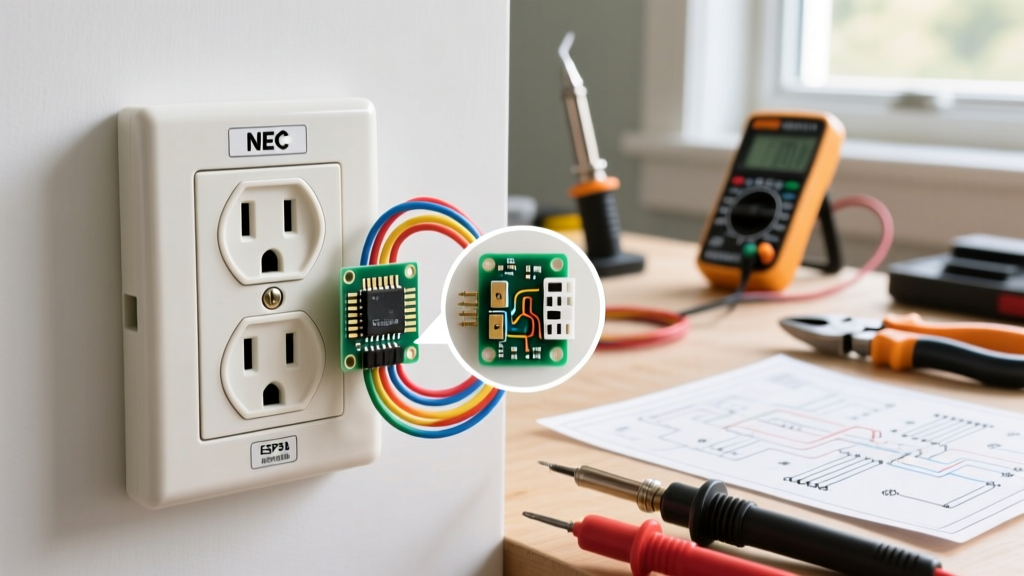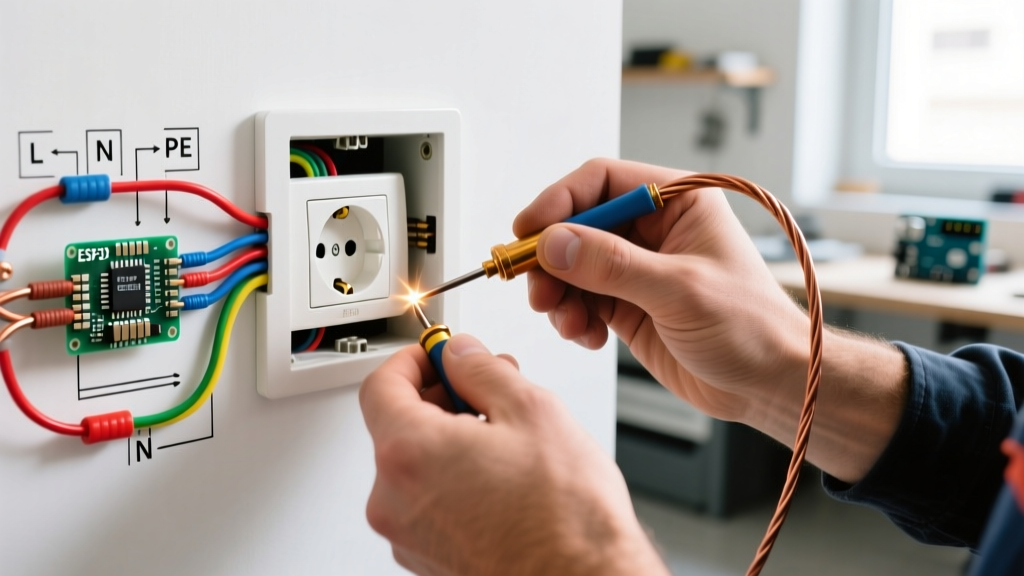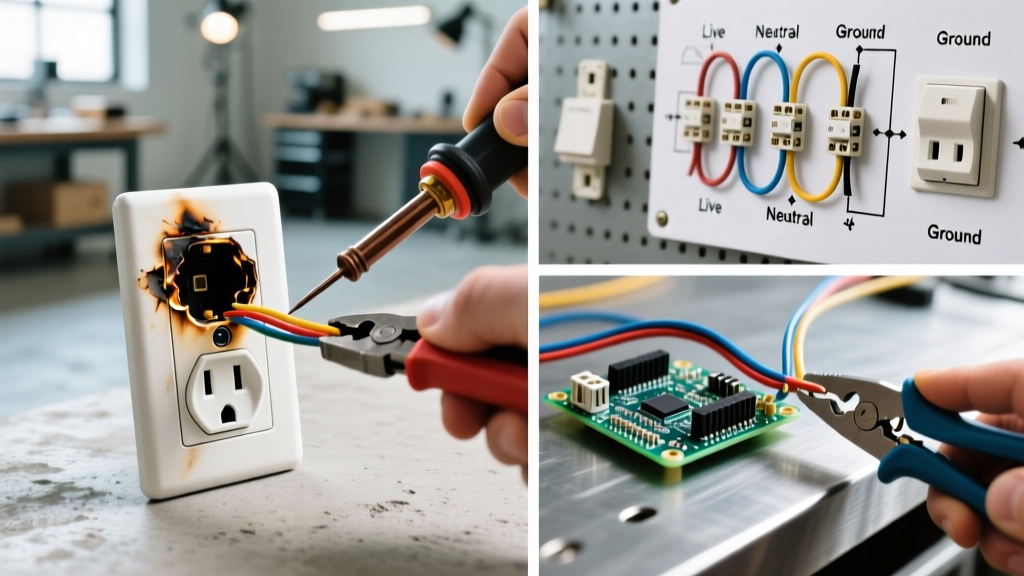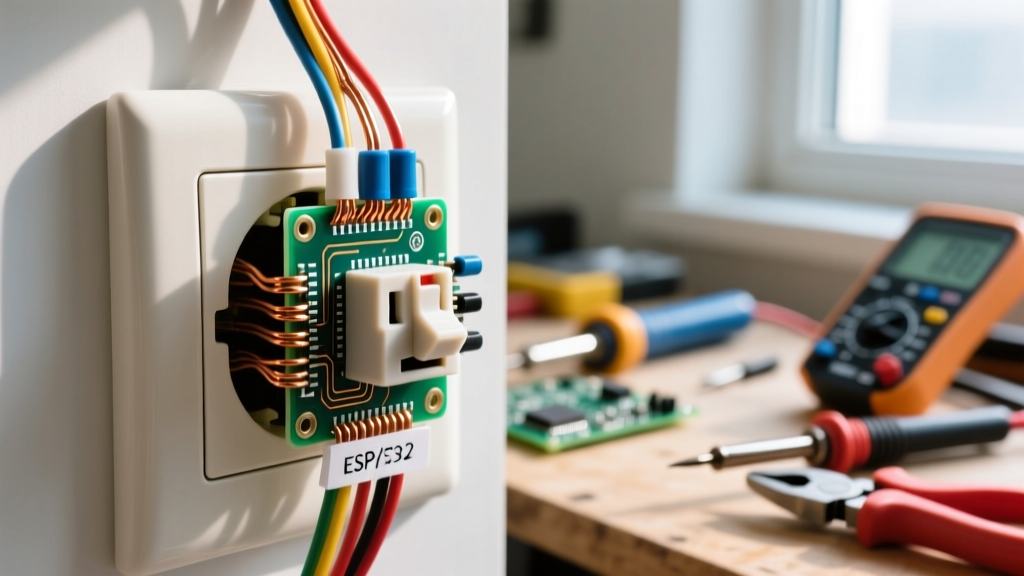

Hearing an electrical outlet making buzzing noise is never something to ignore. While a faint, steady hum might occasionally be attributed to the 60Hz alternating current (AC) vibrating through a transformer or heavy appliance cord, a distinct buzzing, sizzling, or crackling sound emanating directly from a wall receptacle is a primary indicator of high-resistance connections, micro-arcing, or imminent component failure. As of 2026, with the increased prevalence of high-draw smart home hubs, continuous-duty electronics, and Level 1 EV chargers plugged into standard 15A circuits, residential outlets are under more thermal and electrical stress than ever before.
This inspection and testing guide provides a professional, step-by-step diagnostic protocol to identify the root cause of the noise, verify circuit integrity, and safely resolve the hazard before it escalates into an electrical fire.
CRITICAL SAFETY WARNING: According to the National Fire Protection Association (NFPA), electrical distribution and lighting equipment is consistently a leading cause of home structure fires. Never attempt to disassemble a buzzing receptacle without first verifying the circuit is de-energized at the breaker panel using a calibrated CAT III or CAT IV multimeter.
The Physics of the Buzz: 60Hz Hum vs. Arcing
To accurately diagnose an electrical outlet making buzzing noise, you must first distinguish between magnetic vibration and electrical arcing.
- The 60Hz Magnetic Hum: Alternating current in North America cycles at 60 Hertz. When current passes through the coils of a plugged-in device (like a laptop brick or vacuum motor), it can cause a faint, low-frequency hum. This is normal and originates from the device, not the wall outlet.
- The Arcing Buzz (Micro-Arcing): This sounds like frying bacon, a sharp crackle, or an erratic, high-pitched buzz. It occurs when electricity jumps across a microscopic gap caused by a loose terminal screw, a degraded internal brass wiper, or oxidized aluminum wiring. This generates intense localized heat (often exceeding 1,000°F at the arc point) and is a severe fire hazard.
Essential Diagnostic Toolkit for Outlet Inspection
Professional troubleshooting requires precise measurements. Relying solely on a basic neon voltage tester is insufficient for diagnosing high-resistance faults. Assemble the following tools:
- True-RMS Digital Multimeter (e.g., Fluke 117): (~$220) Essential for accurate voltage drop testing under load and verifying zero-energy states.
- Infrared Thermometer (e.g., Klein Tools IR5 or Fluke 62 MAX+): (~$65 - $130) Used to detect abnormal thermal signatures on the receptacle faceplate.
- Non-Contact Voltage Tester (NCVT) with Flashlight: (~$25) For initial safety sweeps.
- Receptacle Tension Tester: (~$15) A specialized gauge to measure the mechanical grip of the internal slot wipers.
- Preset Torque Screwdriver (e.g., Wiha 28502): (~$45) NEC Article 110.14(D) mandates the use of calibrated torque tools for electrical terminations to prevent loose connections.
Step-by-Step Inspection & Testing Protocol
Step 1: Thermal Imaging and Load Profiling
Before removing the faceplate, plug a known, high-wattage resistive load (like a 1500W space heater or hair dryer) into the suspect outlet. Let it run for 5 minutes. Using your IR thermometer, scan the faceplate and the slots. A healthy outlet should remain within 2°F to 5°F of ambient room temperature. If the outlet face exceeds 104°F (40°C) or shows a localized hot spot near one specific slot, you have confirmed a high-resistance connection generating excess heat.
Step 2: De-energize and Inspect Internal Wipers
Shut off the breaker and verify zero voltage. Remove the receptacle from the junction box. Inspect the wiring method. If the wires are pushed into the back of the device (a practice known as 'backstabbing' or using push-in connectors), you have likely found the culprit. Backstab connectors rely on a tiny, spring-loaded brass wiper. Over years of thermal cycling (expansion and contraction), these springs lose tension, resulting in a loose connection that causes the electrical outlet to make a buzzing noise. Fix: Cut off the backstabbed wires, strip them to 3/4 inch, and terminate them under the side terminal screws.
Step 3: Torque Verification and Wire Dressing
If the wires are already under the side screws, check for 'shepherd's hooks' (wire wrapping too far around the screw) or exposed copper touching the ground strap. Use your preset torque screwdriver to tighten the brass terminal screws. For standard 15A and 20A residential receptacles (like the Leviton Decora series), the manufacturer-specified torque is typically 14 in-lbs. Overtightening can strip the threads or snap the screw, while undertightening leads to the exact arcing buzz you are investigating.
Troubleshooting Matrix: Buzz Type vs. Root Cause
| Audio Symptom | Thermal Signature | Probable Root Cause | Required Action |
|---|---|---|---|
| Erratic crackling / sizzling | High heat (>110°F) localized to one slot | Backstab push-in connector failure; micro-arcing | Replace receptacle; use side-screw or screw-clamp terminations |
| Steady, high-pitched buzz | Warm across entire faceplate | Overloaded circuit; continuous draw >80% of breaker rating | Move high-draw appliances to dedicated 20A circuits |
| Buzzing only when plugging/unplugging | Ambient temperature | Worn internal Tamper-Resistant (TR) shutters | Replace with a new TR-rated receptacle (NEC 406.12) |
| Low-frequency 60Hz hum | Ambient temperature | Magnetic vibration from plugged-in transformer/appliance | No action required for outlet; inspect appliance cord |
When to Replace: Choosing the Right Receptacle
If your inspection reveals melted plastic, scorched terminal screws, or internal wipers that no longer grip a standard plug firmly, the receptacle must be replaced. Do not reuse damaged components.
For standard residential replacements, upgrade to commercial-grade or heavy-duty receptacles. Models like the Hubbell 5262-S (approx. $8) or the Leviton 5262-SW feature robust screw-clamp terminal plates that grip the wire securely without requiring you to bend the wire into a hook, drastically reducing installation error and future arcing risks. Furthermore, ensure any new receptacle is Tamper-Resistant (TR), featuring internal shutters that prevent foreign object insertion, as mandated by the National Electrical Code.
For homes with older aluminum branch wiring (common in the late 1960s and 1970s), standard copper-rated outlets will cause galvanic corrosion, leading to high resistance and buzzing. You must use CO/ALR rated receptacles (like the Leviton 1759) and apply an antioxidant compound like Noalox to the terminations.
Authoritative Safety Standards & Further Reading
Understanding the code requirements behind outlet safety is crucial for any DIYer or homeowner. The Consumer Product Safety Commission (CPSC) regularly publishes data on receptacle-related fires, emphasizing that loose connections and degraded backstabbed wires are primary culprits. Additionally, the Electrical Safety Foundation International (ESFI) provides vital consumer guidelines on recognizing the warning signs of faulty wiring, including the distinct smells of ozone or burning plastic that often accompany a buzzing outlet.
Frequently Asked Questions (FAQ)
Can a buzzing outlet cause a fire if nothing is plugged into it?
Yes. If the buzzing is caused by a loose connection at the terminal screws or a degraded backstab connector, the circuit is still live up to the point of the fault. Electricity can arc across the gap even without a load plugged in, especially if the wires are disturbed by vibrations in the wall or thermal expansion, potentially igniting surrounding drywall paper or insulation.
Why does my GFCI outlet buzz when it rains?
If a GFCI outlet (often found in garages, patios, or bathrooms) buzzes during heavy rain, moisture is likely infiltrating the junction box or the external weatherproof cover seal has failed. Water creates a high-resistance path to ground, causing the GFCI's internal sensing coil to vibrate or the internal relay to chatter. Inspect the weatherproof 'in-use' bubble cover and replace the foam gasket immediately.
Is it safe to use a smart plug on an outlet that occasionally hums?
No. Smart plugs contain internal Wi-Fi/Zigbee radios and solid-state relays that draw a continuous parasitic load (usually 0.5W to 1.5W). Adding a smart plug to an outlet that is already exhibiting signs of poor internal contact or thermal stress will compound the heat generation and increase the risk of melting the smart plug's housing.