
Decoding the Kitchen Electrical Outlet Code for Modern Remodels
When planning a kitchen renovation in 2026, aesthetics often take center stage, but the hidden infrastructure dictates the safety and functionality of the space. Navigating the kitchen electrical outlet code is not just about passing inspection; it is about preventing electrical fires and ensuring your high-draw appliances operate without tripping breakers. The National Electrical Code (NEC), updated on a three-year cycle and widely adopted by local municipalities, sets strict mandates for kitchen receptacles. Whether you are replacing outdated two-prong outlets or wiring a new island, understanding these codes is critical for any DIYer or homeowner overseeing a contractor.
This upgrade and replacement guide breaks down the exact NEC requirements for kitchen receptacles, specific product recommendations, and the step-by-step methodology for bringing an older kitchen up to modern safety standards.
The Core Mandates: SABCs, Spacing, and Protection
1. The Small-Appliance Branch Circuit (SABC) Mandate
Under NEC Section 210.11(C)(1) and 210.52(B), every kitchen must be served by a minimum of two 20-amp small-appliance branch circuits. These circuits are dedicated exclusively to the small appliance loads in the kitchen, pantry, breakfast room, and dining room.
- Wire Gauge: You must use 12 AWG copper wire (typically 12/2 NM-B Romex) for these 20-amp circuits. Using 14 AWG wire on a 20A breaker is a severe fire hazard and an automatic inspection failure.
- No Lighting or Fixed Appliances: SABCs cannot serve lighting fixtures, exhaust fans, or hardwired appliances like dishwashers or garbage disposals. Those require their own dedicated or general lighting circuits.
- Load Distribution: While two circuits are the minimum, modern 2026 kitchens with high-end espresso machines, air fryers, and stand mixers often benefit from a third SABC to prevent simultaneous-use tripping.
2. Countertop Spacing and the "Island Rule" Shift
NEC Section 210.52(C) dictates the physical placement of countertop receptacles. The golden rule is the 4-foot/2-foot rule: no point along the wall line of a countertop can be more than 24 inches (2 feet) from a receptacle. Furthermore, any continuous countertop space 12 inches or wider requires at least one outlet.
Crucial Code Update for Islands and Peninsulas: Historically, the NEC mandated receptacles on kitchen islands. However, recent code cycles recognized the severe hazard of dangling cords across walkways. Under the latest NEC guidelines, receptacles are no longer strictly required on islands and peninsulas. However, if you choose to install them (or are grandfathered into keeping them), they must be GFCI-protected and cannot be installed face-up on the countertop surface unless they are specifically listed as spill-proof countertop pop-up assemblies.
3. The Dual-Protection Requirement: GFCI and AFCI
The kitchen electrical outlet code requires two distinct types of fault protection, often confusing DIYers:
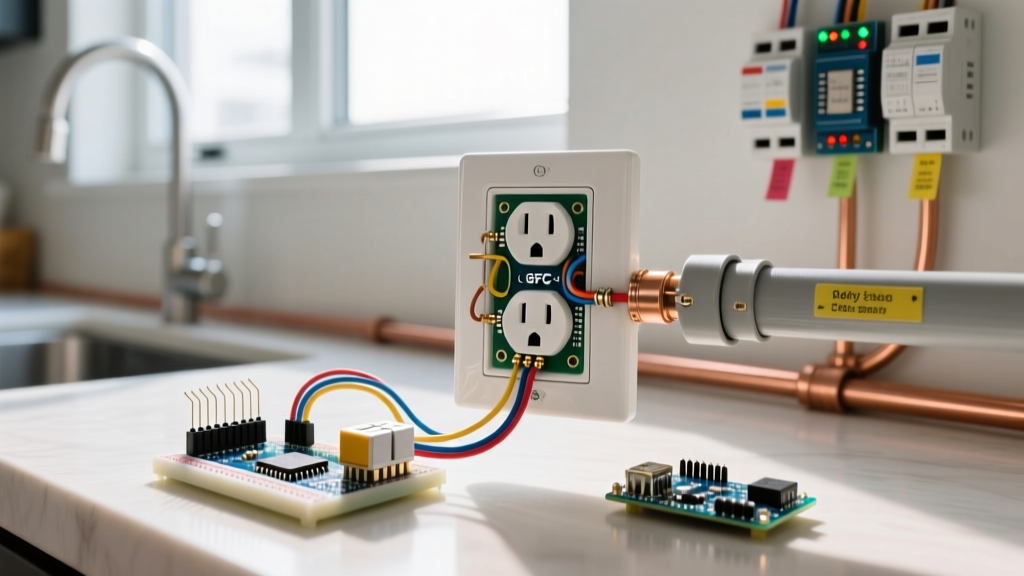
- GFCI (Ground-Fault Circuit Interrupter): NEC 210.8(A)(6) requires GFCI protection for all 125-volt, 15-amp and 20-amp receptacles serving kitchen countertops. This protects users from lethal shocks if an appliance falls into water.
- AFCI (Arc-Fault Circuit Interrupter): NEC 210.12 requires AFCI protection for all 120-volt branch circuits supplying outlets in the kitchen. This detects dangerous electrical arcing (sparking) inside walls that can cause fires.
The 2026 Solution: Rather than buying expensive AFCI/GFCI dual-function receptacles, the most cost-effective and code-compliant method is installing a Dual-Function (DF) Circuit Breaker in your main panel. This provides both arc-fault and ground-fault protection for the entire circuit, allowing you to use standard (but tamper-resistant) receptacles at the countertop.
Comparison Matrix: Code-Compliant Kitchen Components
Selecting the right hardware ensures longevity and code compliance. Below is a breakdown of specific, industry-standard components for a kitchen upgrade.
| Component Type | Recommended Model | Specs & Features | Estimated Cost (2026) |
|---|---|---|---|
| Dual-Function Breaker | Eaton BR220DF | 20A, 120/240V, AFCI/GFCI combo, fits BR panels | $58.00 - $65.00 |
| Countertop GFCI Receptacle | Leviton 2097-SW2 | 20A, 125V, SmartlockPro, Tamper-Resistant, Self-Test | $24.00 - $28.00 |
| Standard TR Receptacle | Hubbell WR20TR | 20A, 125V, Duplex, Tamper-Resistant (for downstream) | $4.50 - $6.00 |
| Countertop Pop-Up | Legrand Adorne ARTRGFCI | Spill-proof, pop-up island assembly, integrated GFCI | $140.00 - $180.00 |
Step-by-Step Upgrade: Replacing Legacy Receptacles
If you are replacing old, non-GFCI, or worn-out outlets on your kitchen backsplash, follow this precise procedure to ensure safety and compliance.
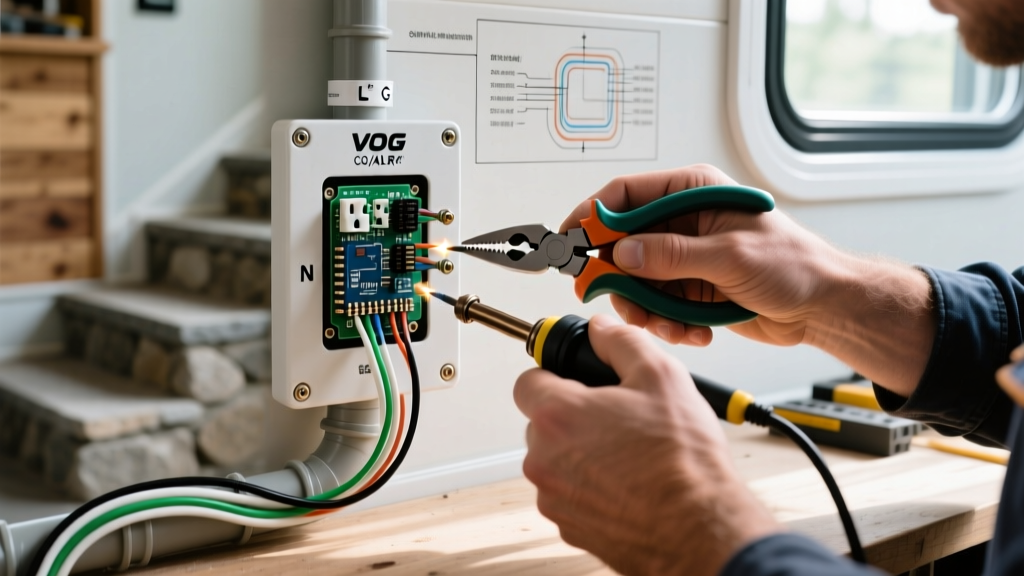
- Isolate and Verify: Turn off the 20A breaker at the main panel. Use a non-contact voltage tester (like the Klein Tools NCVT-4IR, ~$35) to verify power is dead at the outlet. Never rely solely on the breaker label.
- Extract and Inspect: Remove the faceplate and unscrew the receptacle. Pull it out gently. Inspect the 12 AWG wiring. If the insulation is brittle, cracked, or shows heat discoloration, you must cut back to fresh wire or consult an electrician.
- Strip and Prepare: If re-terminating, strip exactly 5/8 inch of insulation from the solid copper wire using wire strippers. Do not nick the copper conductor, as this creates a weak point prone to snapping under torque.
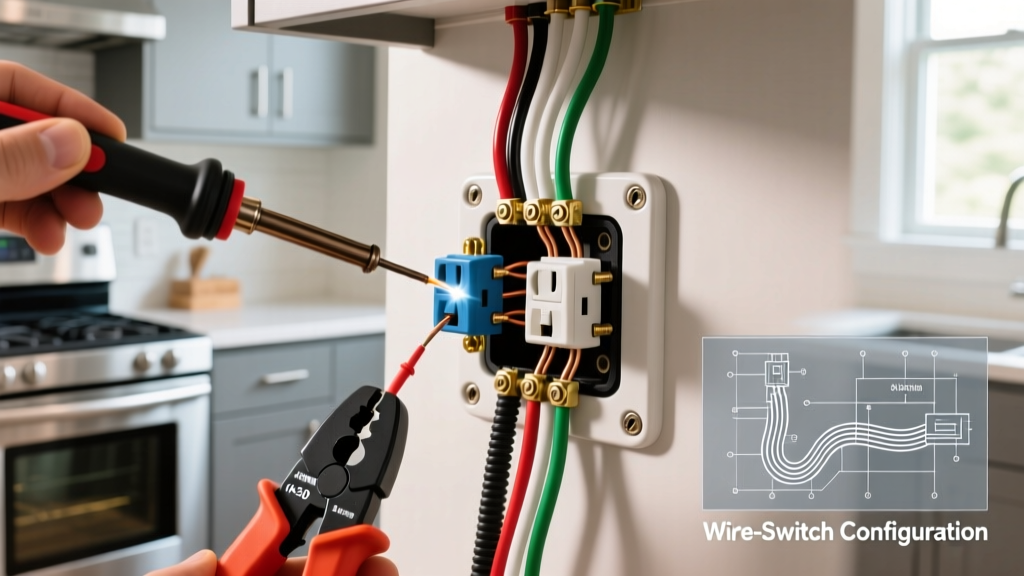
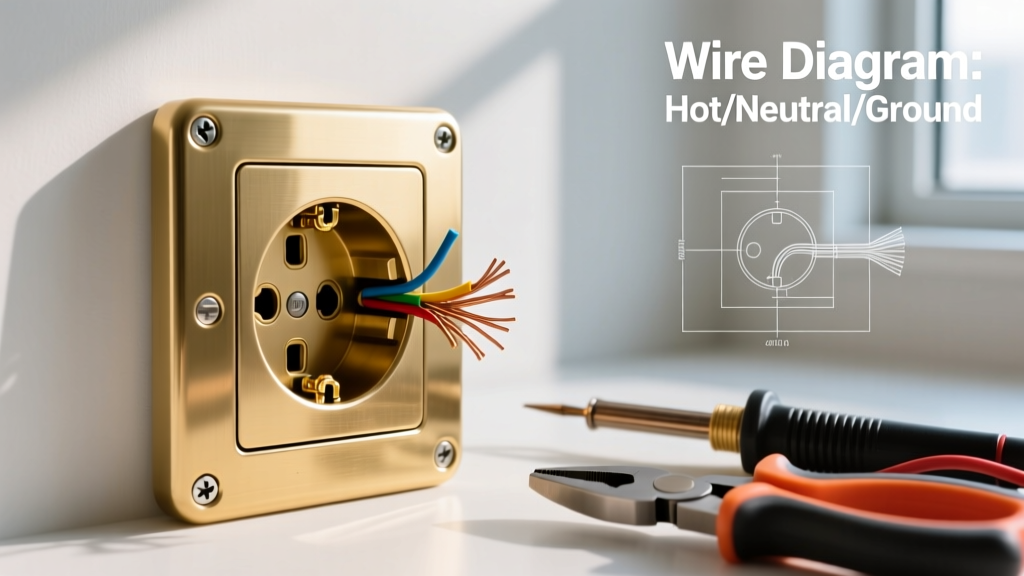
- Terminate with Precision: Wrap the bare copper ground wire around the green grounding screw. For the hot (black) and neutral (white) wires, utilize the side terminal screws rather than the push-in back-wire holes, which are notorious for loosening over time under heavy appliance loads.
- Apply Exact Torque: This is where amateurs fail. Use a calibrated torque screwdriver (like the Klein Tools 32500TORQ) to tighten the terminal screws to the manufacturer's specification, typically 12 to 14 inch-pounds for 20A Leviton/Hubbell receptacles. Under-torquing causes arcing; over-torquing strips the brass threads.
- Test the Circuit: Restore power at the panel. Press the "TEST" button on the GFCI to ensure it trips, then press "RESET". Plug in a receptacle tester (like the Gardner Bender GFI-3501) to confirm correct wiring and ground presence.
Top 3 Kitchen Inspection Failures to Avoid
Even seasoned DIYers make mistakes that result in failed municipal inspections. Avoid these common pitfalls:
- Failure to Use Tamper-Resistant (TR) Receptacles: NEC 406.12 mandates that all 15A and 20A, 125V receptacles in dwelling units must be tamper-resistant. Standard receptacles with exposed slots are illegal in a residential kitchen, even behind the refrigerator.
- Daisy-Chaining Lighting to SABCs: Inspectors frequently check the under-cabinet lighting circuit. If your hardwired LED under-cabinet lights are tied into the 20A countertop SABC, the inspector will fail the job. Lighting must be on a separate 15A general lighting circuit.
- Improper Weatherproof Covers Near Sinks: While indoor kitchen backsplash outlets do not require "in-use" bubble covers, any receptacle located within 6 feet of a wet bar sink or an outdoor-facing kitchen window must be equipped with an extra-duty, weatherproof in-use cover per NEC 406.9.
Expert Insights and Safety Resources
Upgrading your kitchen's electrical infrastructure is a high-stakes project. The National Fire Protection Association (NFPA) publishes the definitive NEC guidelines, which local authorities use to draft municipal building codes. Always check with your local building department, as some municipalities adopt older versions of the NEC or have local amendments regarding island receptacles and AFCI requirements.
Furthermore, the Electrical Safety Foundation International (ESFI) provides extensive data on home electrical fires, noting that kitchens are the leading origin point for residential fires caused by electrical distribution equipment. By adhering strictly to the kitchen electrical outlet code, utilizing torque-calibrated installations, and implementing dual-function protection, you are not just passing an inspection—you are engineering a safer home for decades to come.