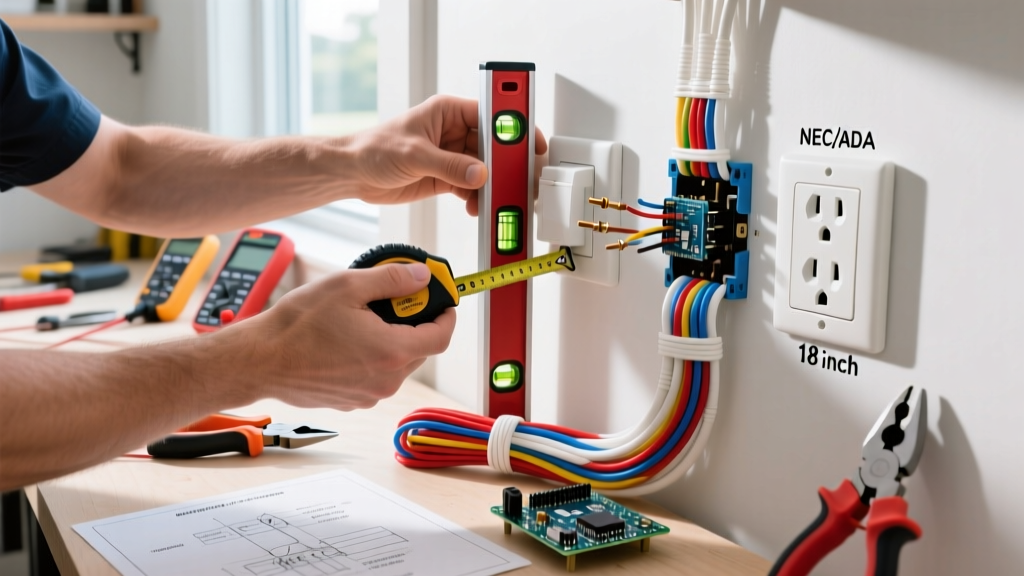

The Great Misconception: NEC vs. ADA Standards
Electricians and DIYers often assume the National Electrical Code (NEC) mandates a specific electric code outlet height for standard residential walls. It doesn't. The NFPA 70 (NEC) Article 210.52 strictly governs the spacing of receptacles—dictating that no point along the floor line in any wall space can be more than 6 feet from an outlet—but it remains entirely silent on vertical placement.
So, where does the standard 16-inch measurement come from? The true regulatory drivers for electric code outlet height are the Americans with Disabilities Act (ADA) and local building amendments. According to the 2010 ADA Standards for Accessible Design, Section 308.2 and 308.3 establish reach ranges. For unobstructed side reaches, operable parts (like outlet slots and switch toggles) must be placed no lower than 15 inches and no higher than 48 inches above the finished floor. To comfortably clear standard 5.25-inch baseboards while remaining well within ADA compliance, the industry standard has settled on 16 inches to the bottom of the electrical box.
The Precision Toolkit: What You Actually Need
Achieving consistent electric code outlet height across an entire floor plan requires moving beyond a standard tape measure. In 2026, with open-concept layouts and strict municipal inspections, precision tools are non-negotiable.
1. Laser Levels for Continuous Sightlines
Relying on a tape measure from the subfloor in every room invites cumulative errors, especially if the floor joists are uneven. A self-leveling cross-line laser is essential.
- Top Pick: Bosch GLL 55 50 Ft. Self-Leveling Cross-Line Laser (Approx. $129). This tool projects a perfectly level horizontal line across multiple walls. Set your laser at exactly 16 inches from your finished floor benchmark, and mark the bottom of every box along the beam.
2. Outlet Marking Tools for Drywall Cutouts
Once the box is mounted, cutting the drywall perfectly around it prevents the need for excessive mud work.
- Top Pick: General Tools 5128 Electrical Outlet Marker (Approx. $15). This spring-loaded tool features adjustable pins that fit into the receptacle holes. You press the drywall against it, and the pins puncture the paper, giving you a flawless cut-line that accounts for the exact 16-inch height and plumb alignment of the box.
3. The Right Saw for the Cut
- Top Pick: Milwaukee M18 Fuel Oscillating Multi-Tool with a 2-inch rigid scraper/cutting blade (Approx. $199). Unlike a jab saw, which can easily slip and gouge the adjacent drywall or sever a hidden wire, an oscillating multi-tool allows for plunge cuts with millimeter precision, perfectly respecting your marked height boundaries.
Material Selection: Boxes, Brackets, and Shims
The physical materials you choose directly impact your ability to maintain the correct electric code outlet height, particularly when dealing with varying wall depths and smart home integrations.
| Material Type | Specific Model | Depth / Specs | Best Use Case | Est. Cost |
|---|---|---|---|---|
| Standard Old-Work Box | Carlon B618R | 2.25 inches deep | Standard 15A/20A duplex receptacles | $2.50 |
| Deep Old-Work Box | Carlon B618RR | 3.50 inches deep | Smart switches (Lutron Caseta, Leviton Decora) | $4.15 |
| Adjustable Bracket | Madison MSB-2G | Flush-adjustable | Open studs before drywall is hung | $3.80 |
| Box Shims | Caddy TS14 | 1/8 to 1/4 inch | Fixing boxes that sit too deep behind tile | $0.45 /ea |
CRITICAL 2026 SMART HOME WARNING: If you are wiring for modern smart switches (which contain bulky Wi-Fi/Zigbee radios and require the neutral wire to be tucked behind the device), standard 2.25-inch boxes will fail inspection and physically prevent the faceplate from sitting flush. Always upgrade to 3.5-inch deep boxes (like the Carlon B618RR) for switch locations, even if the 16-inch height rule remains identical.
Standard Height Measurements by Room Type
While 16 inches to the bottom of the box is the baseline for living spaces, the electric code outlet height shifts dramatically based on the room's function and countertop presence.
Living Rooms, Bedrooms, and Hallways
- Measurement: 16 inches to the bottom of the box.
- Centerline: Approximately 18.75 inches from the finished floor.
- Rationale: Clears standard 5.25-inch baseboards and aligns with ADA side-reach minimums.
Kitchen Countertops
- Measurement: 15 to 18 inches above the finished countertop.
- Code Note: NEC 210.52(C) requires small-appliance branch circuits. GFCI protection is mandatory. Keep outlets at least 24 inches away from the edge of the sink basin to prevent cord-stretching over water.
Bathroom Vanities
- Measurement: 3 to 4 inches above the backsplash (typically 36-40 inches from the finished floor).
- Code Note: Must be GFCI protected. Never install within the 'wet zone' of a shower or tub.
Garage and Workshop Spaces
- Measurement: 48 inches to the bottom of the box.
- Rationale: Elevated heights prevent damage from vehicles, workbenches, and stored floor items, while remaining within the 48-inch ADA maximum forward-reach limit.
Pro Workflow: Marking and Cutting for Perfect Alignment
Follow this exact sequence to guarantee your electric code outlet height is flawless from room to room.
- Establish the Benchmark: Identify the highest point of your finished floor in the room. (If floors are unfinished, add the exact thickness of your planned flooring plus underlayment to your subfloor measurements).
- Set the Laser: Place your Bosch cross-line laser on a stable surface. Adjust the horizontal beam to exactly 16 inches above your finished floor benchmark.
- Mark the Studs: Use a stud finder to locate the framing. Where the laser beam crosses the stud, make a small pencil tick. This tick represents the bottom of your electrical box.
- Nail the Boxes (New Construction): If using adjustable brackets like the Madison MSB-2G, align the bottom edge of the bracket with your pencil tick and nail it to the stud. The bracket will hold the box perfectly plumb.
- Cut the Drywall (Remodel): For old-work boxes, insert the General Tools 5128 marker into the mounted box, press the drywall sheet against the wall, and trace the puncture marks. Cut with your oscillating multi-tool.
Edge Cases: Navigating Baseboards and Uneven Floors
The most common failure point in maintaining proper electric code outlet height occurs when dealing with non-standard architectural features.
The Thick Baseboard Trap
Modern craftsman and colonial homes often feature 7-inch to 9-inch baseboards. If you blindly stick to the 16-inch rule, the outlet will be buried behind the trim. Solution: Always obtain the baseboard profile before rough-in. If the baseboard is 8 inches tall, bump your box height to 20 inches to the bottom of the box to ensure the faceplate sits cleanly on the drywall above the trim.
The Tiled Floor Transition
When transitioning from hardwood to tile, the floor height can jump by 3/4 of an inch. If you measure your 16-inch height from the hardwood side, the outlets in the tiled room will visually appear lower. Solution: Establish a continuous laser line across the entire open-concept space based on the highest finished floor elevation. The outlets in the lower-elevation rooms will technically be 16.75 inches from their local floor, but they will align perfectly with the visual sightline of the room.
Expert FAQ
Does the NEC require outlets to be installed a certain height in residential homes?
No. The NEC focuses on horizontal spacing (the 6-foot rule) and specific room requirements. Vertical height is governed by local building codes, FHA guidelines, and ADA accessibility standards, which generally enforce the 15-inch minimum to 48-inch maximum range.
How do I measure outlet height if the drywall isn't hung yet?
Measure from the subfloor, but you must account for the finished floor. Add the thickness of your underlayment and finish material (e.g., 3/4-inch plywood + 1/2-inch hardwood = 1.25 inches). Add 1.25 inches to your desired 16-inch finished height, and mark your studs at 17.25 inches from the subfloor.
What is the maximum height for a switched outlet?
Wall switches controlling outlets or lighting must be installed in accessible locations. Under ADA guidelines, the operable part of the switch cannot exceed 48 inches above the finished floor for a forward reach, or 54 inches for an unobstructed side reach. Standard industry practice places the center of the switch box at 48 inches from the floor.
For more comprehensive safety guidelines regarding residential electrical installations and clearances, always consult the NFPA Home Electrical Safety resources and your local municipal building department before beginning any rough-in work.


