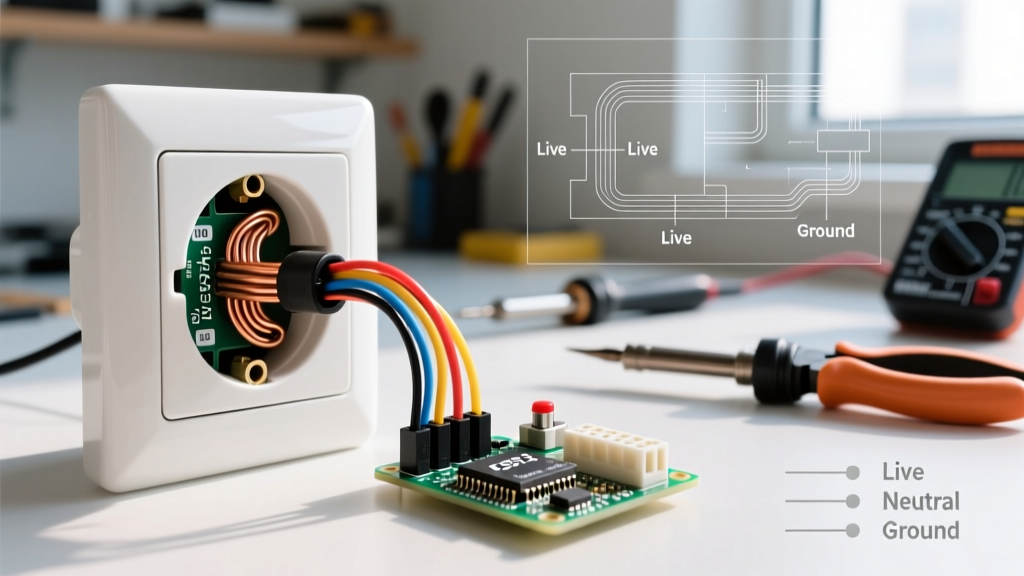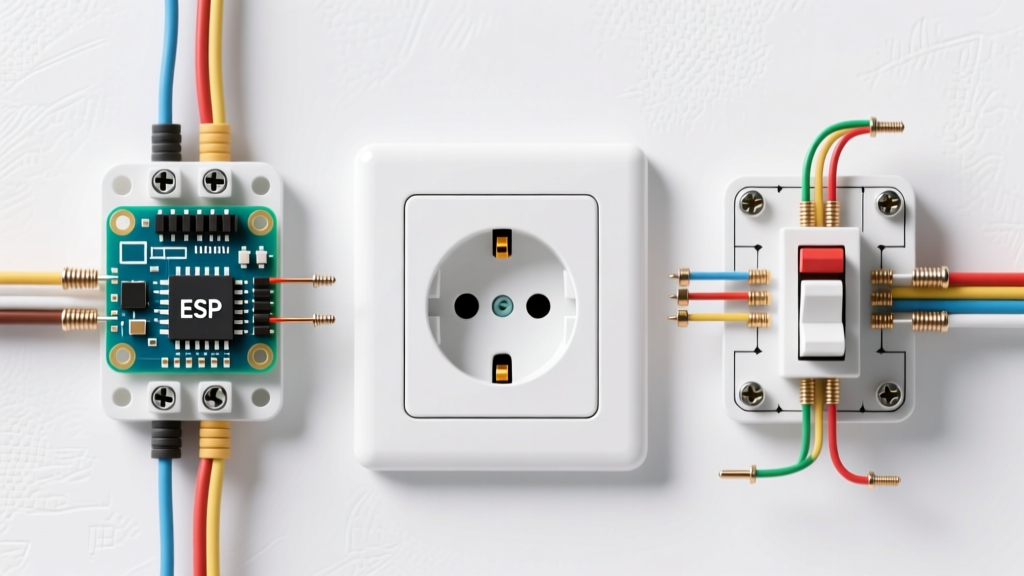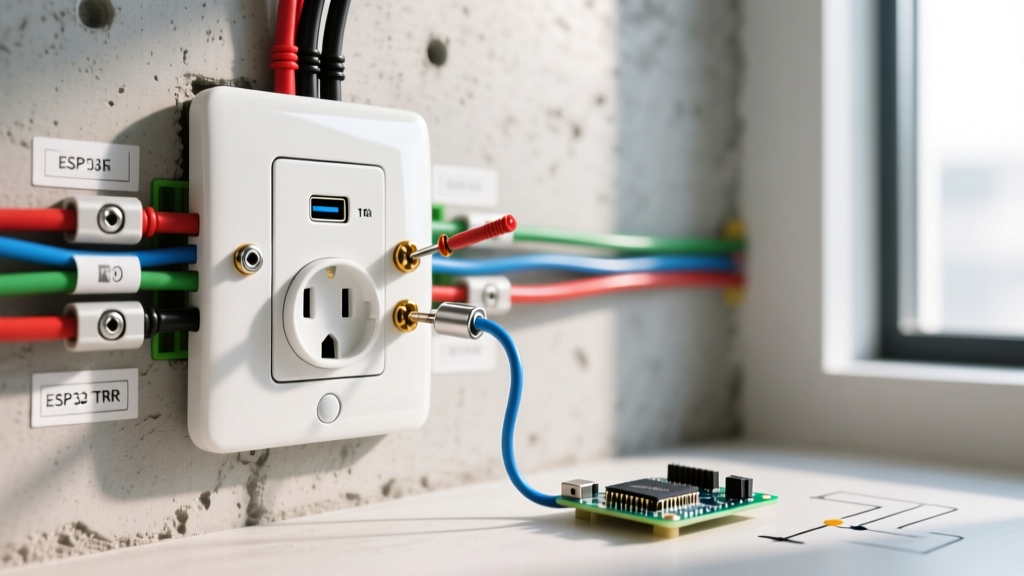

The Modern Receptacle: Why Upgrade Your Wall Outlets?
If you are living in a home built before 2015, your wall receptacles are likely outdated, mechanically worn, or lacking modern safety features. Learning how to install electrical outlet replacements is one of the highest-ROI DIY electrical projects you can undertake. Today's upgrades go far beyond swapping a cracked faceplate. Modern receptacles integrate Tamper-Resistant (TR) shutters mandated by the National Electrical Code (NEC) and high-wattage USB-C Power Delivery (PD) charging ports that eliminate bulky adapter bricks.
According to the Electrical Safety Foundation International (ESFI), tamper-resistant receptacles prevent thousands of childhood shock injuries annually by requiring simultaneous pressure on both slots to insert a plug. Furthermore, the rise of 30W and 45W USB-C PD outlets means you can hardwire fast-charging capabilities directly into your kitchen, bedroom, and home office walls.
Diagnostic Matrix: When to Replace an Outlet
Before you buy replacement hardware, audit your existing receptacles. Use this diagnostic table to identify failure modes and select the correct upgrade path.
| Symptom | Root Cause | Required Upgrade Path |
|---|---|---|
| Plugs fall out easily | Worn internal brass contact tensioners | Standard 15A TRR Receptacle |
| Faceplate is warm/discolored | High-resistance connection or backstab failure | 20A Commercial-Grade TRR (Side-wired) |
| Two-prong (ungrounded) slots | Pre-1960s wiring, no equipment ground | GFCI Receptacle (labeled 'No Equipment Ground') |
| Phone chargers are slow/bulky | Standard outlets lack integrated DC step-down | USB-C PD 30W+ Combo Receptacle |
Hardware Selection: 2026 Receptacle Comparison
Not all receptacles are built equally. The internal architecture of a $2 builder-grade outlet differs vastly from a $12 commercial-spec device. Here is a breakdown of the top-tier replacement options available on the market today.
- Leviton T5632 (USB-A/C Combo): Priced around $28-$34. Features a smart chip that negotiates USB-C PD up to 30W. Ideal for nightstands and kitchens. Note: Requires a deep electrical box (minimum 2.5 inches) due to the internal heat sink and transformer depth.
- Eaton 777-TR (Standard 15A TRR): Priced at $3-$5. A reliable, residential-grade tamper-resistant duplex receptacle. Features screw-clamp backwiring, which is vastly superior to push-in spring clips.
- Hubbell HBL5262 (20A Commercial Spec): Priced at $9-$12. Built with heavy-duty nylon and thick brass contacts. Best for high-draw areas like kitchen small-appliance circuits or garage workbenches.
Essential Tools for Code-Compliant Installation
To install an electrical outlet to modern NEC standards, you need more than just a flathead screwdriver. Assemble the following toolkit:
- Non-Contact Voltage Tester & Multimeter: (e.g., Fluke T6-1000) for redundant power verification.
- Wire Strippers: (e.g., Klein 11055) calibrated for 14 AWG and 12 AWG solid copper.
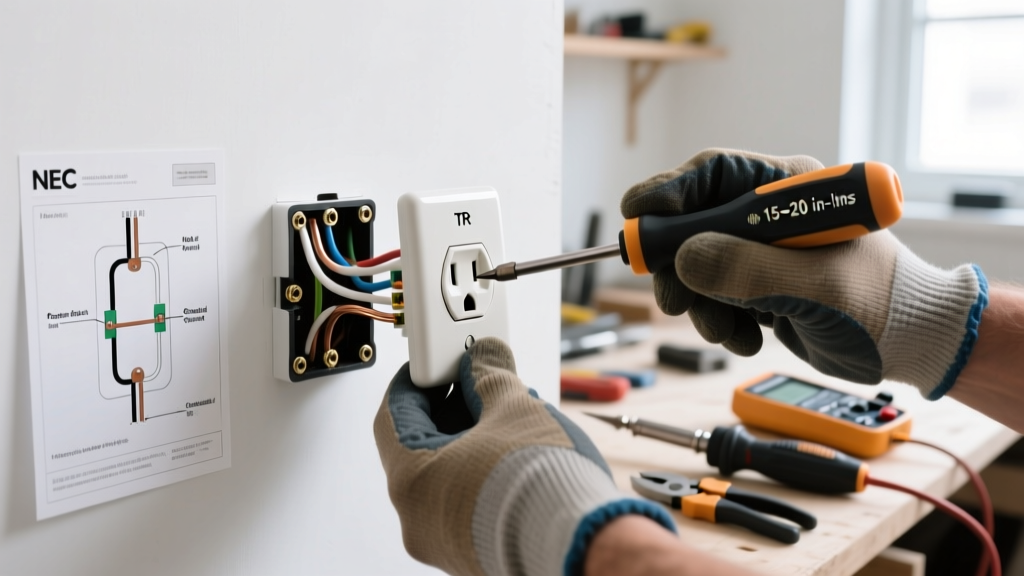
- Torque Screwdriver: NEC Article 110.14(D) requires terminals to be tightened to the manufacturer's specified torque. A preset VDE torque screwdriver set to 14 in-lbs is standard for most 15A/20A receptacles.
- Lineman's Pliers & Needle-Nose: For forming perfect clockwise shepherd hooks.
Step-by-Step Replacement Flow
Step 1: Kill Power and Verify
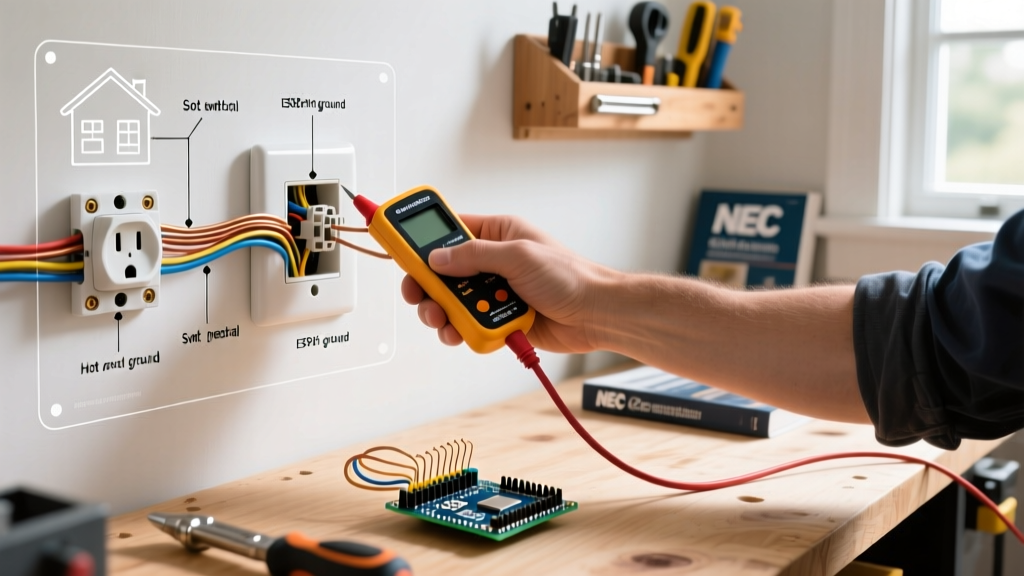
Shut off the circuit breaker at the main panel. Test the outlet with a non-contact voltage tester, then confirm with a multimeter probing from the hot (brass) slot to the ground slot. A reading of 0.0V confirms the circuit is dead. Never rely solely on a wall switch to isolate power.
Step 2: Extract and Audit the Wiring
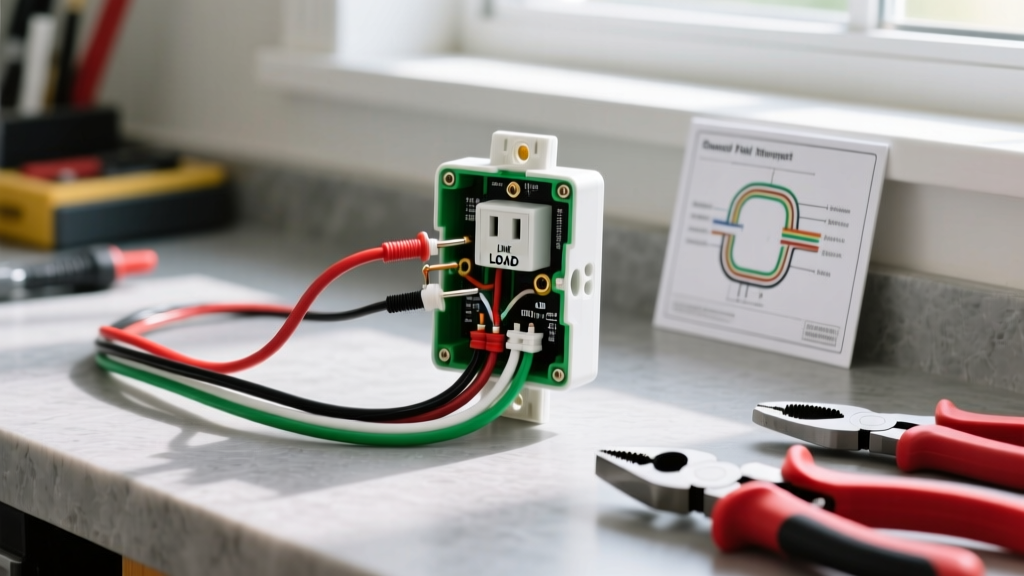
Remove the faceplate and unscrew the top and bottom mounting screws. Gently pull the receptacle from the box. Critical Edge Case: If the wires are pushed into the back of the old outlet (backstabbed), you must release them using a small flathead screwdriver or by cutting the wires flush. Backstabbed connections rely on spring tension that degrades under thermal cycling, leading to arc faults. You will need to re-terminate these using the side screws or the device's screw-clamp backplate.
Step 3: Prep and Terminate
Strip exactly 5/8-inch of insulation from the solid copper wires. Form a tight hook with your needle-nose pliers. Loop the wire clockwise around the brass (hot) and silver (neutral) terminal screws. This ensures that as you tighten the screw, the loop pulls tighter rather than splaying outward.
Step 4: Apply Proper Torque
Using your torque screwdriver, tighten the terminal screws until the tool clicks. As noted by the National Fire Protection Association (NFPA) in the NEC guidelines, under-torqued terminals cause micro-arcing and heat buildup, while over-torqued terminals can strip the screw threads or damage the brass contact plate. Most 15A devices require 14 in-lbs of torque.
Step 5: Grounding and Box Makeup
Connect the bare copper ground wire to the green grounding screw. If you are working in a metal electrical box, you must also run a ground pigtail from the receptacle to the box itself to ensure a continuous fault-current path. Carefully fold the wires in an accordion pattern (grounds in back, neutrals in middle, hots in front) and secure the device with the included mounting screws.
Pro Tip: If your drywall is cut too wide and the receptacle ears don't sit flush, do not over-tighten the mounting screws to force it. This will warp the yoke and cause the internal contacts to bind. Instead, use plastic outlet shims (cat ears) to bridge the gap between the drywall and the receptacle yoke.
Handling the 2-Prong Ungrounded Edge Case
Homeowners frequently encounter ungrounded 2-prong outlets in older properties. The NEC strictly prohibits swapping a 2-prong outlet for a standard 3-prong outlet without actually running a new equipment ground wire—doing so creates a 'false ground' and a severe shock hazard.
However, NEC Article 406.4(D)(2) provides a legal, safe workaround: You may install a GFCI (Ground Fault Circuit Interrupter) receptacle in the ungrounded box. The GFCI monitors the current balance between hot and neutral and will trip in milliseconds if a ground fault occurs, protecting the user even without a physical ground wire. You must apply the included 'No Equipment Ground' sticker to the faceplate to pass inspection and inform future users that surge protectors plugged into this outlet will not function properly, as they require a true ground to clamp voltage spikes.
Final Verification and Safety Wrap-Up
Once the faceplate is installed and the breaker is restored, test the new receptacle. For standard TRR outlets, use a 3-light receptacle tester to verify correct wiring (two yellow lights indicate correct polarity and ground). For USB-C outlets, plug in a device with a digital wattage meter inline to verify the internal PD controller is negotiating the correct voltage (e.g., 5V, 9V, or 15V) based on the connected load.
Upgrading your wall receptacles bridges the gap between legacy home infrastructure and modern power demands. By adhering to torque specifications, eliminating backstabbed connections, and integrating TRR and USB-C technology, you ensure your home's electrical system is safe, code-compliant, and optimized for the devices of today.