
The 2026 Standard: Why Upgrade to USB-C Power Delivery Outlets?
The era of bulky power bricks is ending. As of 2026, the USB-C Power Delivery (PD) 3.1 standard dominates, allowing wall receptacles to output up to 28W or even 45W directly to laptops, tablets, and smartphones. If you are still relying on outdated 5W USB-A ports, your devices are charging at a fraction of their capable speed. A proper USB electrical outlet installation not only declutters your nightstands and kitchen counters but also integrates high-efficiency AC-to-DC switching power supplies directly into your home's wiring.
However, swapping a standard duplex receptacle for a USB-equipped model is not a simple one-to-one physical exchange. USB outlets are significantly deeper, generate internal heat, and have strict circuitry requirements. This beginner-friendly tutorial will walk you through the exact specifications, tools, and wiring steps required to install a modern USB outlet safely and to code.
Essential Tools and Materials for the Job
Do not attempt this installation with generic, uncalibrated tools. The Electrical Safety Foundation International (ESFI) emphasizes that improper tool usage is a leading cause of residential electrical fires. Gather the following specific items before beginning:
- Non-Contact Voltage Tester: Klein Tools NCVT-1 (Cat. No. 69000) to verify the circuit is dead.
- Wire Strippers: Klein Tools 11055 (rated for 10-18 AWG solid/stranded wire).
- Torque Screwdriver: Klein Tools 695 or similar, calibrated to inch-pounds. NEC 110.14(D) requires terminations to be torqued to manufacturer specifications.
- Deep Electrical Box: Carlon B618R-UPC (18 cubic inches) or B622R-UPC (22 cubic inches). Do not reuse shallow 14 cu. in. boxes.
- USB Receptacle: Leviton T5636 (USB-C/A combo, 25W PD) or Eaton TR7745 (USB-A, 15W).
- Wire Connectors: Ideal Wing-Nut 341 (red) for secure pigtailing.
Pre-Installation: The Box Depth 'Gotcha'
The most common failure point in DIY USB electrical outlet installation is ignoring box fill capacity and physical depth. A standard duplex receptacle protrudes about 1.05 inches into the wall cavity. A high-wattage USB-C outlet like the Leviton T5636 extends 1.74 inches to accommodate the internal transformer and heat sinks.
Expert Warning: If you force a 1.74-inch deep USB outlet into a standard 14 cubic-inch shallow box containing three 12/2 NM-B cables, you will violate the NEC wire bending radius. The wires will crush against the drywall, potentially nicking the insulation and creating a hidden arc-fault hazard over time.
The Fix: Before wiring, inspect your existing electrical box. If it is stamped '14 cu in' or is less than 2 inches deep, you must upgrade to an 18 or 22 cubic-inch deep box. This ensures adequate air volume for heat dissipation and provides the physical space required for the stiff 12 AWG or 14 AWG copper wires to fold neatly behind the heavy USB chassis.
Step-by-Step USB Electrical Outlet Installation
Step 1: Kill the Power and Verify
Locate your main electrical panel and switch off the breaker controlling the room. Use your Klein NCVT-1 to test the top and bottom slots of the existing outlet. Test a known live outlet first to ensure your tester's battery is functioning. Only proceed when the target outlet reads zero voltage.
Step 2: Extract and Inspect the Wiring
Remove the faceplate and unscrew the existing receptacle. Pull it out gently. Identify your Line (Hot - usually black), Neutral (white), and Ground (bare copper or green). Note: Standard USB outlets do not have 'Load' terminals unless they are integrated GFCI models. You will only be connecting the Line and Neutral feeding this specific box.
Step 3: Prepare the Pigtails
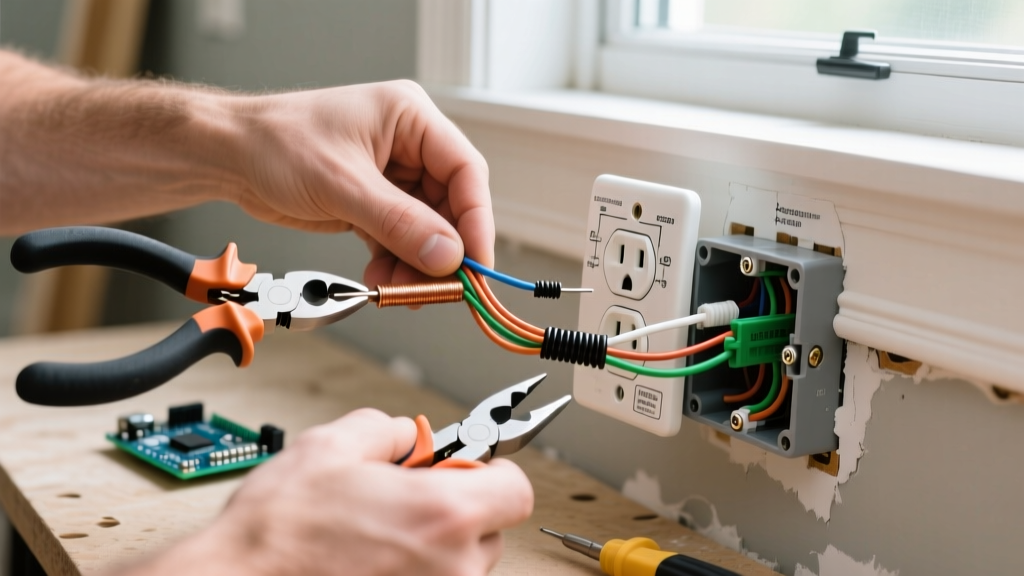
USB circuitry draws continuous standby current and experiences thermal expansion. Backstabbing (pushing wires into the rear quick-connect holes) is strictly prohibited for USB outlets due to the high resistance and heat generation. Strip 3/4 inch of insulation from your wires using the Klein 11055 strippers. Create pigtails using 12 AWG or 14 AWG THHN wire (matching your circuit gauge) and red Wing-Nut connectors to join the incoming wires to your new pigtails.
Step 4: Terminate and Torque
Loop the bare copper ground wire clockwise around the green ground screw. Loop the black (hot) pigtail clockwise around the brass terminal screw, and the white (neutral) pigtail around the silver terminal screw. Critical Step: Set your torque screwdriver to 14 inch-pounds (the standard specification for Leviton and Eaton 15A/20A receptacles). Tighten until the driver clicks. This prevents the screw from loosening due to thermal cycling, which is a primary cause of outlet melting.
Step 5: Seat the Outlet and Test
Carefully fold the wires in an accordion pattern into the back of the deep box. Push the USB outlet flush against the drywall. If the outlet bows or the plaster ears do not sit flat, your wires are bunched up; pull it out and rearrange. Secure with the provided 6-32 mounting screws. Restore power at the breaker.
2026 USB Outlet Comparison Matrix
Choosing the right receptacle is vital for modern device compatibility. Here is how the top models compare for residential installation:
| Feature | Leviton T5636 (USB-C/A) | Eaton TR7745 (USB-A Only) | TopGreener TU2154A (USB-A) |
|---|---|---|---|
| Max USB Output | 25W (USB-C PD) | 15W (3.0A Shared) | 15W (3.0A Shared) |
| Port Configuration | 1x USB-C, 1x USB-A | 2x USB-A | 2x USB-A |
| AC Rating | 15A / 125V | 15A / 125V | 15A / 125V |
| Box Depth Required | 18+ cu. in. (1.74' deep) | 16+ cu. in. (1.5' deep) | 16+ cu. in. (1.45' deep) |
| Approx. Cost (2026) | $38.00 - $45.00 | $24.00 - $28.00 | $16.00 - $20.00 |
| Best Use Case | Nightstands, Home Offices | Kitchens, Guest Rooms | Living Rooms, Lamps |
Troubleshooting: The 'Neutral Dependency' Failure Mode
The most frequent troubleshooting call we receive regarding USB electrical outlet installation is: 'The 120V AC plugs work perfectly, but the USB ports output zero power.'
This almost always points to a disconnected or loose Neutral wire. A standard AC receptacle will sometimes pass voltage through a connected load even if the neutral is compromised (using the ground as a dangerous return path). However, the internal AC-to-DC switching power supply inside a USB outlet strictly requires a true, low-resistance potential difference between the Hot (Line) and the Neutral to activate the transformer. If your neutral pigtail is loose, or if you accidentally swapped the hot and neutral (reversed polarity), the USB circuitry will remain completely dead while the AC slots might still function. Always verify correct polarity and neutral continuity with a multimeter before buttoning up the wall plate.
Frequently Asked Questions
Do USB outlets draw power when nothing is plugged in?
Yes, but the amount is negligible in modern units. According to the Consumer Product Safety Commission (CPSC) guidelines on household electrical loads, modern DOE-compliant USB outlets draw less than 0.05W in standby mode, costing pennies per year. Older, non-compliant models from the early 2010s could draw up to 0.5W, but these are largely phased out of the 2026 market.
Can I install a USB outlet in a bathroom or kitchen?
Yes, but the National Electrical Code (NEC), published by the National Fire Protection Association (NFPA), requires any receptacle within 6 feet of a water source to be GFCI protected. You must either install a combined GFCI/USB receptacle (which are very deep and require 22+ cu. in. boxes) or wire the standard USB outlet downstream from an existing GFCI breaker or GFCI receptacle.
Will a 15A USB outlet bottleneck my 20A kitchen circuit?
No. The 15A rating applies to the pass-through AC receptacle slots. Your 20A circuit breaker protects the 12 AWG wiring in the walls. The USB charging circuit operates independently on a micro-scale (drawing less than 0.25A from the mains to output 25W DC). You can safely install a 15A-rated USB outlet on a 20A circuit, provided it is not the only receptacle on that dedicated 20A branch circuit.