
Navigating Electrical Outlet Installation in Chesapeake, VA
Installing an electrical receptacle in a coastal environment like Chesapeake, Virginia, requires more than just connecting black, white, and bare copper wires. The region's high humidity, salt-air proximity, and strict adherence to the Virginia Uniform Statewide Building Code (USBC) mean that standard indoor wiring practices often fail when applied to exterior or damp-location installations. Whether you are adding a new workshop circuit in Great Bridge or replacing an aging patio receptacle in Deep Creek, understanding the intersection of national electrical codes and local environmental factors is critical for a safe, long-lasting installation.
This guide provides a comprehensive, step-by-step approach to electrical outlet installation tailored specifically for Chesapeake homeowners and DIYers. We will cover material selection, precise termination techniques, and the specific moisture-mitigation strategies required to prevent corrosion and ground-fault nuisance tripping in coastal climates.
Understanding Chesapeake's Electrical Code Requirements
The City of Chesapeake enforces the USBC, which integrates the National Electrical Code (NEC). For receptacle installations, two primary mandates dictate your material choices in 2026:
- Tamper-Resistant (TR) Mandate: All 15A and 20A, 125V and 250V non-locking receptacles installed in dwelling units must be listed as Tamper-Resistant. This applies to both indoor and outdoor locations.
- Weather-Resistant (WR) & GFCI Requirements: Any outlet exposed to damp or wet locations (e.g., porches, exterior walls, garages) must utilize a Weather-Resistant listed receptacle paired with a Ground-Fault Circuit Interrupter (GFCI) mechanism. The National Fire Protection Association (NFPA) strictly outlines these parameters to prevent shock hazards in moist environments.
Local Permit Note: According to the City of Chesapeake Department of Development and Permits, replacing an existing receptacle like-for-like does not require a permit. However, running new cable, adding a new outlet box, or upgrading a standard receptacle to a GFCI on a new circuit requires a Residential Electrical Permit. Always verify with the local building department before opening your walls.
Tools and Materials Checklist
Cheap materials degrade rapidly in the Hampton Roads humidity. Invest in commercial-grade or high-quality residential components. Below is the recommended bill of materials for a standard 20A exterior/interior GFCI outlet installation.
| Component | Recommended Model / Spec | Est. 2026 Cost | Purpose |
|---|---|---|---|
| GFCI Receptacle | Leviton 209-WMP (20A, TR, WR) | $24.50 | Core shock protection & code compliance |
| Weatherproof Cover | Hubbell Extra-Duty Die-Cast (XDA1W) | $19.00 | NEMA 3R wet-location protection |
| Wire / Cable | Southwire 12/2 NM-B (Indoor) or UF-B (Outdoor) | $0.75/ft | 20A circuit feeder |
| Wire Connectors | Ideal Wire-Nut 341 (Red) + 3M Cold Shrink | $0.15/ea | Secure pigtailing & moisture sealing |
| Torque Screwdriver | Klein Tools 32308 (VDE Insulated) | $45.00 | Ensures precise terminal torque |
Step-by-Step Installation Procedure
Step 1: Site Preparation and Box Selection
If you are retrofitting an exterior wall in Chesapeake, avoid standard shallow plastic boxes. The deep bodies of modern GFCI receptacles (often exceeding 1.5 inches in depth) require ample space to prevent wire crushing. Use a deep, weatherproof cast aluminum or heavy-duty PVC masonry/siding box. For interior drywall installations, use a 22.5 cubic-inch deep plastic nail-on or old-work box to accommodate the bulk of the 12 AWG wire and the GFCI mechanism.
Step 2: De-energizing and Circuit Verification
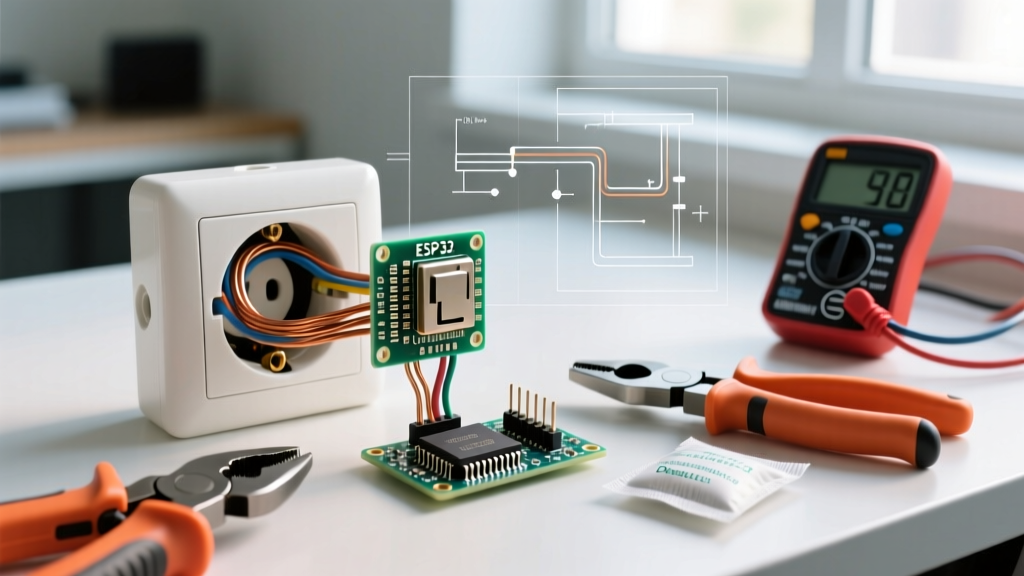
Never rely solely on a wall switch or a non-contact voltage tester to confirm a dead circuit. Turn off the corresponding 20A breaker at your main service panel. Use a calibrated digital multimeter, such as the Fluke 117, set to AC Voltage. Insert the probes into the hot (shorter slot) and neutral (longer slot), then hot to ground. The reading must be exactly 0.0V. The Consumer Product Safety Commission (CPSC) emphasizes that verifying the absence of voltage with a direct-contact meter is the single most critical safety step in DIY electrical work.
Step 3: Stripping and Pigtailing the Conductors
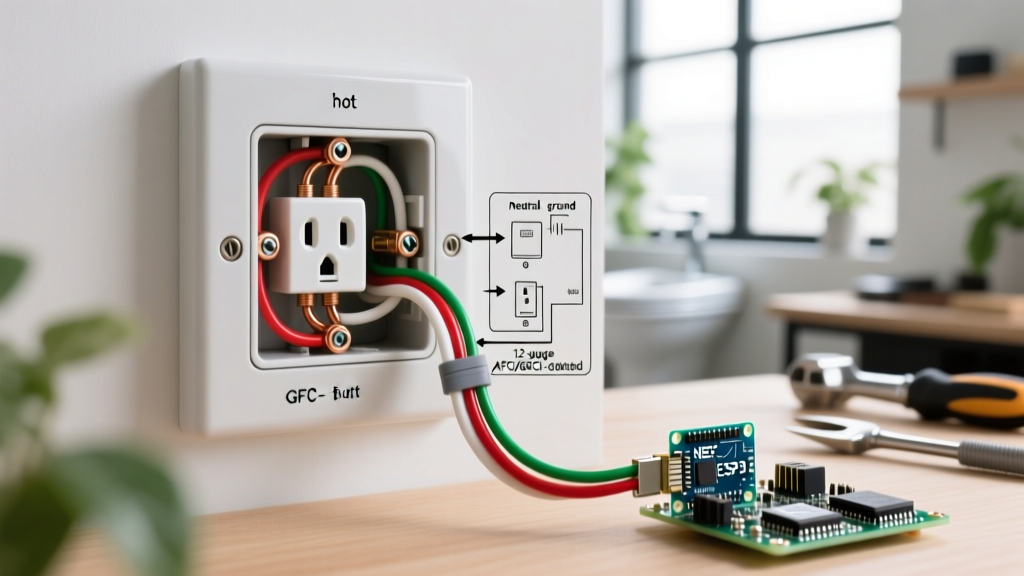
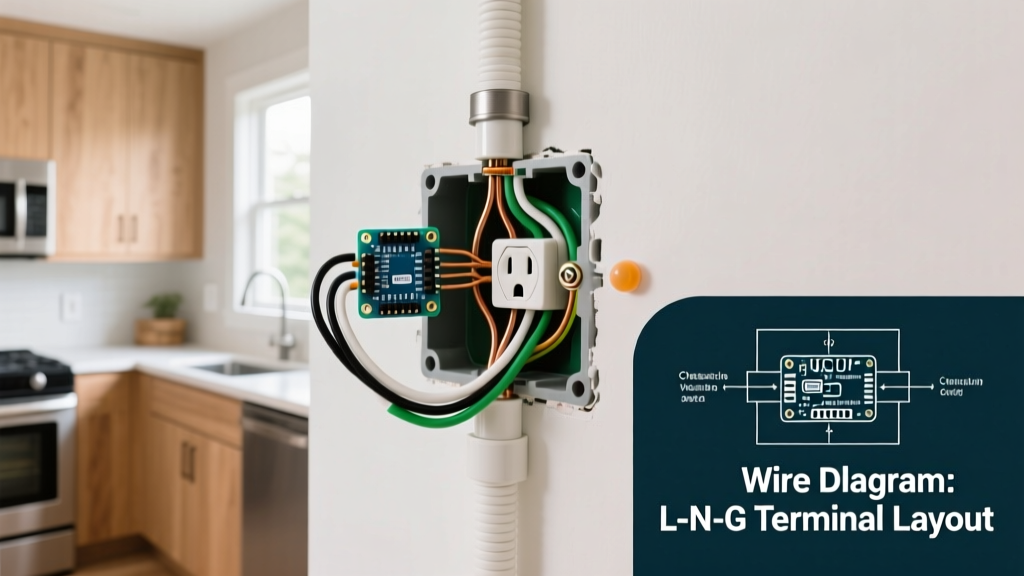
For 12 AWG solid copper wire, strip exactly 5/8-inch of insulation from the conductors. While many GFCI receptacles allow you to wire the 'LINE' and 'LOAD' terminals directly, professional electricians universally recommend pigtailing. Pigtailing involves connecting the incoming circuit wires to short (6-inch) jumper wires using wire nuts, and then connecting the jumpers to the receptacle.
Why Pigtail? If the GFCI fails or needs replacement, pigtailing ensures that downstream outlets on the same circuit do not lose power simply because the upstream device was removed from the box.
Step 4: Precision Termination and Torquing
Insert the stripped ends of your pigtail wires into the back-wire clamps of the GFCI's LINE terminals. Do not use the side screw terminals if back-wiring is available, as back-wire clamps provide superior pull-out resistance. If you must use side screws, loop the wire clockwise around the screw so that tightening the screw pulls the loop closed.
Critical Torque Specification: The NEC now mandates that listed torque specifications be followed. For a standard Leviton 20A GFCI, the terminal screws require approximately 14 in-lbs of torque. Using a calibrated torque screwdriver prevents 'cold flow' (where the copper compresses over time, creating a loose, high-resistance connection that causes arcing and fires).
Step 5: Coastal Moisture Sealing (Exterior Outlets)
In Chesapeake's humid climate, moisture ingress is the primary cause of GFCI nuisance tripping. Before attaching the Hubbell extra-duty cover, apply a bead of clear, exterior-grade 100% silicone sealant along the top and side edges of the mounting flange where it meets the siding or masonry. Leave the bottom edge unsealed to allow any trapped condensation to weep out. Ensure the included foam gasket is seated perfectly flat against the receptacle yoke.
Troubleshooting Common Installation Failures
Even with meticulous installation, environmental and wiring variables can cause issues. Use this diagnostic matrix to resolve common post-installation problems:
- GFCI Nuisance Tripping in High Humidity: If the exterior outlet trips only during heavy Hampton Roads summer humidity or driving rain, check the weatherproof cover gasket. If the cover is warped or the foam is torn, moisture is bridging the internal electronics. Replace the cover and ensure the silicone weep-hole method was utilized.
- Receptacle Will Not Reset: If the GFCI reset button immediately pops out, you likely have a ground fault downstream (if wired to the LOAD terminals) or a shared-neutral issue. Disconnect the LOAD wires; if the GFCI resets, the fault is in the downstream wiring, not the receptacle itself.
- Warm Faceplate: A faceplate that feels warm to the touch indicates a high-resistance connection. This is almost always caused by under-torqued terminal screws or stripped back-wire clamps gripping only the insulation. De-energize immediately, cut back the damaged wire, and re-terminate.
- Reversed Polarity (Hot/Neutral Swapped): If a receptacle tester shows 'Hot/Neu Reverse', the black and white wires are swapped on the LINE terminals. This is highly dangerous as the internal switch of connected appliances will break the neutral instead of the hot, leaving the device energized even when turned off.
Final Inspection and Energizing
Once the cover is secured and the silicone has cured (typically 24 hours for full moisture resistance), restore power at the breaker. Press the 'TEST' button on the GFCI; you should hear a distinct click, and the 'RESET' button should pop out. Press 'RESET' to restore power. Finally, plug in a UL-listed receptacle tester with a GFCI test function to verify correct wiring and proper ground continuity.
By adhering to these precise installation steps and respecting the unique environmental demands of the Chesapeake area, you ensure a safe, code-compliant, and durable electrical system that will reliably serve your home for decades.