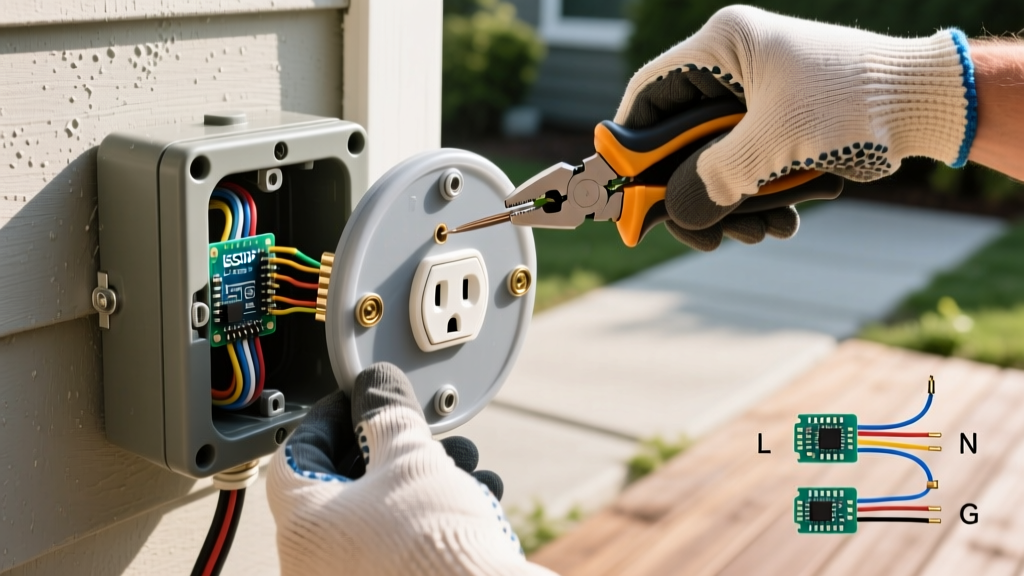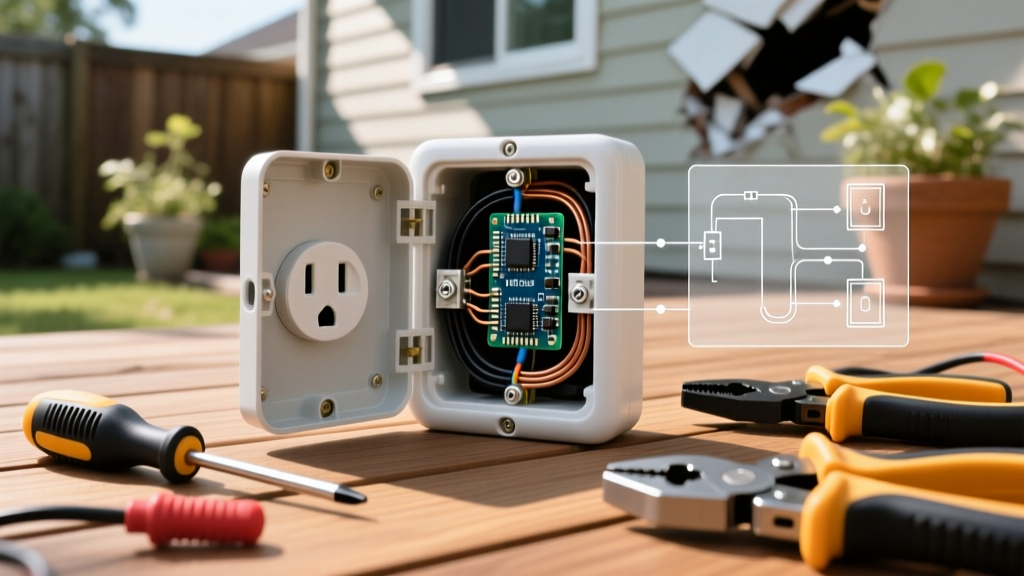

Why Your Outdoor Electrical Outlet Is Not Working
Discovering that your outdoor electrical outlet is not working can be incredibly frustrating, especially when you need to power holiday lighting, landscaping equipment, or power tools. Unlike indoor receptacles, outdoor outlets face extreme environmental stressors: UV radiation, driving rain, freezing temperatures, and invasive pests. As of 2026, the National Electrical Code (NEC) enforces strict weather-resistance and ground-fault protection standards for exterior receptacles, meaning the failure points are often unique to outdoor installations.
Before you start ripping wires out of the wall, you need the right diagnostic approach. This tool and material guide will walk you through the exact equipment required to safely troubleshoot, diagnose, and repair a dead exterior receptacle, ensuring your setup remains compliant with NFPA 70 (NEC) standards and safe for long-term outdoor use.
The 3 Most Common Outdoor Failure Modes
- Upstream GFCI Tripping: Outdoor outlets are rarely protected by a GFCI at the exact point of use. They are usually 'daisy-chained' to the LOAD terminals of a GFCI receptacle located in a garage, bathroom, or basement. A tripped indoor GFCI will kill power to the exterior.
- Moisture Intrusion and Corrosion: If the in-use cover's gasket has failed or UV rays have warped the polycarbonate plastic, moisture enters the box. This causes the brass terminal screws to oxidize, creating high-resistance connections that eventually fail completely.
- Conduit Condensation and Arcing: Temperature swings cause condensation inside the PVC or rigid metal conduit feeding the outlet. Over time, water pools at the lowest point (the receptacle box), causing a ground fault that trips the main breaker or AFCI/GFCI protection.
Essential Diagnostic Tools for Outdoor Outlets
To accurately diagnose an exterior receptacle without guessing, you need tools that can detect voltage through wire insulation, verify ground integrity, and measure exact AC voltage under load. Below is a comparison matrix of the professional-grade and DIY-friendly tools required for this job.
| Tool Type | Recommended Model (2026) | Primary Diagnostic Use | Est. Price Range |
|---|---|---|---|
| Non-Contact Voltage Tester (NCVT) | Klein Tools NCVT-2 (Dual Range) | Detecting live 12V-1000V AC through wire insulation before touching terminals. | $30 - $35 |
| GFCI Receptacle Tester | Gardner Bender GFI-3501 | >Verifying correct wiring (Line/Load/Ground) and tripping the GFCI circuit manually. | $12 - $18 |
| Digital Multimeter (True-RMS) | Fluke 117 (Pro) / AstroAI DM100M (DIY) | Measuring exact voltage drop (120V +/- 5%) and testing continuity on ground wires. | $25 - $230 |
| Circuit Breaker Finder | Klein Tools RT250 | Locating the exact breaker controlling the exterior outlet at the main panel. | $45 - $55 |
Pro-Tip on GFCI Daisy-Chaining: According to the Consumer Product Safety Commission (CPSC), all 15A and 20A, 125V outdoor receptacles must have GFCI protection. If your outdoor outlet lacks the 'Test/Reset' buttons, the protection is upstream. Always check the garage, laundry room, and bathrooms for tripped GFCIs before opening the outdoor weatherproof box.
Required Repair & Weatherproofing Materials
If your diagnostic tools reveal a failed receptacle or compromised weatherproofing, you must replace the components with exterior-rated materials. Standard indoor parts will fail within months when exposed to the elements. Ensure you have the following materials on hand:
- Weather-Resistant (WR) Receptacle: Look for the 'WR' and 'TR' (Tamper-Resistant) stamps on the yoke. The Leviton 2359-W00 20A WR Duplex Receptacle (approx. $18) features UV-stabilized thermoplastic and nickel-plated brass terminals that resist outdoor corrosion far better than standard zinc-plated steel.
- Extra-Duty In-Use Cover: Swap out brittle plastic bubble covers for a die-cast aluminum option like the Taymac MX850S Extra-Duty In-Use Cover (approx. $28). It accommodates large plugs while maintaining a watertight seal and withstands physical impacts from landscaping equipment.
- Silicone Sealant: Use 100% exterior-grade silicone (e.g., GE Advanced Silicone 2, approx. $9) to seal the top and side flanges of the weatherproof box to the siding. Never seal the bottom flange; this weep hole allows internal condensation to drain.
- Conduit Sealing Resin: If moisture is entering via the conduit, use 3M Scotch-Seal 2135 Electrical Resin (approx. $45) to create a watertight dam inside the conduit run, preventing water migration from underground junction boxes.
Step-by-Step Diagnostic Workflow
Follow this precise sequence to isolate the fault safely. Always prioritize electrical safety and adhere to OSHA electrical safety guidelines when working with live circuits.
Step 1: Verify Upstream GFCI and Breaker Status
Before touching a screwdriver, walk your property and press the 'Reset' button on every indoor GFCI receptacle. If the outdoor outlet is on an AFCI/GFCI breaker, check the main panel for a tripped breaker. If the breaker trips immediately upon resetting, you have a hard ground fault (likely water in the box) and must proceed to Step 3.
Step 2: Test with the GFCI Receptacle Tester
Plug the Gardner Bender GFI-3501 into the outdoor outlet. If the lights indicate 'Correct', the outlet has power and proper grounding. If it reads 'Open Ground', moisture has likely corroded the bare copper ground wire connection. If there are no lights, the outlet is dead, and you must proceed to voltage testing.
Step 3: Isolate Power and Inspect the Box
Use your Circuit Breaker Finder to identify and turn off the correct breaker at the main panel. Verify the power is off using the Klein Tools NCVT-2 on the outlet slots. Once confirmed dead, use a #2 Phillips or flathead screwdriver to remove the in-use cover and extract the receptacle from the weatherproof box.
Step 4: Inspect for Corrosion and Wire Damage
Examine the brass terminal screws. If they are coated in green/white oxidation, the receptacle is compromised and must be replaced. Check the wire nuts; if they are cracked or if water has pooled inside the box, strip back the wire insulation by 1/2 inch using wire strippers to expose fresh, unoxidized copper before reconnecting to a new WR receptacle.
Step 5: Test Voltage at the Line Terminals
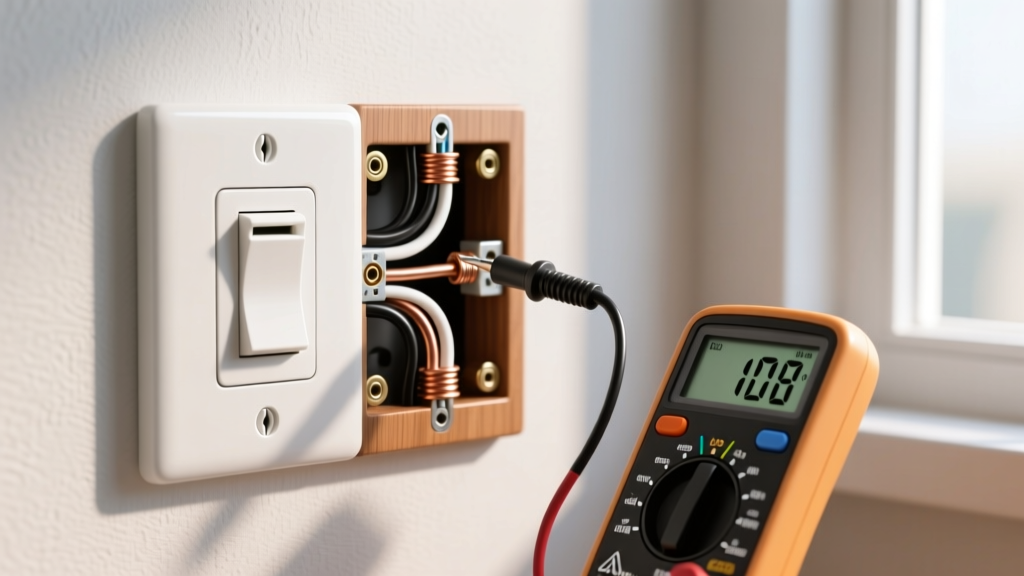
If the receptacle looks fine but has no power, turn the breaker back on. Carefully use your True-RMS Digital Multimeter (set to AC Voltage) to test between the black (hot) and white (neutral) wires pushed into the back of the box. If you read 120V here but the outlet was dead, the receptacle's internal contacts have failed. If you read 0V, the break in the circuit is further upstream in the conduit or at the indoor GFCI's LOAD terminals.
Frequently Asked Questions (FAQ)
Can I replace an outdoor outlet with a standard indoor receptacle?
No. The NEC strictly mandates that all outdoor receptacles in damp or wet locations be listed as Weather-Resistant (WR). WR receptacles utilize UV-resistant plastics and corrosion-resistant metal components. Using a standard indoor receptacle outside is a severe fire and shock hazard and will fail a home inspection.
Why does my outdoor outlet keep tripping the GFCI when it rains?
This indicates a failing seal on your in-use cover or a compromised conduit connection. Water is entering the box and creating a leakage path to ground. Upgrade to an extra-duty die-cast aluminum cover, apply fresh silicone to the mounting flanges, and ensure the conduit fittings are tightly sealed with electrical resin.
Do I need a weatherproof box if the outlet is under a covered porch?
Yes. Even under a covered porch, the area is classified as a 'damp location' by the NEC. While you may not need an 'in-use' bubble cover if the porch is fully enclosed and protected from driving rain, the receptacle box itself must be rated for damp locations, and the receptacle must still be WR and TR rated.