
The Modern Bathroom Dilemma: Powering Your Bidet Seat
The adoption of smart bidet seats has surged over the last few years, transforming standard bathrooms into modern wellness spaces. However, as homeowners unbox their new TOTO Washlet or BioBidet systems, they immediately encounter a pervasive structural flaw in older home design: the lack of a nearby power source. Installing a bidet electrical outlet is not as simple as plugging in a lamp; it requires navigating strict National Electrical Code (NEC) requirements, managing high-draw heating elements, and ensuring waterproof safety in a wet environment.
As of 2026, the average DIY materials cost for adding a single outlet is between $40 and $65, while professional electrician labor ranges from $180 to $350 depending on wall access. This guide breaks down the exact wiring scenarios, load calculations, and code requirements you need to know to install a bidet electrical outlet safely and legally.
NEC Code Requirements for a Bidet Electrical Outlet
Before cutting into any drywall, you must understand the rules governing bathroom circuits. The National Fire Protection Association (NFPA) outlines these rules in the NEC, which local municipalities adopt and enforce.
- Dedicated 20-Amp Circuit: Under NEC Article 210.11(C)(3), bathroom receptacles must be supplied by at least one 20-ampere branch circuit. This circuit can either supply only bathroom receptacles, or it can supply the entire bathroom (lights, fan, and receptacles) but cannot serve any other room.
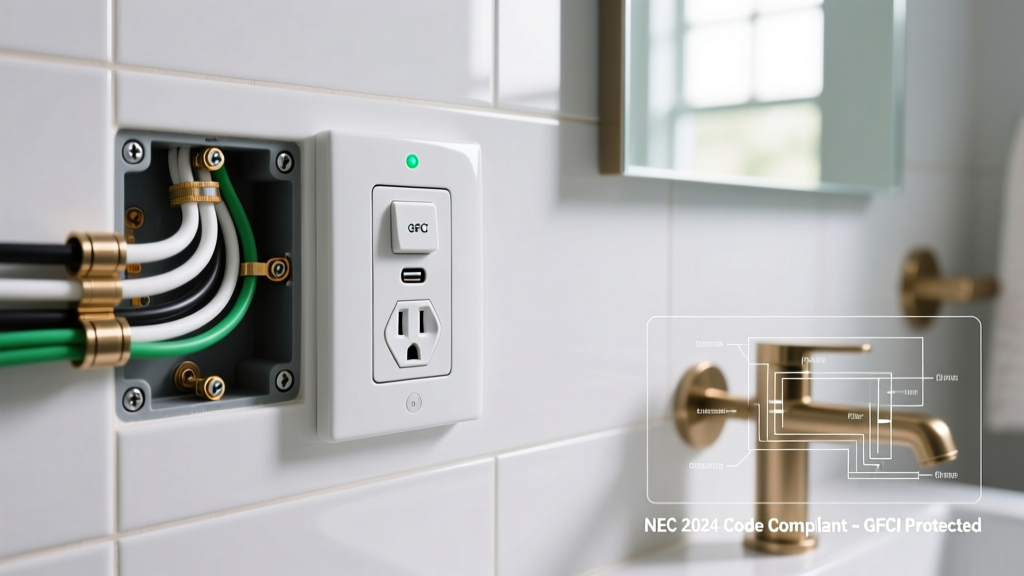
- GFCI Protection: NEC Article 210.8(A)(1) mandates that all 125-volt through 250-volt receptacles installed in bathrooms must have Ground-Fault Circuit-Interrupter (GFCI) protection. This is non-negotiable for a bidet electrical outlet.
- AFCI Protection: Depending on your local 2023 or 2026 NEC amendments, Arc-Fault Circuit-Interrupter (AFCI) protection may also be required for the entire bathroom circuit.
- Wet Zone Placement: While the NEC dictates strict 3-foot/8-foot zones around bathtubs and showers, toilet zones are less rigidly defined by code but strictly governed by manufacturer instructions. Keep the outlet at least 18 to 24 inches away from the toilet centerline to avoid direct splash exposure, while remaining within the 3.5 to 4-foot reach of the bidet's power cord.
Safety Warning: Never install a standard, non-GFCI outlet for a bidet. The Consumer Product Safety Commission (CPSC) strongly emphasizes that GFCI protection is critical in areas where water and electricity intersect to prevent fatal electrocution.
Bidet Power Draw and Circuit Load Calculations
Smart bidets draw significant power, primarily due to the instant water heater and the heated seat. If you tap into an existing circuit, you must ensure you will not overload the breaker when the bidet and hair dryer are used simultaneously.
| Bidet Model | Max Wattage | Amp Draw (at 120V) | Circuit Impact |
|---|---|---|---|
| TOTO Washlet C5 | 1200W | 10.0 Amps | Moderate (50% of 20A circuit) |
| BioBidet Bliss BB2000 | 1000W | 8.3 Amps | Moderate (41% of 20A circuit) |
| Brondell Swash 1400 | 1200W | 10.0 Amps | Moderate (50% of 20A circuit) |
| Standard Hair Dryer | 1875W | 15.6 Amps | High (78% of 20A circuit) |
The Takeaway: A bidet drawing 10 amps leaves only 10 amps of headroom on a 20-amp circuit (NEC recommends keeping continuous loads under 80%, or 16 amps). If someone turns on a 15-amp hair dryer while the bidet's water heater is actively heating, the breaker will trip. Therefore, tapping an existing bathroom receptacle is viable, but users must be educated about simultaneous high-draw appliance usage.
Wiring Scenario 1: Tapping an Existing Bathroom Receptacle
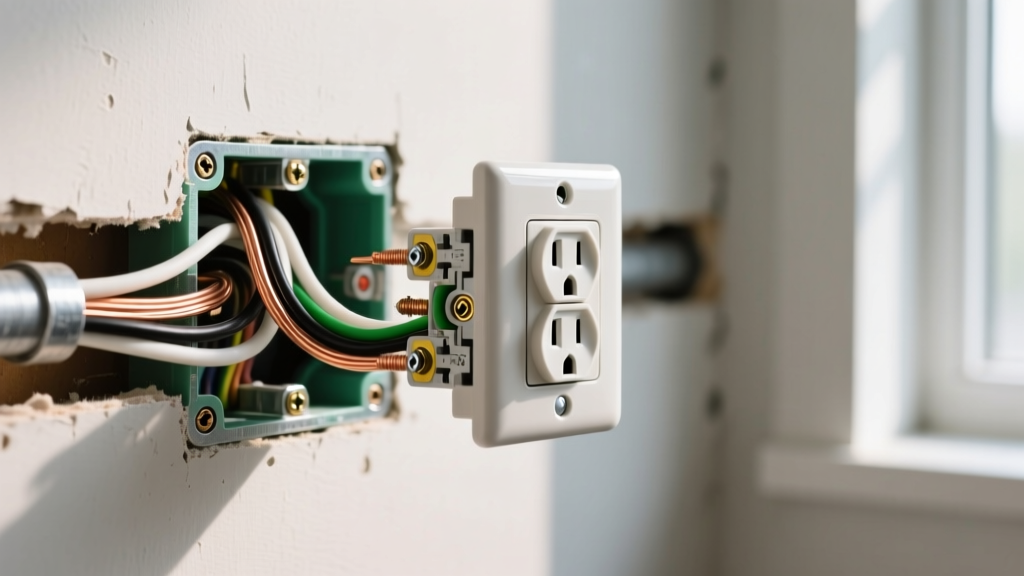
This is the most common and cost-effective scenario. If your bathroom already has a GFCI-protected 20-amp receptacle on an adjacent or opposite wall, you can fish a new 12/2 NM-B (Romex) cable through the wall cavity to a new junction box behind the toilet.
Tools and Materials Required
- 12/2 NM-B Copper Wire (approx. $0.65 per foot)
- Leviton GFNT2-W 20-Amp Tamper-Resistant GFCI (approx. $22)
- Old-work (remodel) single-gang deep junction boxes
- Non-contact voltage tester and digital multimeter
- Wire strippers, lineman's pliers, and yellow wire nuts
- Flexible fish tape or glow rods for wall cavities
Pro-Tip: Use a deep junction box. Bidet electrical outlets require multiple wire connections (pigtails), and standard shallow boxes will make pushing the stiff 12-gauge wires into the wall a frustrating nightmare.
Wiring Scenario 2: Running a Dedicated Line from the Panel
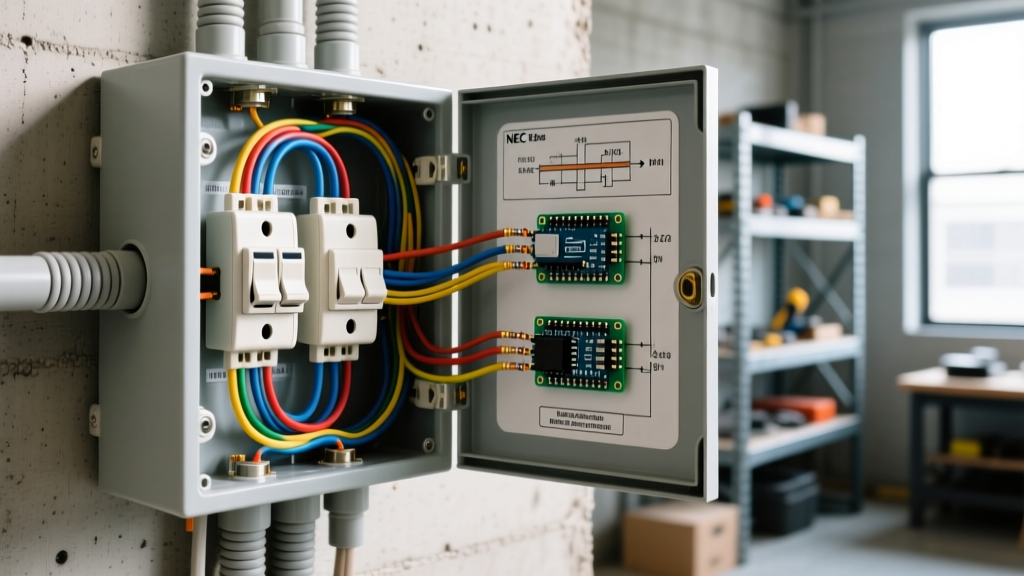
If your home was built before 1990, your bathroom might only have a 15-amp circuit shared with the lighting, or the existing receptacles might be on a circuit shared with a bedroom (which violates modern code). In this scenario, you cannot tap an existing outlet. You must run a new, dedicated 20-amp circuit from your main breaker panel.
- Install a new 20-Amp single-pole AFCI/GFCI dual-function breaker in your panel (approx. $45).
- Run 12/2 NM-B wire from the panel, through the basement or attic, and down the wall cavity behind the toilet.
- Terminate the wire directly into a new 20-Amp GFCI receptacle.
This scenario is labor-intensive and often requires cutting drywall patches to route the cable around fire blocks and plumbing vents. Expect to spend $50 in materials and a full weekend on labor.
Step-by-Step: Installing the GFCI Outlet (The Pigtail Method)
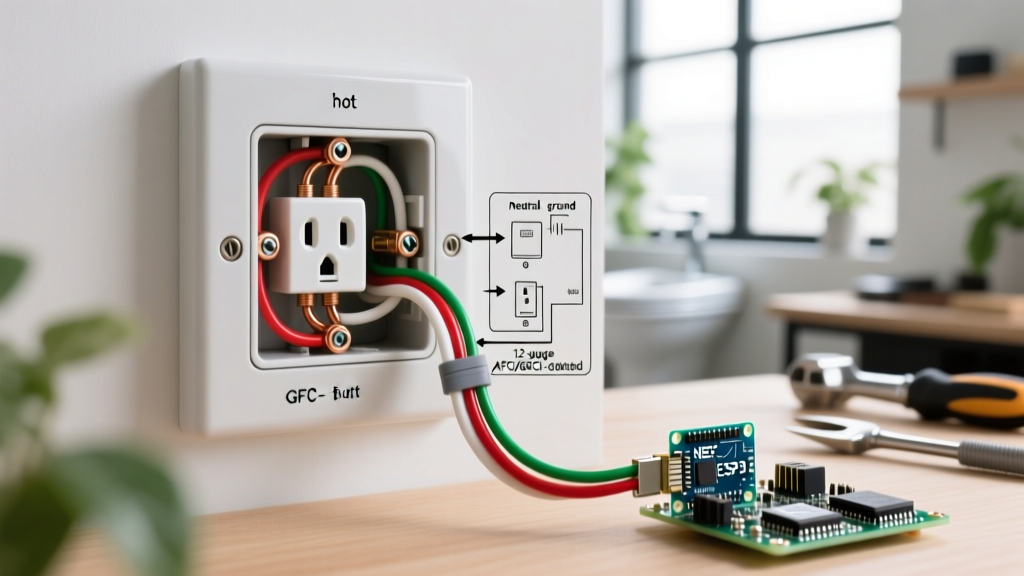
When adding a bidet electrical outlet downstream from an existing GFCI, how you wire the terminals dictates how the system behaves. Many DIYers incorrectly wire the new outlet to the 'LOAD' terminals of the existing GFCI. If the upstream GFCI trips, the bidet loses power and stops functioning, which is highly undesirable. Instead, use the Pigtail Method on the 'LINE' terminals to keep the bidet independent.
- Kill the Power: Turn off the 20-amp bathroom breaker and verify zero voltage at the existing outlet using a non-contact tester and a multimeter.
- Remove the Existing GFCI: Unscrew the upstream GFCI and pull it out. Identify the LINE wires (power coming from the panel).
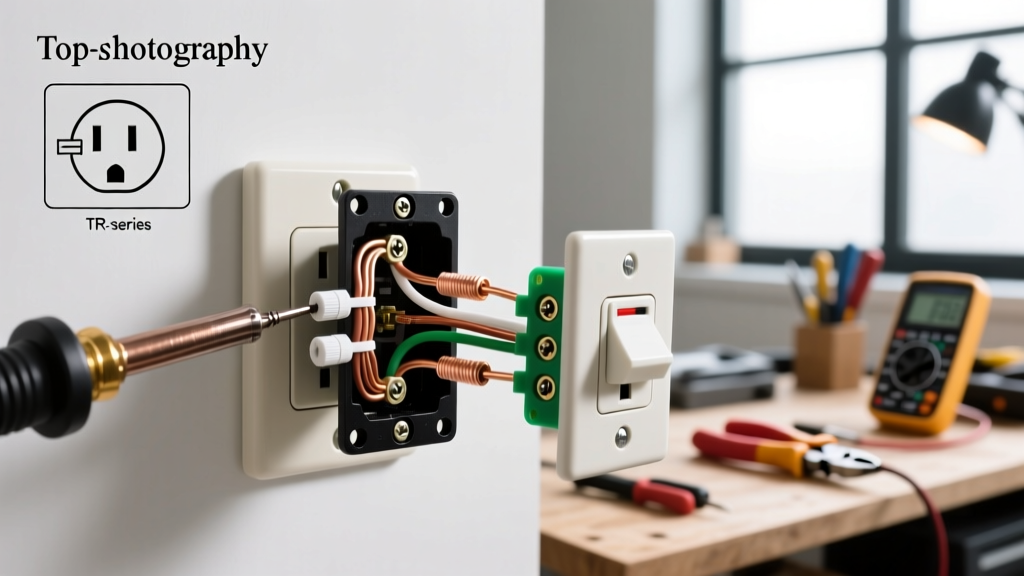
- Strip and Prepare Pigtails: Cut three 6-inch pieces of 12 AWAW solid copper wire (black, white, and bare copper). Strip 3/4 inch of insulation from both ends.
- Connect the Grounds: Join the incoming bare ground, the outgoing ground to the bidet outlet, and your ground pigtail using a yellow wire nut. Attach the other end of the pigtail to the green ground screw on the upstream GFCI.
- Connect the Neutrals: Join the incoming white wire, the outgoing white wire, and your white pigtail. Attach the pigtail to the silver LINE terminal (do not use the LOAD terminal).
- Connect the Hots: Join the incoming black wire, the outgoing black wire, and your black pigtail. Attach the pigtail to the brass LINE terminal.
- Terminate the Bidet Outlet: At the new outlet location behind the toilet, wire the black, white, and bare wires to the corresponding LINE terminals on the new Leviton 20A GFCI. (Since this is the end of the run, you only use the LINE terminals on the new outlet).
Common Mistakes and Edge Cases
- Line/Load Reversal: If you wire the incoming power to the LOAD terminals on your new GFCI, the outlet will not have power, and the internal GFCI protection will fail to function. Always connect incoming power to LINE.
- Using 14-Gauge Wire on a 20-Amp Circuit: 14 AWG wire is rated for 15 amps. Using it on a 20-amp bathroom circuit is a severe fire hazard and an automatic code violation. Always use 12 AWG (12/2 NM-B) for 20-amp circuits.
- Extension Cords: Running an extension cord across the bathroom floor to power a bidet is a massive trip hazard and violates UL safety listings. Bidet manufacturers will void your warranty if damage occurs due to extension cord usage.
Frequently Asked Questions
Does a bidet outlet need to be Weather-Resistant (WR)?
Under the NEC, a Weather-Resistant (WR) rating with a while-in-use cover is required for outdoor damp/wet locations. For an indoor bathroom bidet outlet, a standard Tamper-Resistant (TR) GFCI is sufficient, provided it is not located inside the direct splash zone of the shower or tub. However, if the outlet is positioned low to the floor where mopping water frequently pools, upgrading to a WR-rated GFCI is a smart defensive measure.
Can I tap into the bathroom light switch to power my bidet?
No. Light switches are typically wired with 14-gauge or 12-gauge wire, but they are part of a lighting circuit that may be on a 15-amp breaker. Furthermore, a switch loop does not contain a neutral wire (unless specifically pulled for smart switches), which a 120V bidet receptacle absolutely requires to complete the circuit. Always tap from an existing receptacle or run a new dedicated line.