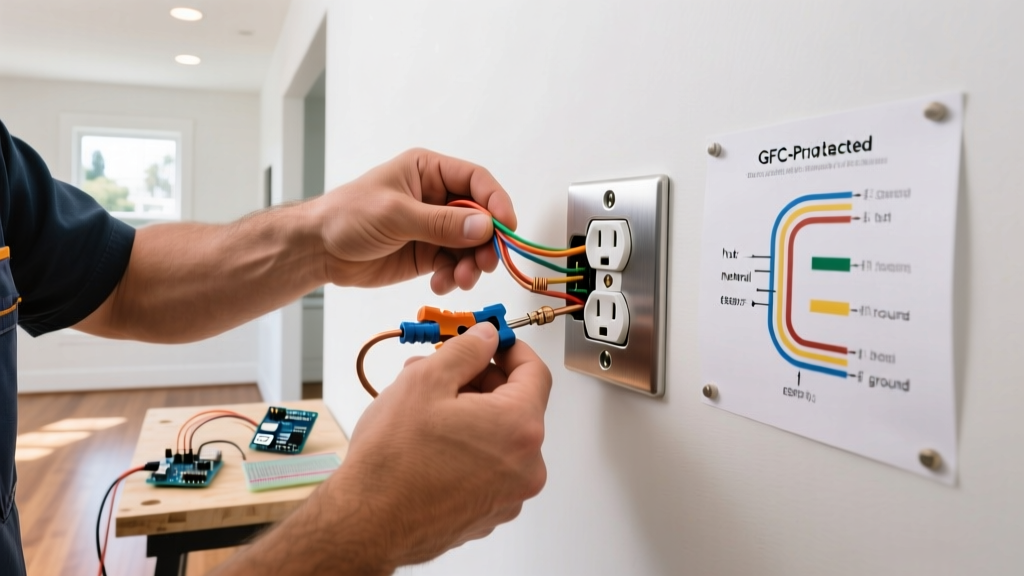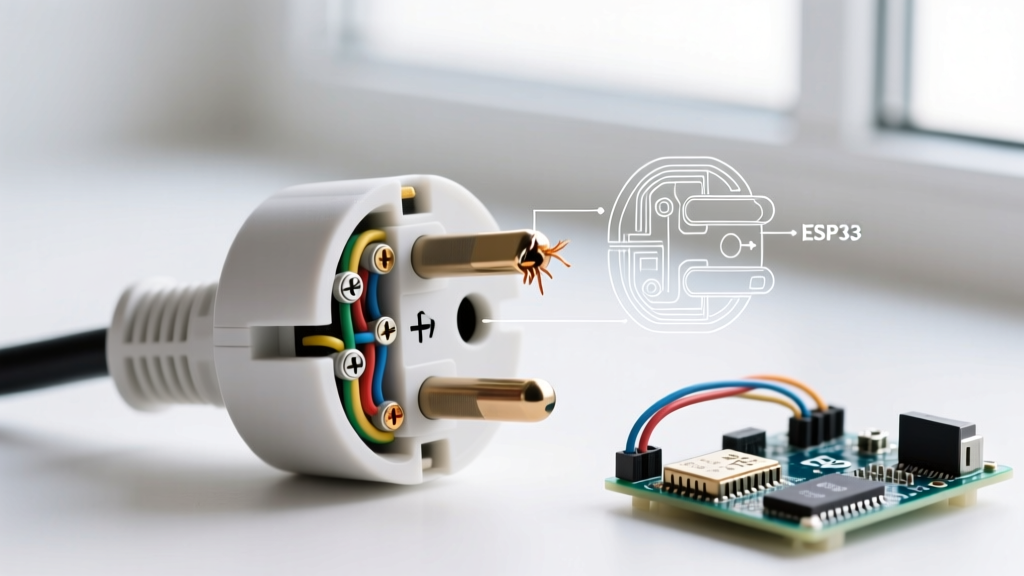

The Hidden Dangers of Faulty Electric Plug Wiring
When a heavy-duty extension cord, portable generator cable, or power tool suddenly fails, the issue rarely lies within the continuous copper conductors of the cord itself. In 2026, with the widespread integration of highly sensitive AFCI (Arc-Fault Circuit Interrupter) and GFCI breakers in modern electrical panels, even microscopic wiring faults in male attachment plugs will instantly trip a circuit. Troubleshooting electric plug wiring requires moving beyond simple visual inspections to understand the electromechanical failure modes of NEMA configurations.
A Critical Terminology Note: In the National Electrical Code (NEC), a 'plug' strictly refers to the male attachment device at the end of a flexible cord (e.g., NEMA 5-15P), while the 'receptacle' or 'outlet' is the female contact device mounted to a wall or panel. This diagnostic guide focuses exclusively on the male plug end of the circuit.
Diagnostic Matrix: Symptoms vs. Probable Causes
Before opening the plug housing, correlate the external symptoms with the likely internal failure. Use this matrix to guide your diagnostic approach.
| Symptom Observed | Probable Internal Fault | Primary Diagnostic Tool |
|---|---|---|
| AFCI breaker trips immediately upon plugging in | Internal short circuit; exposed copper strands bridging hot and neutral terminals | Visual inspection & Multimeter (Continuity) |
| Plug face or prongs feel hot to the touch / melted plastic | High-resistance connection; loose terminal screws or oxidation on brass blades | Infrared Thermometer & Visual Inspection |
| Device works, but GFCI trips or chassis is 'tingly' | Reversed polarity (hot/neutral swapped) or floating ground wire | Receptacle Tester & Multimeter (Voltage) |
| Intermittent power loss when cord is wiggled | Strain relief failure; conductors pulled loose from terminal plates | Multimeter (Continuity under physical stress) |
Failure Mode 1: Thermal Runaway and Melted Prongs
One of the most common and dangerous electric plug wiring failures is thermal runaway at the terminal connections. This typically manifests as melted PVC housing around the hot (brass) blade. According to the Consumer Product Safety Commission (CPSC), damaged or high-resistance cord connections are a leading catalyst for residential and commercial electrical fires.
The Physics of the Melt
When a terminal screw on a standard 15A plug (like the widely used Leviton 5266-C) is under-torqued, or when the wire insulation is accidentally trapped under the terminal plate, the contact resistance increases. Even a minor increase to 0.5 ohms at a 12-amp continuous load generates roughly 72 watts of heat (P = I²R) directly inside the plug housing. This heat softens the thermoplastic shell, allowing the prongs to shift, which further degrades the connection in a destructive feedback loop.
How to Diagnose and Prevent
- Strip Length Precision: The most common DIY error is stripping too much or too little wire. For standard NEMA 5-15P and 5-20P plugs, strip exactly 3/4 inch (19mm) of insulation. If stripped too short, the insulation binds under the screw plate, preventing copper-to-brass contact. If stripped too long, exposed copper can arc to the adjacent neutral terminal.
- Loop Direction: The wire must be looped clockwise around the terminal screw. As the screw tightens, it should pull the loop closed. A counter-clockwise loop will push the wire out from under the plate as torque is applied.
- Blade Inspection: Check the brass blades for pitting or black oxidation. Oxidation acts as an insulator. Lightly burnish the blades with 400-grit sandpaper if they are dull, but replace the plug entirely if the brass shows deep pitting or blue heat-stress marks.
Failure Mode 2: Polarity and Grounding Reversals
With the universal adoption of polarized plugs (where the neutral blade is 5/16 inch wide and the hot blade is 1/4 inch wide), physical reversal at the plug face is impossible. However, internal wiring reversal during a field-attachable plug replacement is incredibly common.
Diagnosing Polarity Faults
If a device operates but exhibits strange behavior (e.g., a lamp's threaded socket is energized, posing a shock hazard during bulb changes), the plug is likely miswired. You cannot diagnose this with a simple visual check if the plug housing is opaque.
- Set your digital multimeter (e.g., Fluke 117 or Klein Tools MM400) to AC Voltage (V~).
- Plug the cord into a known-good, properly wired receptacle.
- Probe the female end of the cord. Place the black probe on the wider slot (neutral) and the red probe on the narrower slot (hot).
- If the meter reads a negative voltage (or if you are using a non-polarized analog tester and get unexpected continuity), the hot and neutral wires are swapped at the male plug's internal brass and silver screws.
Expert Warning: Never rely solely on the color of the flexible cord's outer jacket or internal wire insulation to determine polarity in older or imported cords. While modern SJT cords use Black (Hot), White (Neutral), and Green (Ground), older cords may use unconventional color codes or feature two identical black conductors with a ribbed edge indicating neutral. Always test for continuity from the specific prong to the wire end before terminating.
Failure Mode 3: Strain Relief and Mechanical Pull-Out
Flexible cords are subjected to immense physical abuse. As noted in OSHA Standard 1910.305 regarding wiring methods, flexible cords must be connected to devices and fittings so that strain relief is provided to prevent pull from being transmitted to joints or terminal screws. If a cord pulls out of a plug, it is a catastrophic failure of the strain relief mechanism.
Evaluating the Grip
Standard residential plugs use a simple screw-down clamp over the cord jacket. This is insufficient for 12 AWG or 10 AWG heavy-duty cords. For high-amperage applications (like a NEMA L14-30P generator plug), you must use an industrial plug with an internal mesh grip or a separate cord connector (like the Hubbell 4578).
- The Tug Test: After wiring, apply 35 pounds of straight-line pull force to the cord. If the outer jacket shifts even a millimeter relative to the plug housing, the strain relief has failed.
- Jacket Penetration: The strain relief clamp must bite into the outer jacket of the cord, never the individual internal wire insulation. If the outer jacket is stripped back too far, the clamp will crush the delicate copper strands of the hot/neutral wires, creating a hidden high-resistance fault that will fail weeks later.
Molded vs. Field-Attachable Plugs: When to Abandon Repair
In 2026, the vast majority of consumer electronics and light-duty extension cords feature factory-molded PVC plugs. These are sonically welded and injected around the terminals. You cannot safely troubleshoot or repair the internal wiring of a molded plug. If a molded plug exhibits melted plastic, bent prongs, or internal continuity faults, the only safe repair is to cut off the molded plug and install a high-quality field-attachable replacement.
When selecting a replacement, match the NEMA configuration and amperage exactly. Upgrading a 15A cord to a 20A plug (NEMA 5-20P) does not increase the cord's capacity; it merely creates a false sense of security and may violate NEC Article 240 if the downstream breaker is not sized to protect the 14 AWG wire.
Step-by-Step Multimeter Diagnostic Workflow
Follow this exact sequence to definitively diagnose a suspect electric plug wiring job on a standard 3-prong (NEMA 5-15P) cord:
- Visual & Physical Check: Inspect prongs for bending or oxidation. Tug the cord firmly to verify strain relief integrity.
- Continuity Test (Unplugged): Set multimeter to Ohms (Ω) or Continuity. Probe the male Hot blade to the female Hot slot. Expect <0.5Ω. Repeat for Neutral and Ground. Any reading of 'OL' (Open Line) indicates a broken conductor or loose terminal.
- Short Circuit Test (Unplugged): Probe between the male Hot blade and Neutral blade. The meter must read 'OL'. Any resistance reading indicates an internal short—immediately cut the plug off.
- Ground Integrity Test: Probe the male Ground pin to the female Ground slot. Ensure a solid connection. A floating ground will prevent GFCI protection from functioning correctly on the attached tool.
By adhering to these precise diagnostic steps and understanding the mechanical realities of terminal connections, you can eliminate the hidden fire hazards associated with degraded cord ends and ensure your equipment operates safely within modern electrical codes.