
The True Cost of Installing Outdoor Electrical Outlets in 2026
As outdoor living spaces, smart landscaping, and EV charging setups continue to surge in popularity throughout 2026, the demand for exterior power has never been higher. But what is the actual cost of installing an outdoor electrical outlet? If you hire a licensed electrician, the national average ranges from $450 to $950, depending on the complexity of the wire run and local labor rates (which currently average $95 to $150 per hour). However, for the motivated DIYer willing to follow strict National Electrical Code (NEC) guidelines, the cost drops dramatically to between $95 and $180 for materials alone.
This guide bridges the gap between budgeting and execution. We will break down the exact material costs, explore the hidden expenses that catch homeowners off guard, and provide a beginner-friendly, code-compliant installation tutorial to help you safely add exterior power to your property.
Pro vs. DIY Cost Breakdown Matrix
Understanding where your money goes is the first step in deciding whether to pick up a shovel or pick up the phone. Below is a realistic 2026 cost matrix for a standard 50-foot circuit run from your main panel to a backyard patio.
| Expense Category | DIY Cost (Materials Only) | Pro Electrician Cost (Labor + Materials) | Notes & Variables |
|---|---|---|---|
| Wire & Conduit | $65 - $90 | $150 - $220 | Based on 50ft of 12/2 UF-B and Schedule 40 PVC. |
| Receptacle & Cover | $18 - $25 | $45 - $65 | Must be Weather-Resistant (WR) with an in-use cover. |
| Breaker (Dual Function) | $55 - $65 | $120 - $160 | AFCI/GFCI combo breakers are now standard in many 2026 jurisdictions. |
| Labor & Trenching | $0 (Your Sweat Equity) | $250 - $500 | Pros charge heavily for manual trenching and concrete cutting. |
| Total Estimated Cost | $138 - $180 | $565 - $945 | DIY saves up to 80%, but requires strict code adherence. |
Essential Materials for a Code-Compliant DIY Install
To pass inspection and ensure safety, you cannot use standard indoor components outdoors. The National Fire Protection Association (NFPA) mandates specific weather-resistant and fault-protected materials. Here is your exact shopping list:
- Southwire 12/2 UF-B Cable (50ft): ~$55.00. Underground Feeder cable is required for direct burial. Do not use standard indoor Romex (NM-B) outdoors.
- Leviton 5262-W Weather-Resistant (WR) Receptacle: ~$4.50. Look for the 'WR' stamp on the yoke. Standard outlets will corrode and fail within a single season.
- Taymac MM540C Extra Duty In-Use Cover: ~$14.00. NEC Article 406.9 requires an extra-duty cover that allows a cord to be plugged in while the lid is fully closed.
- Square D HOM120DF Dual Function Breaker: ~$58.00. Combines Arc Fault (AFCI) and Ground Fault (GFCI) protection in one breaker, satisfying modern NEC requirements for outdoor branch circuits.
- Carlon 1/2-inch Schedule 40 PVC Conduit & Fittings: ~$25.00. UF-B cable must be protected by conduit wherever it emerges from the ground up to at least 8 feet above grade.
Step-by-Step Beginner Installation Tutorial
Saving $600 on labor is highly achievable if you respect the physics of electricity and the rules of the NEC. Always check with your local building department; most municipalities require a permit for new circuit runs.
Step 1: Planning the Route and Trenching
The most labor-intensive part of the job is trenching. According to NEC Table 300.5, direct-buried UF-B cable on a 120V, 20A GFCI-protected circuit must be buried at a minimum depth of 18 inches. If you opt not to use GFCI protection (not recommended and often illegal for outdoors), the trench must be 24 inches deep.
- Call 811 before you dig to have utility lines marked. This is free and legally required.
- Dig an 18-inch deep trench from your main panel to the outlet location.
- Where the cable emerges from the ground, install a PVC sweep elbow and run Schedule 40 PVC conduit up the exterior wall to the mounting height (typically 18 to 48 inches above grade).
Step 2: Running the UF-B Cable
Feed the 12/2 UF-B cable through the PVC conduit and into the trench. Lay the cable flat in the dirt; do not pull it taut. Leave a few inches of slack at both the panel and the receptacle end to accommodate future ground settling. Backfill the trench with 2 inches of sand or screened soil before covering it with dirt to protect the cable sheath from sharp rocks.
Step 3: Wiring the Weatherproof Box
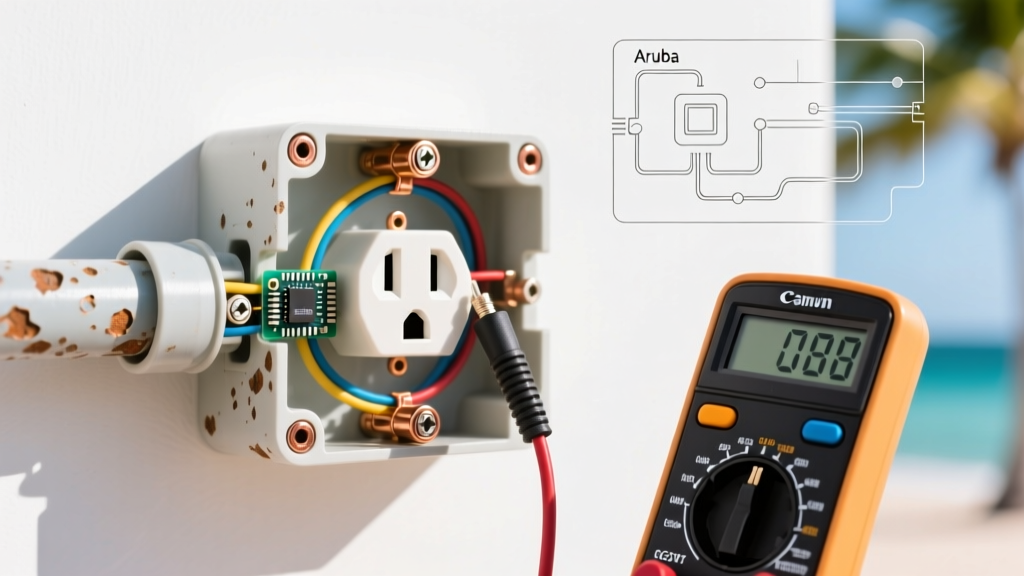
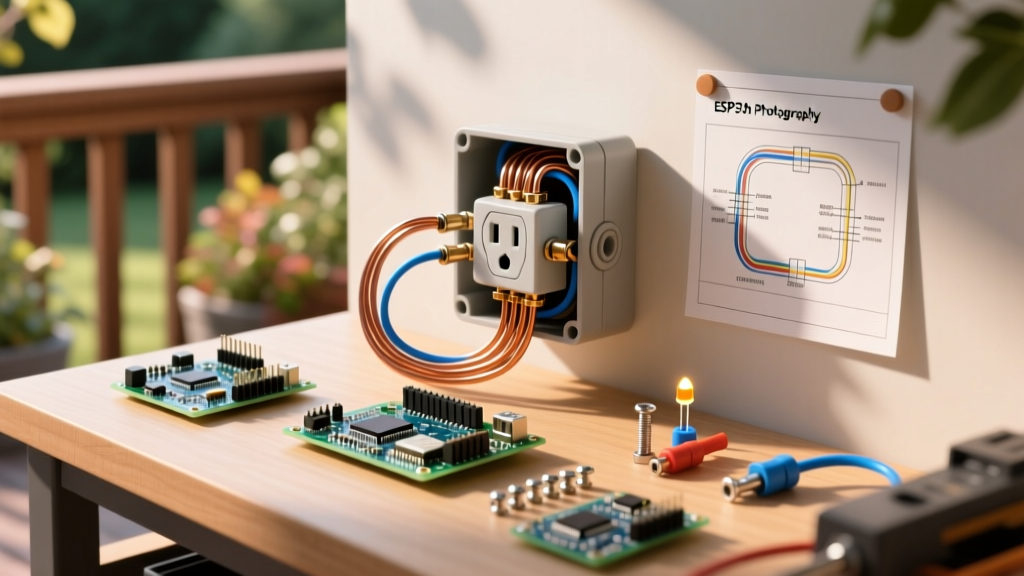
Mount a weatherproof exterior box to your siding or masonry. Strip the UF-B sheath back 3/4 of an inch, and strip the individual wire insulation back 1/2 of an inch.
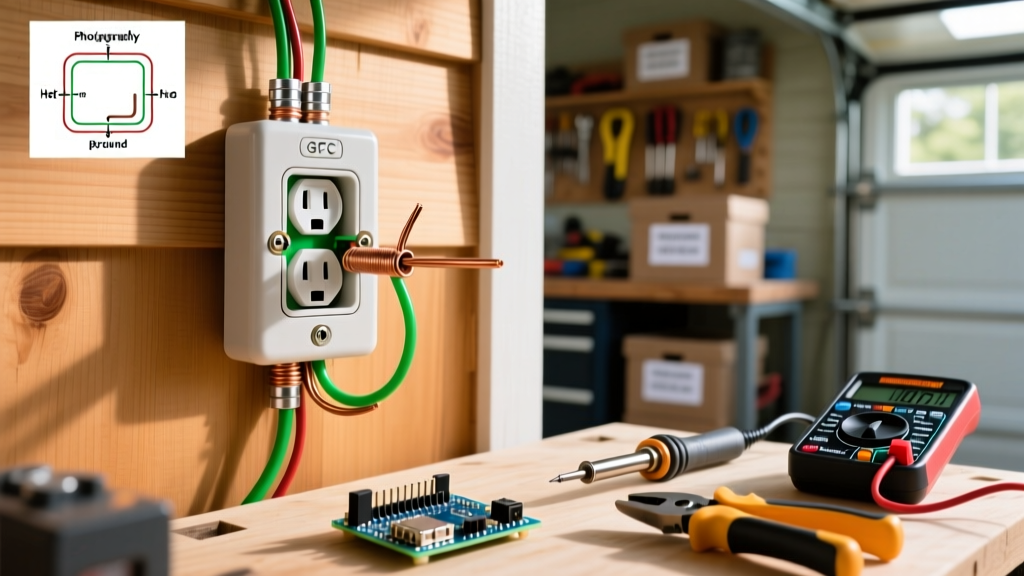
- Ground (Bare Copper): Connect to the green grounding screw on the box and the green screw on the Leviton WR receptacle. Use a wire nut to pigtail the grounds if necessary.
- Neutral (White): Connect to the silver terminal screw.
- Hot (Black): Connect to the brass terminal screw.
Pro Tip: Wrap the wires clockwise around the terminal screws so that tightening the screw pulls the wire loop tighter. Ensure no bare copper is exposed outside the terminal.
Step 4: Panel Connection and Testing
WARNING: Turn off the main breaker before opening your electrical panel. The U.S. Consumer Product Safety Commission (CPSC) warns that the main lugs in a panel remain lethal even when the main breaker is off if utility power is active. Proceed with extreme caution.
Install the Square D Dual Function breaker into an open slot. Connect the white pigtail to the neutral bar, the bare copper to the ground bar, and the black circuit wire to the breaker terminal. Turn the main power back on, flip the new breaker on, and test the receptacle with a standard $15 outlet tester to verify correct wiring and GFCI function.
Hidden Costs and Edge Cases to Anticipate
Budgeting for a DIY project often fails to account for edge cases. Be prepared for the following scenarios:
- Concrete Obstructions: If your trench must cross a concrete driveway or sidewalk, you will need to rent a concrete saw ($65/day) or hire a specialist to directional bore under the concrete ($300+).
- Panel Capacity Issues: Adding a 20A circuit requires physical space in your panel and sufficient amperage headroom. If your panel is maxed out (common in older 100A homes), a panel upgrade to 200A will cost between $1,800 and $3,500.
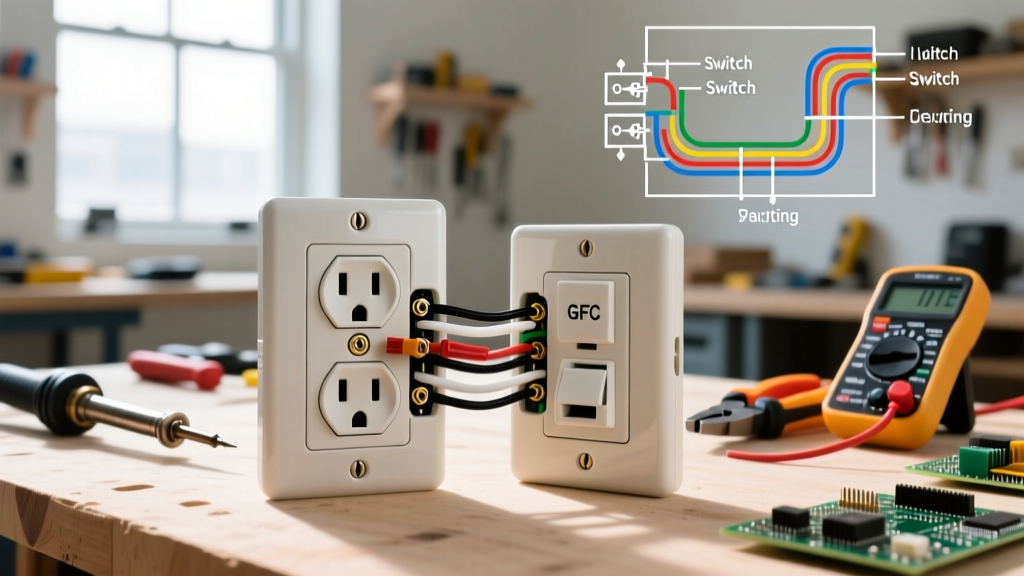
- Smart Home Integration: If you plan to use the outlet for holiday lighting or landscape features, consider upgrading to a smart outdoor plug or installing a smart switch indoors that controls the exterior circuit, adding $25 to $50 to your material costs.
When to Abandon DIY and Hire a Licensed Electrician
Safety First: The U.S. Department of Energy strongly advises that any electrical work involving main panel modifications be performed by a licensed professional if you lack foundational electrical training. Electricity is unforgiving, and improper grounding outdoors can lead to lethal shock hazards in wet conditions.
You should immediately pivot to hiring a professional if:
- Your home has a Federal Pacific, Zinsco, or Challenger panel (these are known fire hazards and require full replacement).
- You do not own or cannot safely operate a non-contact voltage tester and a digital multimeter.
- The wire run exceeds 100 feet, which introduces voltage drop calculations that require upsizing to 10 AWG or 8 AWG wire.
- Your local municipality strictly prohibits homeowner permits for new exterior branch circuits.
Frequently Asked Questions
Do I need a GFCI breaker if the outdoor outlet is GFCI protected?
You only need GFCI protection at one point in the circuit. You can either use a GFCI breaker in the main panel OR a GFCI receptacle at the first outlet in the chain. However, using a Dual Function (AFCI/GFCI) breaker at the panel is highly recommended for outdoor circuits in 2026, as it protects the entire buried wire run from arc faults caused by shovel strikes or rodent damage.
Can I run an outdoor outlet off an existing indoor circuit?
Technically, yes, provided the indoor circuit is not a dedicated appliance line (like a kitchen or bathroom) and has the capacity. However, you must still upgrade the breaker to a GFCI/AFCI combo if the existing one isn't, and you must ensure the indoor wiring transitions properly to UF-B or THWN in conduit before exiting the structure. Running a dedicated new circuit from the panel is always the cleaner, safer, and more code-compliant route.
How much does it cost to add a 240V outdoor outlet for an EV or hot tub?
The cost of installing a 240V outdoor outlet is significantly higher, typically ranging from $800 to $2,500 professionally. This requires thicker gauge wire (like 6/3 UF-B or THWN in conduit), a double-pole breaker, and a completely different receptacle type (such as a NEMA 14-50). This is strictly an advanced project and usually requires a dedicated permit and inspection.