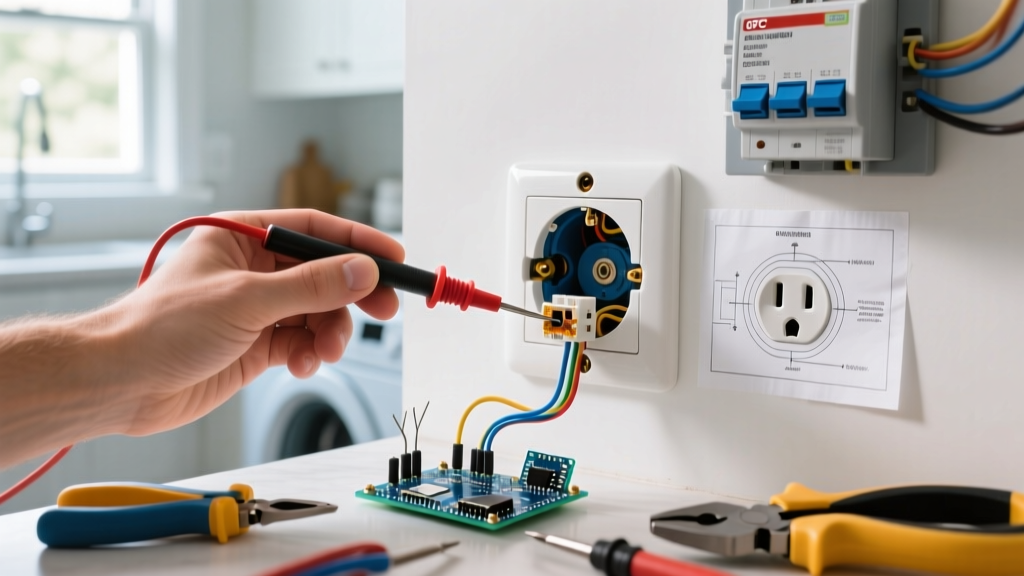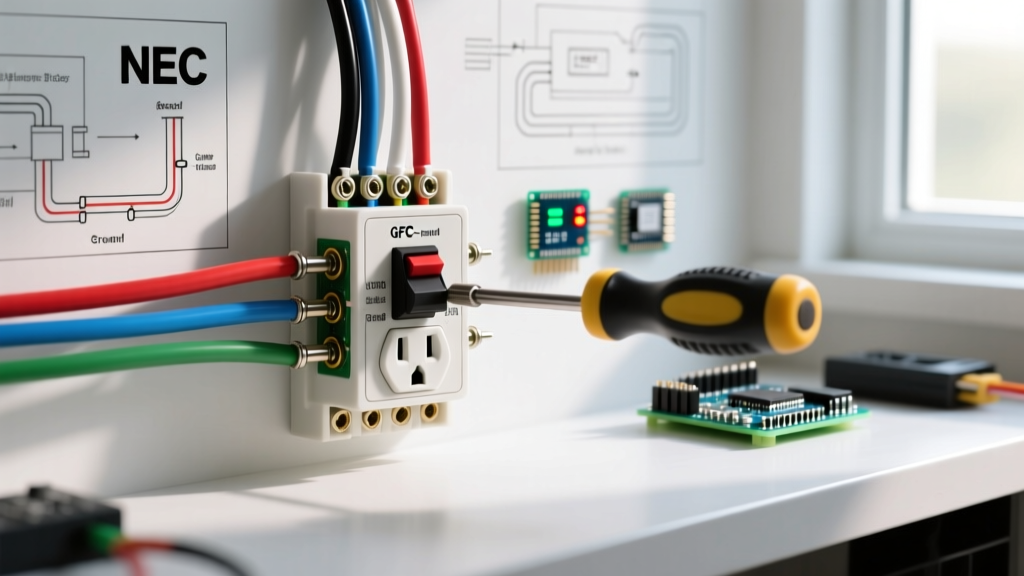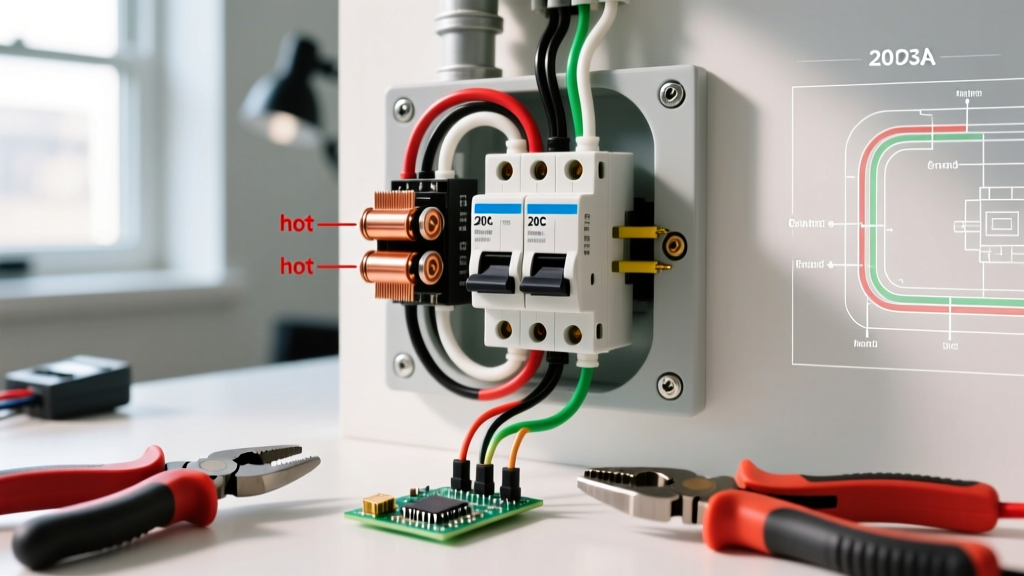

Why Install a Dedicated Electrical Outlet with Breaker?
Standard residential circuits typically string multiple receptacles and lights together on a single 15-amp or 20-amp breaker. While this is perfectly fine for general lighting and low-draw electronics, it becomes a severe fire hazard and nuisance when powering high-amperage equipment. Installing a dedicated electrical outlet with breaker ensures that heavy-draw appliances—such as workshop table saws, air compressors, window AC units, or EV chargers—have an uninterrupted, isolated power supply. This prevents voltage drops, eliminates nuisance tripping, and strictly adheres to the National Electrical Code (NEC) requirements for continuous loads.
As of the 2026 NEC adoption cycle, local jurisdictions are heavily scrutinizing dedicated circuits for home workshops and garages. This guide provides a master-class, step-by-step walkthrough for installing a 20-amp dedicated circuit, from the main service panel to the final receptacle termination.
CRITICAL SAFETY NOTICE: Working inside a main electrical panel exposes you to lethal voltage, even when the main breaker is turned off. The utility lugs remain energized. If you are not comfortable with panel-level work, hire a licensed electrician. Always verify zero voltage with a calibrated CAT III or CAT IV multimeter before touching any bus bars. For more on electrical safety standards, refer to the Occupational Safety and Health Administration (OSHA) guidelines.
Bill of Materials (BOM) & 2026 Cost Breakdown
Before pulling any wire, ensure you have commercial-grade materials. Builder-grade receptacles ($1.50) suffer from loose internal contacts that cause arcing under heavy loads. Always use Commercial Spec Grade or Industrial Grade components.
| Component | Specific Model / Specification | Est. Cost (2026) |
|---|---|---|
| Circuit Breaker | Square D HOM120 (20A Single-Pole) | $7.50 |
| Cable | Southwire 12/2 NM-B (Solid Copper) | $0.85 / ft |
| Receptacle | Leviton 5362-W (20A Commercial Duplex) | $5.25 |
| Wall Plate | Leviton 80414-W (Nylon 1-Gang) | $1.10 |
| Protection | Steel Nail Plates & 1/2' Romex Staples | $8.00 |
| Total (50ft run) | Complete Dedicated Circuit Kit | ~$65.00 |
NEC Location Matrix: Standard vs. AFCI vs. GFCI Breakers
Not every dedicated electrical outlet with breaker uses a standard thermal-magnetic breaker. The NEC mandates specific protection based on the room's classification. Use this matrix to select the correct breaker for your panel:
| Installation Location | NEC 2023/2026 Requirement | Required Breaker Type |
|---|---|---|
| Garage / Unfinished Basement | GFCI Protection (210.8) | GFCI Breaker OR GFCI Receptacle |
| Bedroom / Living Room | AFCI Protection (210.12) | Combination AFCI Breaker |
| Dedicated Workshop / Kitchen | Standard (unless near sink/wet) | Standard 20A Thermal-Magnetic |
Phase 1: Main Panel Breaker Installation
The most critical phase of the installation happens at the service panel. A poorly terminated neutral or an under-torqued hot wire will cause thermal buildup and eventual melting of the bus bar.
Step 1: De-energize and Verify
- Turn off the main utility breaker at the top of the panel.
- Use a non-contact voltage tester (e.g., Klein NCVT-3) on a known live source to verify the tester works, then test the branch circuit bus bars to confirm they are dead.
- Remember: The thick utility cables entering the main lugs at the top of the panel remain live. Do not touch them.
Step 2: Route the 12/2 NM-B into the Panel
Feed the 12/2 cable through a 3/4-inch knockout using a Romex connector (cable clamp). Tighten the locknut and screw down the clamp so the cable cannot be pulled. Leave at least 8 inches of slack inside the panel.
Step 3: Land the Ground and Neutral
- Ground: Strip 3/4 inch of insulation from the bare copper ground wire. Land it on the equipment grounding bar. Torque to 20 in-lbs.
- Neutral: Strip 3/4 inch of insulation from the white wire. Land it on the neutral bus bar. Pro-Tip: In a main service panel, the neutral and ground bars are bonded. However, if you are wiring this dedicated outlet from a subpanel, the neutral must go to the isolated neutral bar, never the ground bar. Mixing them in a subpanel creates a dangerous parallel neutral path.
Step 4: Seat the Breaker and Terminate Hot
Strip 3/4 inch of insulation from the black (hot) wire. Form a slight J-hook in the copper. Hook it clockwise around the breaker's terminal screw so that tightening the screw pulls the wire loop tighter, rather than pushing it out. According to NFPA and UL standards, you must torque the screw to the manufacturer's specification—typically 20 in-lbs for #12 AWG wire on Square D HOM breakers. Snap the breaker firmly into the bus bar stab.
Phase 2: Routing and Protecting the Cable
Running wire through studs requires adherence to strict physical protection codes to prevent drywall screws from piercing the jacket and causing a short circuit.
Drilling and Setback Rules
Use a 3/4-inch spade bit or auger bit to drill through the center of the wooden studs. The NEC (Article 300.4) mandates that holes must be bored at least 1.25 inches from the face of the stud. If your framing is older or warped and you cannot maintain this 1.25-inch setback, you must install a 1/16-inch thick steel nail plate over the face of the stud to protect the cable from drywall fasteners.
Stapling and Support
Secure the 12/2 NM-B cable within 8 inches of the panel and within 8 inches of the outlet box. Along the run, staple the cable every 4.5 feet. Use insulated Romex staples; do not use bare metal nails that can crush the cable jacket and deform the internal copper conductors.
Phase 3: Terminating the 20A Receptacle
At the outlet box, strip back the outer yellow jacket of the 12/2 cable, leaving exactly 1/4 inch of jacket extending into the box. This prevents the bare ground wire from accidentally shorting against the hot terminal screw inside the crowded box.
Wiring the Leviton 5362-W
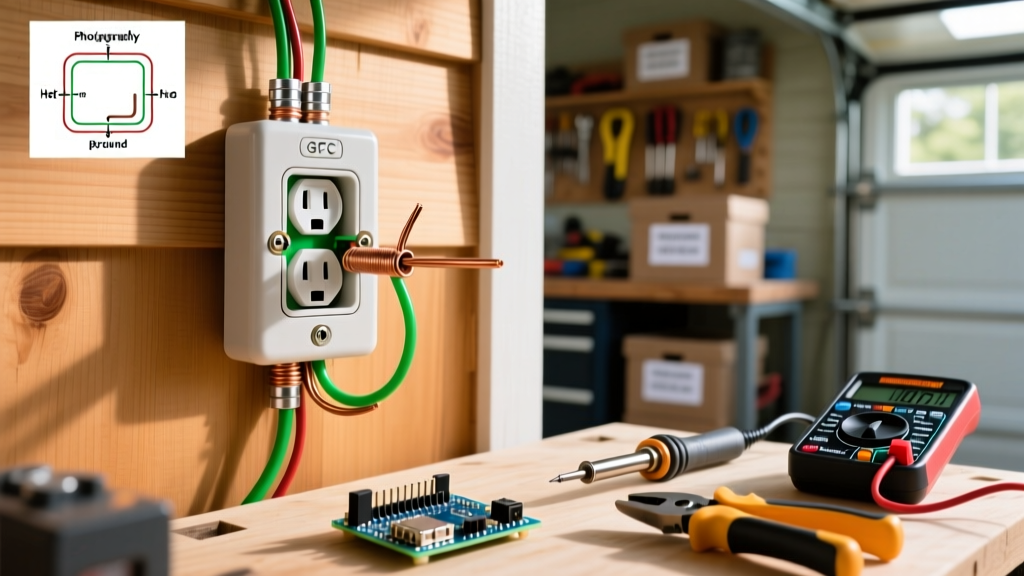
- Ground First: Always connect the bare ground wire to the green grounding screw first. Wrap clockwise and tighten.
- Neutral Connection: Connect the white wire to the silver terminal. For 12 AWG solid wire, utilize the 'back-wire' clamping plates located under the side screws if your commercial receptacle features them. This provides vastly superior contact pressure compared to wrapping the wire around the screw.
- Hot Connection: Connect the black wire to the brass terminal using the same back-wire clamp method.
Expert Insight: Never use the push-in 'stab' connectors on the back of the receptacle. While UL-listed, they rely on a tiny internal spring that can lose tension over years of thermal expansion and contraction, leading to high-resistance arcing and melted outlets. Always use the screw terminals or the screw-clamp back-wiring mechanism.
Troubleshooting Edge Cases & Failure Modes
Even with a flawless installation, you may encounter specific edge cases when energizing a new electrical outlet with breaker:
- Breaker Trips Immediately Upon Energizing: This is almost always a dead short. Check the receptacle box. Did the bare ground wire touch the brass hot screw? Did you accidentally strip too much insulation on the neutral, allowing it to contact the hot side?
- AFCI Breaker Nuisance Tripping: If you installed a dedicated AFCI breaker for a bedroom circuit, large motors (like vacuum cleaners) can generate arc signatures that trick older AFCI breakers. Ensure you are using the latest generation (2025/2026 models) of combination AFCI breakers which feature advanced DSP (Digital Signal Processing) to filter out harmless motor noise.
- Voltage Drop on Long Runs: If your dedicated outlet is more than 100 feet from the panel, 12 AWG wire will experience noticeable voltage drop under heavy continuous loads (like a 15A space heater). For runs exceeding 100 feet, upgrade to 10/2 NM-B and use a 30A breaker, terminating at a 30A receptacle, or step down at the outlet using a specialized pigtail (though upgrading the receptacle is the cleaner, code-compliant method).
Frequently Asked Questions
Can I put a 20-amp breaker on 14 AWG wire?
Absolutely not. This is one of the most dangerous violations in residential wiring. 14 AWG wire is only rated for 15 amps. If you protect it with a 20-amp breaker, the wire will overheat and melt inside the walls before the breaker ever trips, causing a structure fire. Always match 14 AWG to 15A breakers, and 12 AWG to 20A breakers.
Do I need a permit to install a dedicated outlet?
In most municipalities, adding a new circuit and breaker requires an electrical permit and a subsequent rough-in and final inspection. While replacing an existing receptacle usually falls under minor repair exemptions, pulling new wire from the panel requires official sign-off to ensure your home insurance remains valid in the event of an electrical fire.
Why use a dedicated circuit instead of just upgrading the breaker?
Upgrading a shared 15A breaker to 20A without upgrading all the downstream 14 AWG wiring and 15A receptacles is illegal and lethal. A dedicated circuit guarantees that the breaker, the wire gauge, and the receptacle rating are perfectly matched and isolated from other household loads, providing maximum safety and performance for your equipment.